How to Attach a Waistband
According to my mum, the first skirt I ever made was when I was 9 or 10. It was a rectangle of fabric sewn together along one edge, with a hem and casing for and elastic at the waist.
Unfortunately now, as a slightly chunky grown up, I am not going to get away with wearing skirts with elasticated waists. Those are best left to children and the very slim.
Thankfully attaching a waistband to a skirt is pretty easy once you know how! I’ve included three slightly different methods.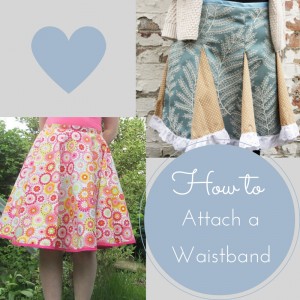
How to Attach a Waistband
You will need to sew in the zip first! For instructions how to sew in a zip, you can read this post here.
Ribbon Waistband
You will need a piece of ribbon slightly longer than the distance around your waist and 5 – 6 cm wide.
1. Fold the ribbon in half lengthways. You will need to crease it so you could iron it, but pressing it with your finger will probably do the job well enough.
2. Fold the ribbon in half widthways to find the middle.
3. Starting opposite the zip and with the middle of the ribbon, put the ribbon over the raw edge at the waist and pin. 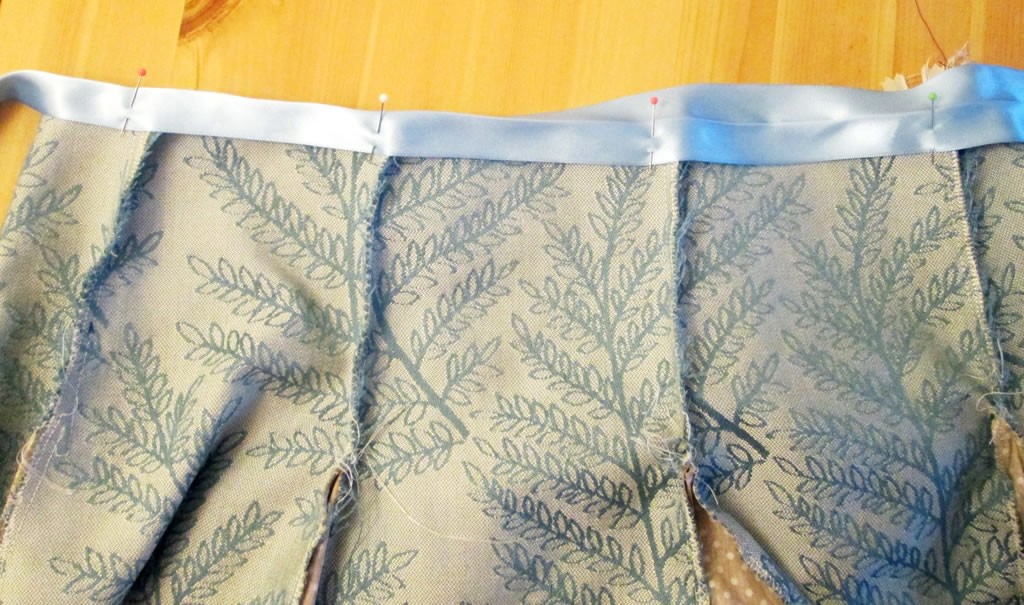 Carefully top stitch the ribbon to the skirt. Leave a couple of cm either side of the zip.
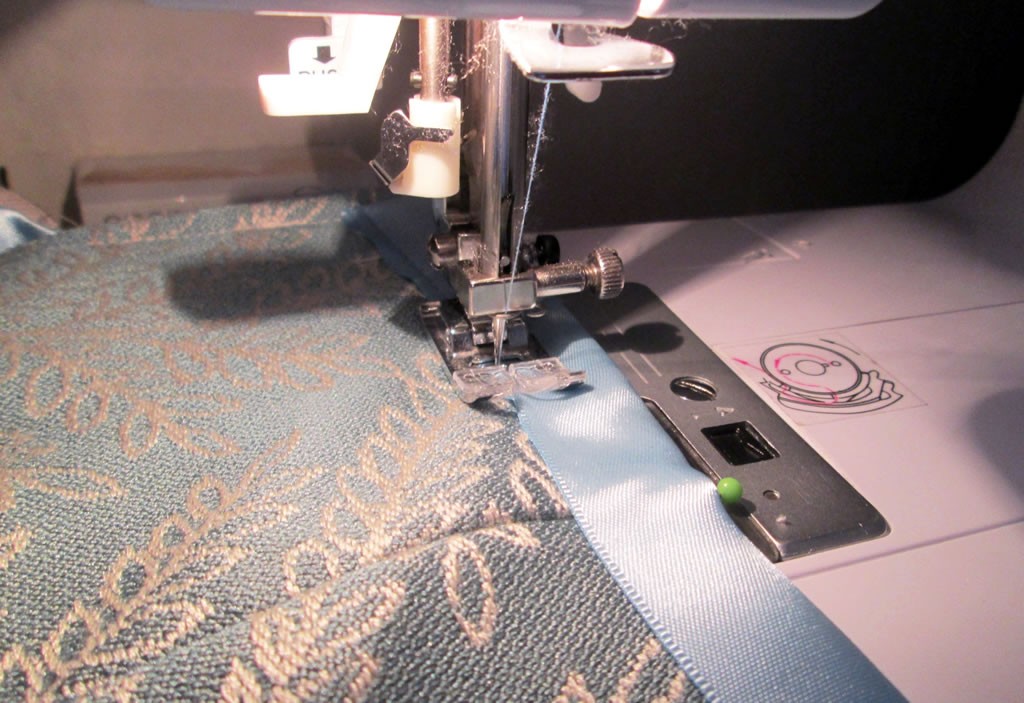
4. Fold the raw edges of the ribbon underneath so that they match up with where the fabric of the skirt joins the zip. Sew in place.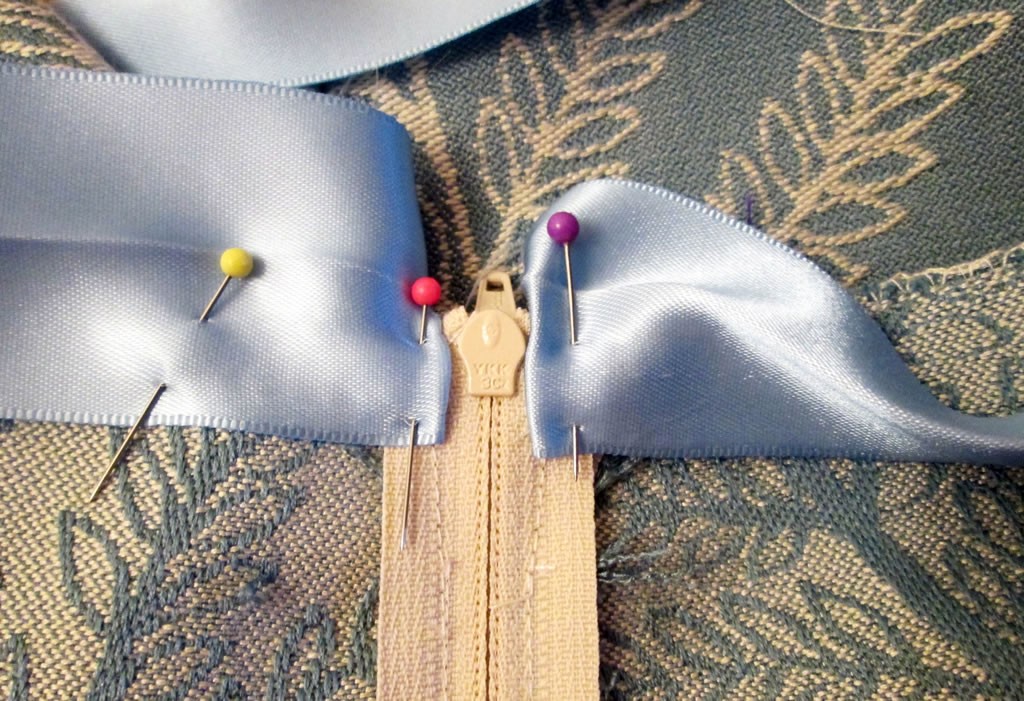
Fabric Waistband
1. Cut a piece of fabric as long as the distance round your waist plus a bit extra, and about 10 cm wide. You might need to join 2 pieces together, that’s fine. If the fabric is quite lightweight or creases very easily, you might want to add some fusible interfacing to make it a bit thicker.
2. Fold the fabric in half lengthways and press it, either with the iron or with your finger. Open it out, then fold the raw edges into the middle. Press again.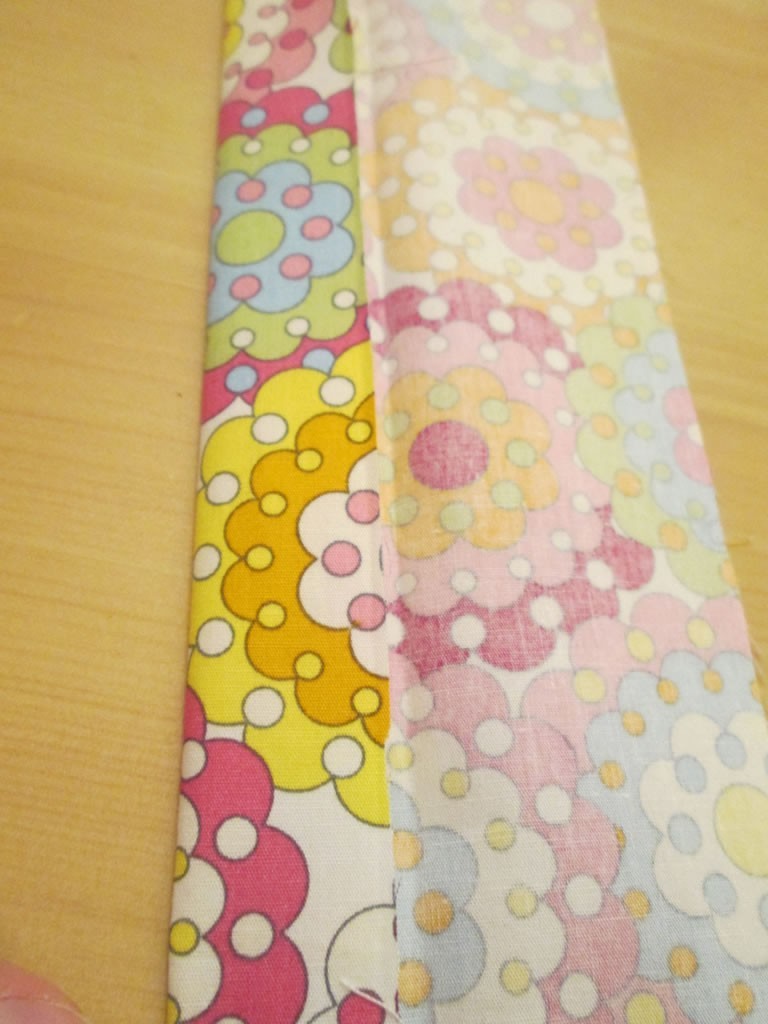
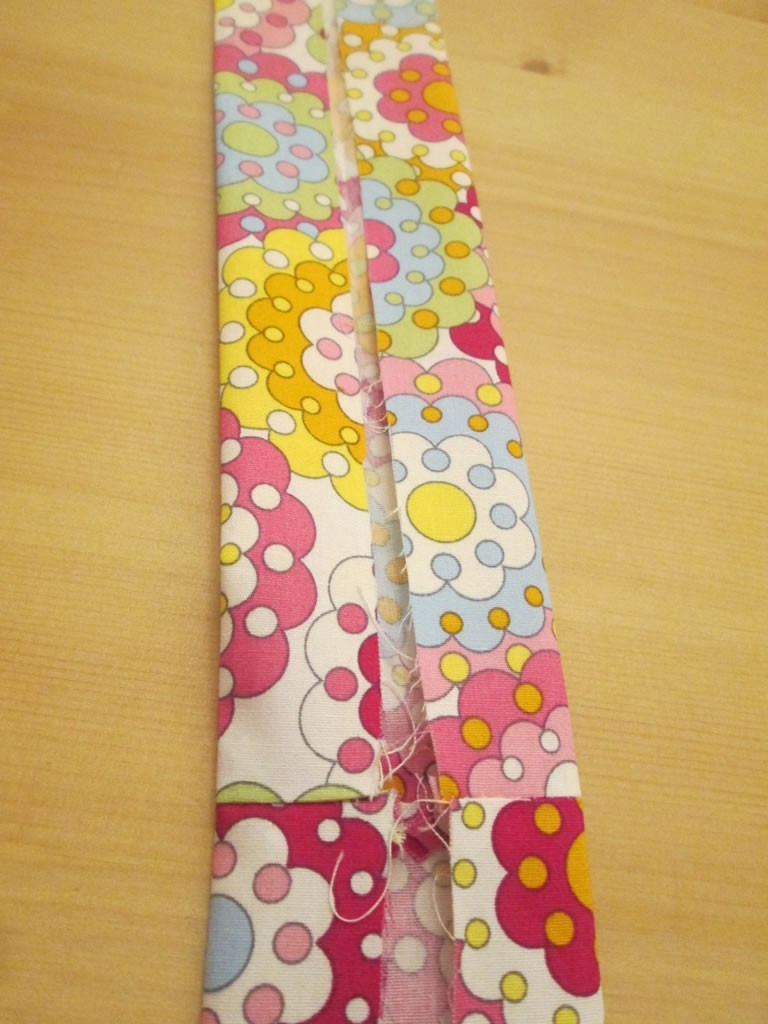
3. Start opposite the zip and with the middle of the waist band. Pin the edge of the waistband to the wrong side of the fabric so that the raw edges are together and the right side of the waistband is next to the wrong side of the fabric. 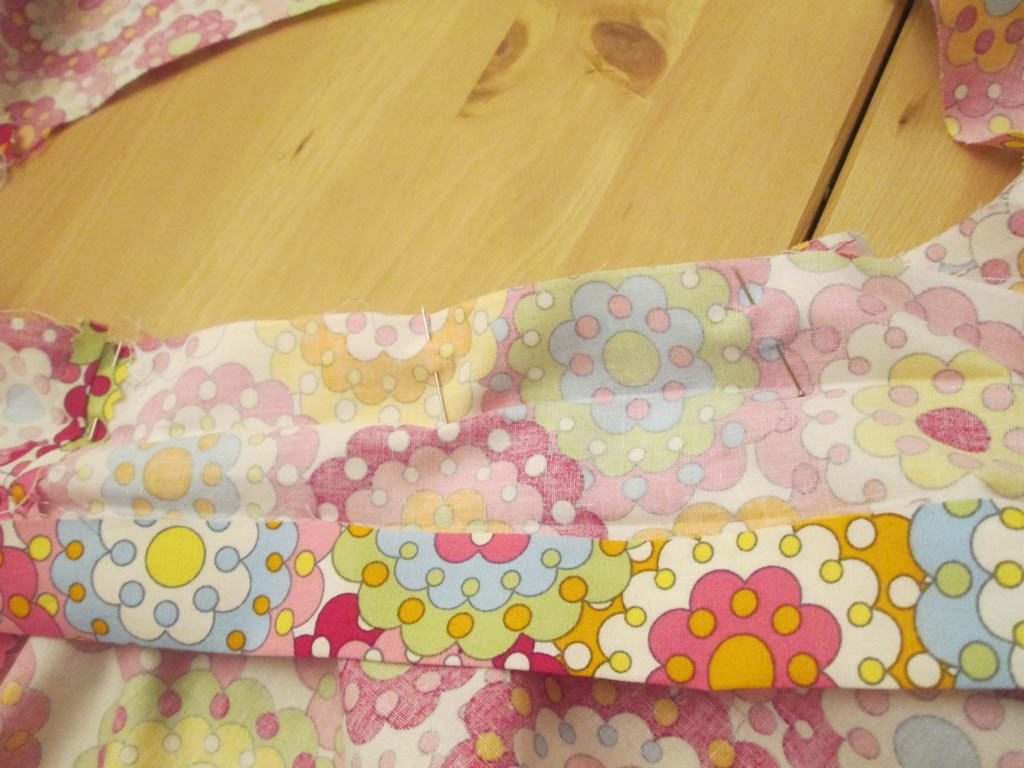 Sew all the way round, leaving a couple of cm either side of the zip. If you need to finish the raw edges, now is the time to do it!
4. Fold the waistband over the top of the skirt and fold the edge back under. Pin, then top stitch round the waist again. still leaving a couple of cm at the zip.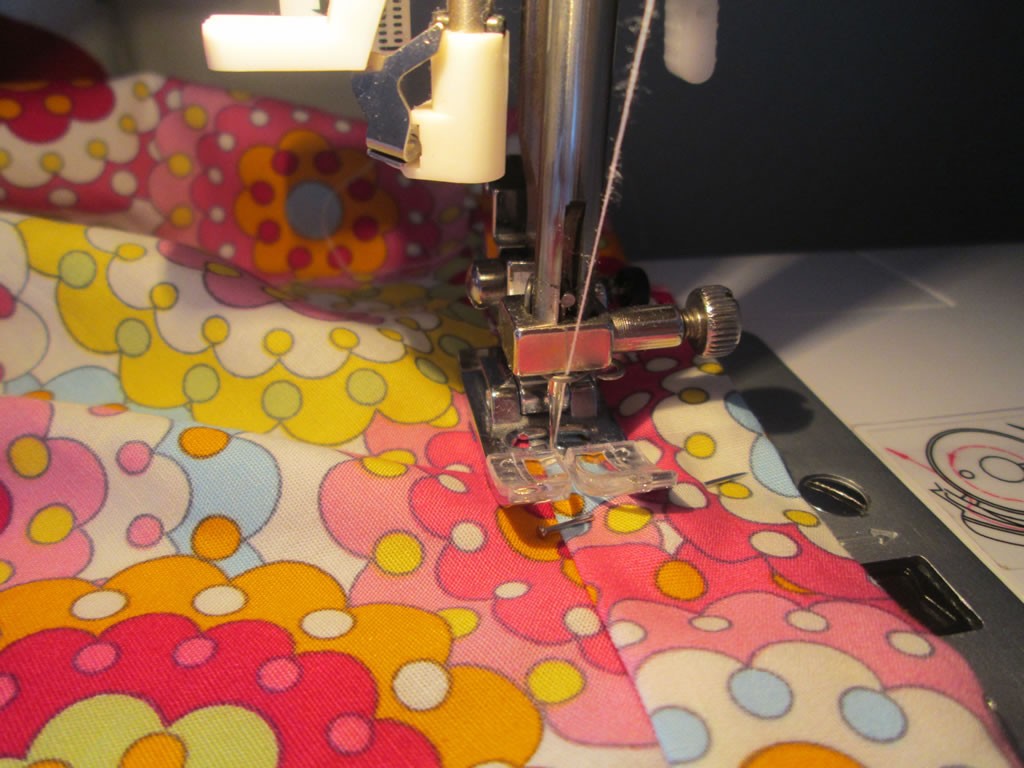
5. Fold the raw edges underneath so that the edge of the waistband is aligned with where the skirt meets the zip. 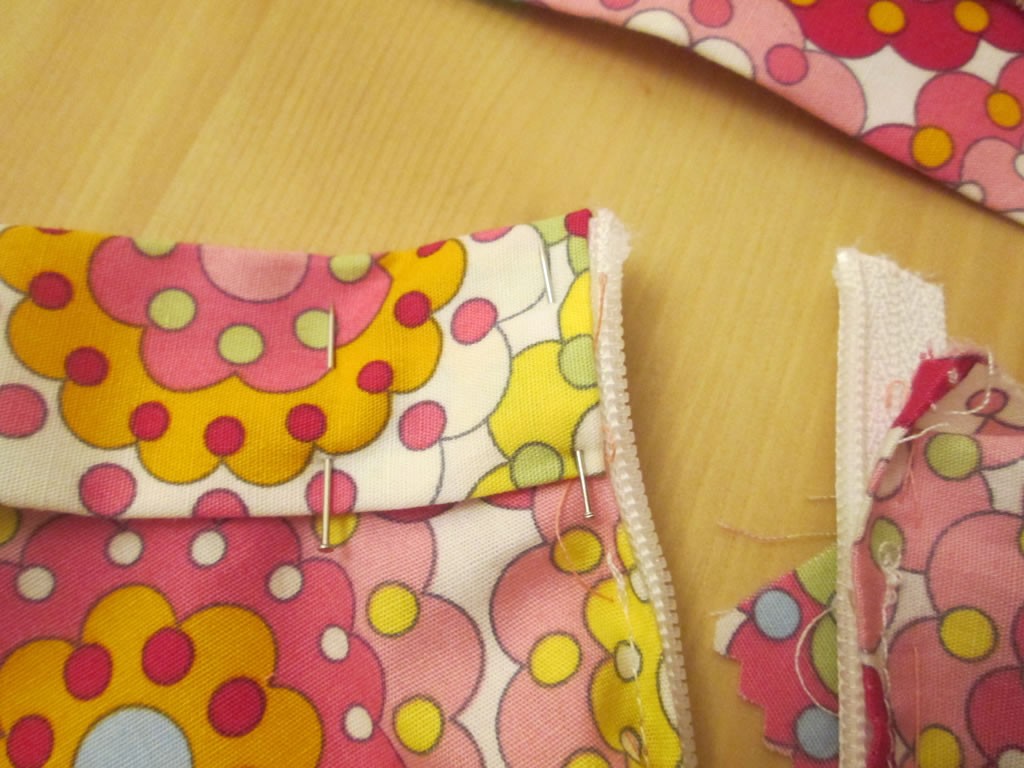 Sew in place.
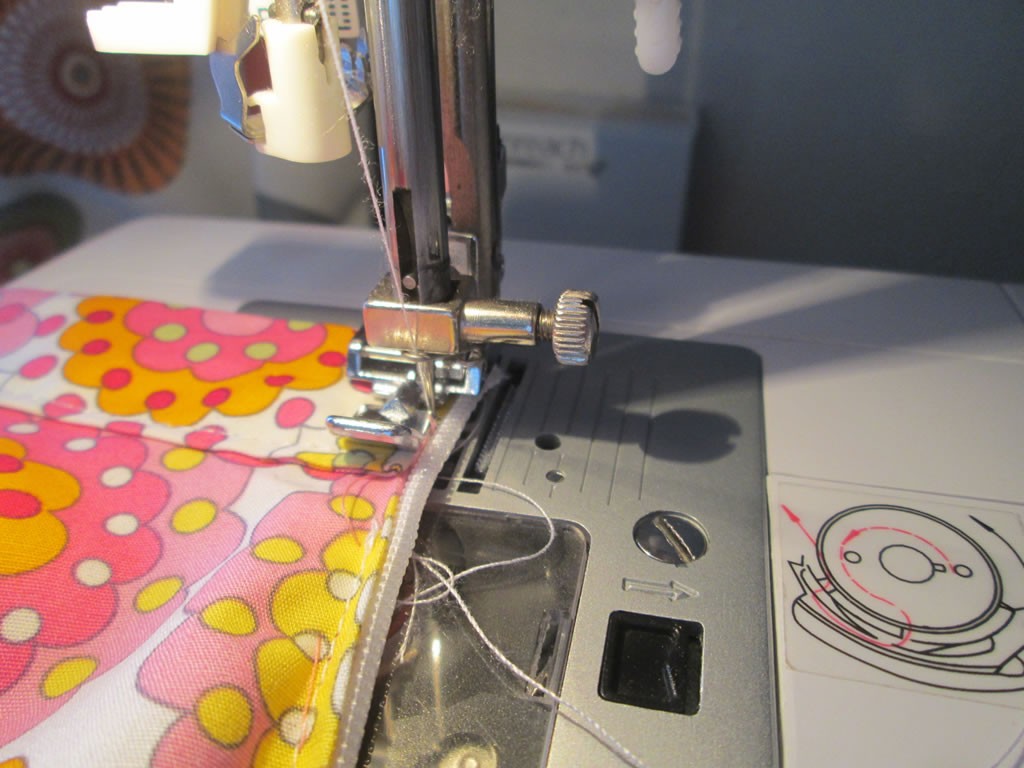
Bias Binding Waistband.
To make a waistband using bias binding, you will find it easier and probably more comfortable if you use wide bias binding.
The process is exactly the same as the one above, except that you don’t have to faff about with folding in the raw edges! Just cut it to the right length, then fold the bias binding in half lengthways. Follow the steps above from step 3!
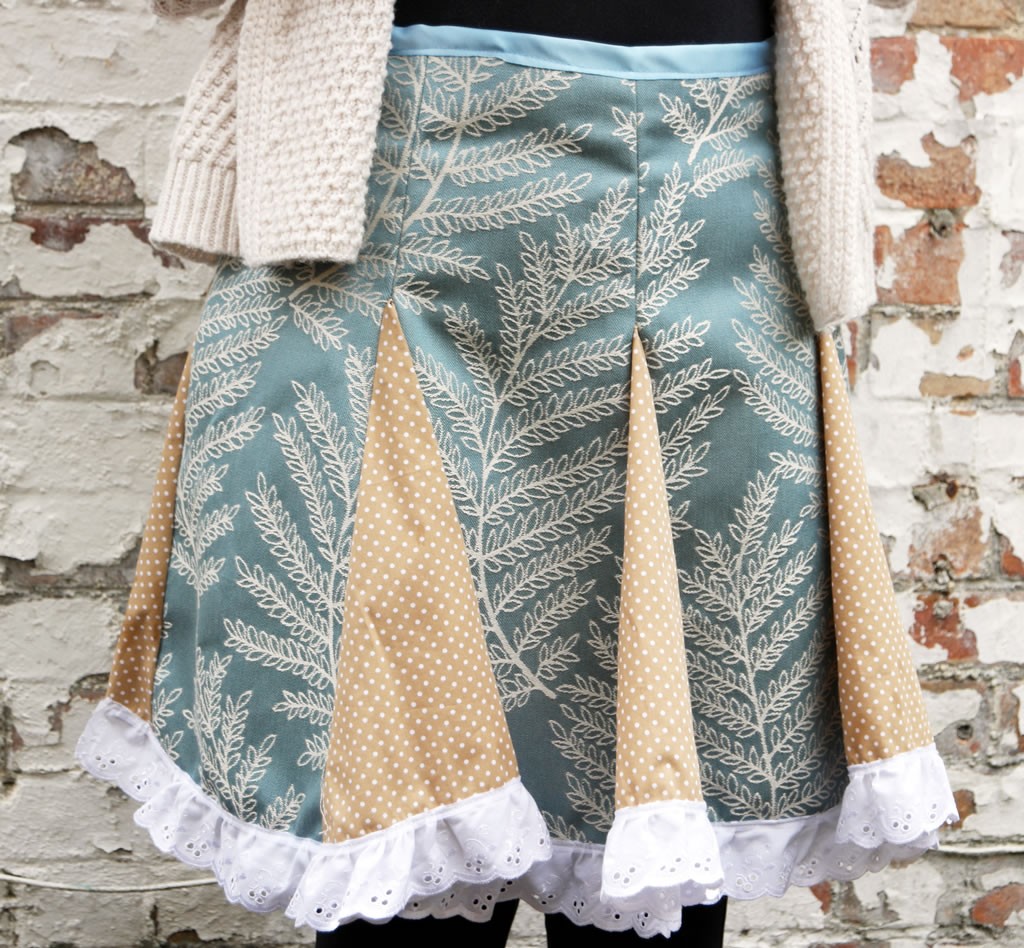
You might also like this post here about making a circle skirt, and this post here about upcycling a shapeless old dress into a skirt and this post here about making a skirt with godets. You don’t need a pattern for any of them but knowing how to attach a waistband will be useful!






Finally! A good example on how to attach a waistband! I’ve been scoring the internet for two days- got impatient and tried to improvise (that didn’t work out at all) and now i’ve found your tutorial i’m so happy. Its really not easy to do if nobody’s ever shown you so thank you thank you.
Bless you! I hope your waistband turns out beautifully 🙂
These skirts are gorgeous! Whilst i could never be skilled enough to make one, I’m super envious of them. Beautiful!
Thank you 🙂
Great little tutorials. I usually do a fabric waistband. I save elastic for things like my sons PJ bottoms (he’s over 6 foot and almost impossible to buy for)
I made elastic skirts of myself as a kid too, I remember buying a length of fabric with a shirred elastic top already done so I just had to do the side seam, genius!
My mum used to make sundresses for us out of that stuff!
You’ve just reminded me I have a waistband I need to sew. This is a great tutorial, waistbands can be tricky to get right.
Thank you, I think the skirt itself is often the easy part!