How To Applique: A Beginners’ Guide
Applique is a a french word that means apply. It’s generally used to describe the technique of sewing pieces of fabric to something to decorate it.
There are lots of uses for applique, and lots of fun, easy projects you can try. It’s great for decorating cushions and tea towels, bags and purses, you can even applique clothes if you want to!
You don’t even need to make something new. Applique can be added to things you have already as a way of personalising them.
If you’ve never tried applique before, it’s easy to do and the possibilities are endless! You don’t need anything special, just some fabric and some fusible interfacing. You can use your sewing machine, or you can applique by hand.
Here’s a beginners’ guide showing how to applique!
There are affiliate links included in this post.
Making Your Shapes
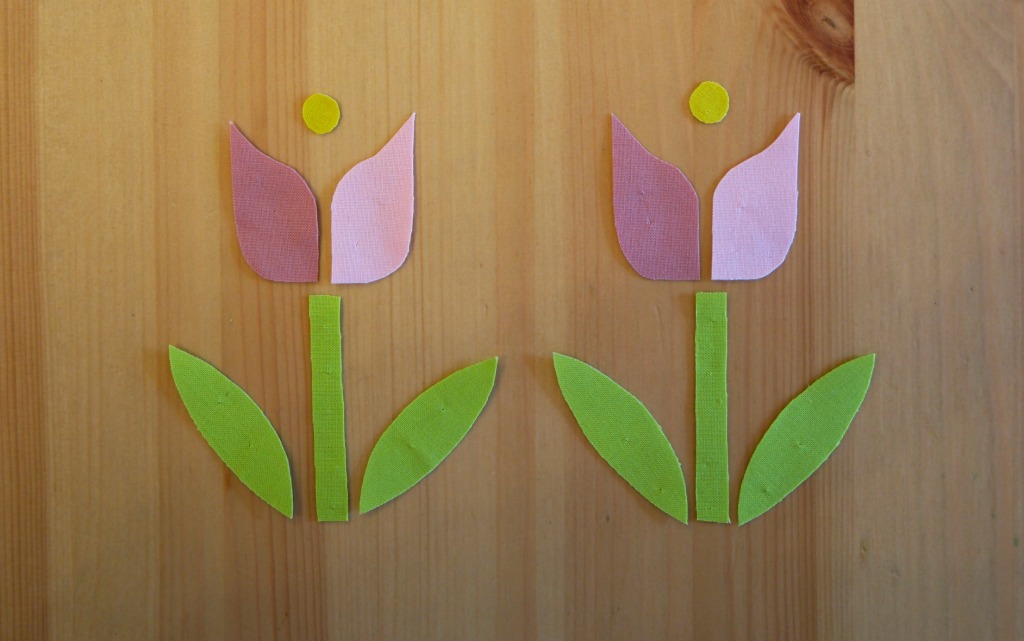
When planning your project, remember that simple shapes are easiest to sew. Avoid anything too fiddly or complicated and you stand more chance of ending up with something that looks lovely that you’re happy with.
If you need more detail on your applique, consider what you could do to achieve it. Embroidery, by hand or machine, or you could sew on buttons, beads or sequins.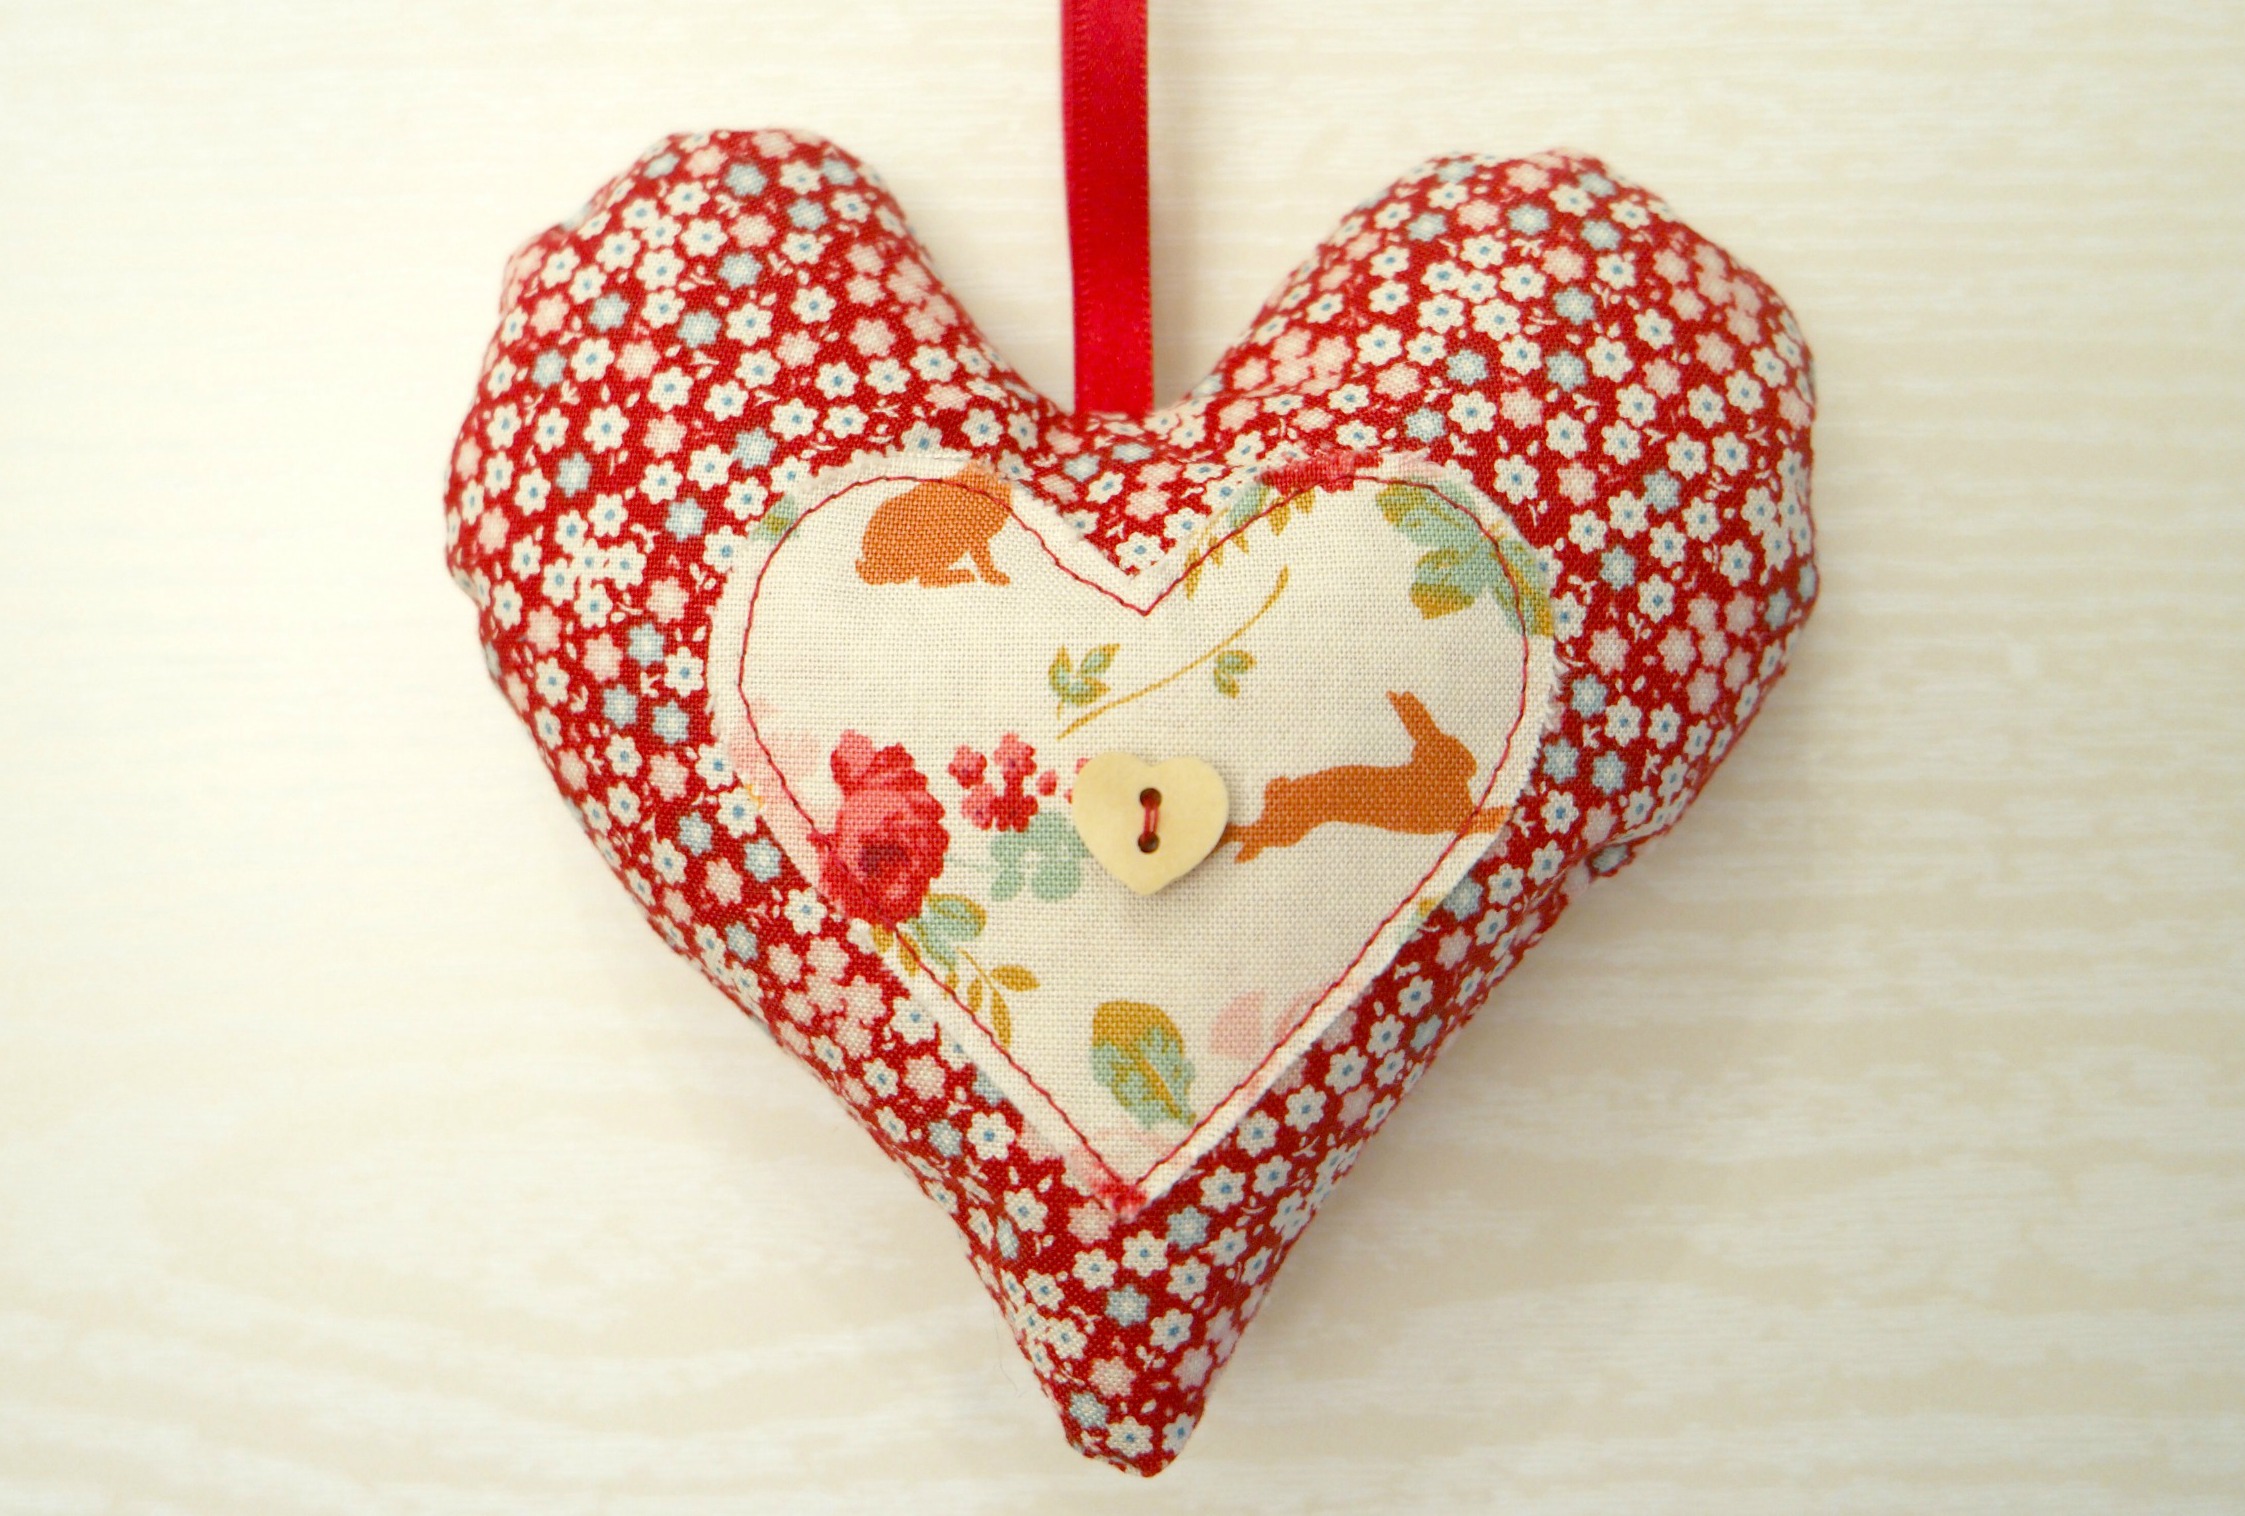
If you have difficulty drawing freehand, there are plenty of places where you can find shapes for applique. In addition to free templates and tutorials on the internet, you can try stencils, clipart, precut paper shapes and cookie cutters.
Preparing Your Fabric
Applique works best with fabrics that are similar in weight. Appliqued shapes cut from lighter fabric sewn onto something heavier, like denim or canvas, is also usually fine. Try to avoid appliqueing heavier fabrics to lighter ones.
If the fabric being appliqued to is lighter, the lighter fabric is more likely to pucker, especially if you are using a zigzag stitch.
If this happens (or if you think it might happen), use some fusible interfacing to give the bottom fabric a bit more weight.
If you haven’t used interfacing before, it’s easy to identify which side is sticky. It’s usually the side that is either shiny or has raised bumps. Put the sticky side next to the fabric, then iron with a warm (not hot!) iron. To prevent sticky from ending up all over your iron, either iron on the fabric side (ie not the interfacing side), or use a tea towel over the top.
Fraying can be an issue with applique. This is also solved by adding some fusible interfacing to the wrong side of the fabric. If the fabric frays a lot, then fuse the interfacing to the fabric before cutting out the shapes.
Bondaweb can be used as an alternative to fusible interfacing for the shapes.More about that in a minute!
Appliqueing Your Shapes to Your Fabric
Once your shapes are cut out and you’ve put some fusible interfacing on that back, you can sew it to your fabric!
All you have to do is pin your shapes on, then sew around them.
Using bondaweb is an easy alternative to pins. This stuff is like fusible interfacing, but it’s sticky on both sides.
Just iron it on as you would with fusible interfacing, then peel the backing off. Put it onto your fabric, then iron it again and it will stick. This holds it in place nicely while you sew it on. It’s especially useful if you’re appliqueing tiny pieces where a pin would get in the way.
Which Stitch to Use?
It’s up to you!
Traditionally applique is sewn on using a satin stitch, which is basically a lot of zigzags all close together. This gives a nice, neat finish.
However, it’s perfectly fine to use a standard zigzag or even a straight stitch.
A straight stitch is a good choice, especially if you are planning to do some machine embroidery over the top. You might have a bit of an issue if the fabric frays as the straight stitches won’t cover the raw edges. As I mentioned before, bondaweb or fusible interfacing will help with fraying, but you might decide that the frayed edges actually give it a kind of charm that you like!
Zigzags are half way between a satin stitch and a straight stitch. The raw edges are sewn over, but they’re not completely covered. You could sew around your appliqued pieces once, or more if you want to.
Experiment with the size of stitches before you start. In theory, stitches that are visible should be longer. However, if you are sewing something small, using small stitches will be easier.
Depending on your sewing machine, you will be able to control the width of the zigzag stitches as well as the distance between them. Just have a bit of a practise first!
You can also applique by hand. For these felt birds, I appliqued the hearts using blanket stitch.
Do I Need a Special Foot For My Sewing Machine?
Apparently there are feet for applique. I have never used one.
If you have a fondness for sewing machine feet, here is an affiliate link for an applique foot. If your sewing machine came with one, you might fancy trying it out. But no, you don’t need one. It’s perfectly possible to applique without a special foot. However, if you have an embroidery foot with a transparent bit at the front, you might find this easier if you are appliqueing little bits of fabric.
If you are interested in finding out more about sewing machine feet, you might like to read this post here.
Some Applique Projects You Might Like to Try
Now that you know how to applique, you need a project!
Shopping bag with appliqued bunting
Linking up here.
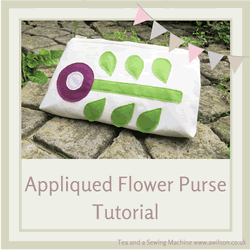
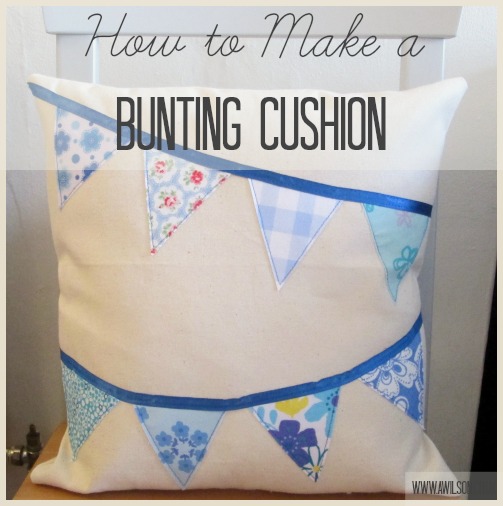


[…] Tea and a Sewing Machine has a complete guide for beginners. […]