Now that the days are starting to become a little chillier, I was facing a bit of a problem whenever I leave the house.
Boy 4 has outgrown his cute little fleece jacket that he wore last autumn, but it is not yet cold enough for his big coat.
I had a pattern for a little jacket, but it had a zip when I actually wanted a jacket with buttons so that he could do it up himself.
I also had some fleece fabric that I had bought last year.
So I decided that, instead of buying another pattern, I would alter the pattern I had to make a little toddler jacket that it had buttons rather than a zip!
(I also wanted to give it raglan sleeves, but unfortunately I only remembered after I had cut it out!)
Making the Alteration
This is the pattern I used (affiliate link)
It was not actually that difficult to change the jacket from a zip fastening to buttons.
The issue was that buttons would require the front sections to overlap, whereas a zip fastening does not.
So all I did was to add an extra 5 cm to the front of the front when I was cutting out.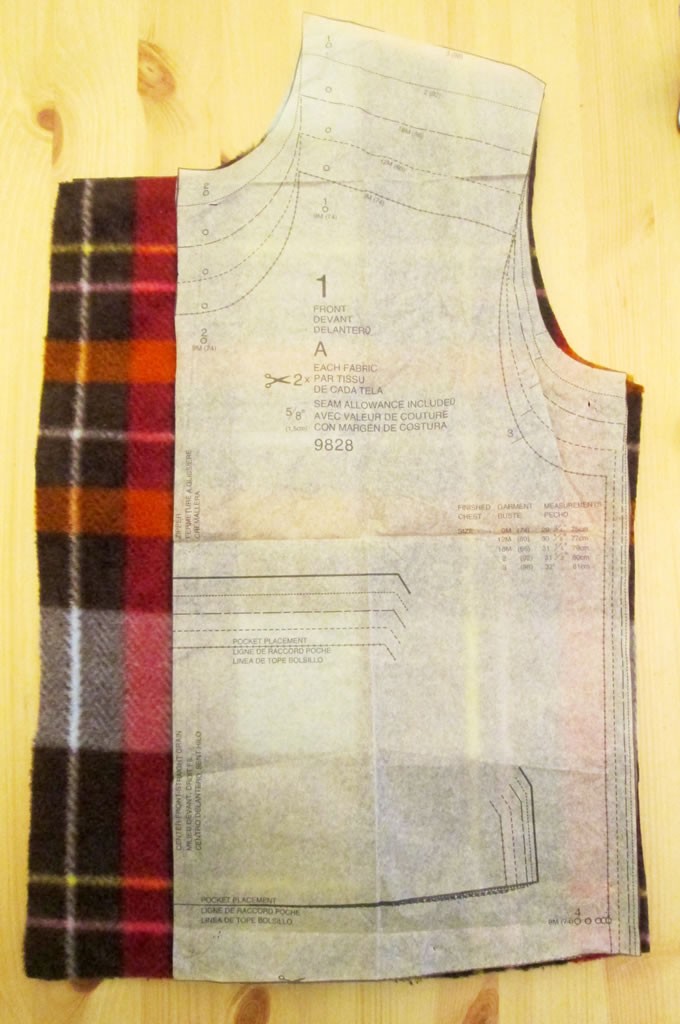
A seam allowance would already have been included for the zip, so I didn’t need to worry about that.
The sewing instructions that come with commercial patterns can be confusing so I just went about it in the way that I thought best!
So here is how to sew the little jacket together once you have made your alterations to the pattern, along with some (hopefully) useful tips!
Sewing With Fleece
Fleece can be a nightmare to work with. It is both thick and stretchy. My old sewing machine did not like it at all!
With it being so thick, you might need to use a different needle.
When you start sewing the seams, line the edge up with the lines on the foot plate, then start sewing. What will happen is the edge will end up lined up with a different line as the bulk of the fabric causes the edge to be in a different place when it is being sewn.
As with any stretchy fabric, try to avoid pulling on it while sewing. If it is a total nightmare, then either use a stitch for knits (if your sewing machine has one) or zigzags.
Trim the seams right down to reduce bulk. I found that by doing this I did not need to clip the curved seams.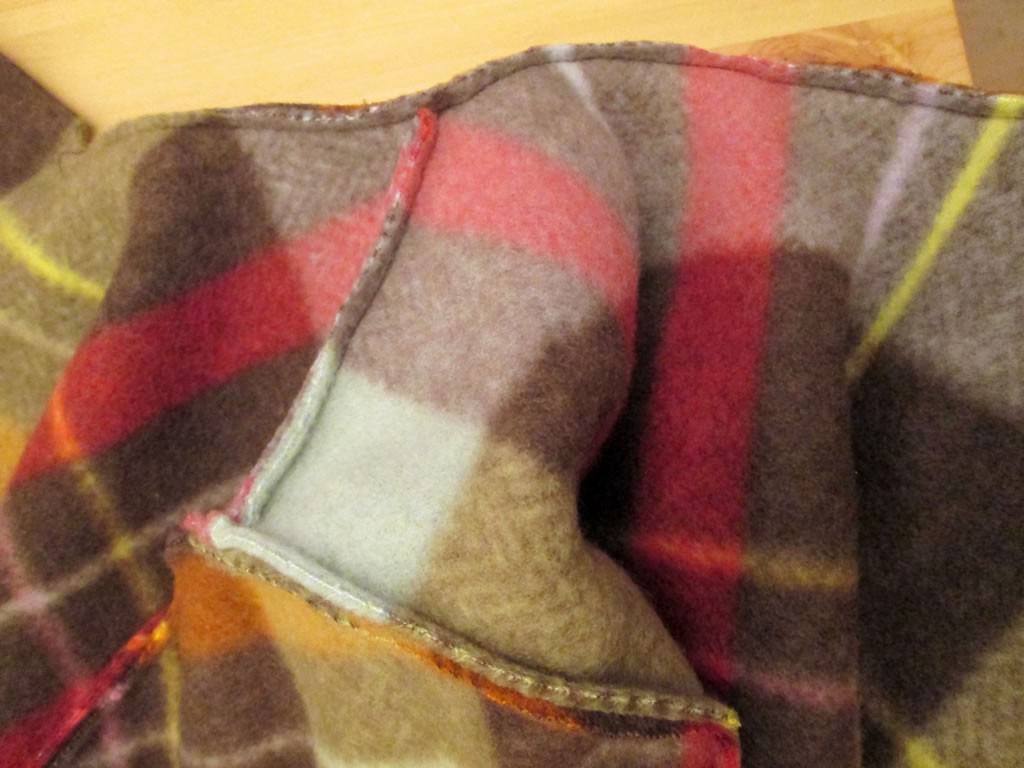
Sewing the Shoulder Seams
It is necessary to sew the shoulder seams first as it usually difficult to do anything else until they have been sewn, trimmed and pressed!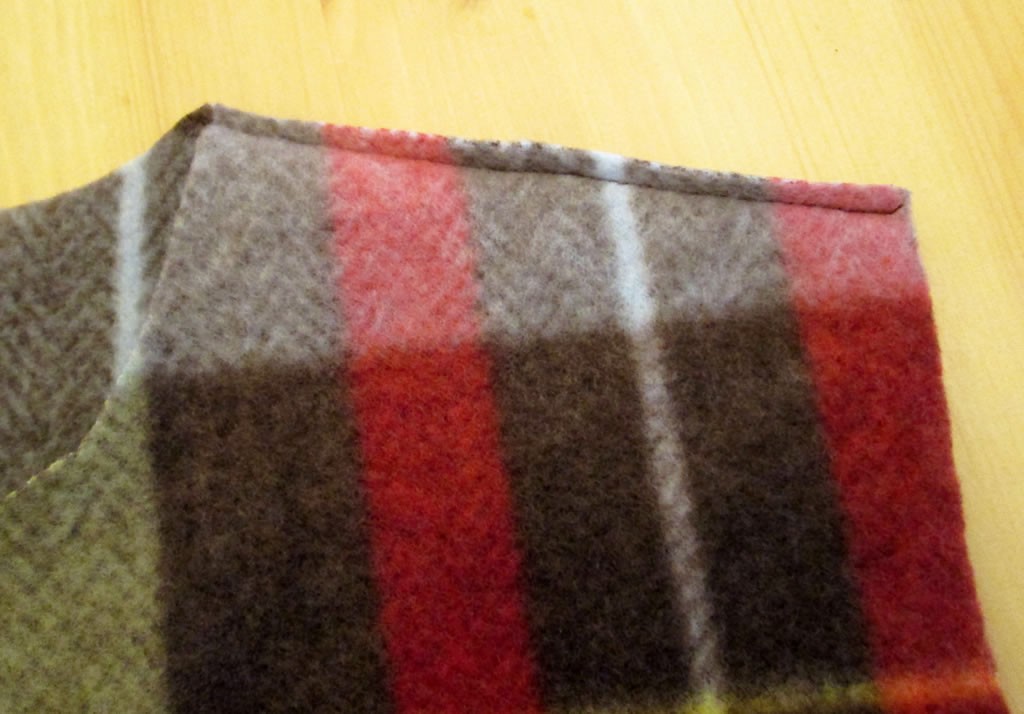
The Hood
Making the hood was actually not complicated! Yet again I thought something would be difficult that actually turned out to be easy!
The hood is made from two pieces, with darts in the middle of each piece.
Sew the darts, then pin then sew the 2 pieces together. 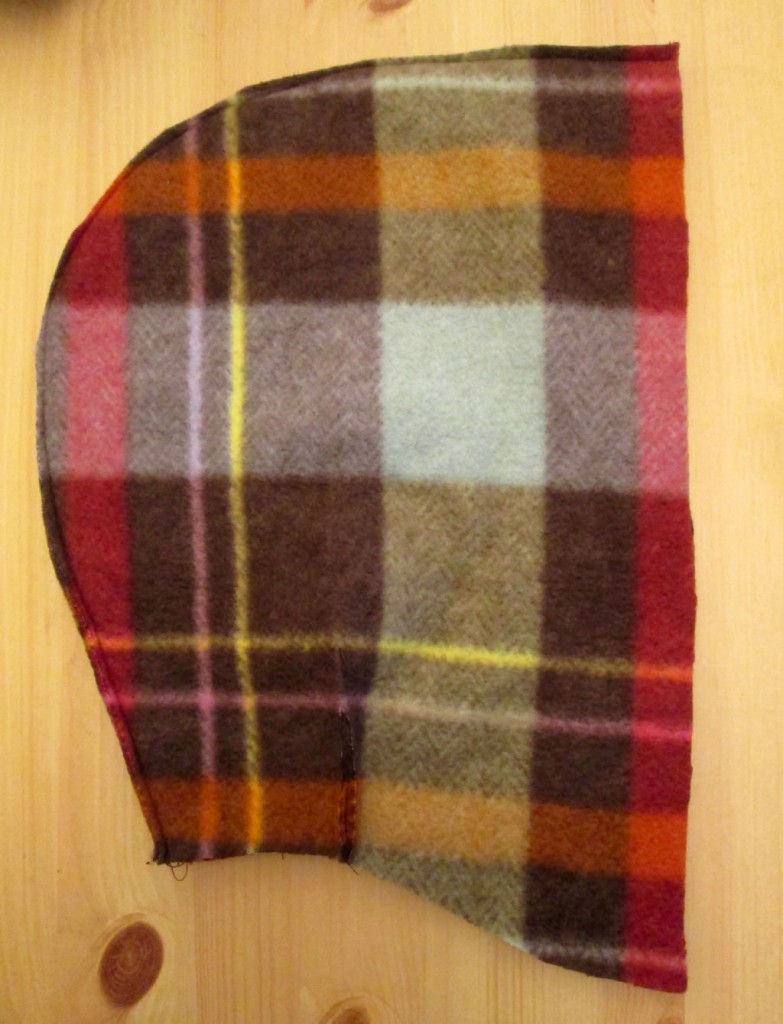
Pin the hood to the main part of the jacket, matching the darts up with the shoulder seams. 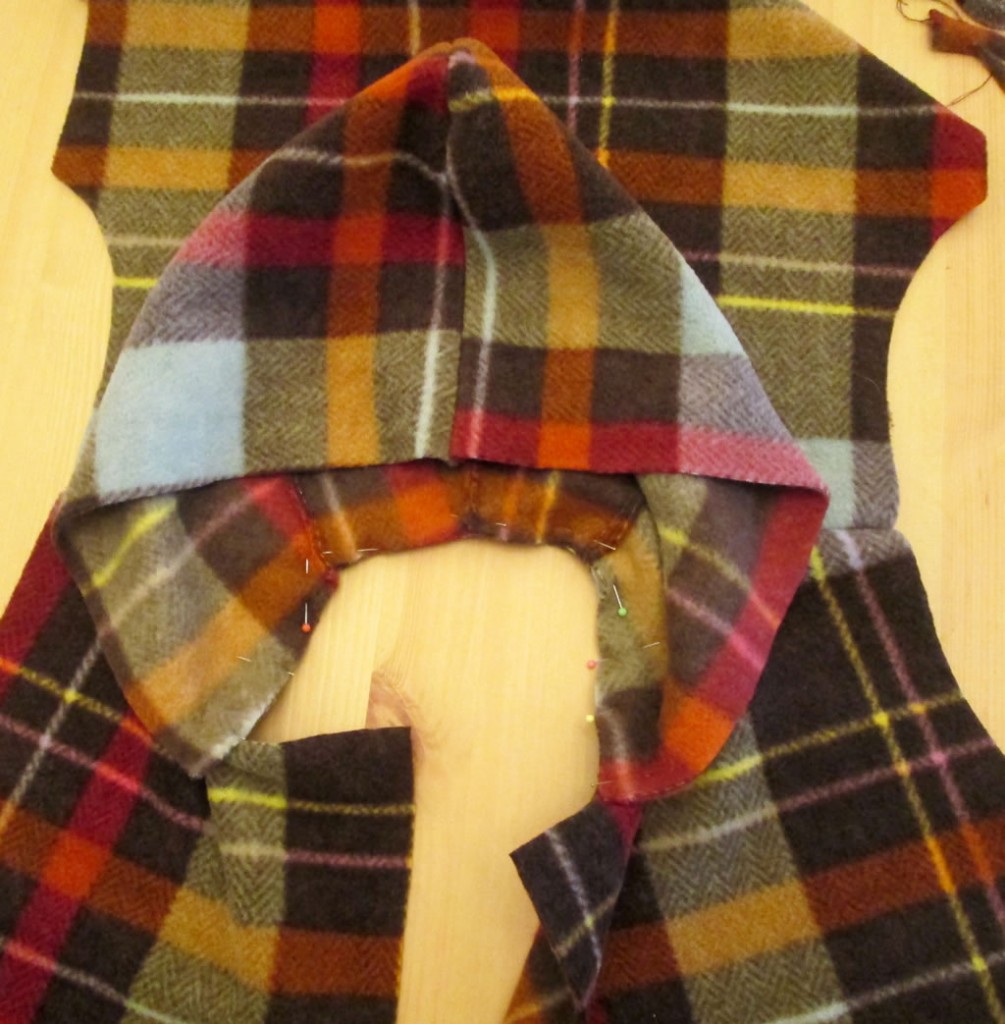 Sew, then trim the seams.
Something that was a little bit of an issue here was where the hood met the front of the jacket. On the original pattern, the front of the hood lined up with the front of the jacket. However, because I added an extra 5 cm to allow for buttons instead of a zip, there was jacket left over!
So when I trimmed the hood seam, I just made sure that I left the bits on the front of the jacket.
The Sleeves
Sleeves are one of those things where you can either do them the proper way or the easy way!
The Proper Way
This involves sewing up the side seams so that you are left with the armhole. Then sew a few long stitches along the top edge of the sleeve. Sew together the long edges of the sleeve. You will have a sleeve and an armhole. Pin the sleeve to the armhole. Use the stitches you made along the top to “ease” the sleeve into the armhole.
I have no pictures for this, because I opted for the easy way!
The Easy Way
Don’t sew up the side seams just yet! Pin the sleeve to the open arm hole and sew. 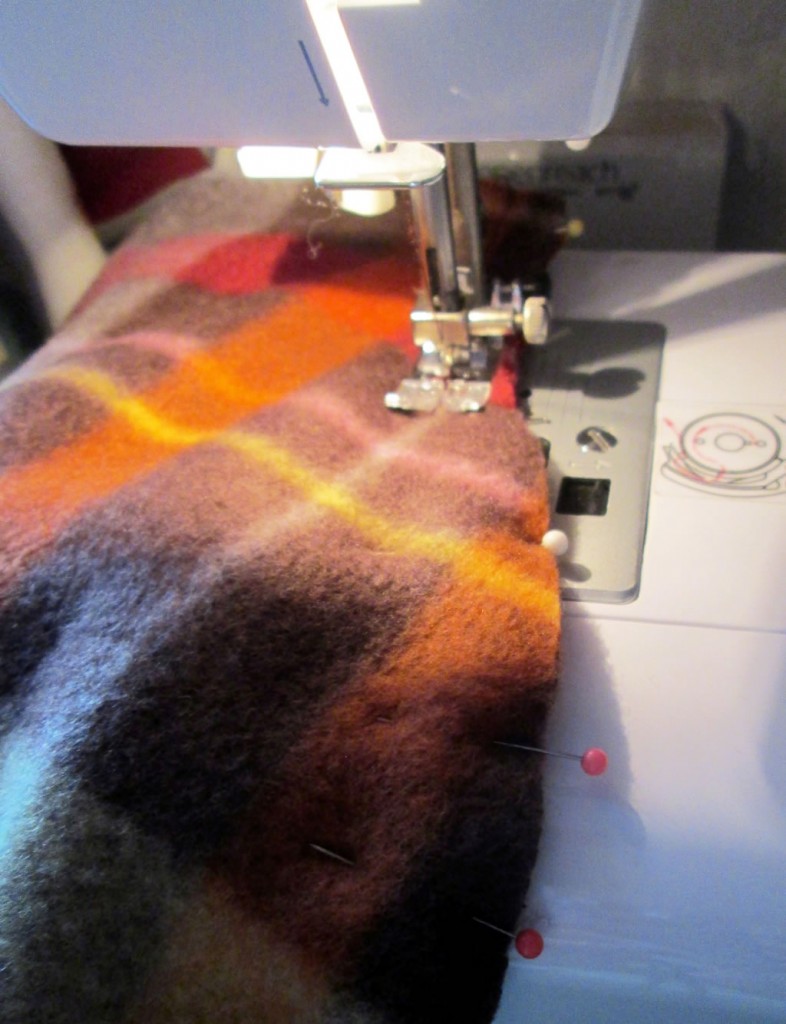 Pin the side seam and the sleeve seam, ensuring that the seams match at the armpit. Sew from the bottom of the jacket to the wrist of the sleeve.
 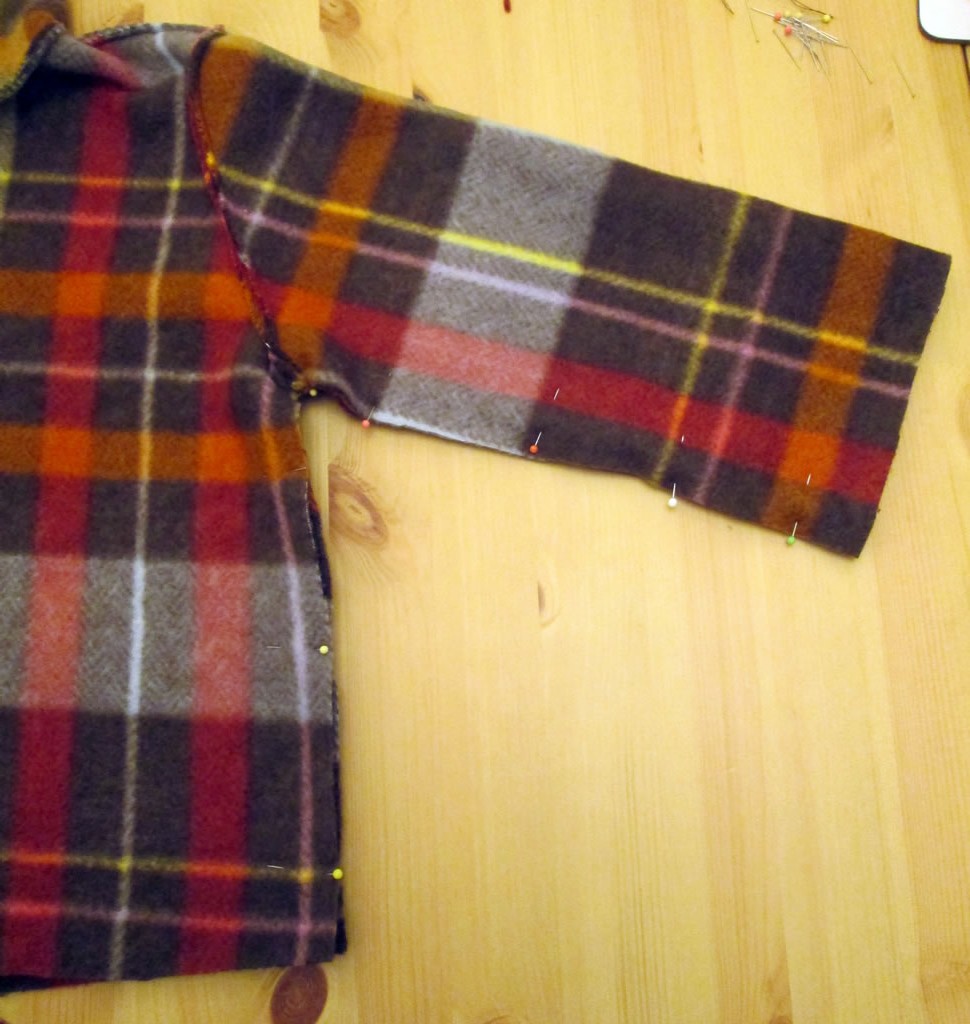 If you want to be sure of the seams matching, you could start at the armpit and sew the jacket sides, then return to the armpit and sew the sleeve seam.
The Lining
To make a lining, all you do is make a second jacket! I used micro fleece so that it would still be warm but not as bulky as ordinary fleece.
With the right sides together, pin the 2 jackets at the hood, the front sections and along the bottom. 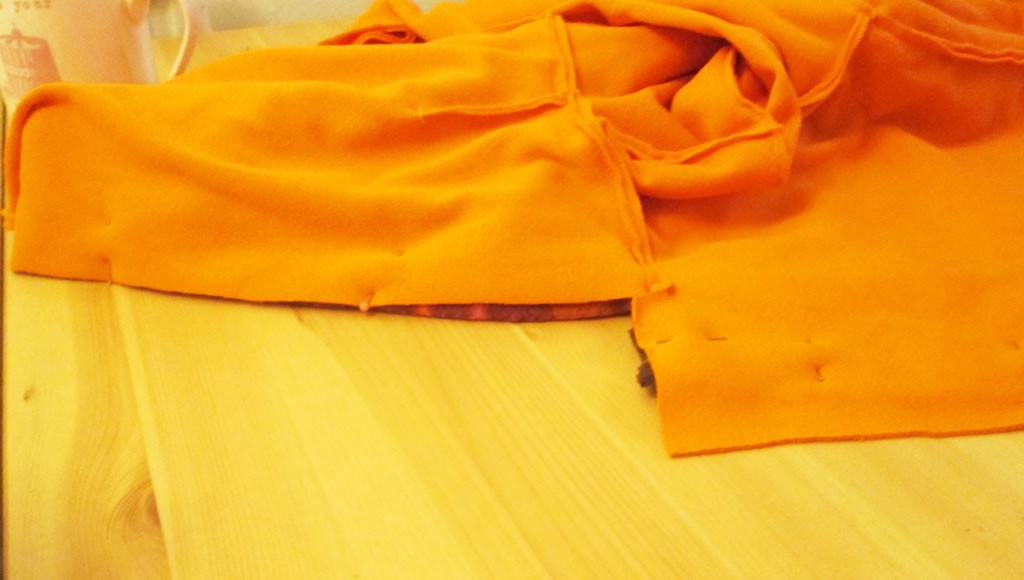 Sew right the way round, leaving an opening at the bottom.
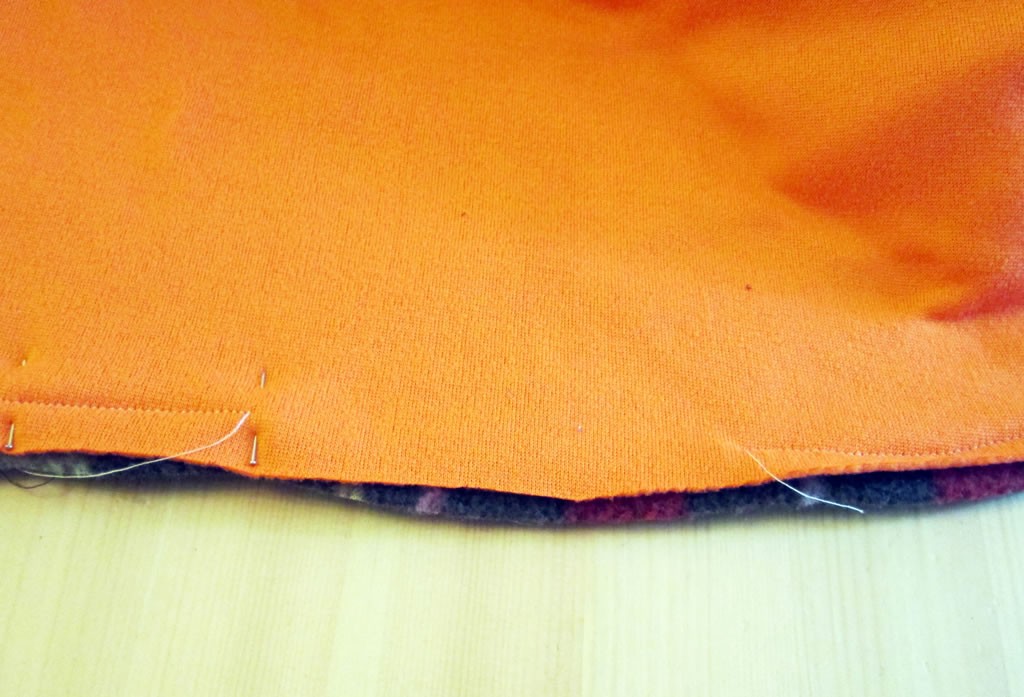
Trim the seams, the turn it out.
Pin the opening at the bottom and top stitch right the way round (you could skip this if you wanted to and just slip stitch the opening).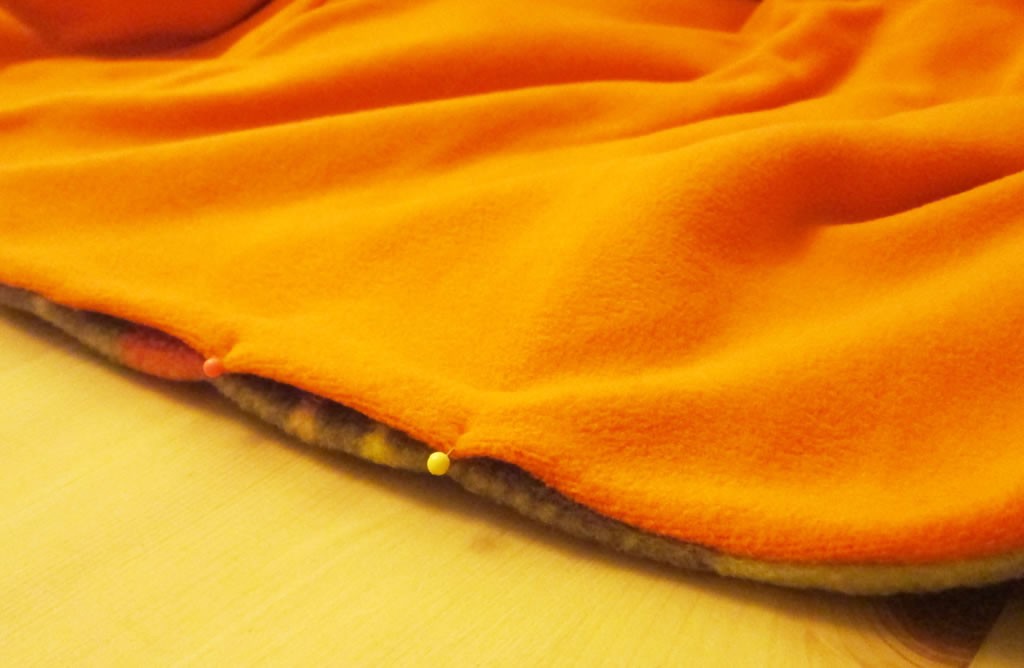
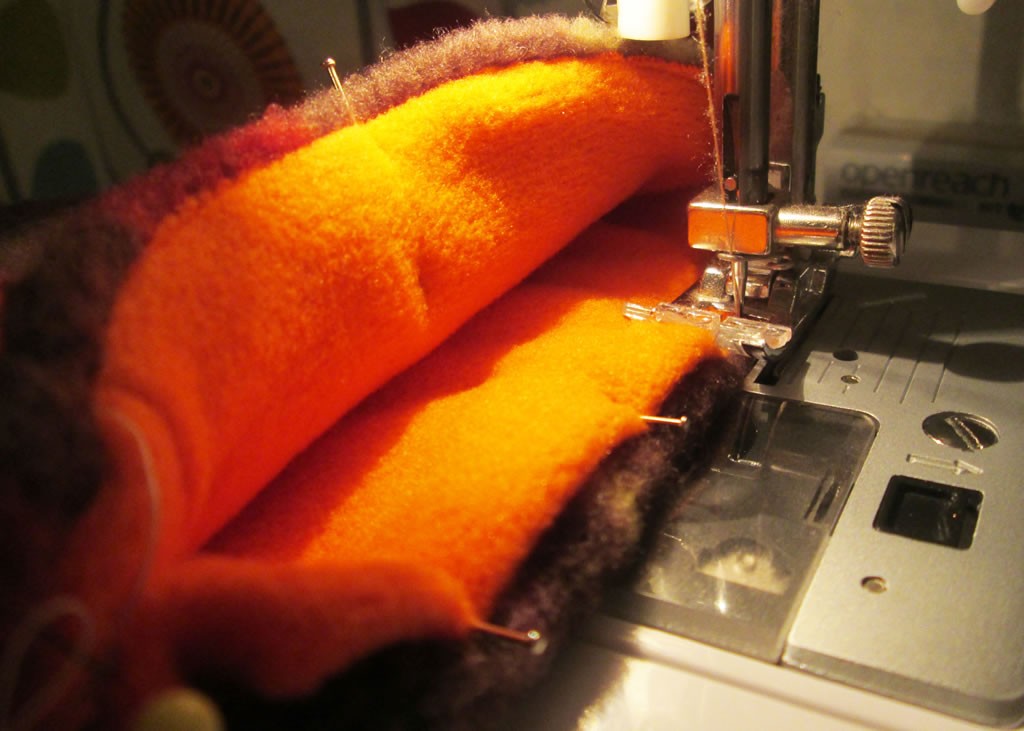
Fold the raw edges of the sleeves under. 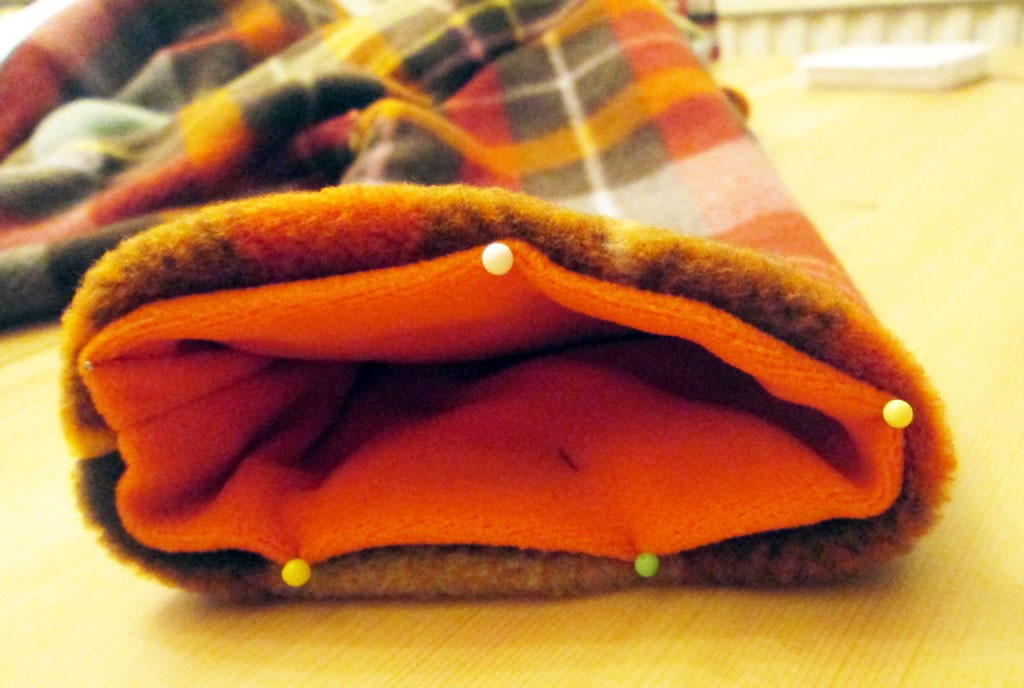 Pin, then sew.
Finishing Off
Decide where the buttons need to be. Make the button holes. As I used such big buttons I had to make bound button holes because my button hole foot didn’t make button holes big enough!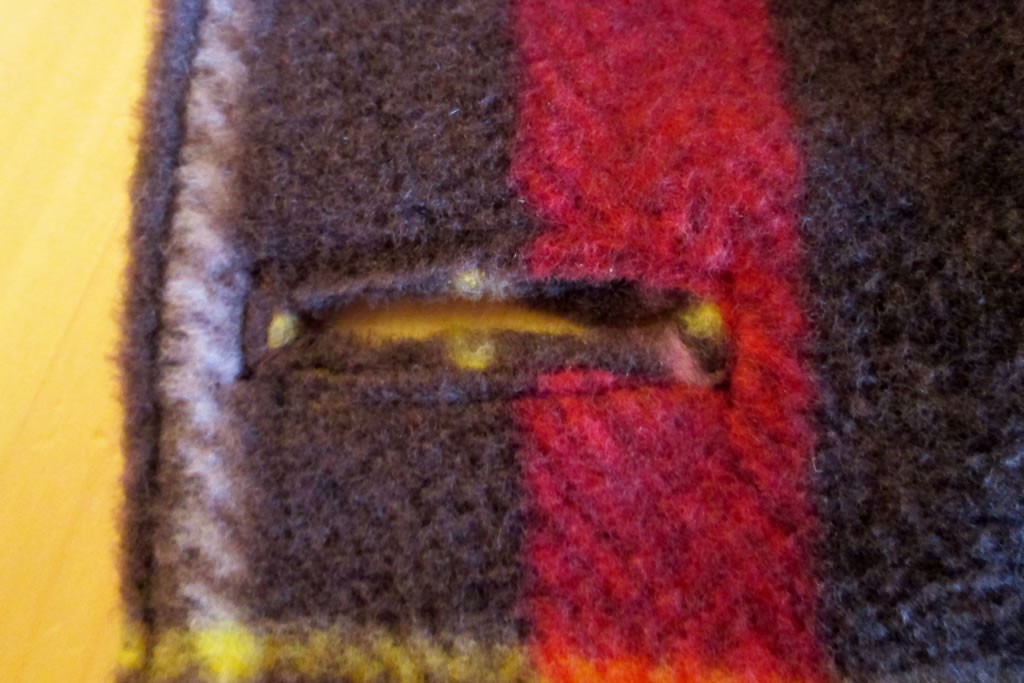
You can find a detailed tutorial for making button holes here.
Sew on the buttons. Trim the threads and you’re all set!
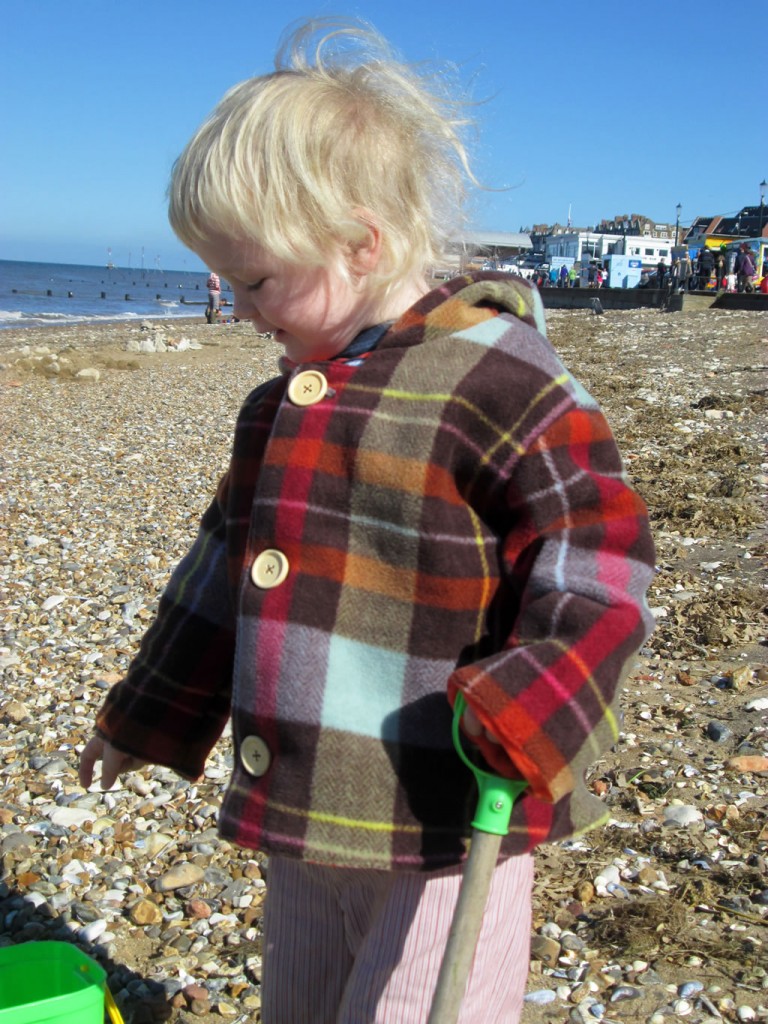
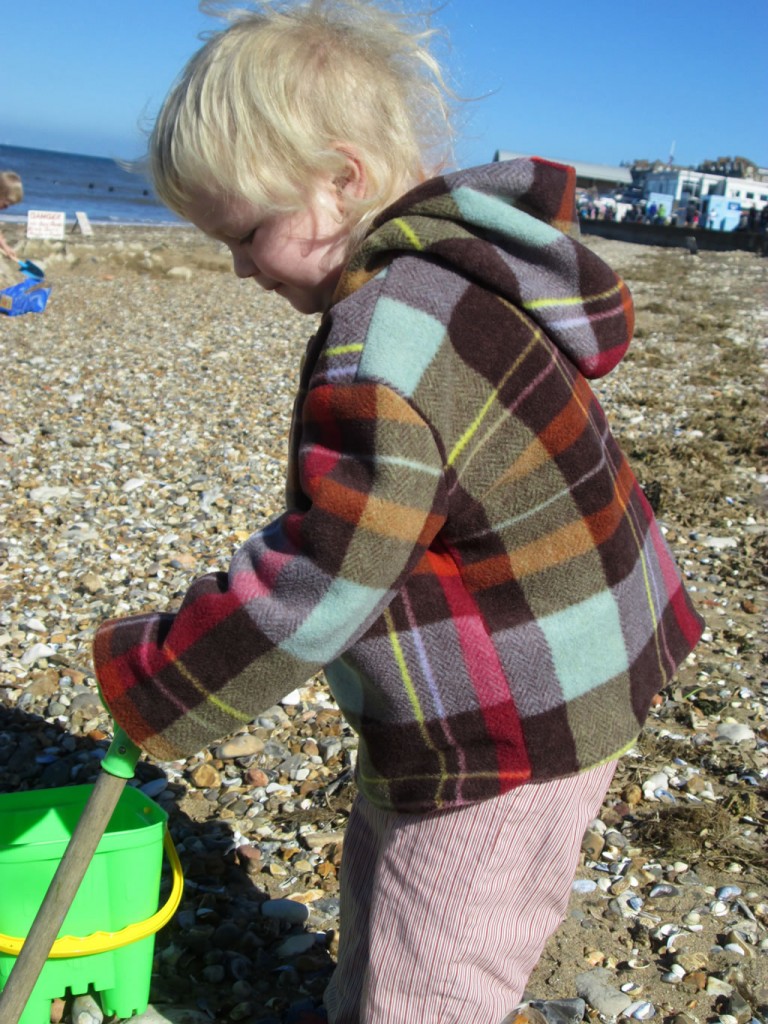
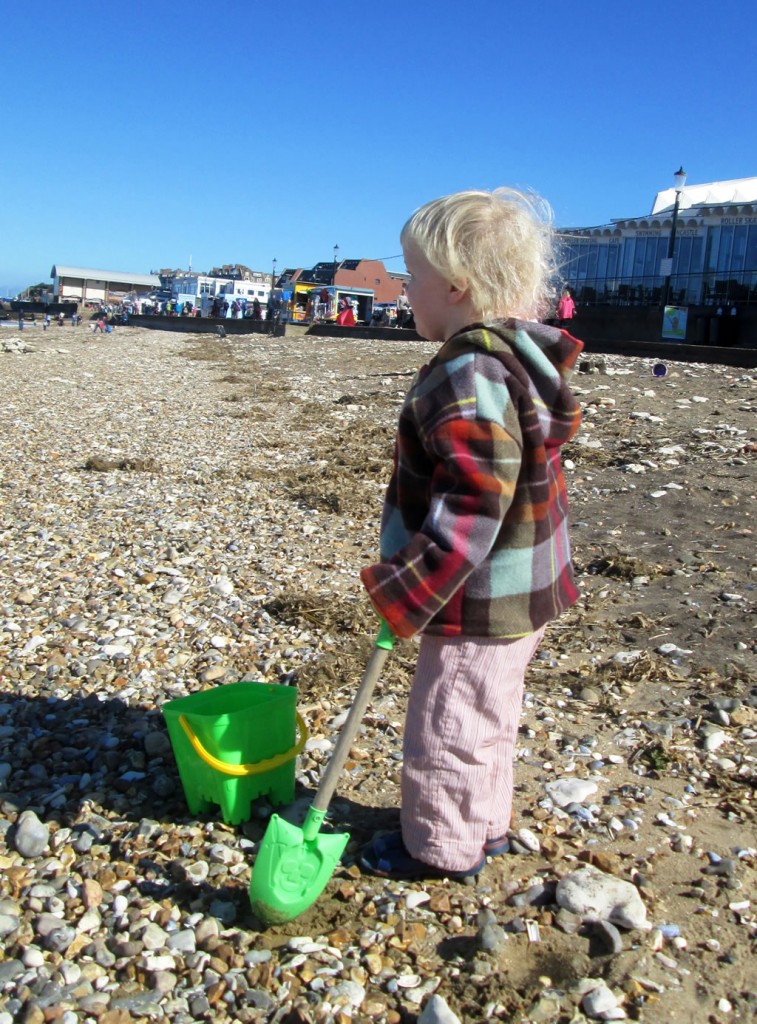
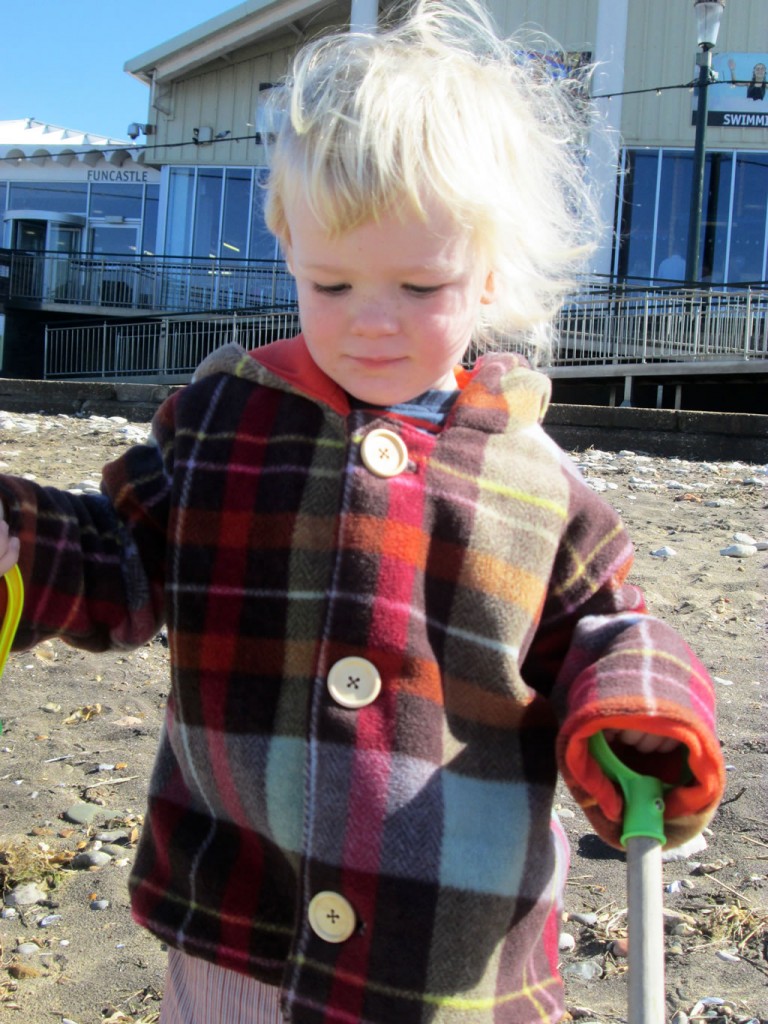 So if you want to make something and you have fabric and you have a pattern, but the pattern isn’t quite right, it is quite possible to adapt the pattern pieces to make it how you want it.
And if the instructions are confusing, if you know what you are doing (or if you know a friendly blogger who usually knows what she’s doing!), just go about it in the way that you find suits you best!
Linking up here:


What a lovely cosy jacket and yet another fabulous tutorial.
Thank you
great job, you make it look so easy! thanks for sharing on craft schooling Sunday!
Thank you 🙂
What a clever sewing expert you are, just following a basic pattern is beyond me so I’m not even going to pretend i could attempt this but i love your guide and instructions and what a wonderful result. Popping by from Creative Monday
That’s why I included instructions in the post. Sewing pattern instructions can be difficult to follow.