Last summer I made this dress. I used a pattern that I’d got through an offer in a magazine.
I don’t usually make clothes for myself from patterns because I find that they often don’t fit. This dress was no exception.I have only worn it once because it was too big. Also there are only about 3 days in our English summers when it’s actually hot enough to wear something like this!
Anyway, we are going to another wedding in a couple of weeks and I have nothing to wear. The Cherry Blossom Dress I made for our friends Matt and Vicky’s wedding in April I now wear all the time because I love it!
So instead of making something new, I have decided to take this dress in and make it fit.
Here are my steps for altering a dress!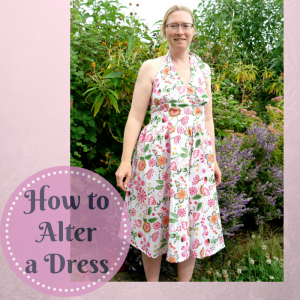
How to Alter a Dress
1. Identify exactly what is wrong with it and what and where it needs fixing. This dress was way too long and too baggy in the top.
On closer inspection, the main problem seemed to be that the midriff section was too wide at the top, although the bottom was a bit snug. It appears to have been designed for somebody who is cuboid in shape. I don’t know whether being a cuboid is normal, but I am not a cuboid so it needed fixing.
The rest of the top section was also a bit big.
The length of the skirt was easier to sort out, but the top section needed doing first.
2. Put the dress on inside out and pin it where it needs to be taken in. Mark with a pen or tailors’ chalk. Take the dress off.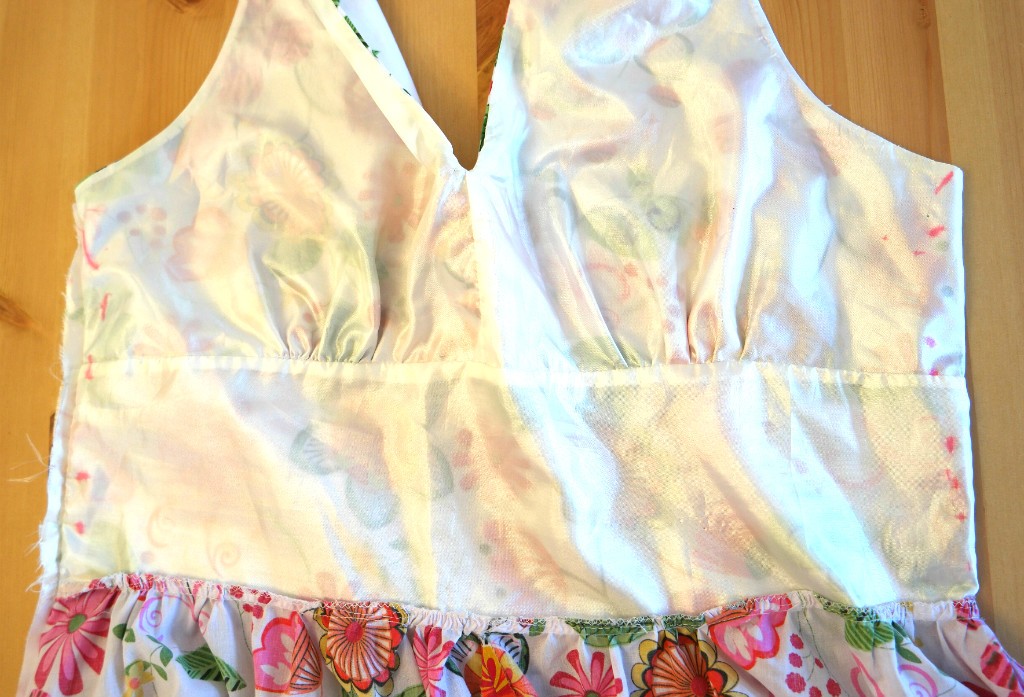
When taking in a dress, areas that might need consideration include darts, side seams and back seams depending on the construction of the dress. It may be necessary to remove the zip to take in side seams and if there are not darts, you might need to add some.
Thankfully this dress was only a bit too big, so only the side seams needed attention.
3. Make your alterations. If it is easy to detach the lining from the main dress, then make alterations to both bits separately then reattach the lining. It wasn’t going to be possible with this dress though!
The lining was attached to the bodice in sections and I had finished the raw edges of the lining, bodice and skirt after I had sewn it all together.
I didn’t want to completely deconstruct the dress. It was going to be a faff so I decided to take the easiest approach.
I unpicked the side seam a little bit and unpicked where the lining and the bodice were sewn together at the top. 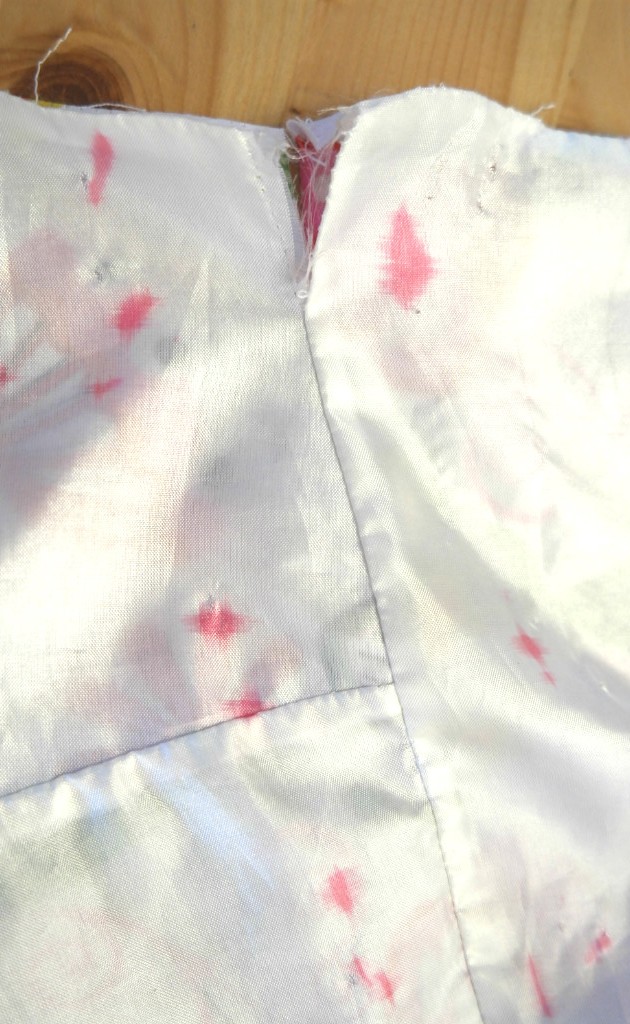 Then I pinned the front and back sections of the bodice together again. Next I folded the top edges of the lining and the main inwards again, but changing it so that the edges met at the seam and there was not an extra bit poking out.
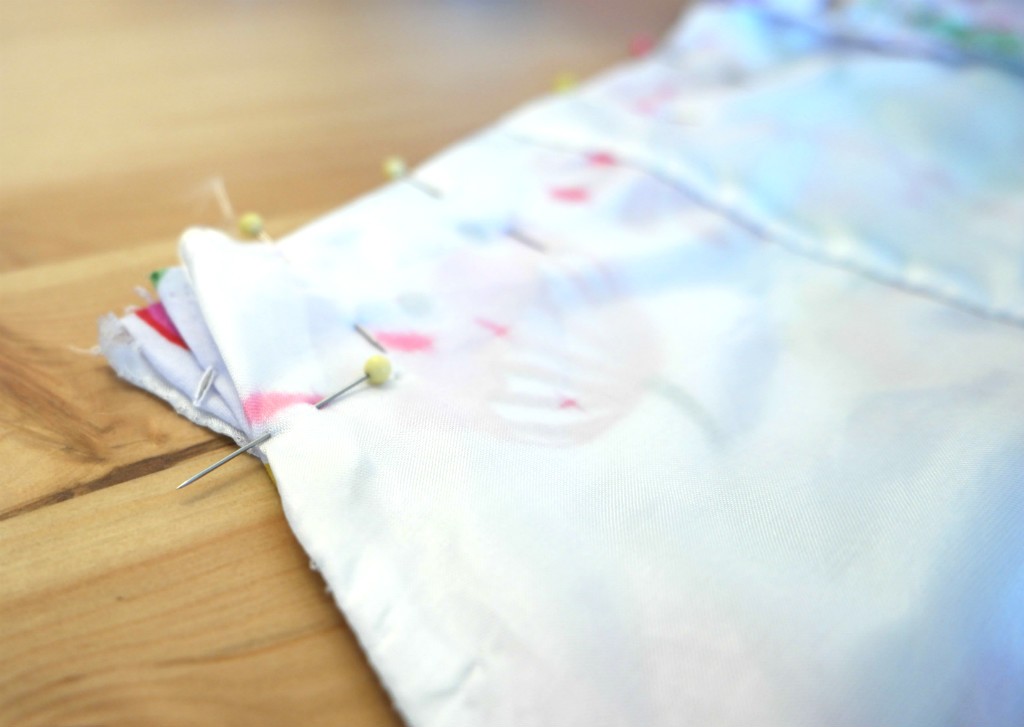
After sewing it, I trimmed the seam, finished the edges and pressed the seam to the side so that it would not be visible from the outside.
The other side seam was slightly trickier because I had to remove the zip. After taking the zip out using the unpicker, I repinned the seam then sewed it up. 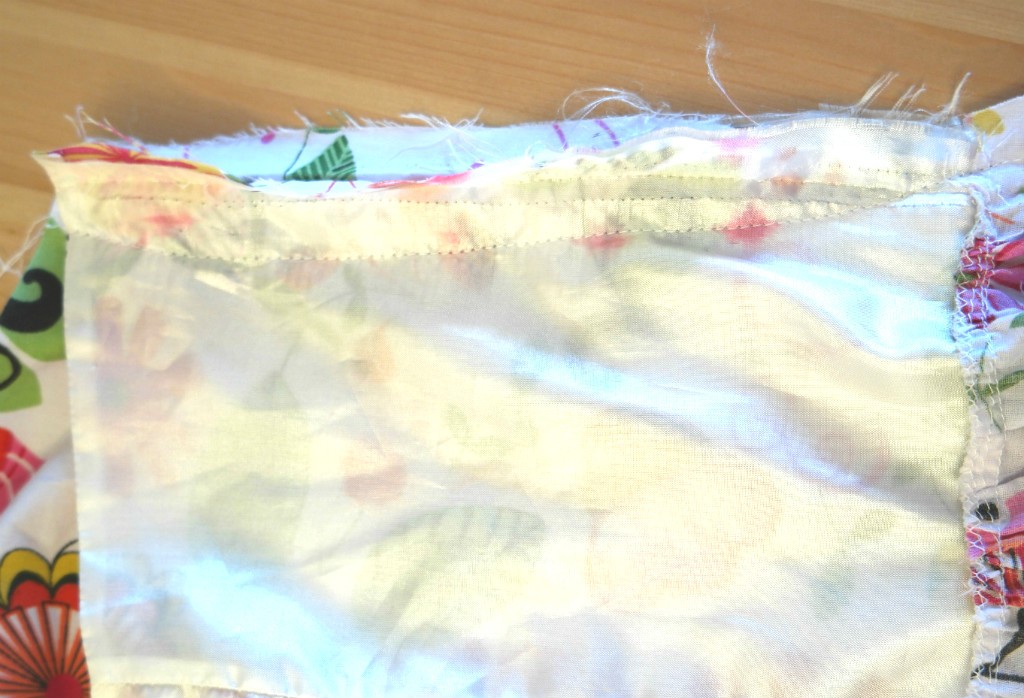 Next I trimmed the seam down bit and opened it out. Officially I pressed it flat but I didn’t actually do that!
 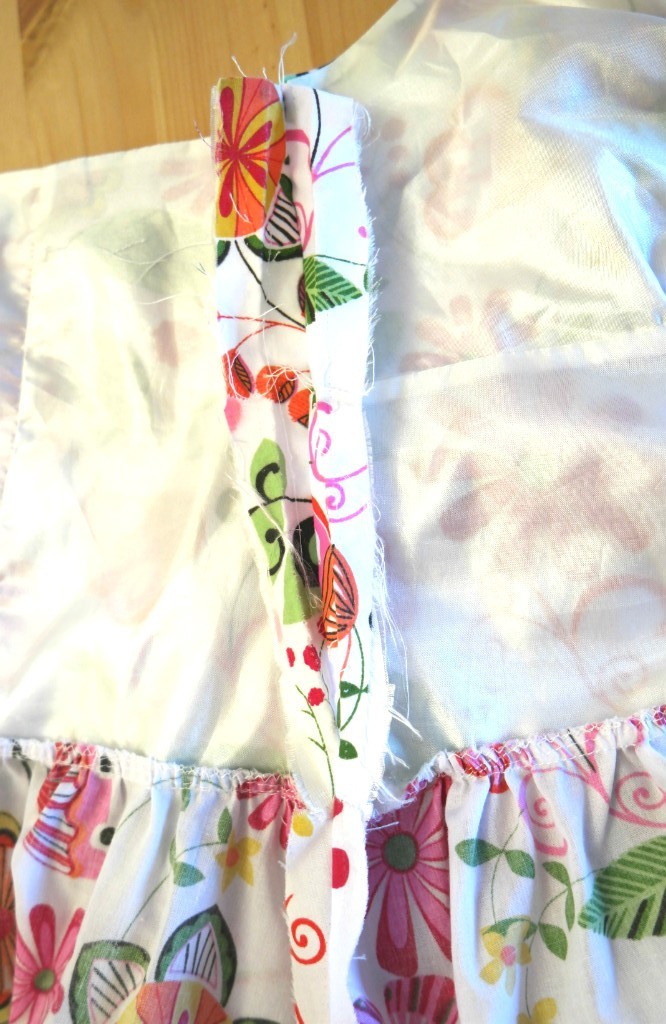 Then I pinned the zip over the seam, tacked it then sewed it in place.
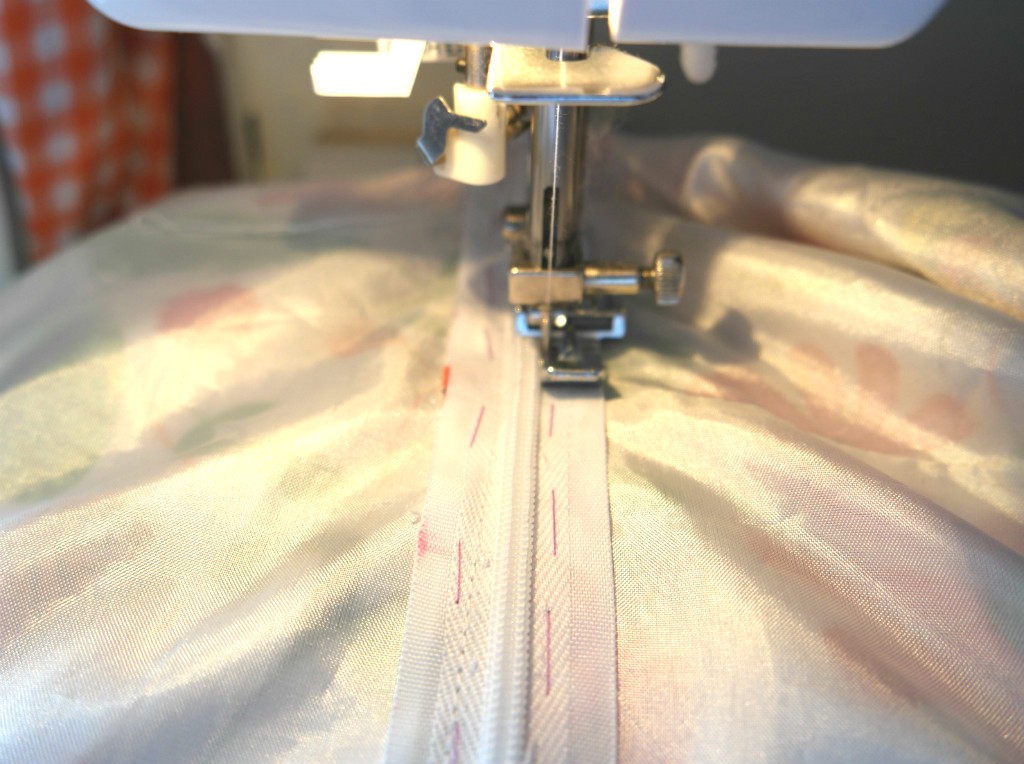 Once I had reattached the zip, I unpicked the the seam.
 If you would like a detailed tutorial for sewing in a zip, you can find one here.
Phew, tricky bit over!
When adjusting a hemline, it’s easiest if you have somebody to help you. However it is still possible even if you don’t. I managed just fine!
I dangled a tape measure from my waist to just below my knee. Dangling the tape measure upside down made the process a lot easier! Then I measured the skirt of the dress from the waist, pinning where I wanted the new length to be.
Next I cut off the bottom section of the skirt, making sure that I allowed enough for a new hem (it was about a couple of cm). Then I hemmed the skirt again with a folded hem.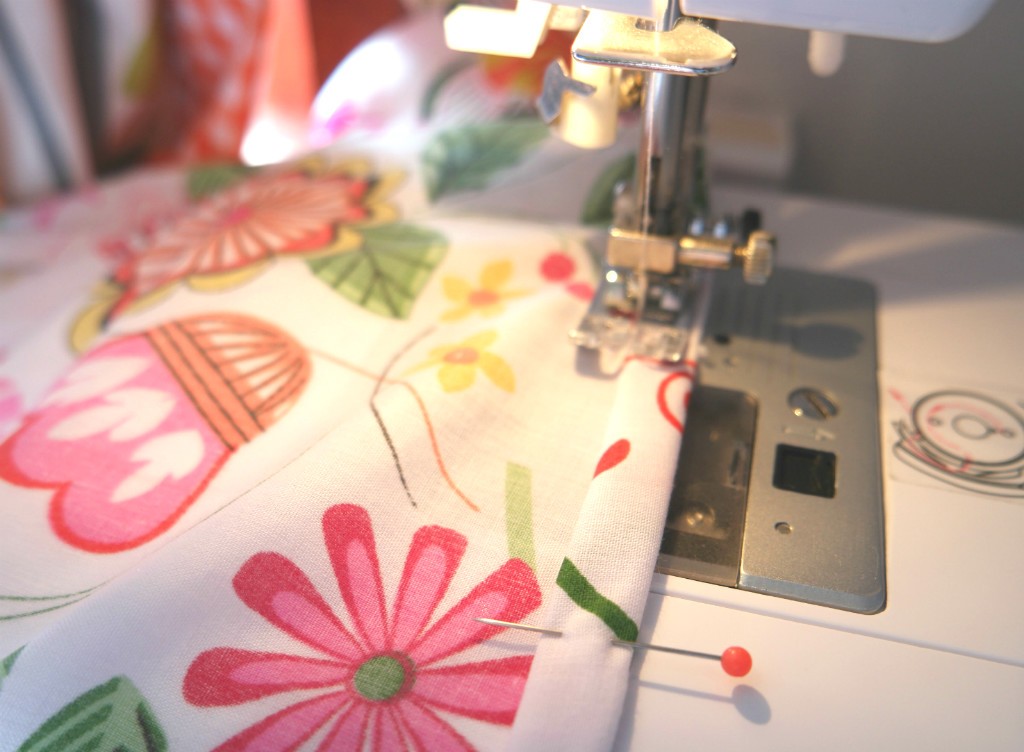
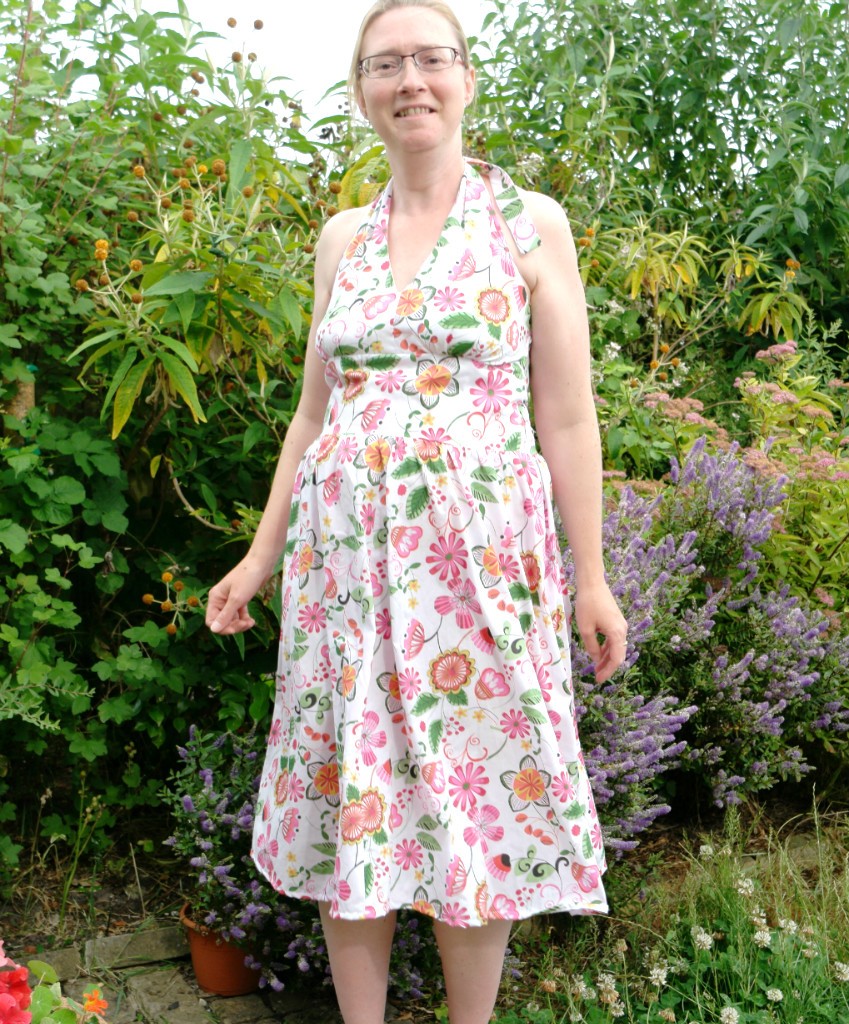
Ta da! Now it fits, more or less! And it’s warm enough to wear it!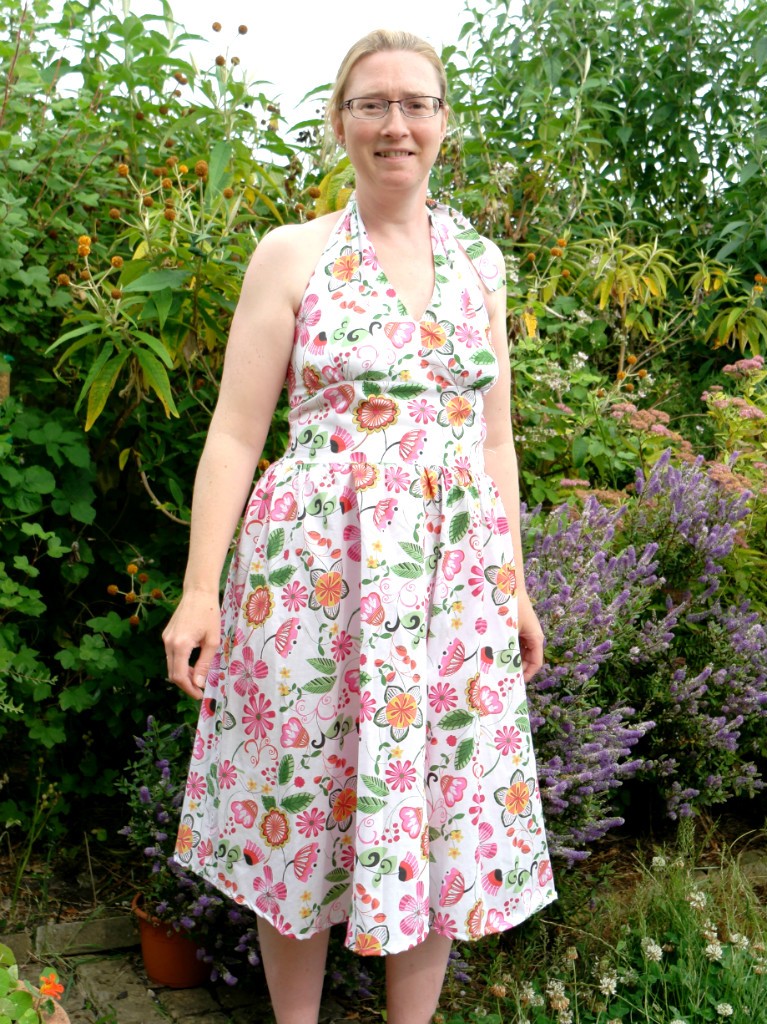
PS If you want to sew clothes without using a pattern, you might like my ebook!
Linking up at these parties:


You’re fortunate that it only requiring some adjustments at the top! It definitely suits you well. Thanks for providing this little tutorial!
Thanks Heather 🙂
Thank you for sharing this how-to. It is very common for patterns to not fit on some bodies (including mine). I had an easy time following these steps to alter! Awesome!
Glad you found it useful 🙂
Thanks McKenzie 🙂
This is a really good guide for anyone to tailor a dress, even if they have never touched a sewing machine. Thanks for sharing!
Thank you!
I love to make clothes and this fabric is so beautiful, you will look stunning at your event
Thank you
Beautiful dress and fabric!!
Thanks for sharing at Creative Mondays…
Thank you 🙂
Thanks for sharing how you adjusted the dress. Enjoy the lovely weather:)
Nice job, I use the inside out and pin method too but I use safety pins (I’ve stabbed myself that often!) Glad you’ve had chance to wear this pretty sundress in this lovely spell of weather we’ve been having – just don’t dare say it’s too hot!
It is a bit too easy to stap yourself! I’d never thought of using safety pins 🙂 I might possibly have complained about the weather a little bit and now it’s turned chilly :/
What a very pretty dress, and some great advice on how to alter dresses to fit better – I wish I was brave enough to try it!
Finding the courage to have a go is a big part of it.