Godet Skirt Tutorial Revisited: Part 1
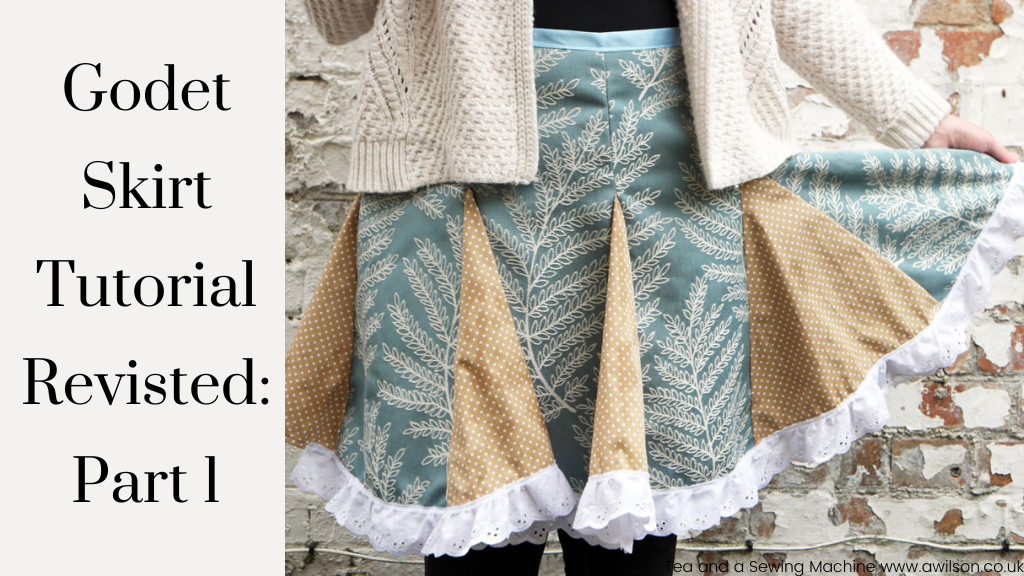
I originally posted this tutorial in 2015, so long ago now! The skirt was a success, although I should have finished the edges of the blue fabric with an overcasting stitch because it frayed quite badly. In the end, I wore the skirt for several years, until it was mostly held together with safety pins!
I’m reposting this tutorial now because I’ve got a crazy plan! There are several stages to the plan, and it makes most sense to repost this now. The next stage will be to make another skirt using the same directions, then assuming I don’t run out of time/ steam etc, I’m going to adapt it to make something crazy, so watch this space!
A few weeks ago, I received some information about the Hillarys crafts competition and I thought it would be fun to enter. Also it involved being sent a metre of fabric for free, so I wasn’t going to turn that down!
There were 4 fabrics to choose from. The options were all quite feminine so I chose the least girly, thinking that I could make something for Boy 4, perhaps a little jacket.
However when the fabric arrived, I discovered it was shiny! It’s beautiful, but no way could I turn it into a jacket for Boy 4 because he would look like a tiny little rapper.
So I decided to make something for myself instead. As I am rather chunky (too many babies and too much cake, as I may have mentioned before), i was going to need additional fabric if I was going to make something that would fit.
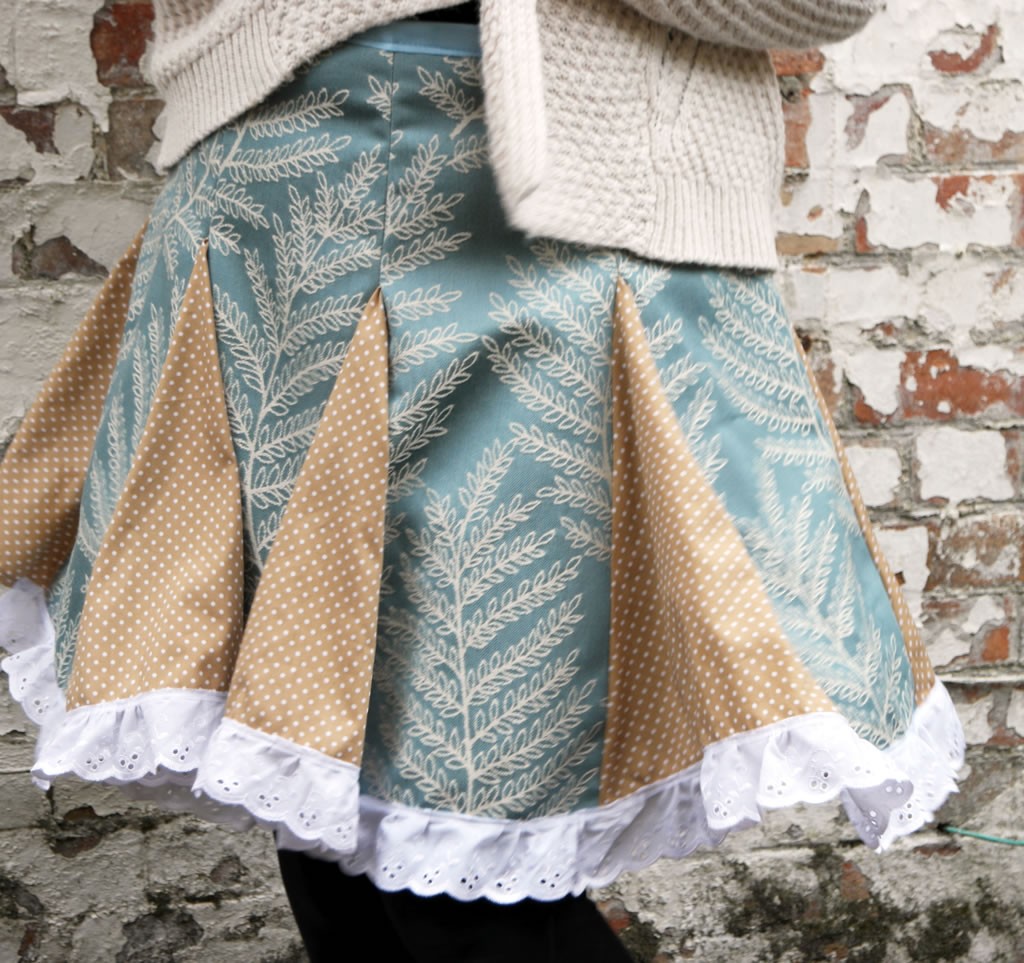
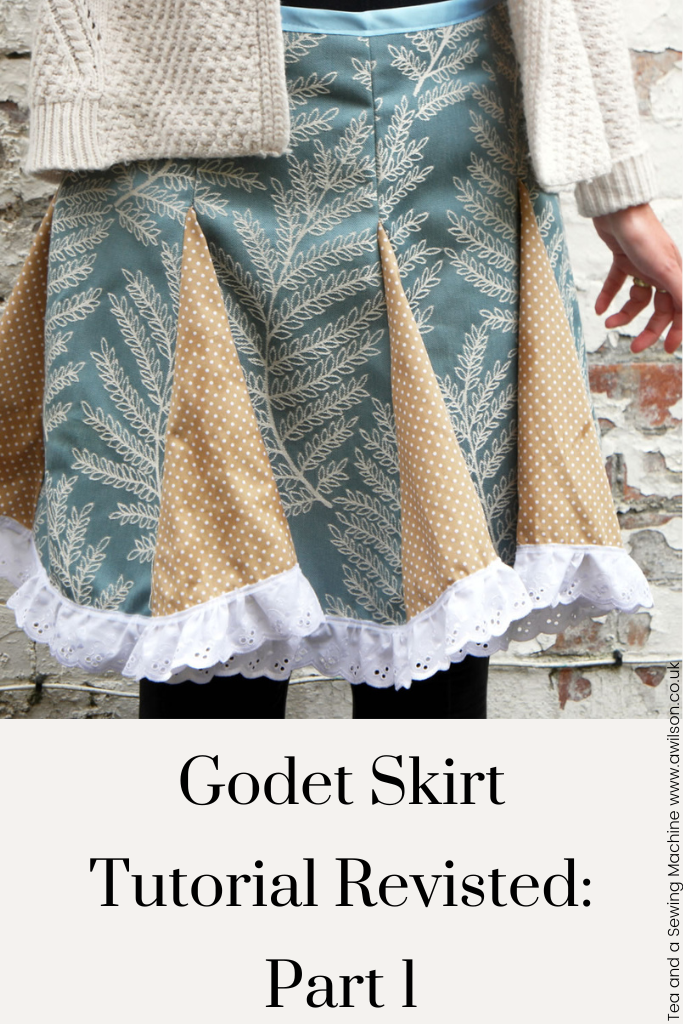
I opted for a skirt with godets. This is something I had wanted to try for a while and here was an opportunity!
Here is the tutorial in case you want to make one yourself!
How to Make a Skirt With Godets
You Will Need: 1 m main fabric, 1 m contrast fabric, 15 cm zip, 1 m satin ribbon, 4 m broderie anglaise.
Measurements: You will need to measure your waist and then about 15 cm down from your waist. To both measurements add 16 cm, then a couple of extra cm.
The extra 16 cm are necessary because your skirt will be made of 8 panels, each needing a 1 cm seam allowance. The addition 2 cm are because I always worry about making things too small!
Divide each measurement by 8. Then divide in 2.
So my waist was 94 cm. 94 + 16 + 2 = 112.
112 divided by 8 = 14.
14 divided by 2 = 7. So my first final measurement is 7cm.
15 cm down from my waist was 110 cm. 110 + 16 + 2 = 128.
128 cm divided by 8 = 16.
16 divided by 2 = 8. My second final measurement is 8 cm.
Cutting out: Take a piece of paper (greaseproof paper and newspaper are good for this) and fold it in half. Along the top from the fold, measure and mark off your first final measurement. Mine was 7 cm.
From the top, measure down 15 cm. Then out from the fold, mark off your second final measurement. Mine was 8 cm.
Next, measure down 35 cm and out from there, 23 cm. Join it all up.
You should have a piece 50 cm long, in a vague rectangle shape that is wider at the bottom.
Unfold it and use this piece to cut out 8 sections from your main fabric.
To make the godets, draw a triangle 35 cm along the base and 34 cm high. I had run out of greaseproof paper at this point so I just drew it straight onto the fabric.
You will need 8 of these triangular sections.
Making Up
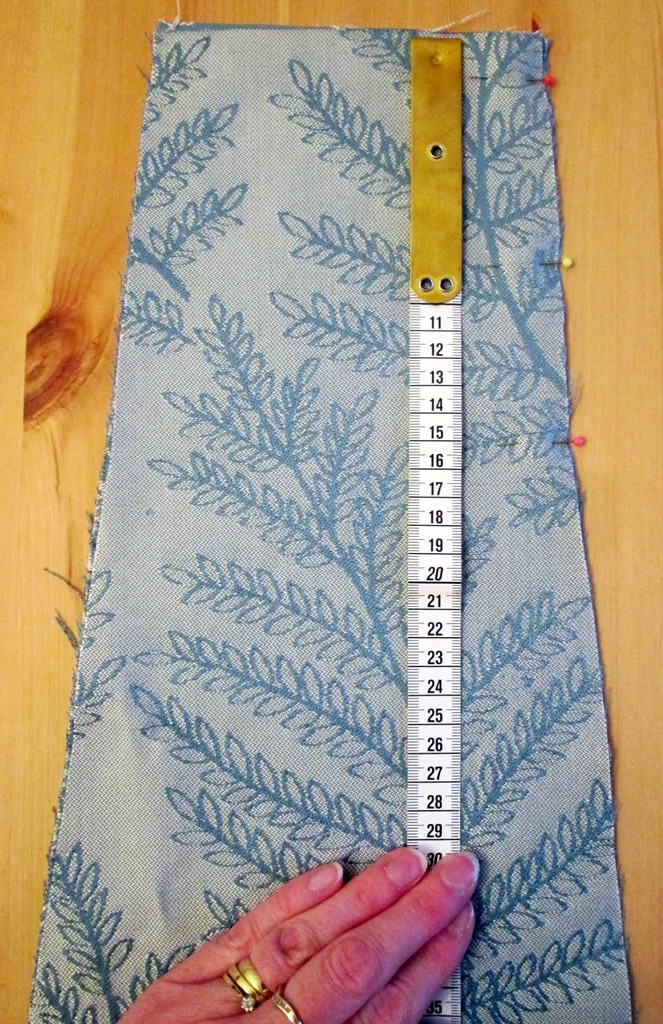

1. Take 2 of the main sections and, with the right sides together, pin the top 15 cm of the side seam. Sew. Repeat for the other sections. You should now have 4 bits, each made up of two rectangular pieces. If they look like tiny weird trousers, you have done it right!
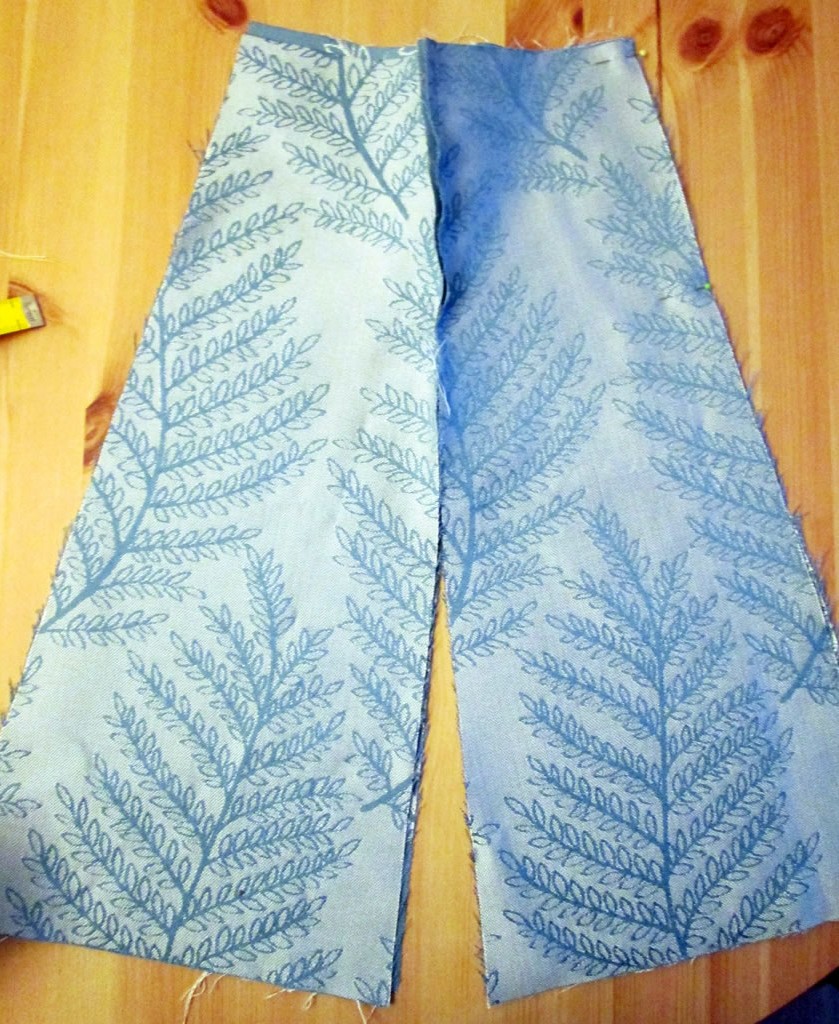

2. Now take two of the tiny weird trousers and pin them, right sides together, along the top 15 cm of the side seam. Repeat for the others. You now have the front and back of your skirt.
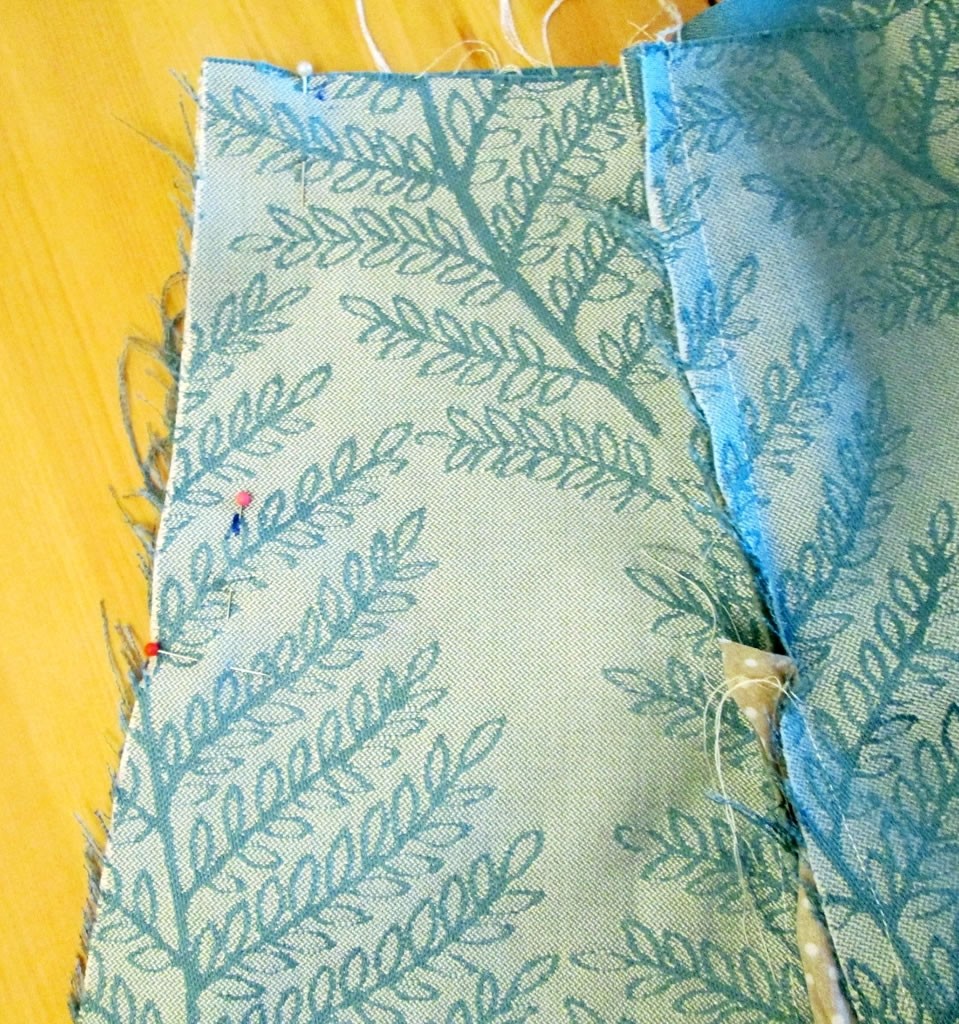
3. With the right sides together, pin the triangles to the open sections of the seams. The easiest way to do this is to start at the bottom. Sew the triangles in.
4. With the right sides together, pin one of the side seams. Now with the skirt inside out, put it on and pin the other side. This is where I was really hoping I’d got the maths right! Using a pen, mark where the pins are on either side. Take the skirt off and pin it the side seams back together. Sew both the side seams. Mark the side seams with a pin. Trim the seams.
You might be wondering how I’m planning to get back into it if I’ve sewn it up on both sides. I have a plan! There will be a zip, just not yet!
5. As the fabric was beginning to fray a little, I needed to finish the edges. It is up to you whether you do this. It can be the difference between having something you can wear a lot and something that will disintegrate the first time you wash it. Obviously if you are using fabric that doesn’t fray that won’t be an issue!
If you are finishing the raw edges, just make sure that the side seam where you want to put the zip is pressed open.
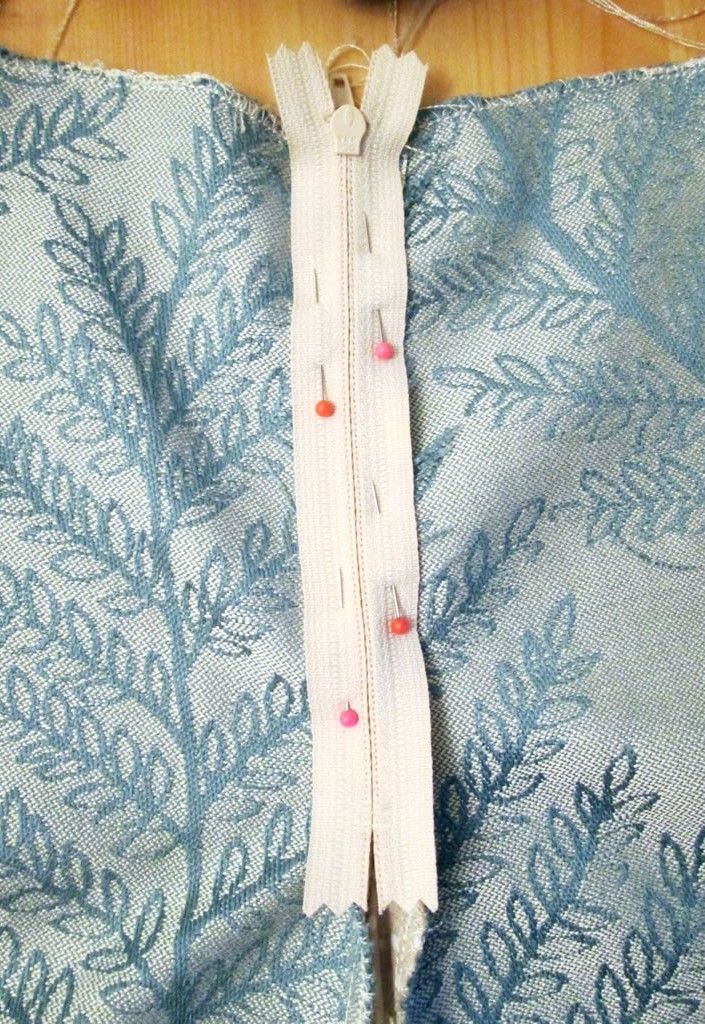


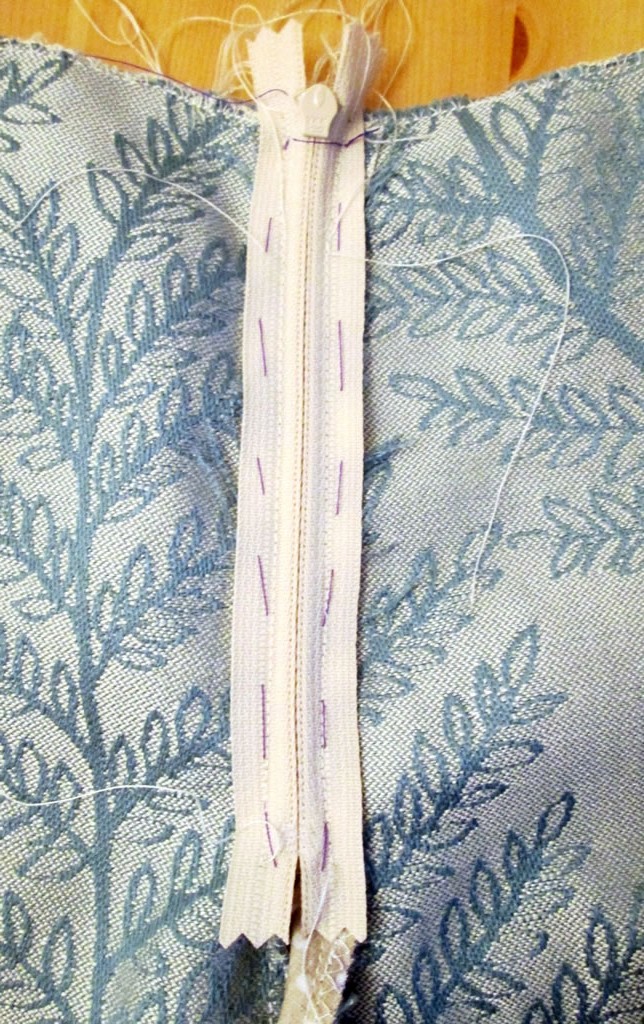
6. Press the seams if you haven’t already. Identify the seam where you will be adding the zip. On the wrong side, pin the zip over the seam. Tack in place. Sew round the zip then unpick the seam to expose the zip. A more detailed tutorial for how to insert a zip can be found here. Phew, now you’ll be able to wear it!
7. To make the waist band, I used a length of ribbon. Fold the ribbon in half lengthways and either iron it or press it with your finger. I found the finger method worked just fine. Pop it over the top of the skirt. To make sure that I didn’t leave pin marks in the ribbon, I pinned it to the wrong side then folded the top over as I sewed. Make sure that the raw edges at either end are tucked in.


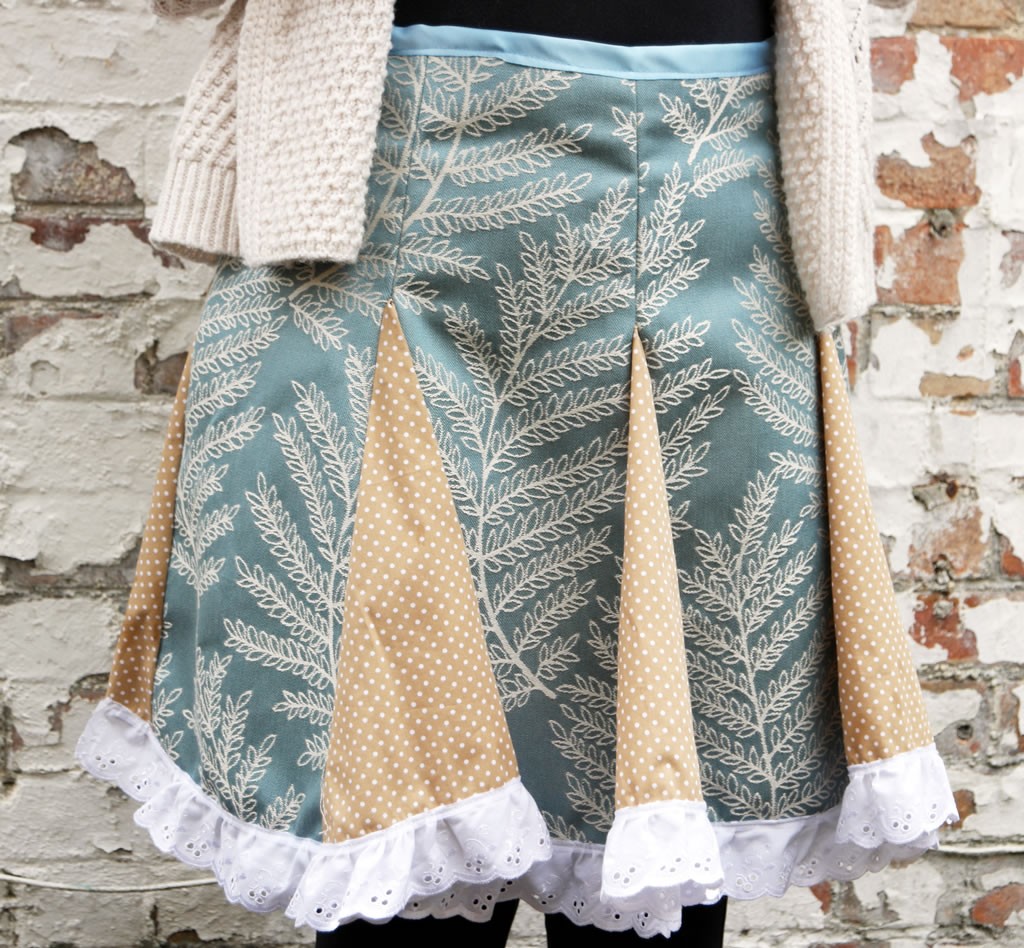
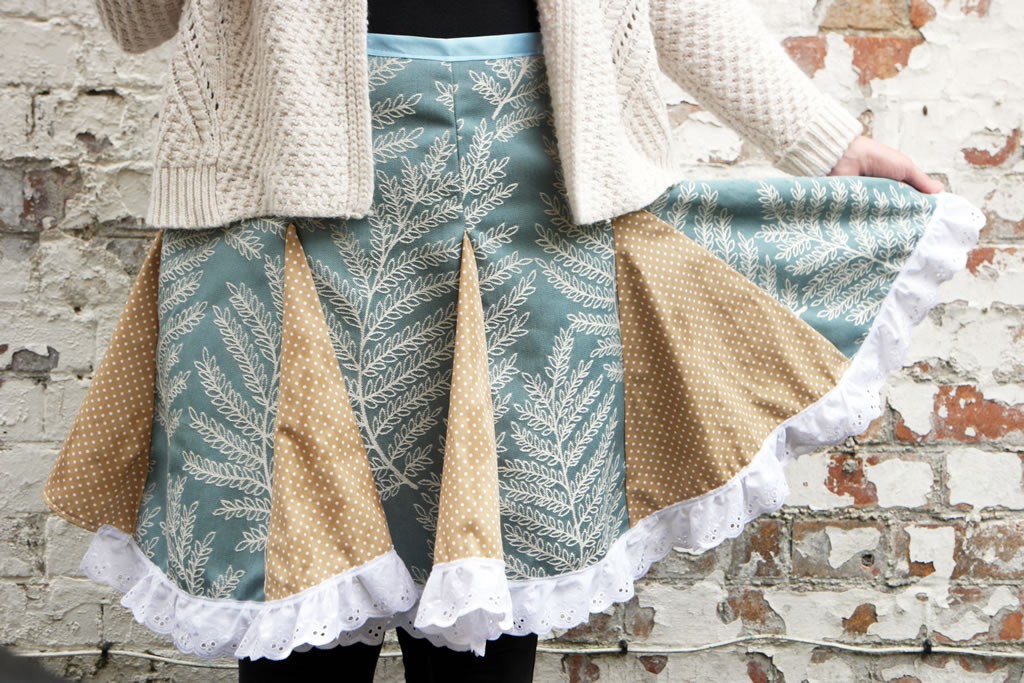
Hem the skirt then add the broderie anglaise. As the broderie anglaise I was using didn’t have a raw edge, I sewed it onto the right side over the hem.These photos of the finished skirt were taken by Boy 1. I think he did very well for a nine year old, especially as he only ever takes photos of buses!
All the entries are being pinned to a Pinterest board here and the winners will be chosen from a shortlist of 10. I’m looking forward to seeing what other people have made!






Not to be critical (you have a blog, I don’t!) but it looks to me like you have the godets pinned to the skirt panels right sides together. This is how I would do it so I’m wondering why do the instructions say wrong sides together? How does that work?
It should say right sides together. I must have got into a muddle when I wrote the original tutorial. Obviously it wouldn’t work at all because the seams would be on the wrong side!