Godet Skirt Revisited: Part 2
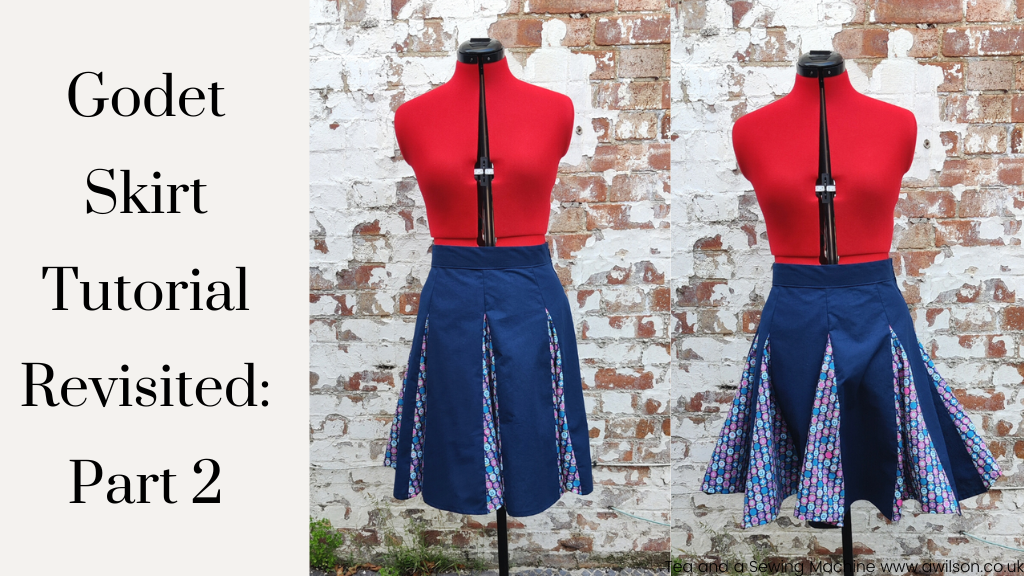
Last time, I reposted a tutorial I wrote back in 2015 for a skirt with godets. I have plans to develop this into something else, but first I wanted to have a go at remaking the skirt using the original instructions.
The skirt I made back then is no longer wearable. The pretty blue fabric frayed horribly and it ended up being held together with safety pins!
This time I’ve used some cotton fabric I found while I was having a sort out, and hopefully it won’t fray as much!
Redrafting the Pattern
I have no idea where the original pattern piece is, and I didn’t even make one for the triangle!
Checking my measurements, I was gratified to discover that my waist was 10 cm smaller than last time, so the original pattern piece would have needed redrawing anyway.
I also felt that the original skirt was a bit on the short side. I recall that I needed it to be shorter or I wouldn’t have had enough fabric. This was why I added the broderie anglaise frill.
So I made the main piece 10 cm longer at 60 cm (a good skirt length!) instead of 50 cm, in the same way as in the original tutorial.
The lower measurement perhaps needs some explaining so that it makes more sense. This is the point at which the triangles will start. So it needs to be wide enough around your hips, but after that the triangles will provide more room in the skirt so it doesn’t matter as much.
I also didn’t bother with the 2 cm for ease. I just made sure that I didn’t pull the tape measure too tight! Even though the seams are quite small, there are a lot of them, so I’ll be able to let it out a bit if it turns out to be too snug.
I did draw the pattern piece for the triangle as well this time!
Cutting Out
I cut 8 of the main pieces from navy blue cotton, and 8 triangles from a print, with the grain running vertically down the centre of each piece.
Sewing the Skirt Together
Sewing the triangles in between the main sections is a little bit tricky, because the angle changes after the point of the triangle. I remember giving it quite a lot of thought last time, and in the end I decided to sew the main pieces together, then sew the triangles in afterwards.
In hindsight, this was probably not the best way of doing it. So this time, I sewed one triangle to one main piece. leaving a cm at the point. Then I pinned the triangle to the other main piece and sewed them together, being careful only to sew up to the first seam.
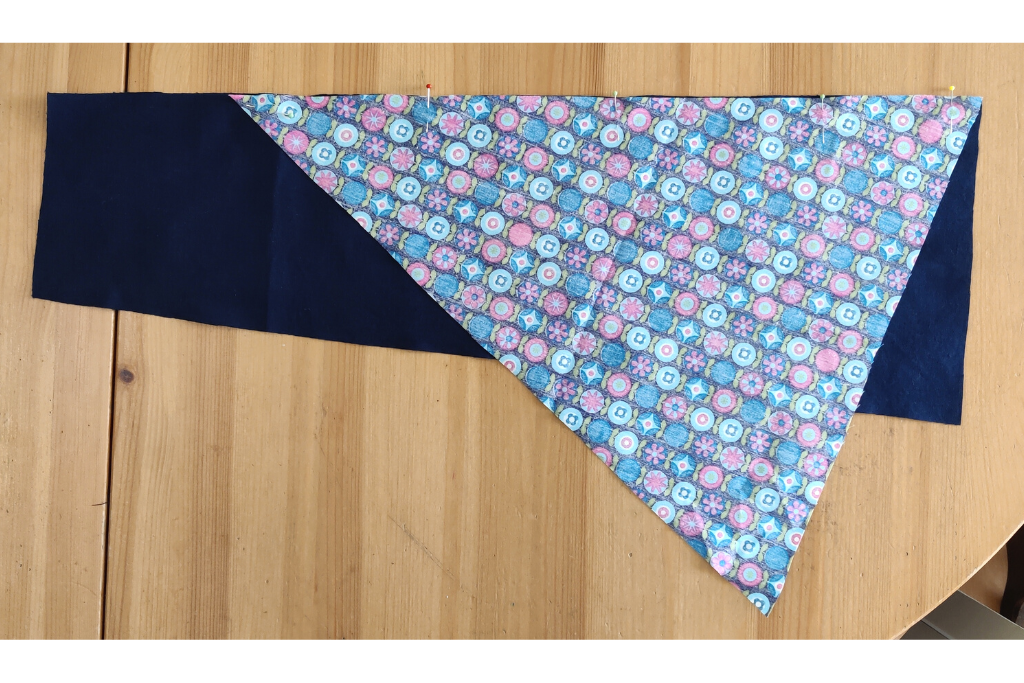
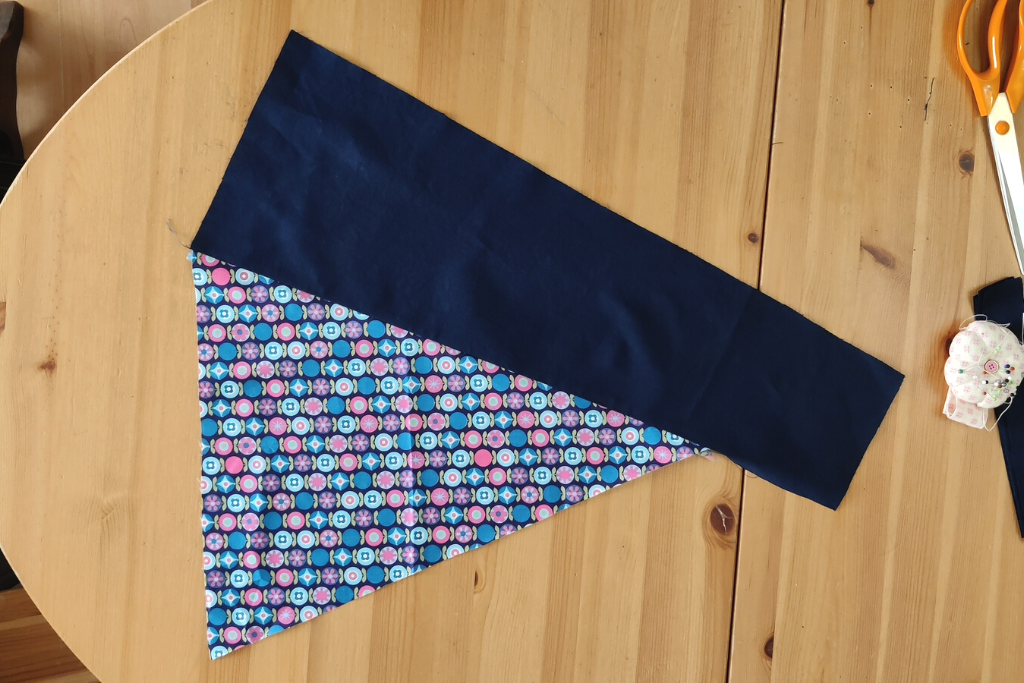
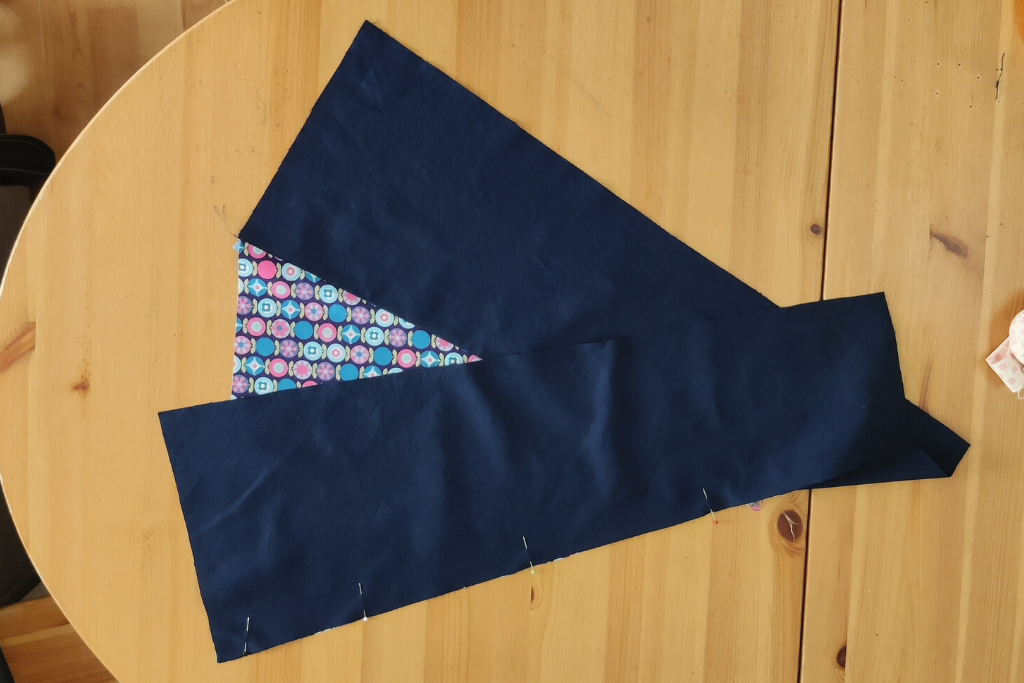
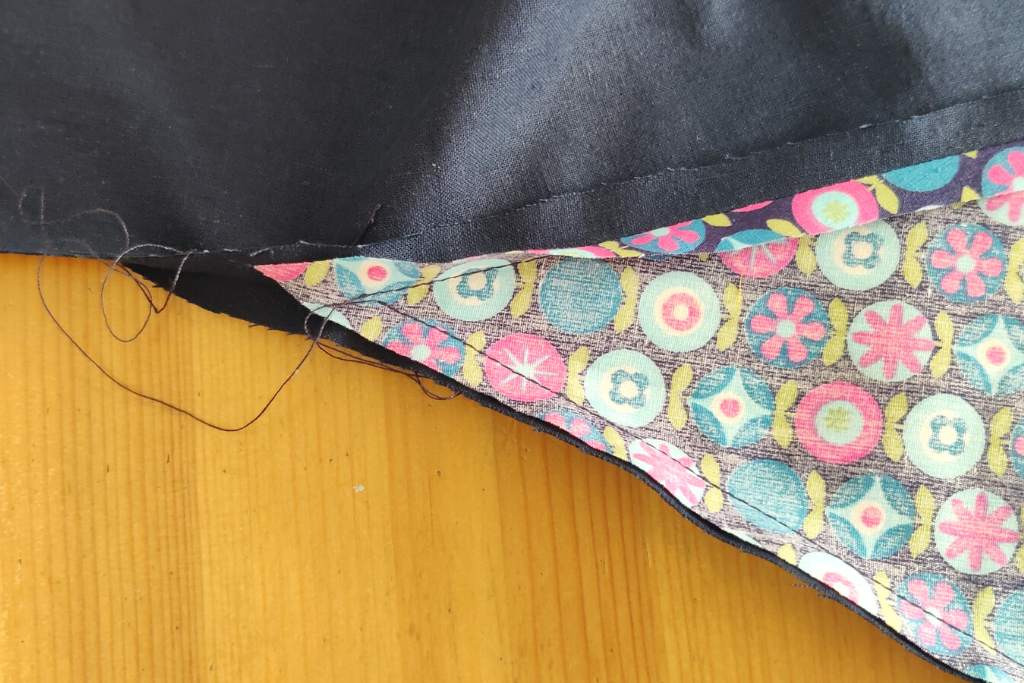
Once the triangle was in, I pinned the 2 main pieces together and sewed the seam.
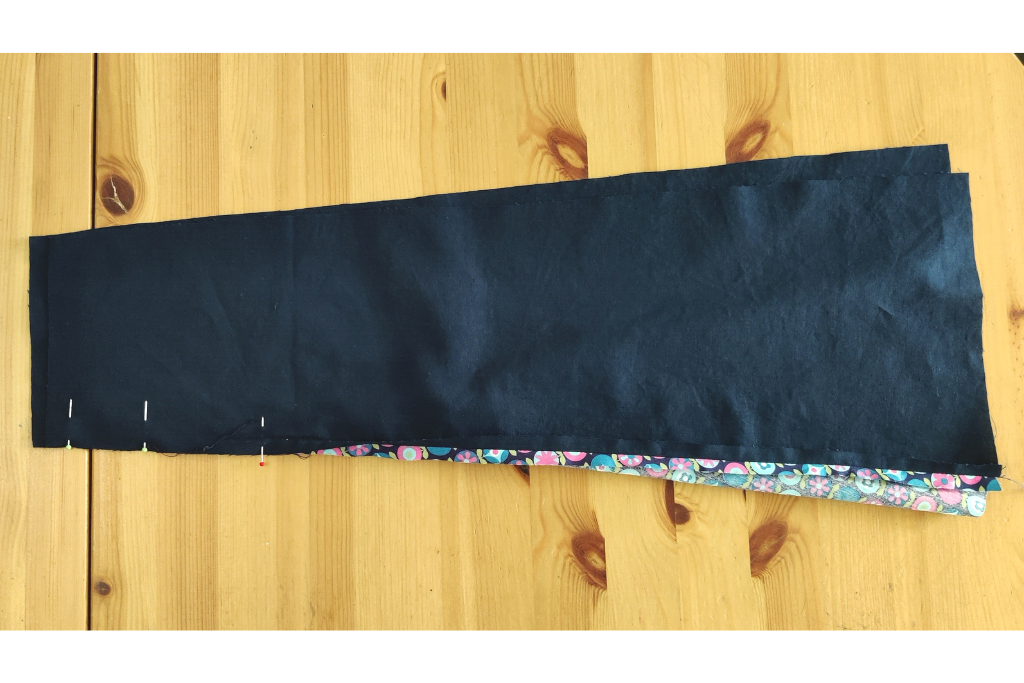
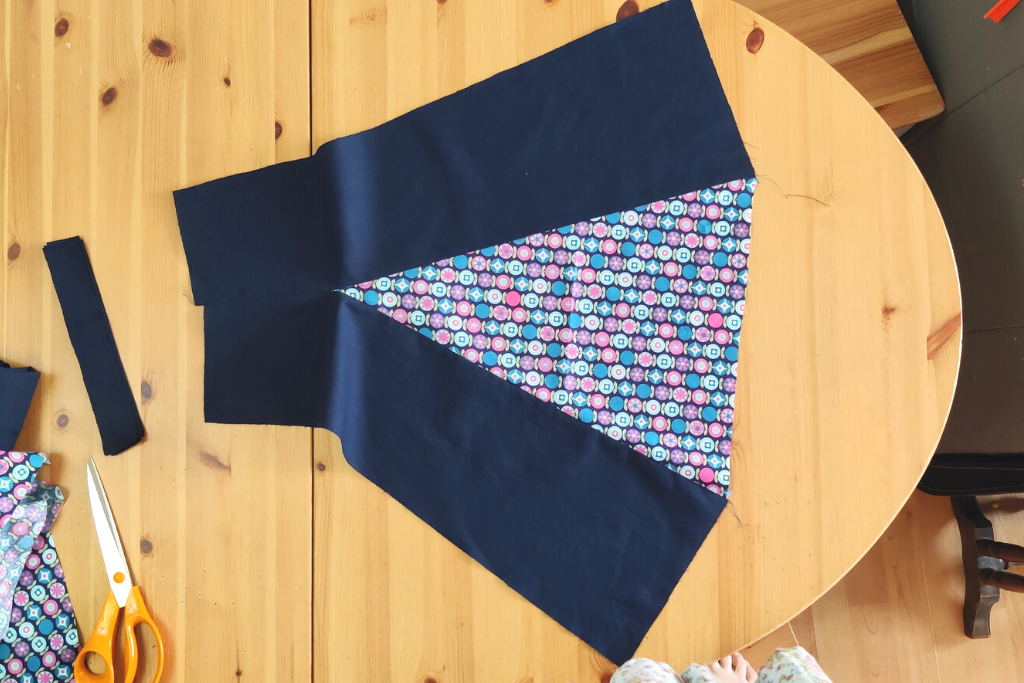
I made 3 more sections in the same way, then sewed them together with the left over triangles.
Adding the Zip
To add the zip, I chose one of the seams and used my almost foolproof method to sew the zip.
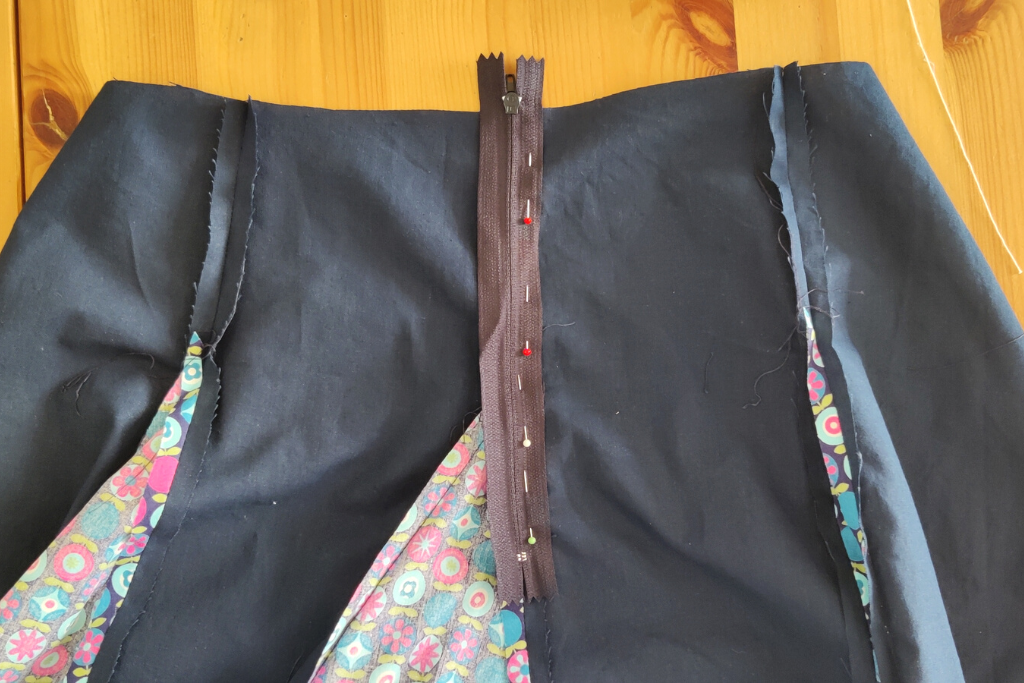
Once the zip was in, I was able to check the fit. It was slightly too big, so I adjusted it at the waist by by taking each of the seams in a little bit at the top.
Sewing the Waistband
On the original, I used a length of ribbon as the waistband. It seemed like a good idea at the time, but it didn’t work as well as a proper waistband.
So this time, I used the same cotton fabric as I did for the skirt.
Sometimes its fun to have something colourful where nobody else will see it and only you know it’s there! This is what I did with the waistband this time. I used a piece of the navy fabric for the outside and some of the print for the inside.
It’s a bit risky and requires careful pressing so that the inside isn’t visible, because it will be noticeable otherwise, but I think it’s worth it!
I cut a piece of navy fabric the same length as my waist measurement plus 4 cm and 9 cm high. I didn’t have enough of the print left to cut one continous length, so I cut 3 pieces and sewed them together.
I sewed both pieces together along the long edge, then pressed it carefully so that the print would stay on the inside.
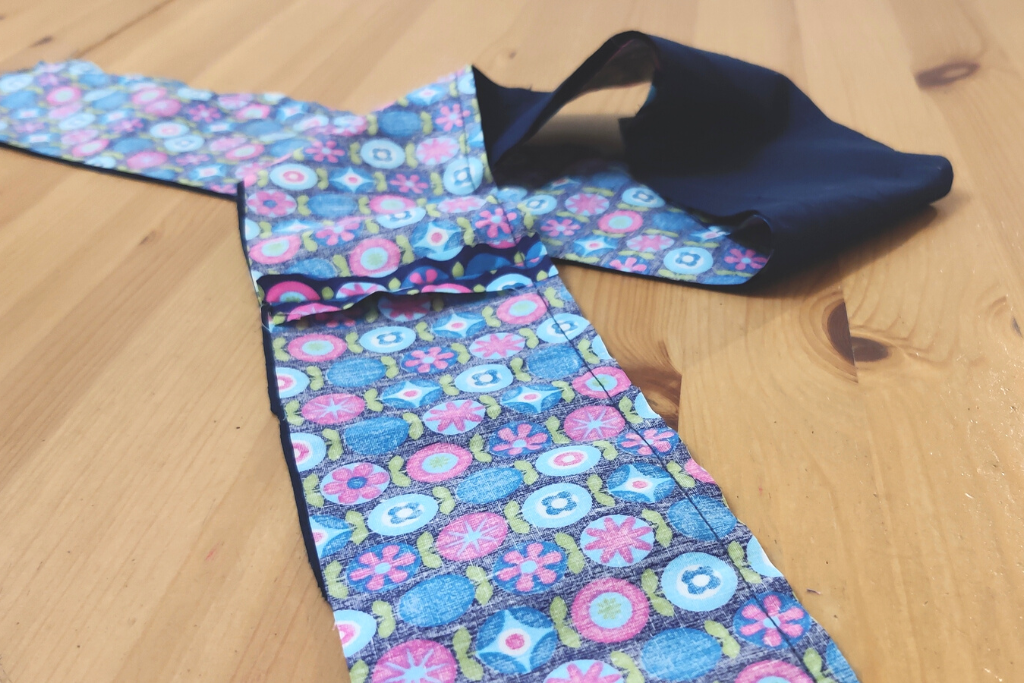
Next, I folded the long edges inwards by 3 cm and pressed again.
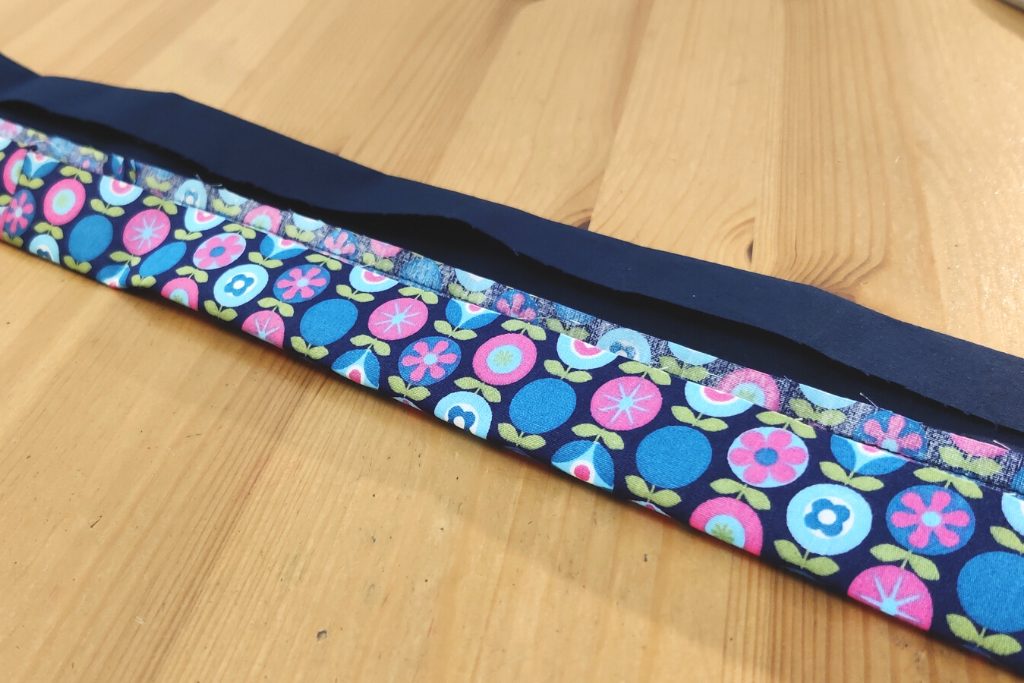
Starting at the seam opposite the zip, I pinned one half of the walstband to the inside, face downwards, then the other half. I sewed it in the same way, starting in the middle then sewing towards the zip.
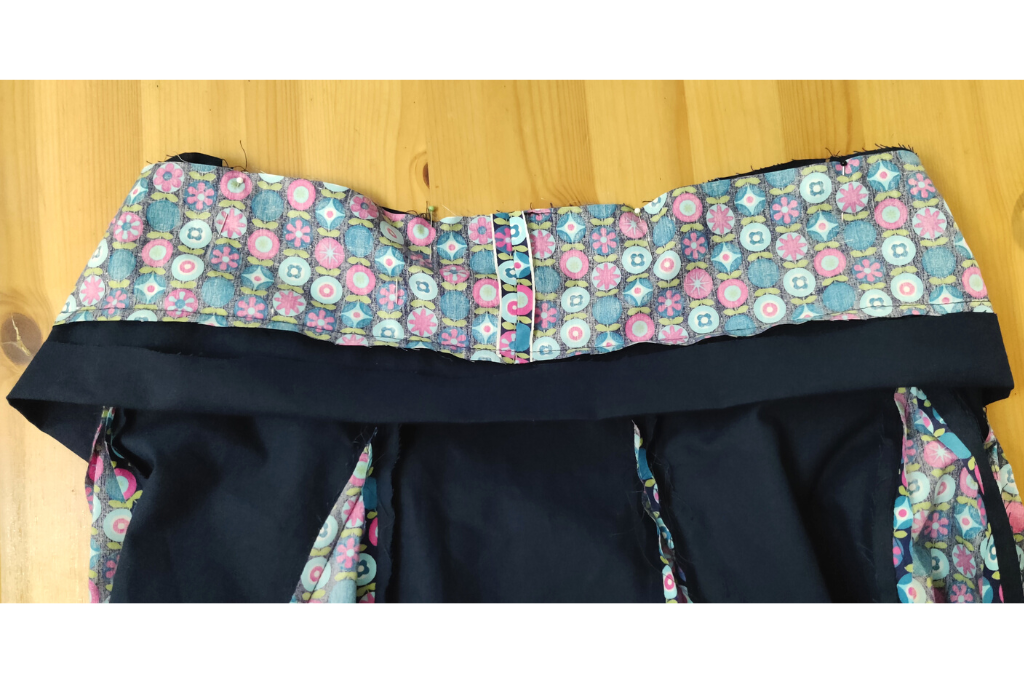
When I got to the zip, I left a couple of cm to allow for turning in the raw edges.
I folded the waistband over the top if the skirt, pinned it, then carefully topstitched all the way round.
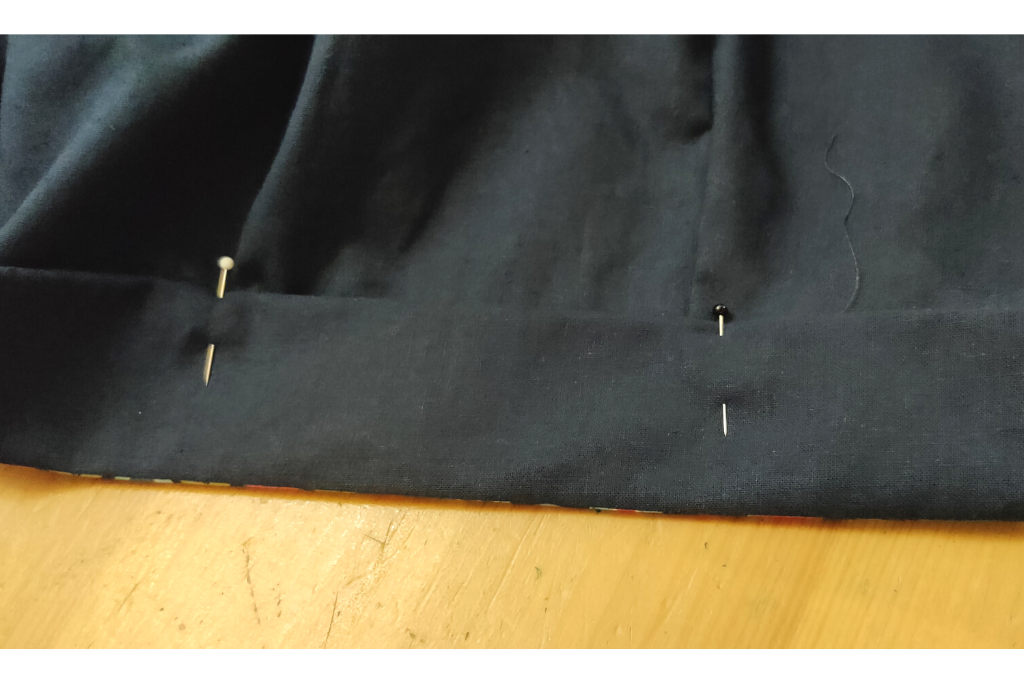
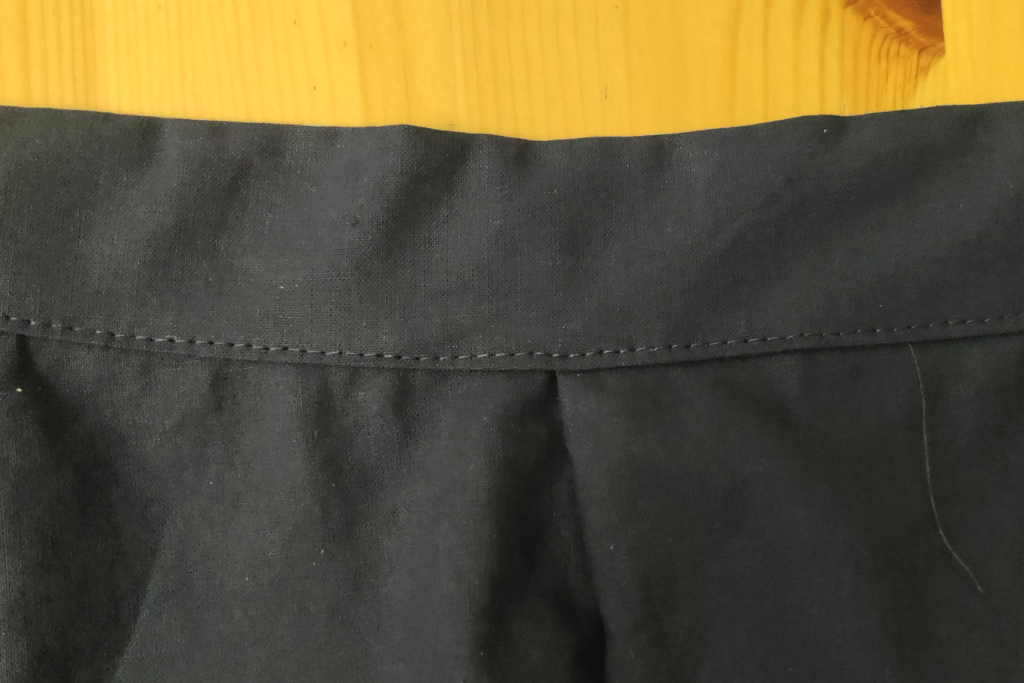
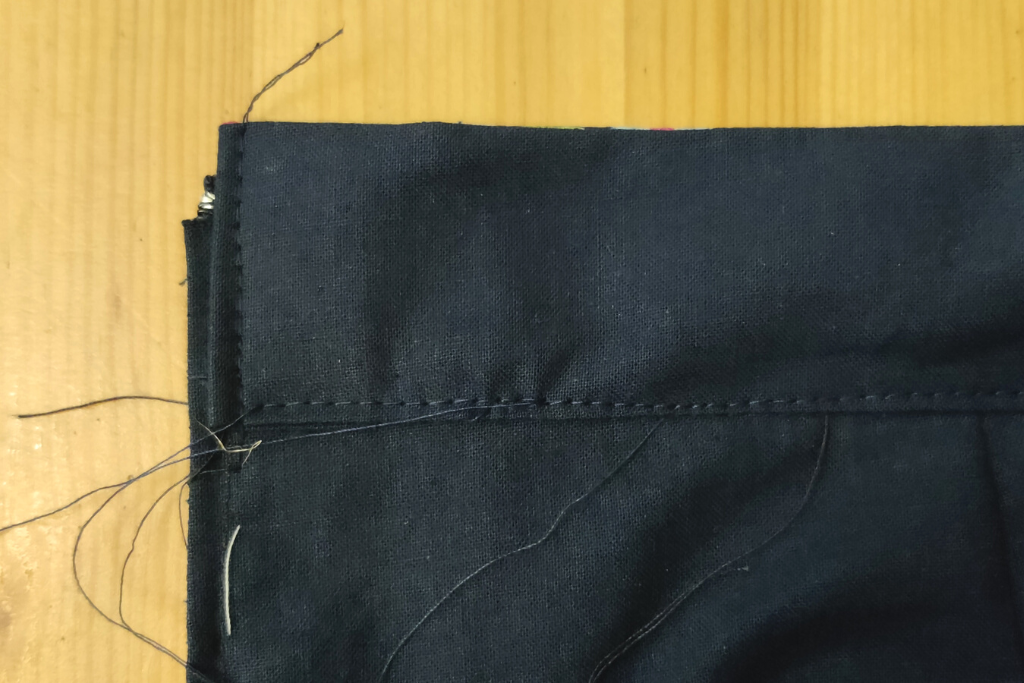
Where the waistband met the zip, I folded the raw edges inwards and sewed them.
Finishing Off
There are various ways of doing hems. For this skirt I chose a folded hem because although the fabric probably won’t fray very much, a folded hem looks nice and neat.
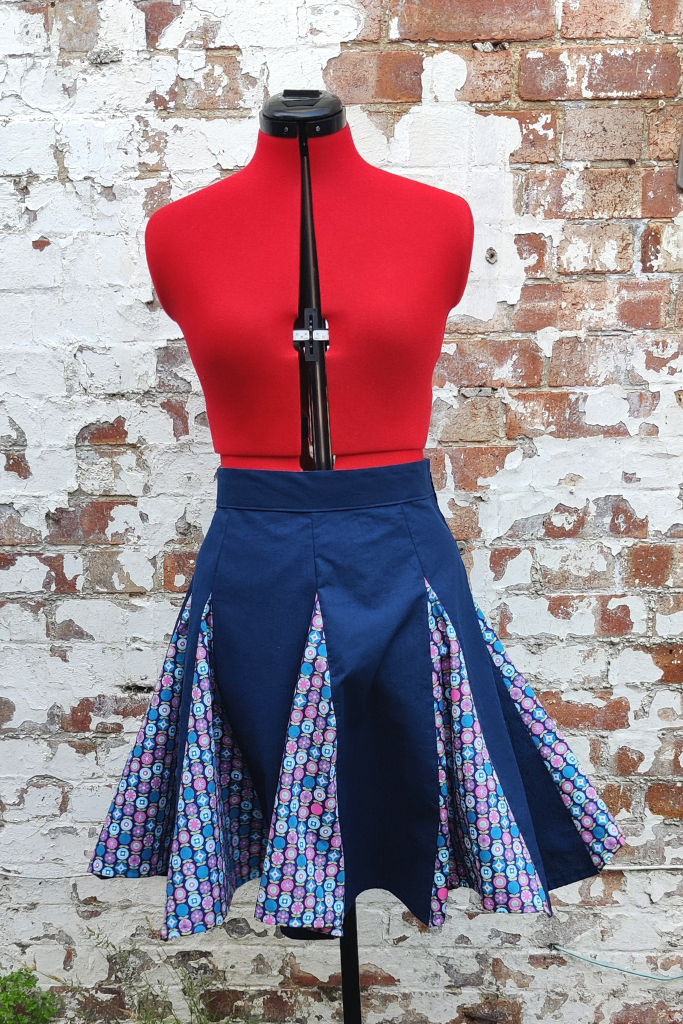
As the bottom edge of the skirt is basically whatever a 16 sided shape is called, the hem needs a little fold at the corners.
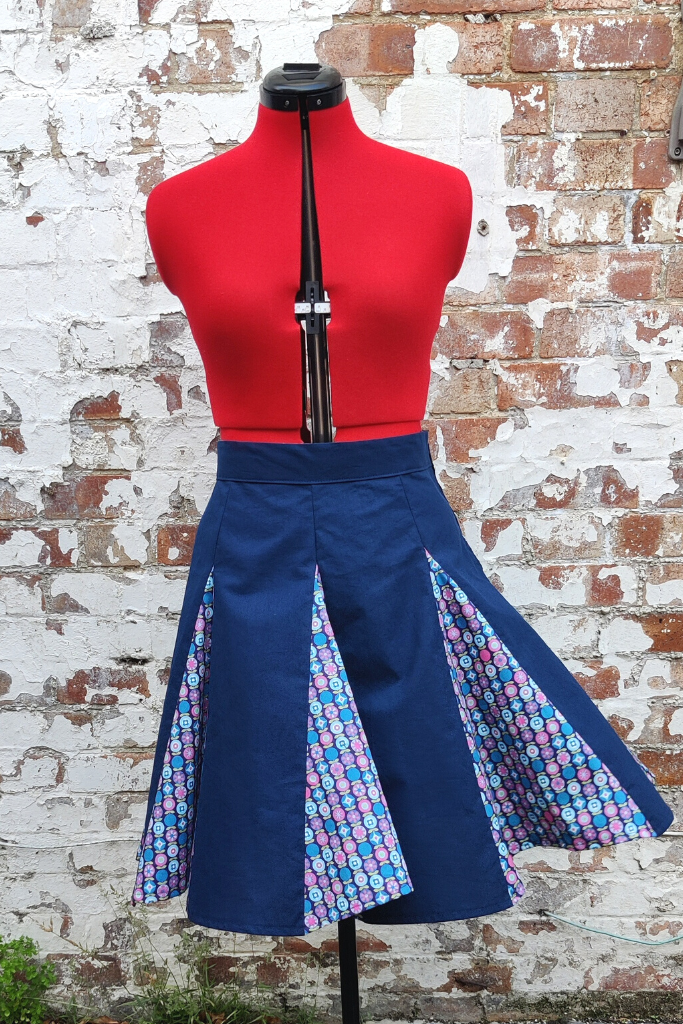
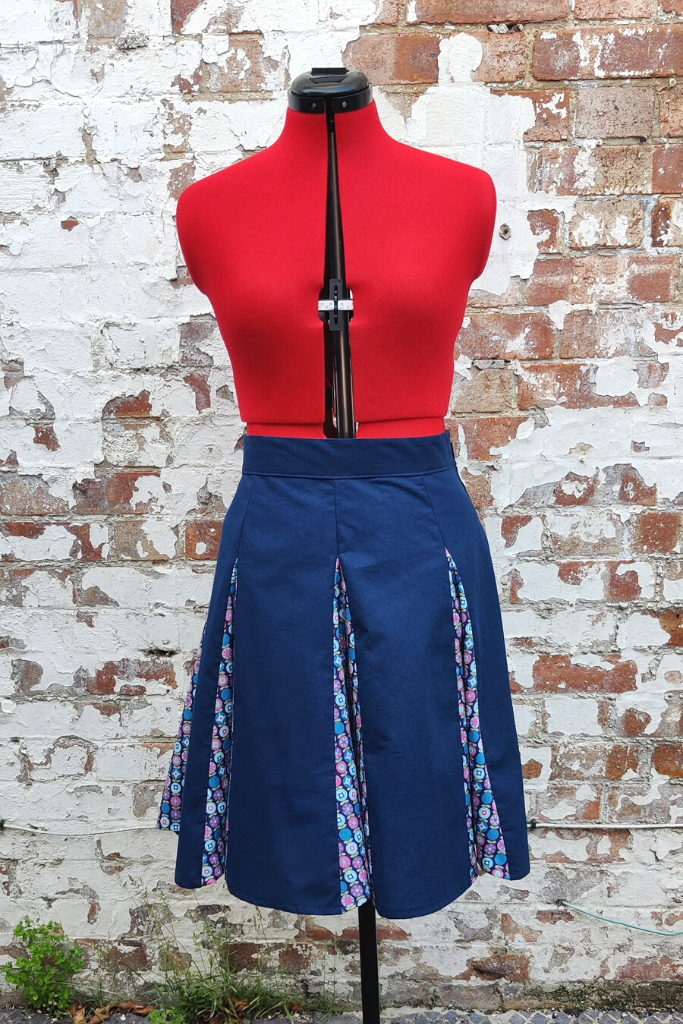
I’m very happy with how the skirt has turned out. I loved the original and I’m looking forward to wearing this one!
