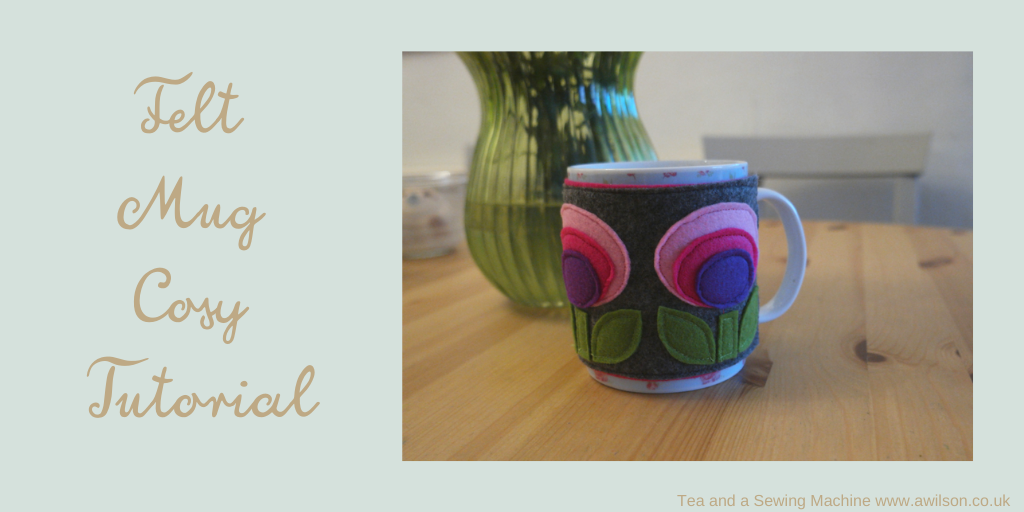
Felt Mug Cosy Tutorial
Mug cosies are great. They keep your tea warm for longer when you’re out in the garden. They’re a good way of using up bits of fabric left over from other projects and they’re quick to make. Also they make nice gifts for people.
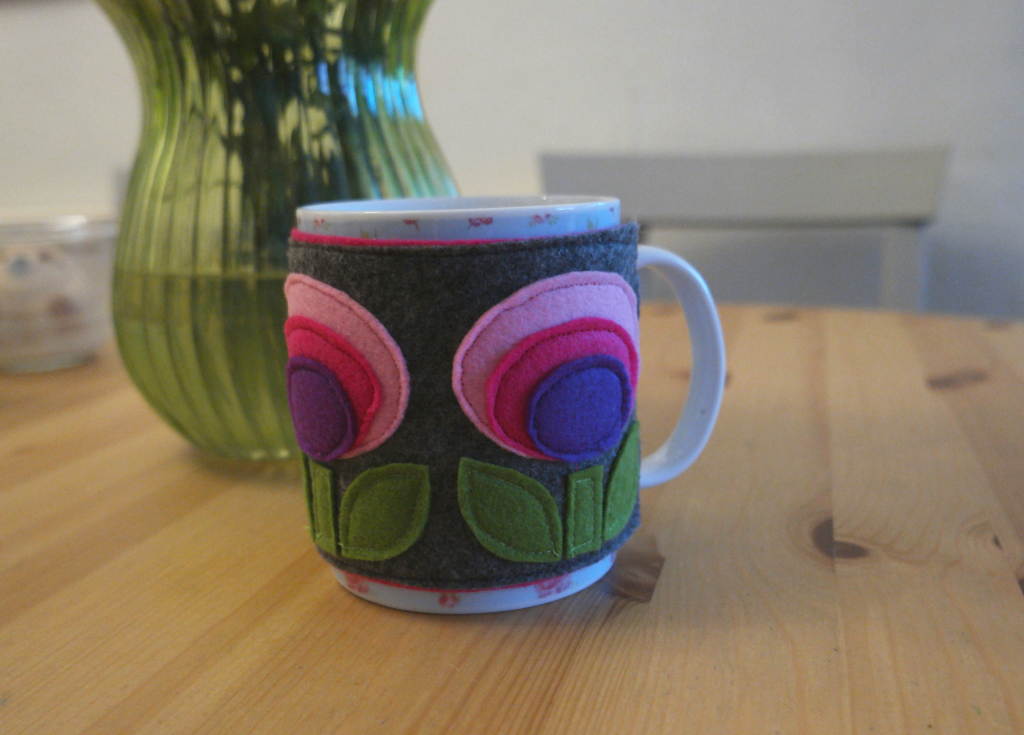
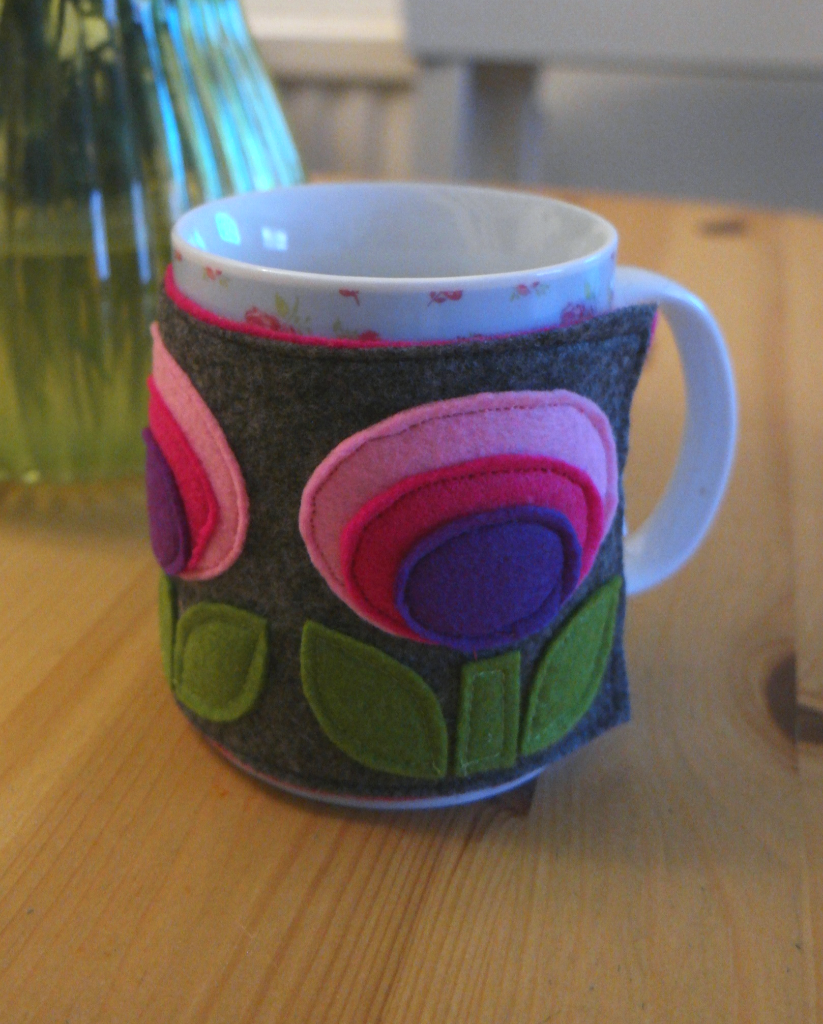
This mug cosy is made from felt. I used acrylic felt because that’s what I had, but you could use wool felt if you wanted to.
Felt is perfect for this project because it’s inexpensive, it comes in a wide range of colours, it doesn’t fray and it’s easy to work with.
Giving it two layers means that the felt has more weight, making the overall finish neater. The velcro means that you’ll be able to use your felt mug cosy on several different mugs, even if they are of different sizes!
Mug Cosy Instructions
You might like to make a felt mug cosy just like this one. The templates can be downloaded by entering your email address in the form below.
If you want to know why I ask for an email address, you can find out more here.
Alternatively, you may prefer to use it as a starting point for your own ideas. I love geometric flowers because they are simple but they look lovely. For more ideas, you might want to take at look at this Pinterest board here.
You Will Need
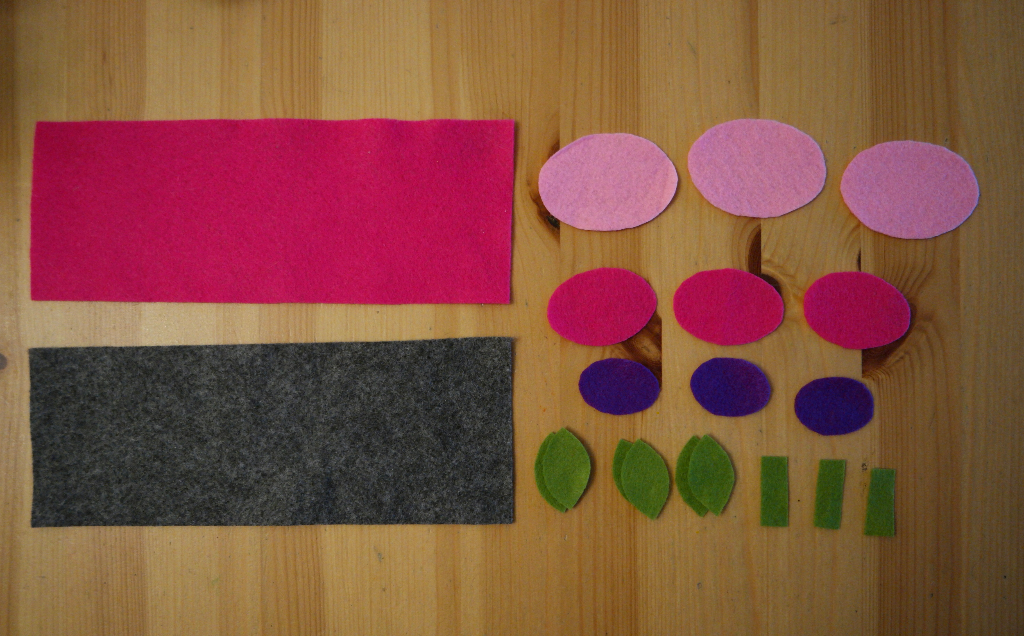
Felt in various colours. I used 3 for the flowers, 1 for the stem and leaves, 1 for the outer and 1 for the lining. This made 5 in total because I used the same pink for the lining as for one of the flower pieces.
Velcro. I used a 6 cm piece (5 and bit inches), but check with the mug you are making the cosy for as you might need more or less depending on the size of your mug.
Cutting Out
Cut 1 large rectangle from your outer felt, and 1 from the lining.
For the flowers, cut 3 large ovals from 1 colour, 3 medium sized ovals from the second colour and 3 small ovals from the third colour.
Cut 3 small rectangles for the stems and 6 leaves.

Appliqueing the Flowers
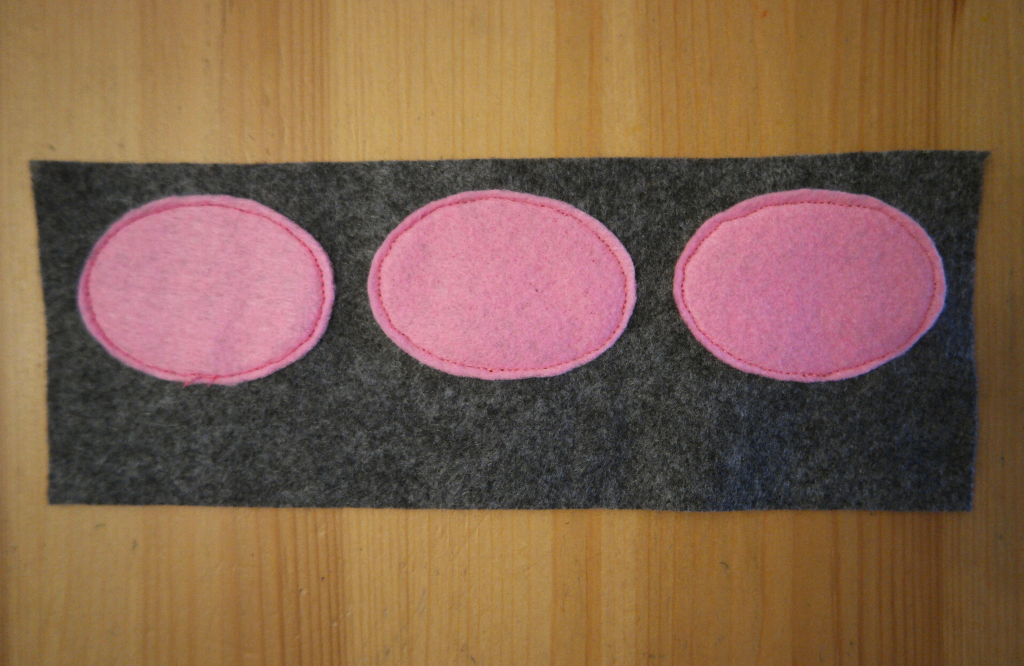
Usually with applique I find that it’s easiest to start with the smaller things, ie flower centres, then build them up, before sewing them to the main fabric.
With this project however, the bits of the flowers overlap, which makes it tricky to sew in this order.
So you need to start with the largest ovals and applique them to the outer section before attaching the other pieces. Check that they are evenly spaced, pin then sew.

Then take the medium sized ovals and pin them to the larger ones so that the bottom edges meet. Sew them in place.
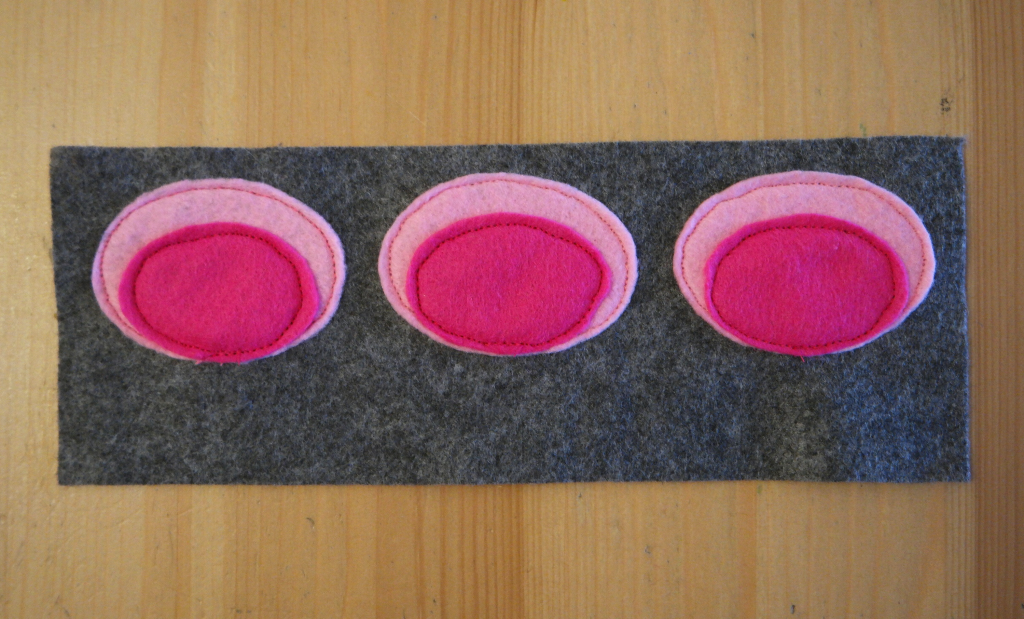

Do the same with the smallest ovals.
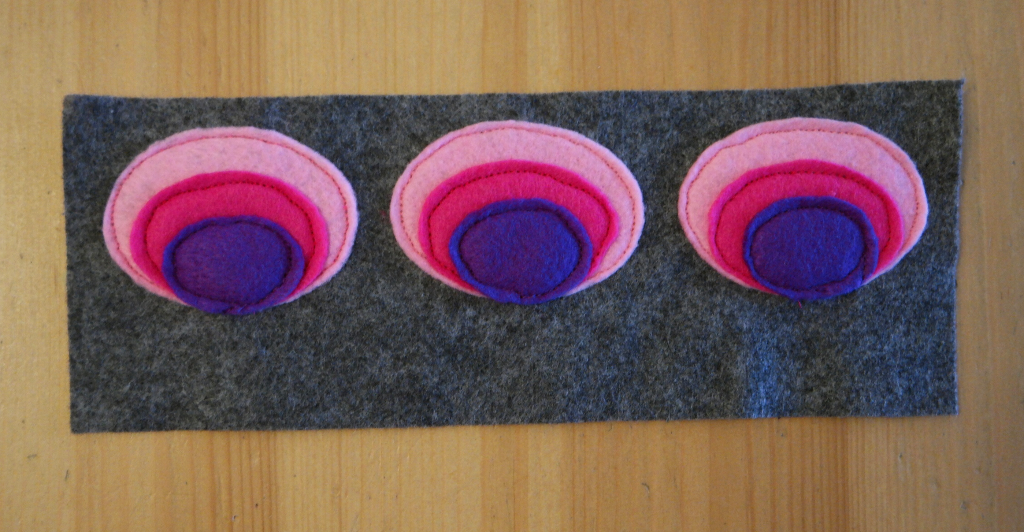

Position the stems underneath the flowers. Pin and sew.
Now pin and sew the leaves. It’s a bit of squeeze, but if you’ve spaced the flowers out evenly there will be room.
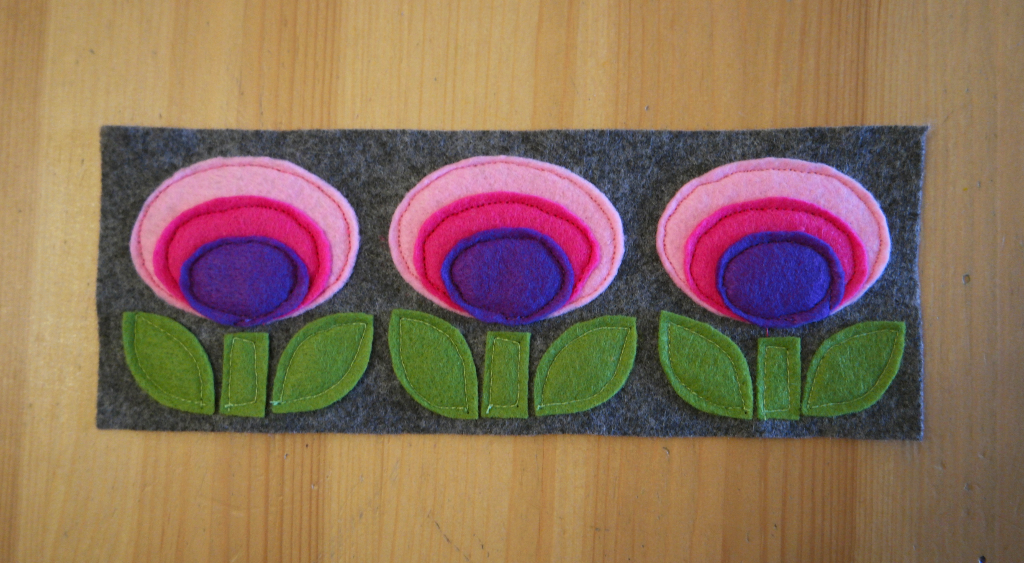

If not, don’t panic! Just trim the leaves down a bit until they fit.
Finishing the Mug Cosy
Place the outer piece with the appliqued flowers onto the lining.
Separate the piece of velcro. Tuck one piece in between the layers of felt on one side, and the other piece in the other side. Remember to have 1 half of the velcro facing up and the other half facing down.
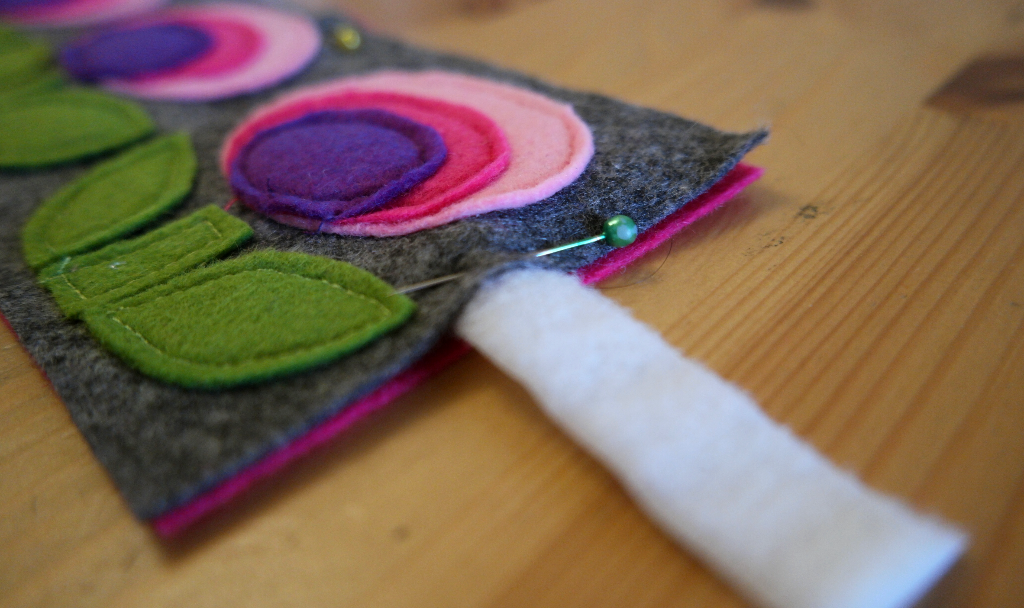

Pin the two layers together, then sew around them keeping close to the edge.
Now your felt mug cosy is finished!



If you like this felt mug cosy tutorial, I have two more mug cosy tutorials here:
Quilted mug cosy
Crocheted mug cosy


Here in northern Canada, I am beginning to feel the lack of colour and flowers. You have provided me with a cure…. never mind the other started yet unfinished projects!
Z – wishing you sunshine and flowers, in keeping with your season! 🙂
Goodness, I expect it will be cold and snowy where you are for a while yet! Here the seasons like to trick us! It’ll feel like spring, then go back to winter again, usually it happens a few times! xx