Felt Holly Christmas Decorations
Following on from the cookie cutter decorations tutorial, here is another fabric Christmas decoration you can make if you have a holly shaped cutter. If you don’t have one, it doesn’t matter because you can make your own holly leaf template. I actually couldn’t find mine in the box of cookie cutters and I couldn’t be bothered to hunt, so I drew my own template and you can too!
Felt Holly Christmas Decorations
You will need: scraps of green felt, paper and pencil, holly shaped cookie cutter (optional), red beads (6 – 8 mm, or sequins might do the job if you don’t have any beads), ribbon.
1. To make the template, either draw round your holly cookie cutter or draw your own. If you are making your own, this is the easiest way!
Draw a line 6 cm long. Starting at one end of the line, draw 4 shallow curves one after the other, so that the end of the second curve is roughly level with the middle of the line and the end of the fourth curve joins the other end of the line. Do the same with the other half of the leaf.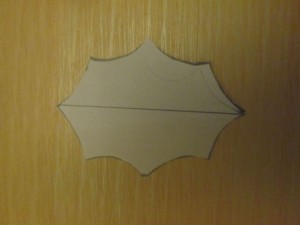
2. Using your template, cut 6 leaves from green felt.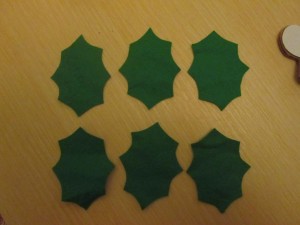
3. Take 2 of the leaves and topstitch around the edge. I hand sewed mine for a change from using the sewing machine, but the machine would have been quicker. Repeat for the other leaves so that you end up with 3.
4. Overlap the ends and sew them together. A few stitches should be enough to hold them. Don’t worry too much about it looking messy, you’ll be covering those stitches in a minute!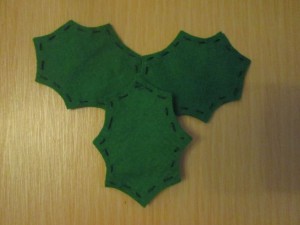
5. Sew some beads onto the middle of the decoration, covering the stitches holding the leaves together.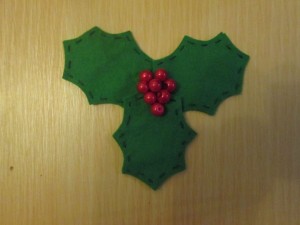
6. Sew a loop of ribbon to the back.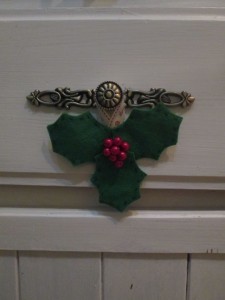
I was going to hang mine on the Christmas tree, but I think a row of them sewn to a length of ribbon might be better! What do you think?


