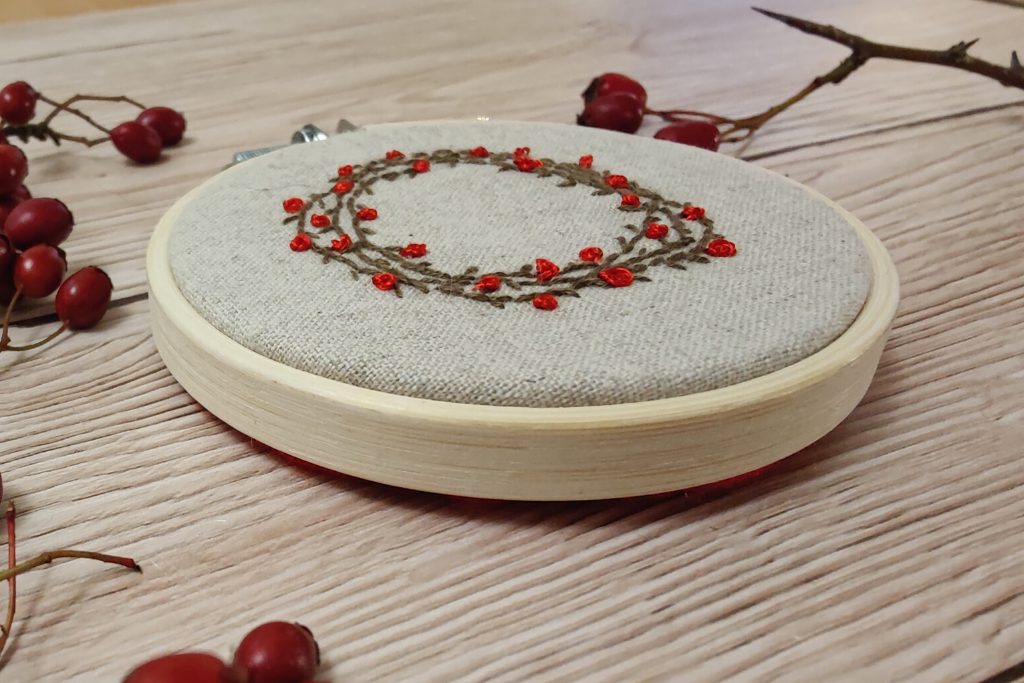
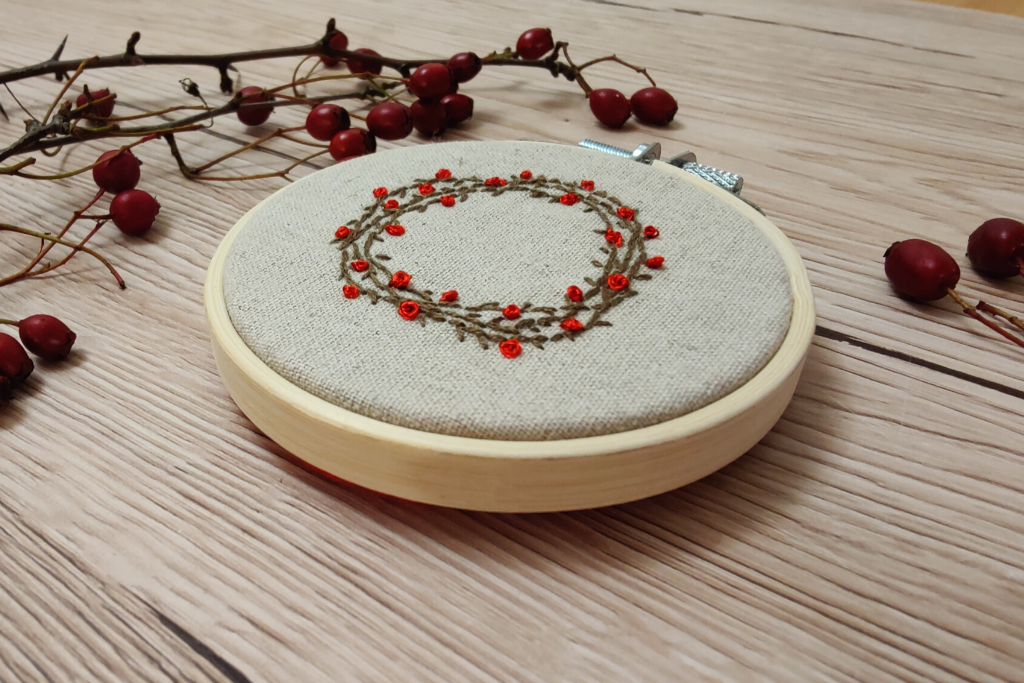
Embroidered Winter Wreath
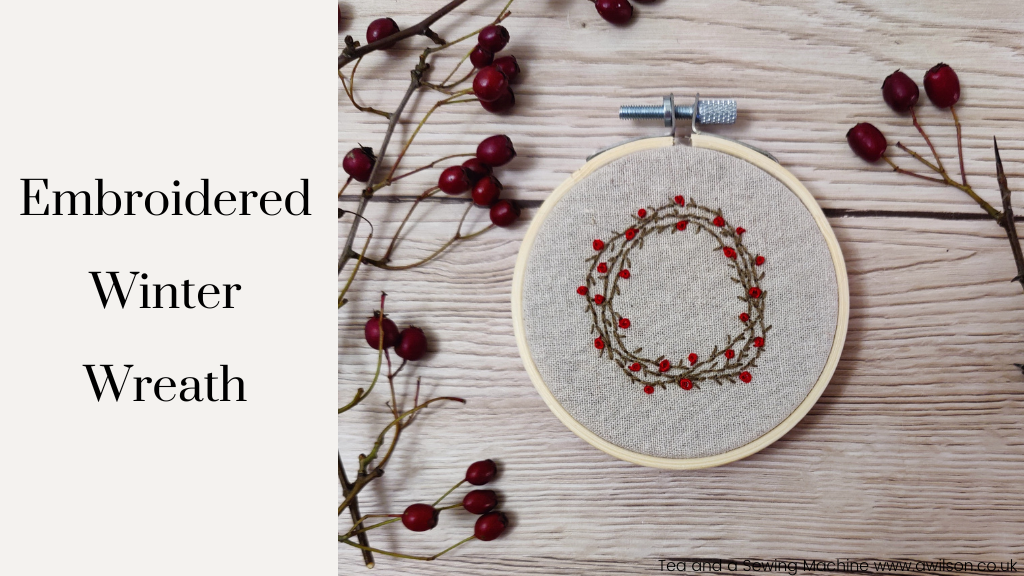
A little while ago, I had an idea to make 4 little embroidered wreaths, one for each season.
They were inspired by these Christmas ones I did a long time ago. And that idea came from a book about hand lettering when I was into that.
I really do like all the seasons, and it’s hard to pick just one! They are all beautiful in their own way, even winter, and I wanted to capture something of each season in the little embroidered wreaths.
I’m going to say now that there are not many photos for the tutorial. I had an idea to video myself making it, then upload the videos to YouTube and embed them here. I was going to keep them at actual speed, and then if you wanted to make one, you could sew along with me.
Unfortunately, I had no idea that uploading long videos would prove to be a headache! I might see what I can do with them at some point, but for the moment, if you want company while you are sewing, you’ll have to imagine me sewing slowly and stopping every few minutes to drink tea and stroke a cat!
As this embroidered winter wreath is very similar to the others, if you need photos, please take a look at the tutorials for the other wreaths.
Autumn wreath
Summer wreath
Spring wreath
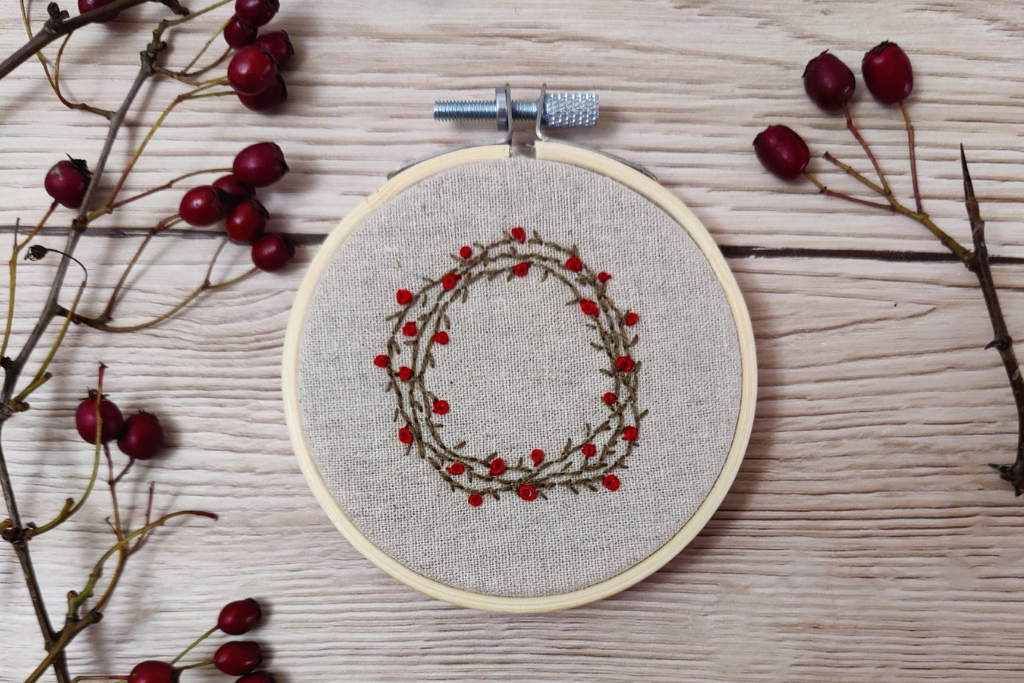
How to Make an Embroidered Winter Wreath
You Will Need
Fabric to sew into. I used a cotton/ linen blend.
Embroidery thread in brown and red.
A needle
An 8 cm (3 inch) embroidery hoop for displaying the wreath when it’s finished.
A piece of felt
Ordinary sewing thread
A pencil
A larger embroidery hoop to use while you are embroidering the wreath is useful but not essential. I actually didn’t use one this time. Although I have three, I couldn’t find any of them!
Getting Started
The first thing to do is to take the piece of felt and the embroidery hoop (the one you’re going to use for displaying the wreath when it’s finished). Draw round the inside part of the hoop onto the felt and cut it out. This is the piece you will use for backing.
Now take the fabric that you are going to sew the wreath into, and, using the hoop as a guide, quickly draw the wreath. I know this might sound intimidating, especially if drawing is not your thing. All you need to do is quickly draw a circle three times. Don’t worry about it looking messy! It actually needs to be messy looking. Nature isn’t tidy! If you are really not up for drawing it yourself, you can download a wreath design via the form below. It’s for the Christmas designs I mentioned, but the basic wreath is the same.
Embroidering the Wreath
Embroider the twiggy part of the wreath first. Use two strands of embroidery thread and backstitch.
The berries are French knots. My advice would be to go round once, then see if you need any more. In nature, berries are usually in clusters, and are not evenly spaced out. It will look more natural if you can do something similar. It can be hard sometimes not to space things out evenly, but it will look better if they are not!
If you prefer, you could use tiny red beads. Or you could do some French knots and some beads.
Finishing Off
Pop the finished embroidery into the little hoop.
Trim away the excess fabric, leaving about 2 cm (1 inch).
Sew a long running stitch through the fabric at the back. Pull it to gather the fabric, then tie off the thread.
Sew the felt circle to the gathered fabric.
If you want to hang your embroidered winter wreath up somewhere, you could thread a piece of ribbon through the metal bit at the top of the hoop.
