I had the horrible realisation the other day that summer is almost over. It doesn’t feel like we’ve had much of a summer in the UK. There were some nice days in May, then it was cold for ages! But even though the weather is nice now, there’s only about a week of the summer holidays left, and then we’ll be officially into autumn.
In typical fashion, I had grand plans to make all kinds of things. Time seems to behave like an elastic band, not like something that is fixed! Life gets busy, always, but even though I haven’t made everything I wanted to, I have made some of the things I’ve wanted to.
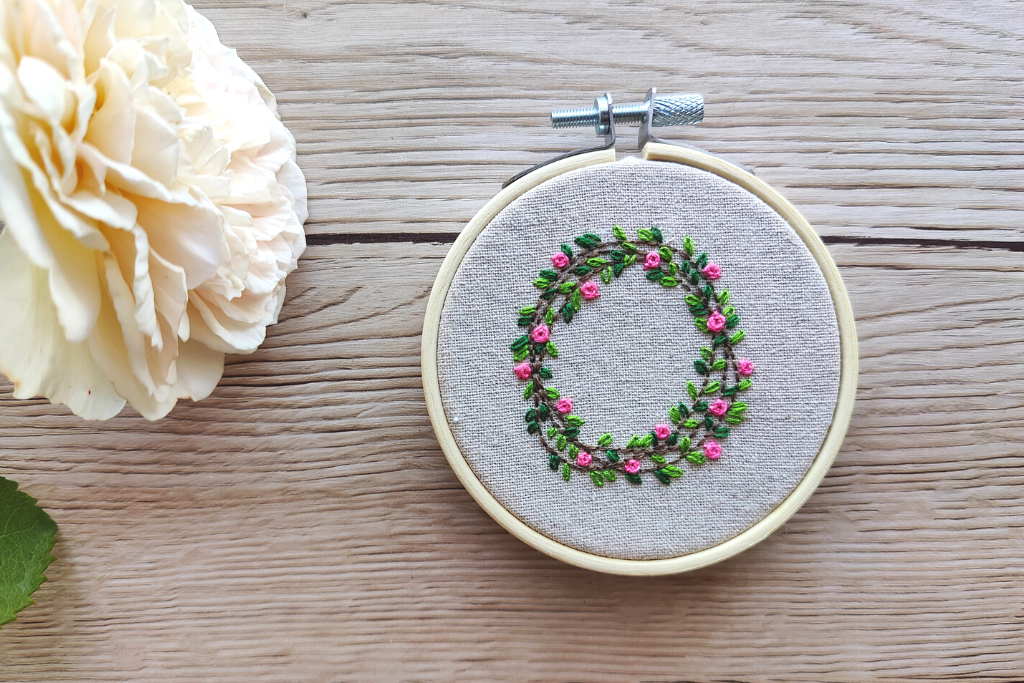
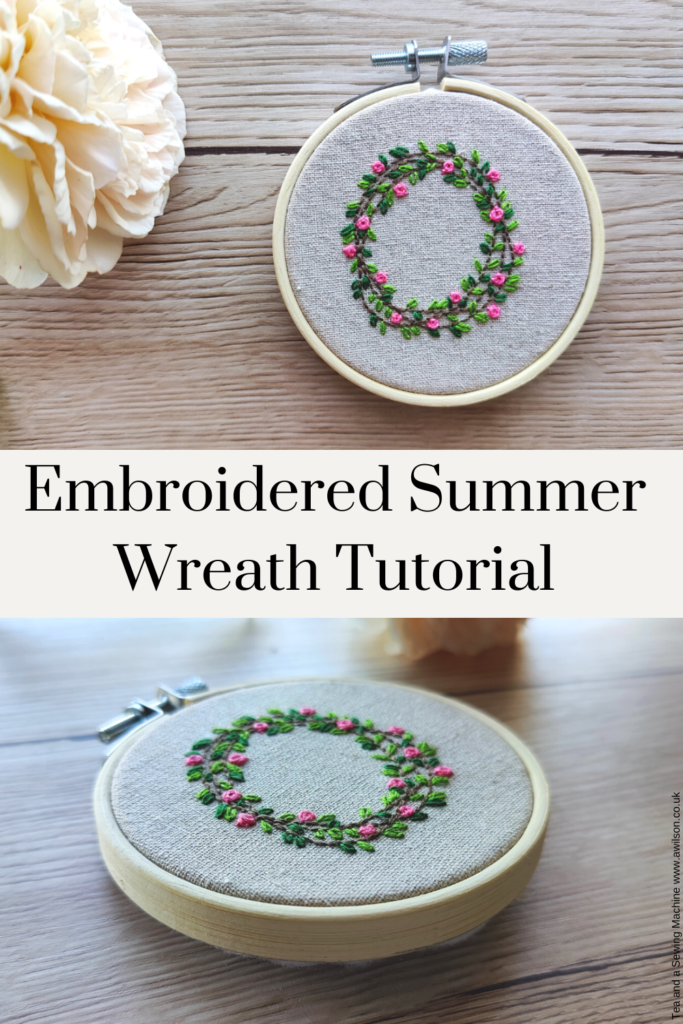
One thing on my list that I hadn’t got to was an embroidered summer wreath in an embroidery hoop.
You might remember the autumn one I made last year, and the spring one I made back in February. I thought it would be nice to make one for each season, so now I only have the winter one left to make!
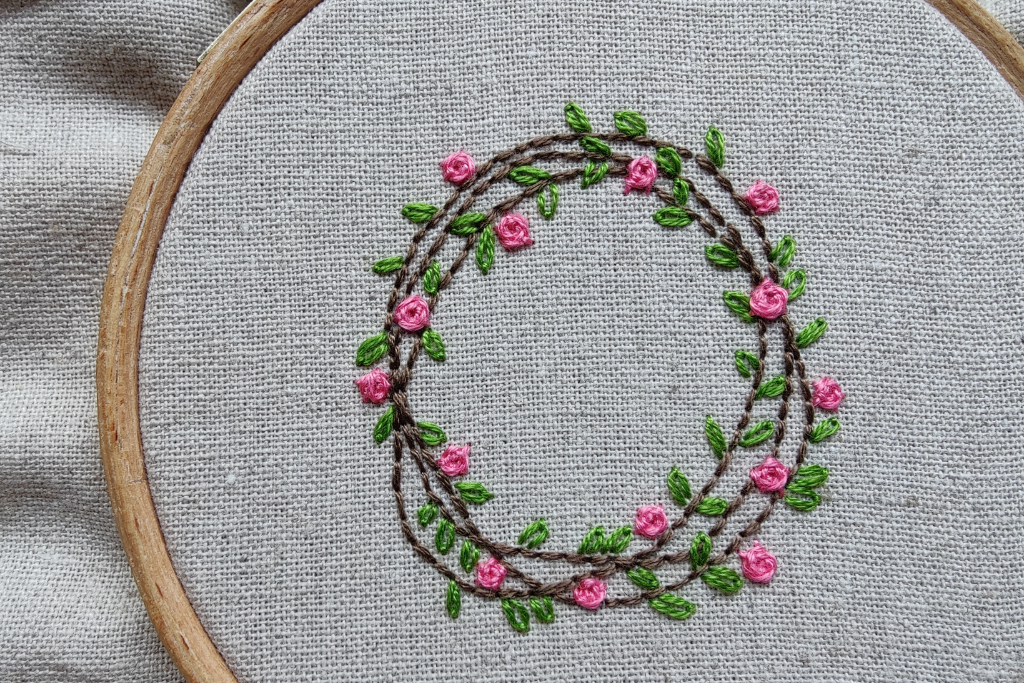
The embroidered summer wreath is very similar to the others. The hoop is the same size and it’s worked in the same way. First the twiggy bit, in backstitch, then the leaves and the flowers. I used 2 colours for the leaves because I felt that using only one colour would result in it looking flat.
If you like the embroidery design but you don’t want to faff about finding all the thread and bits yourself, I have some kits for sale on Etsy.
How to Make an Embroidered Summer Wreath in an Embroidery Hoop
You Will Need
A piece of fabric. I used a cotton linen blend. As the finished piece is quite small, you only need a bit. 12 cm x 12 cm (5 inches by 5 inches) will be enough.
An 8 cm (3 inch) embroidery hoop.
Embroidery thread in brown, green ( I used 2 shades, the same fresh green as on the spring wreath, and a darker green), and pink for the flowers. You could use a different colour for the flowers if you prefer.
Felt for the backing.
A needle and some sewing thread.
A larger embroidery hoop to hold the fabric taut while you’re sewing the design is useful but not essential.
Drawing the Wreath onto the Fabric
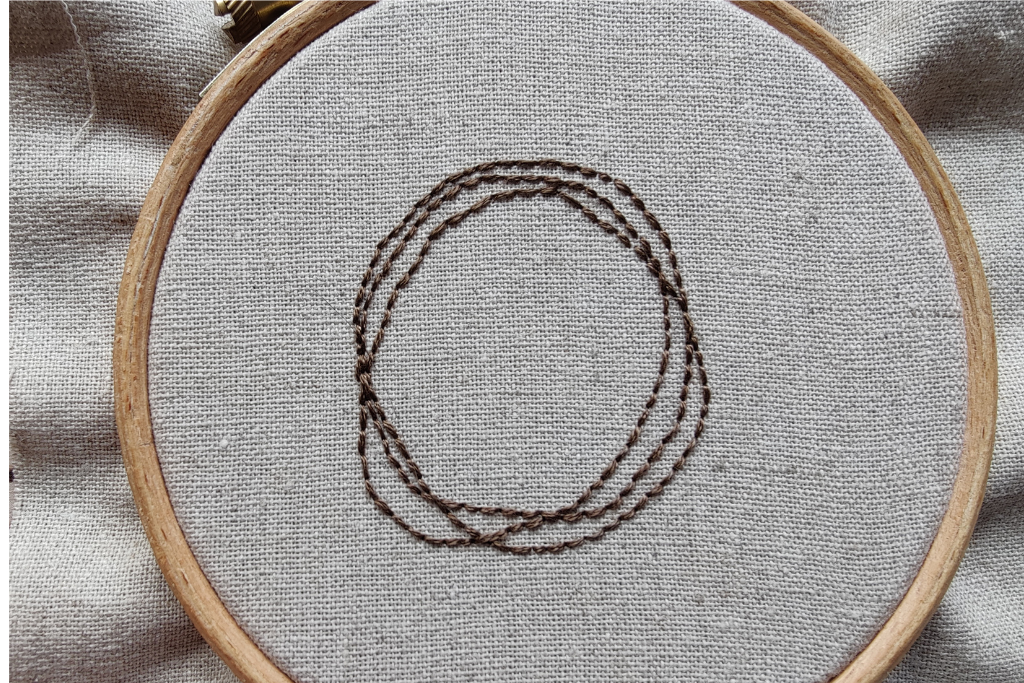
It’s not necessary to draw the whole design onto the fabric. I just drew the twiggy bit, then added the leaves and flowers as I sewed.
There are a number of options for drawing the wreath onto the fabric.
You could use a template (these are for some Christmas wreaths that are the same size and would work just as well here). To transfer it to the fabric, you could use dressmakers’ carbon paper or hold it up to the light and trace it.
Or you could draw it freehand. It might feel intimidating to do this if you don’t consider yourself to be much of an artist, but it will be fine. Just draw a vague circle and go round it three times. It will actually look better if it’s not perfect, because a wreath made from willow wouldn’t be perfect either.
Another option would be to draw a circle, using the hoop as a guide to get the right kind of size. Then go round it three times when you’re sewing, instead of drawing it and not being able to see it!
Sewing the Design
I used 2 strands of embroidery thread for all the stitches.
First, sew the twiggy bit in backstitch.
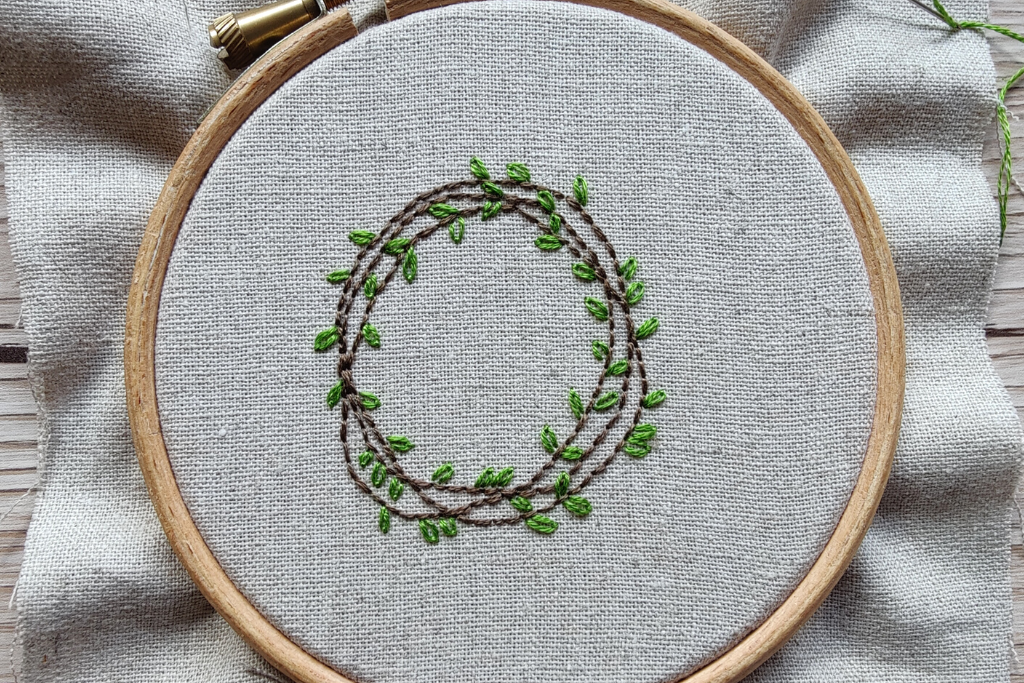
Next, add some leaves. The leaves are lazy daisies. I started with the lighter green.
Once you’ve embroidered some leaves, sew some flowers. The flowers are woven wheels. After French knots, woven wheels are my favourite stitch!
Add some more leaves in the other green.
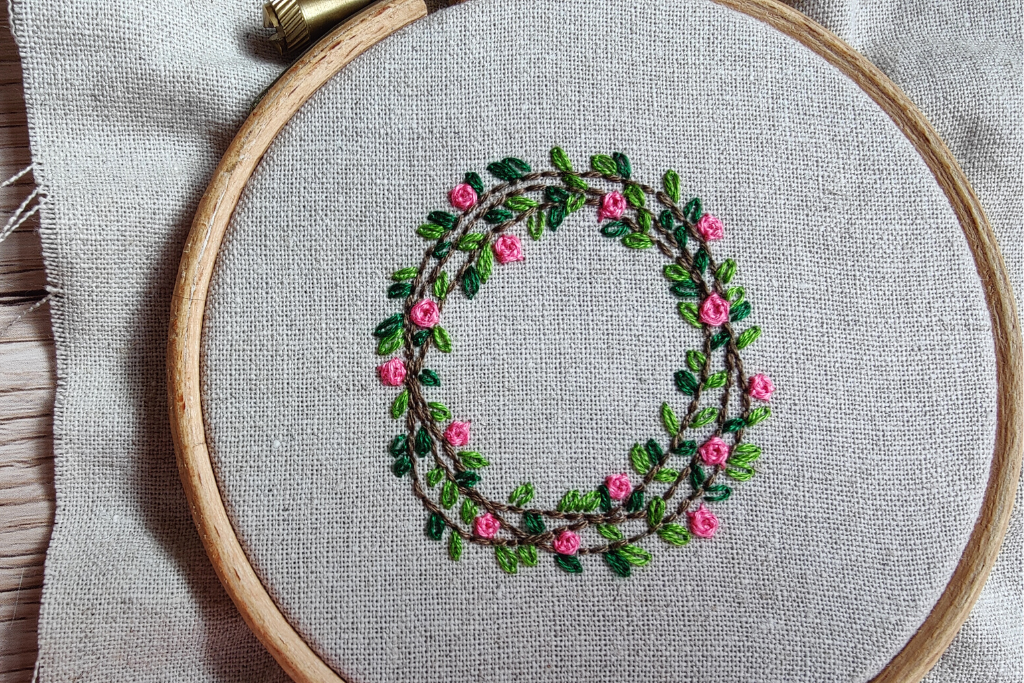

It’s worth remembering that embroidery projects often go through an ugly duckling stage. If you’re half way through and you don’t like it, don’t worry and keep going!
The other thing is that you can always add more leaves or flowers if you want to, so it’s best to build them up gradually. I actually had plans for more light green leaves, but once I had sewn the flowers and the dark green leaves, I realised there were enough.
Finishing Off
To finish your embroidered summer wreath, pop the finished embroidery into the little hoop.
Trim away the excess fabric, leaving a couple of cm (about an inch).
Sew a long running stitch around the fabric at the back. Pull it to gather it and tie off the thread.
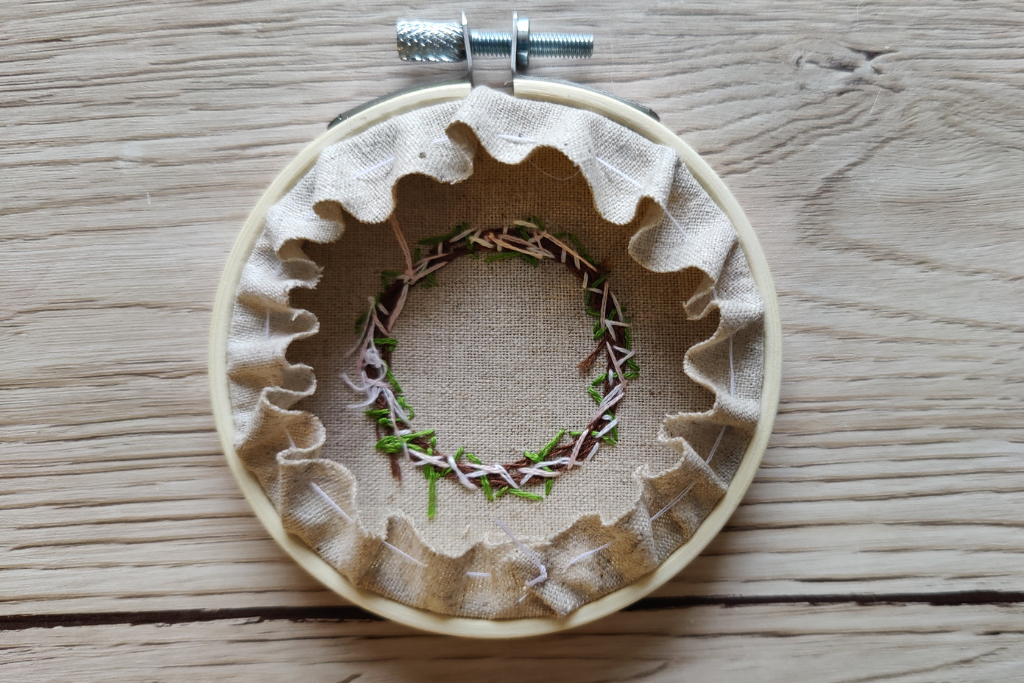

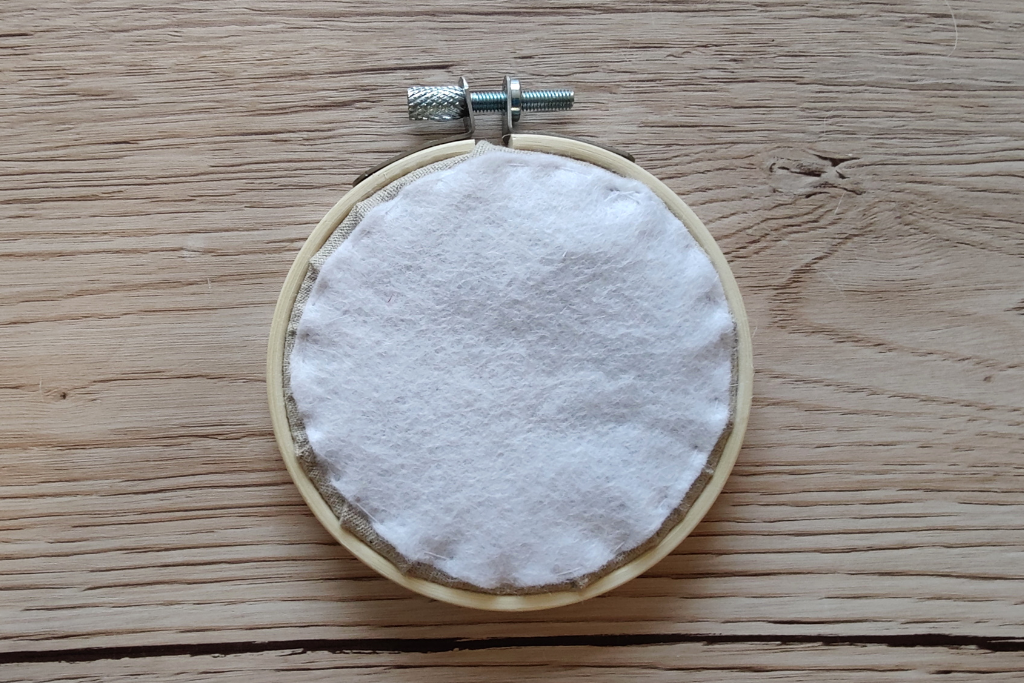
Cut a circle of felt slightly smaller than the embroidery hoop. Sew it to the fabric at the back of the hoop.

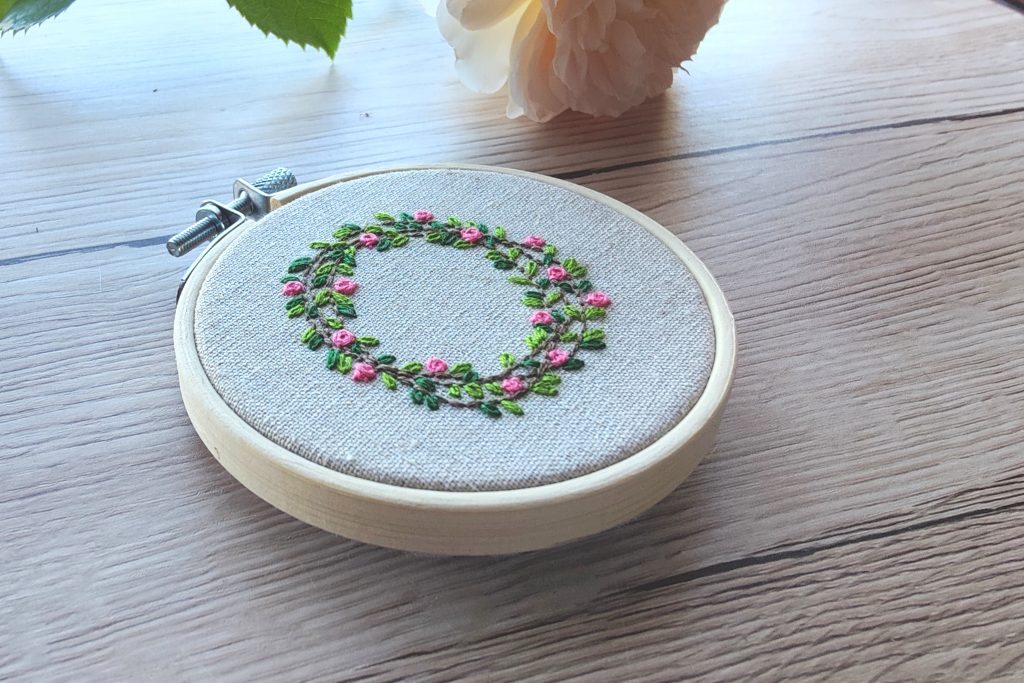
If you want to display your hoop somewhere, you could thread a piece of ribbon through the metal bit at the top to make a loop for hanging it up.





Dear Anna, I enjoyed reading this – all the way through for a change, and loved this bit: “once I had sewn the flowers and the dark green leaves, I realised there were enough.” That’s so important isn’t it, to create something that pleases you, rather than having to always stick to a plan written by someone else:-) I’m having a new hip soon, and the idea of being able to walk beside a field or in a park, somewhere green anyway, and just ‘be’ is holding me up at the moment, as is the idea of being able to make something ‘just because’! Stay safe and be well, Ruth.
Thank you xx Hope it all goes well with the new hip.