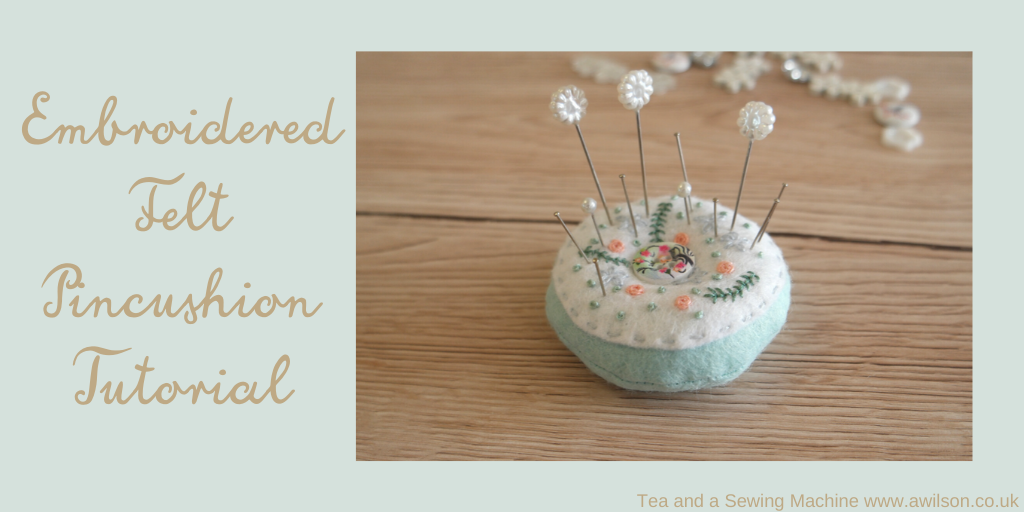
It could be possible to become addicted to pincushions. Like having an collection of pretty teacups, pincushions can be as different as you want them to be and pretty as you like. There are so many different ways to make them and, because they are little things, you can use scraps that are too big to throw away but too small to use for a larger project.
This embroidered pincushion is part of a kit that I’ve been developing. I wanted to call it the Safe At Home kit, but as the extra time people kept telling me I was going to have never appeared, it’s taking me a while to finish it!
The other projects in the kit are this bunting, and this needle case.
UPDATE: The kits have finally been completed and you can find them here!
Anyway, the last project is now finished and here it is, an embroidered pincushion!
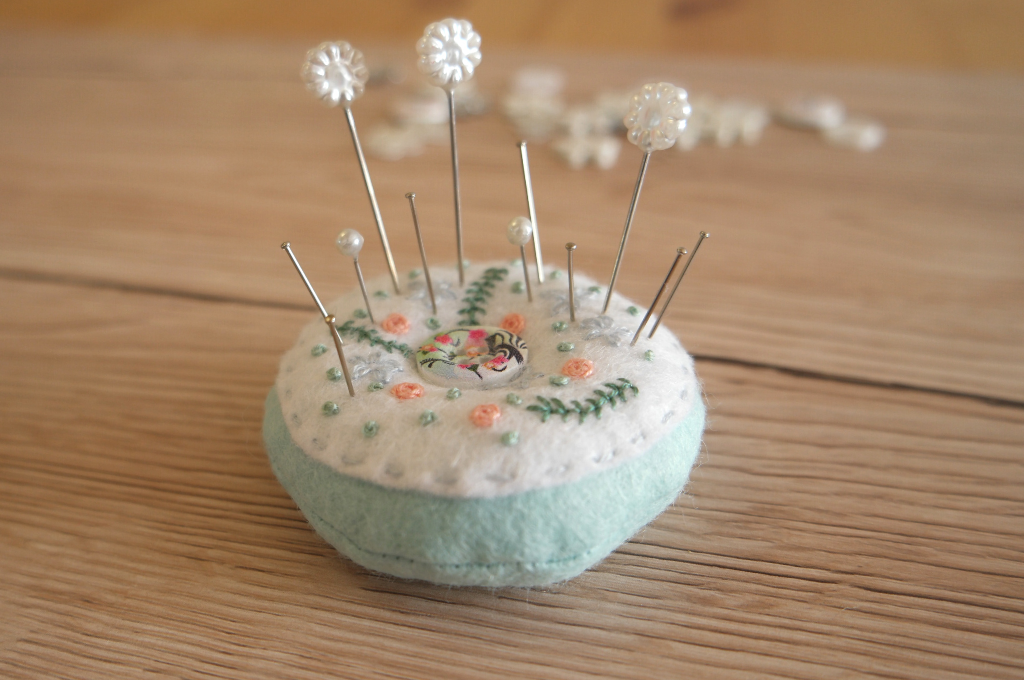
It can be sewn entirely by hand, or you could speed things up a bit and use the sewing machine to sew the pincushion together.
The embroidery design is free to download, but I do ask for an email address. You can find out more about why I do this here. The form is at the bottom of the post.
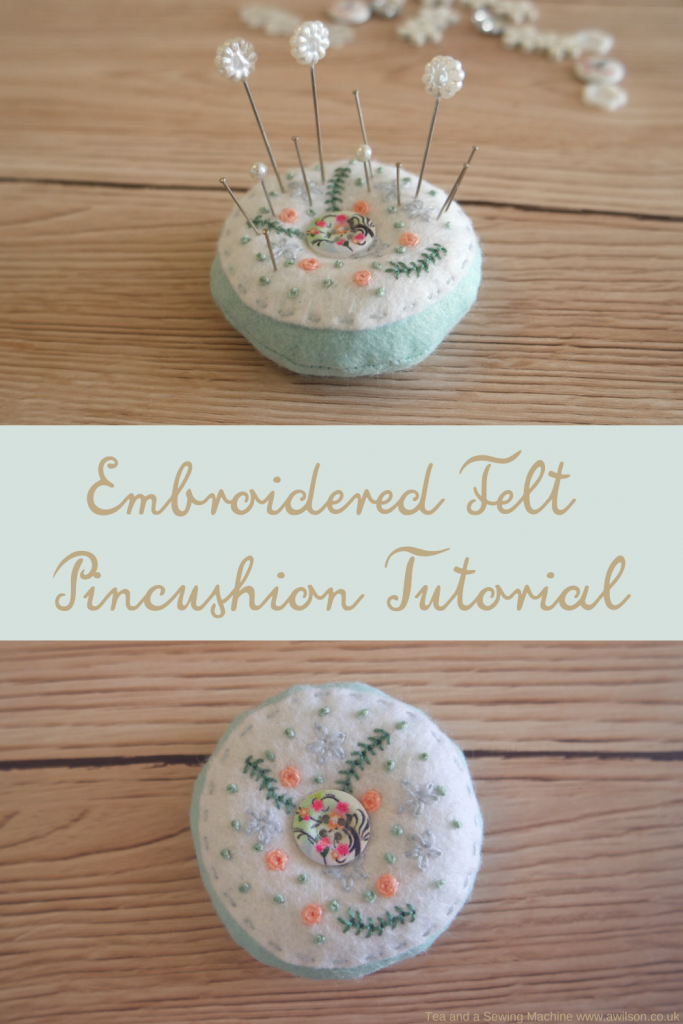
Making the Embroidered Pincushion
You Will Need
Scraps of felt in pretty colours
Embroidery thread
Polyester filling, sawdust or emery sand to fill your pincushion
2 buttons
Pattern pieces and the embroidery design. You can either download mine (the form’s at the bottom), or you could make your own.
Cutting Out
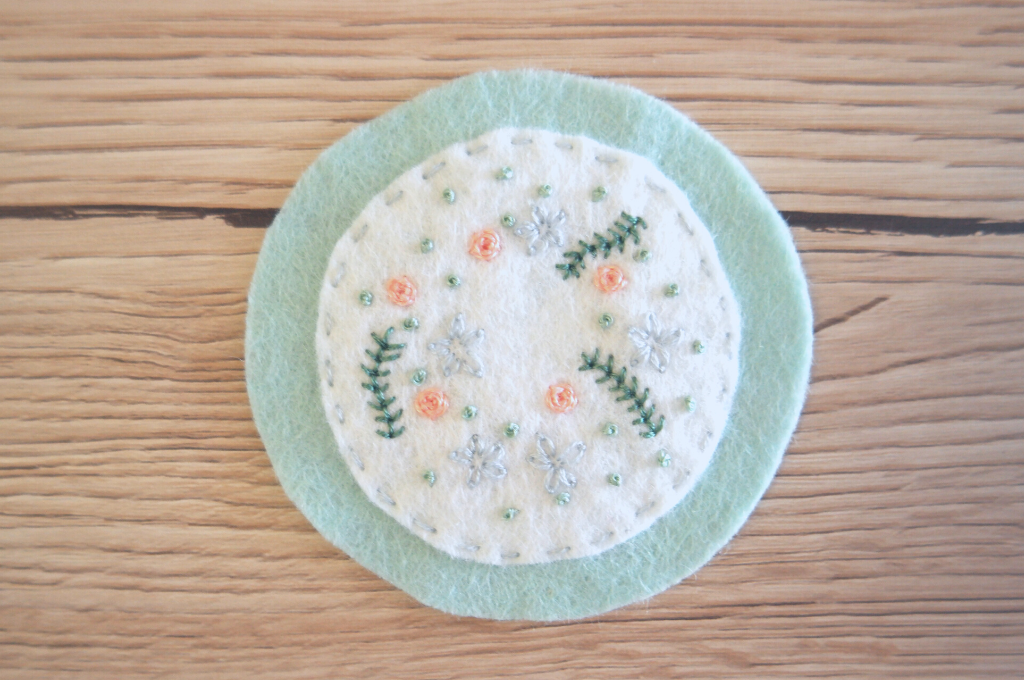
You will need 2 circles the same size, and one circle a little bit smaller.
Embroidering the Design
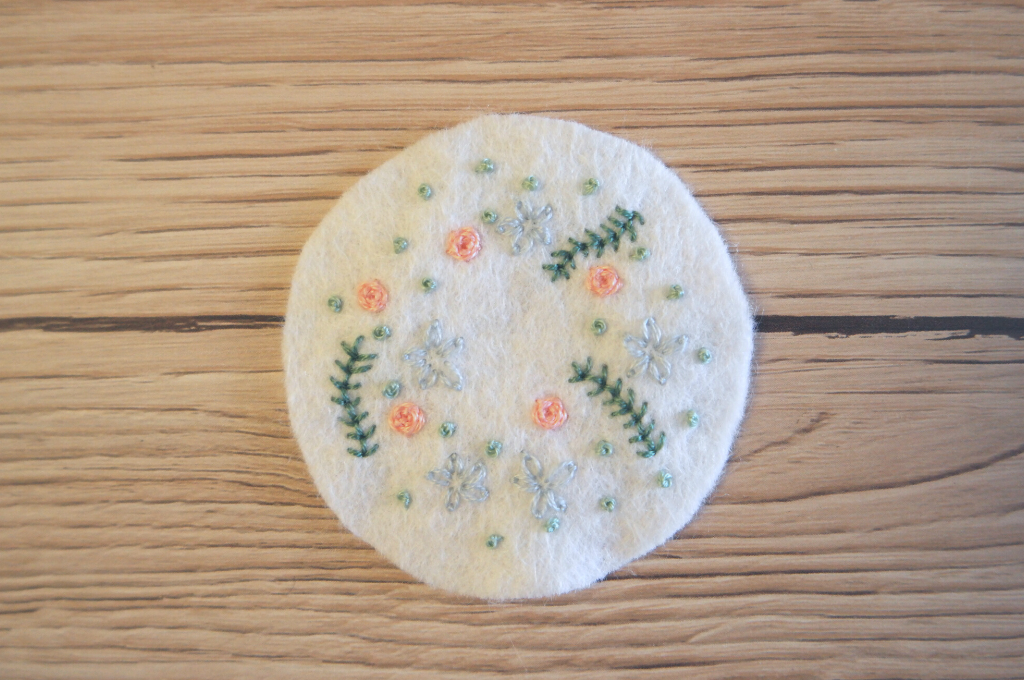
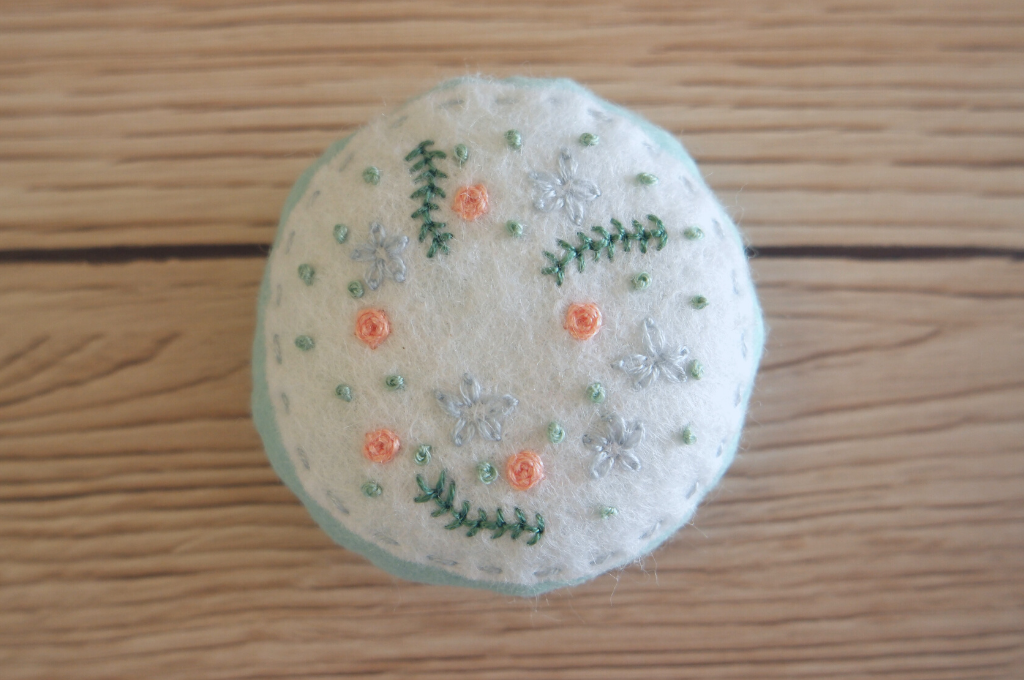
I used lazy daisies, fern stitch, woven wheels and French knots. It’s worth remembering that odd numbers of things usually look better, but you can do what you like! Just remember to leave a space in the middle for the button.
Sewing the Pincushion Together
Attach the embroidered section to one of the larger circles. You could hand sew it or use your sewing machine.
Place the other larger circle on top of the embroidery. Sew around the edge, leaving a gap.
Trim the seam if you need to. Turn the pincushion the right way out. Fill it with your chosen material. It will need to be firm to make it easiest for pushing the pins in.
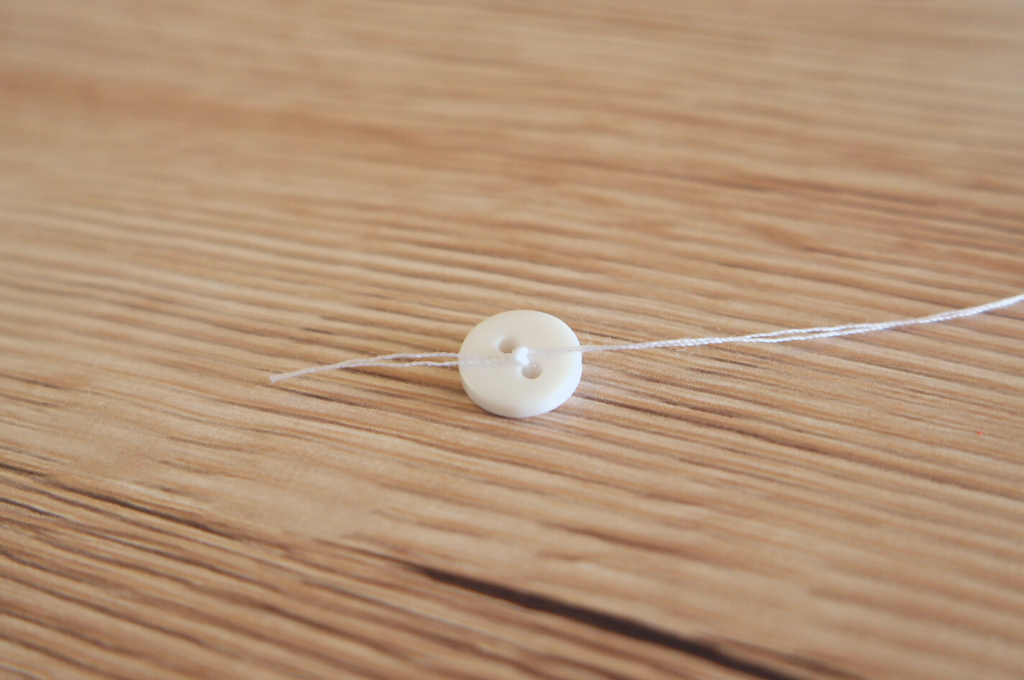
Take a plain button (this one will be at the bottom) and tie the end of length of thread to it. You might want to use a stronger thread for this, or you could use ordinary sewing thread doubled.
Now push the needle through the centre of the pincushion from bottom to top.
Thread a pretty button onto the needle. Pass the thread through, then back into the pincushion and through the button at the bottom.
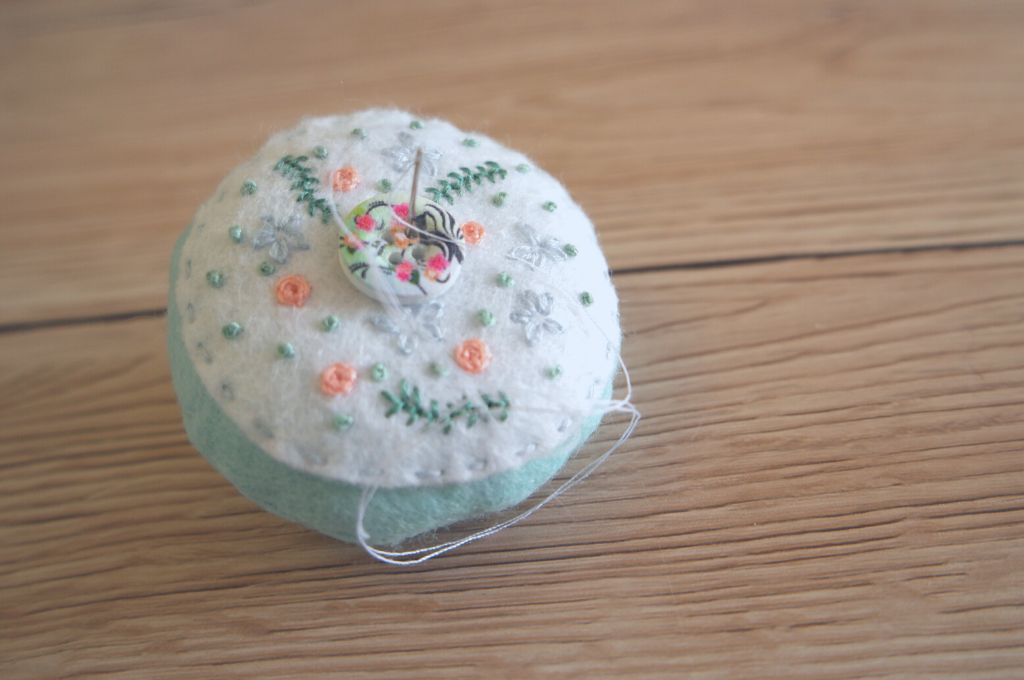
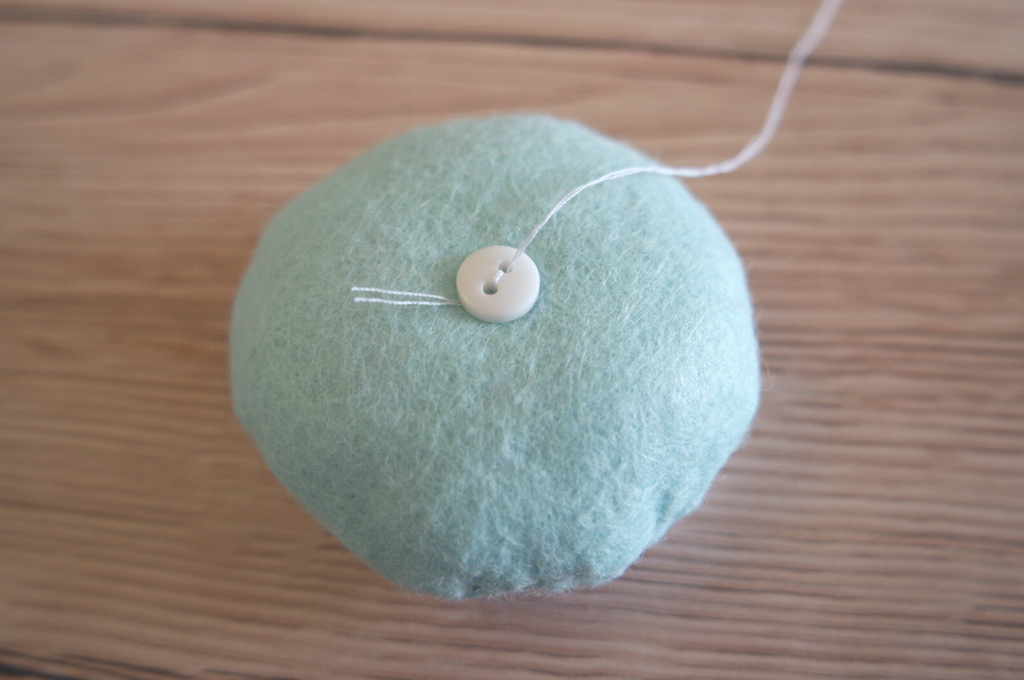
Do this a few times and pull it tight. Cut the thread and tie it off.
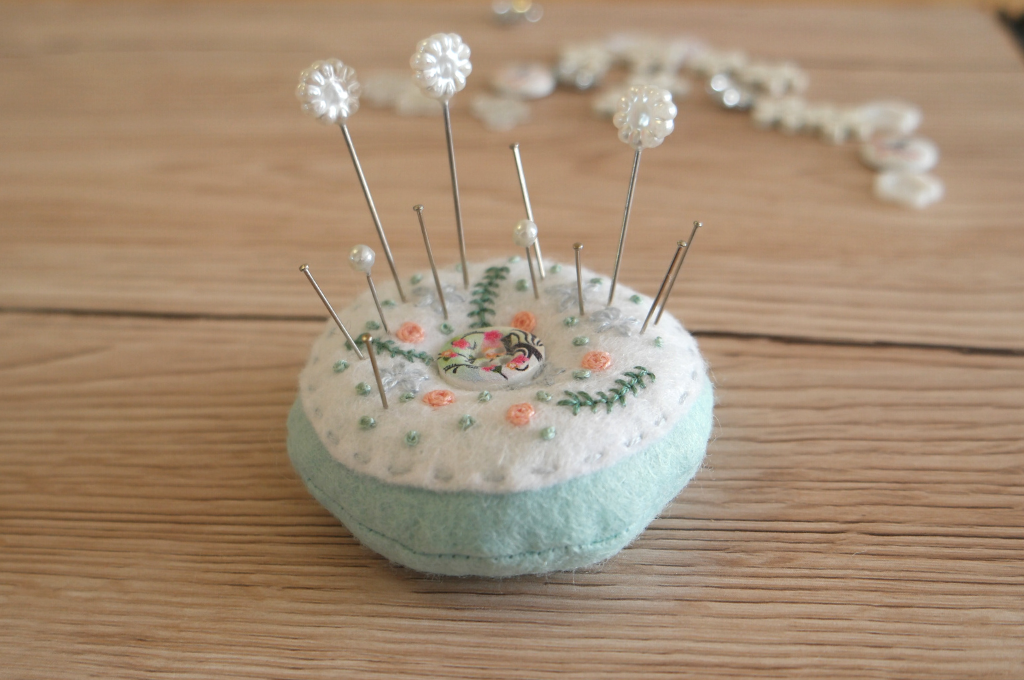
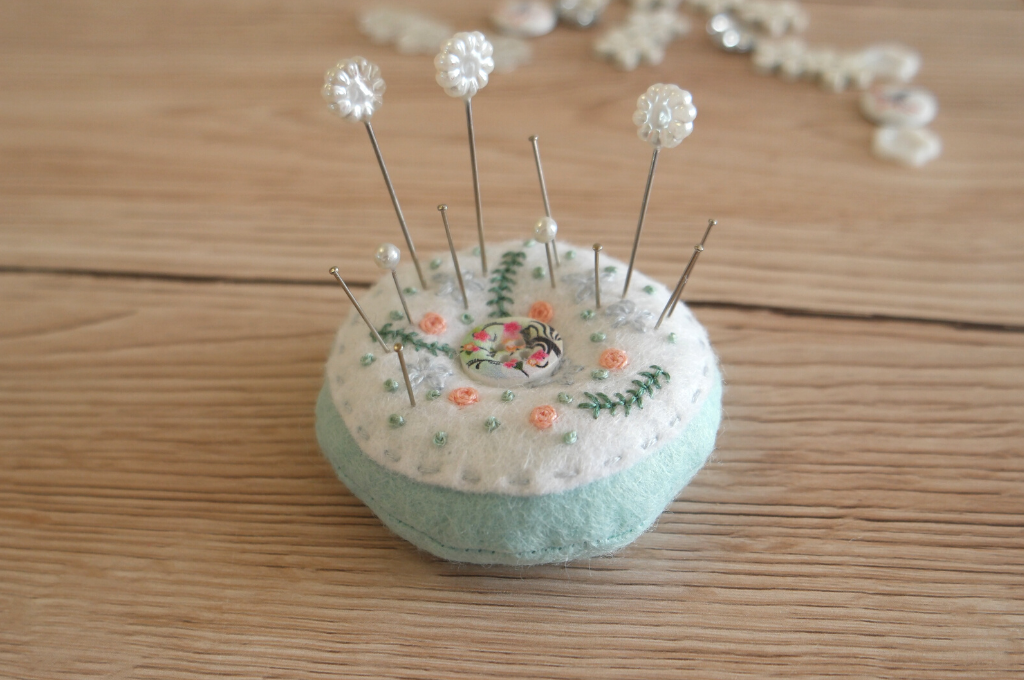
If you wanted to turn this into a wrist pincushion, you could attach it to a piece of elastic, or make a strap for it like this one.
If you like pincushions, I have a whole Pinterest board devoted to them here!
[chimpy_form forms=”50″]


I am interested in making your embroidery pincushion, & Needlecase, but the form to add my email for the pattern downloads are no longer available. I was able to save the Needlecase Pattern from your comment added after posting. But unfortunately, the same option isn’t available for the pincushion! Are you able to comment with the link as before? Or email it? Please and thank you!