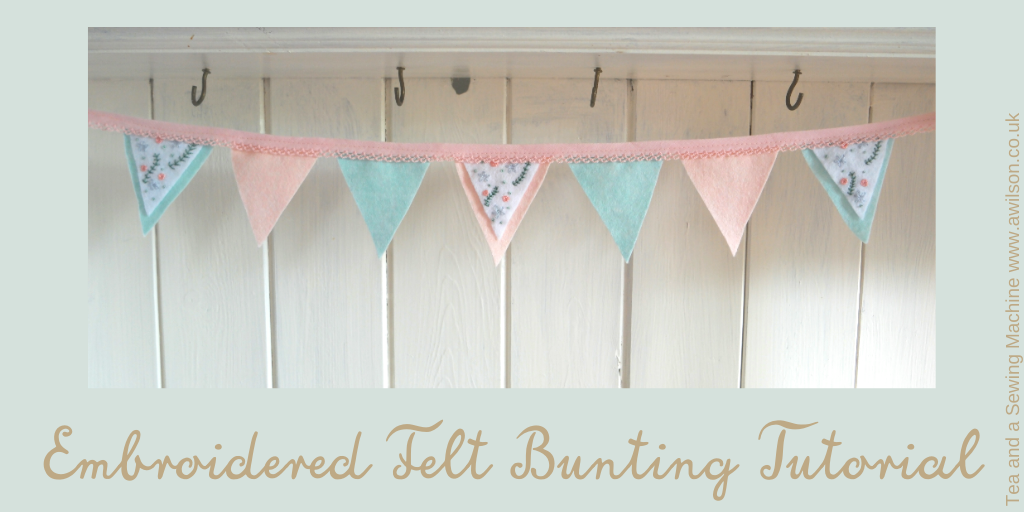
I’ve been selling craft kits on Etsy for a while now, and, as ideas go, it’s proved to be one of my better ones.
When I opened a shop on Etsy I had no idea what I was doing and I only hit on the craft kits idea about 5 years in. I wrote a post about it here (and if you want to know what one of my worst ideas was, it was this!).
With one thing and another, it’s been about a year since I added anything new.
Sales of my craft kits are healthy at the moment, probably because people want a nice little project to work on while they’re staying safe at home.
Feeling a little bit of creativity returning last week, I started cooking up a new kit.
I’m finding that I want to make things because making things makes me feel happier and calmer. With the situation being as it is however, I don’t feel up to anything to long or complicated. Also this ton of extra time I was supposed to have hasn’t turned up! So little things that can be picked up and worked on for a few minutes are probably better than longer, more involved things.
If this is true for me at the moment, it’s going to be true for other people too!
The kit will include some pieces of felt, ribbon and trim, embroidery thread and little beads. There’ll be a guide to embroidery stitches and a booklet with 4 or 5 little projects in them that can be made with the contents of the kit.
I’ve finished the first project. Predictably it’s felt bunting! I’m sharing this so that everybody has the option of making it even if they don’t want to buy a kit. And if you get the emails, I’ll be sending out the link to the pdf version of the booklet of projects once it’s done.
UPDATE: The kits have finally been completed and they can be found here!
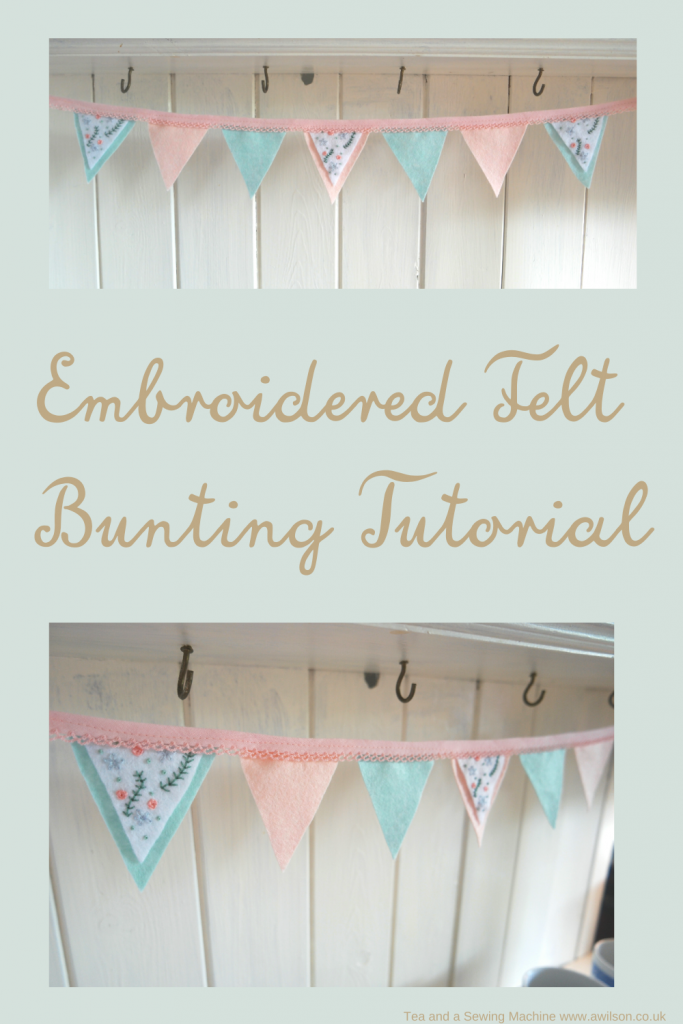
Instructions For Making Embroidered Felt Bunting
To Make Felt Bunting, You Will Need
Felt in pretty colours. I chose a mint green, a salmony pink and white and I bought it from this lady on Etsy. This isn’t an affiliate link; I just want to do my bit to support small businesses.
Embroidery thread in complimentary colours. I used 2 shades of sage green, salmon pink and grey.
Trim. Bias binding is good. You could use ribbon, lace or whatever you have.
Cutting Out
Cut 4 triangles from 1 colour and 3 from the other. You could cut the same number of each, but odd numbers usually look better.
Cut 3 smaller triangles from white felt.
If you don’t want to make your own templates, you can have mine, plus the embroidery design, in exchange for an email address. The form is at the bottom of the post.
Embroidering the Flags
I used lazy daisies, woven wheels, fern stitch and French knots.
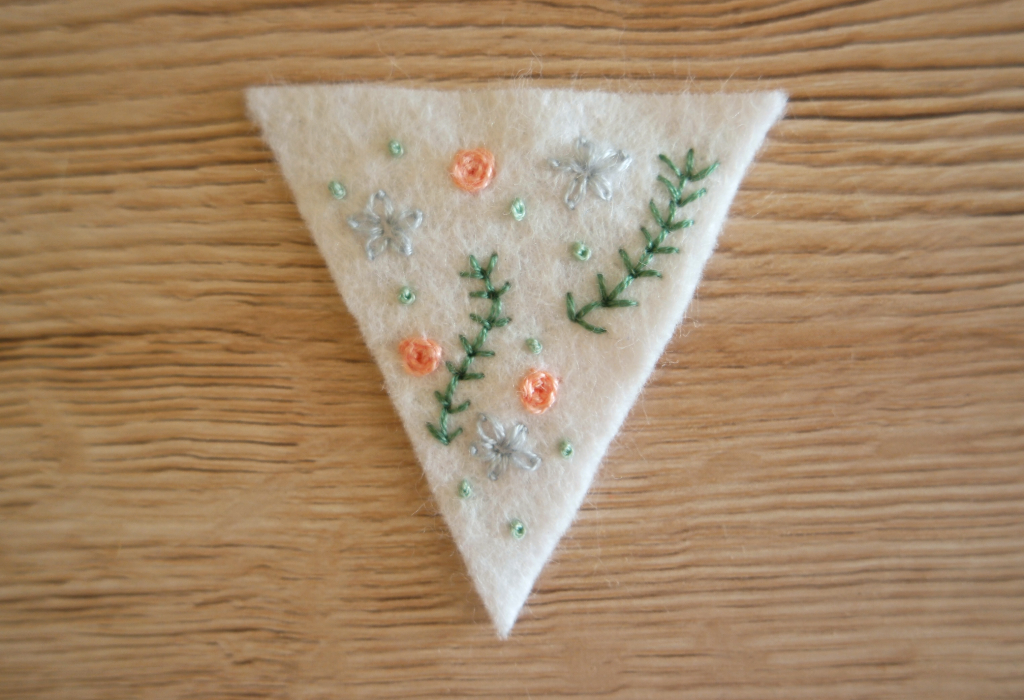
You could copy my design or do your own. I’d recommend odd numbers of things (although I have broken this rule!). Start with larger things then add smaller ones where there is space. It’s probably a good idea to sketch some ideas first, as it’s much easier to rub out ideas that don’t work or that you don’t like than to unpick a lot of sewing!
Assembling the Bunting
Lay out the larger flags alternating the colours. On top of the 1st, 4th and 7th flags place an embroidered flag.
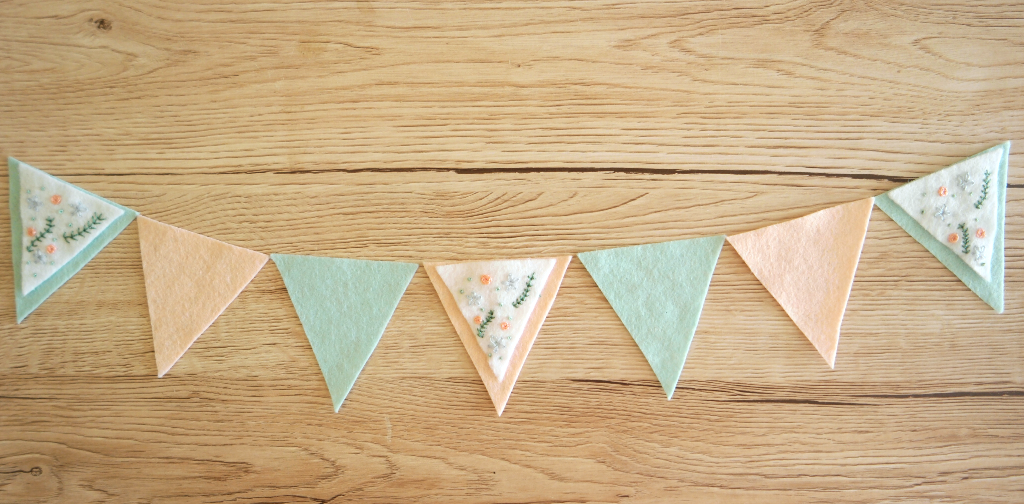
Pin the trim to the tops of the triangles. Remember to leave a bit at each end for tying! If you’re using bias binding, you could fold the binding in half lengthways and slip the flags inside.
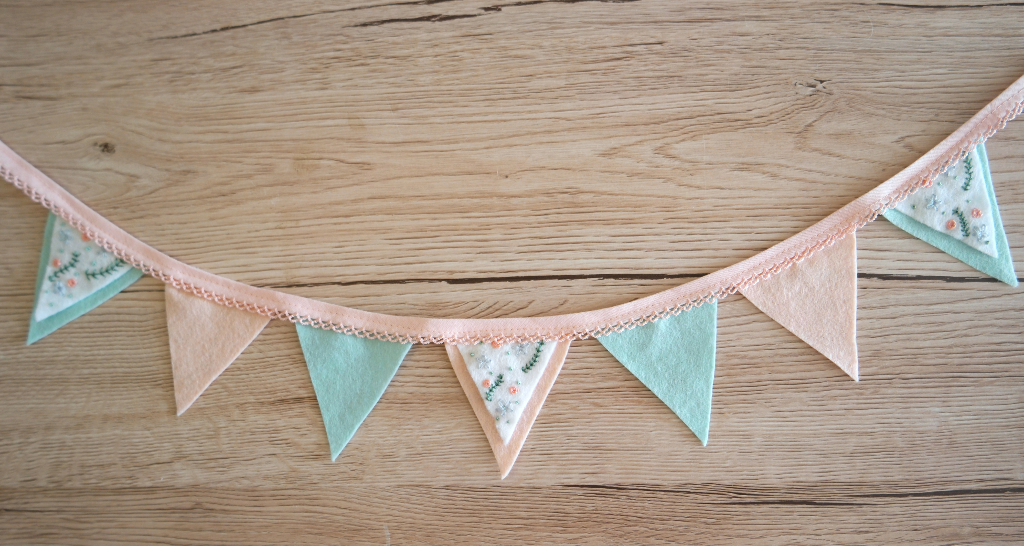
Sew the trim to the flags. If you’ve used bias binding, you’ll need to sew the ends too.
Now all you need to do is find somewhere to put your felt bunting! I like to hang mini bunting on my dresser.
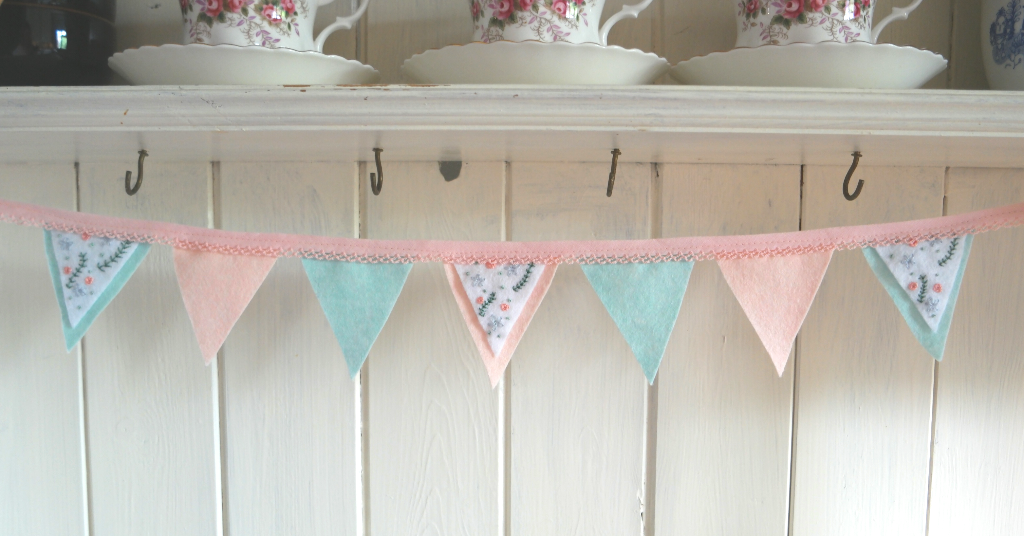
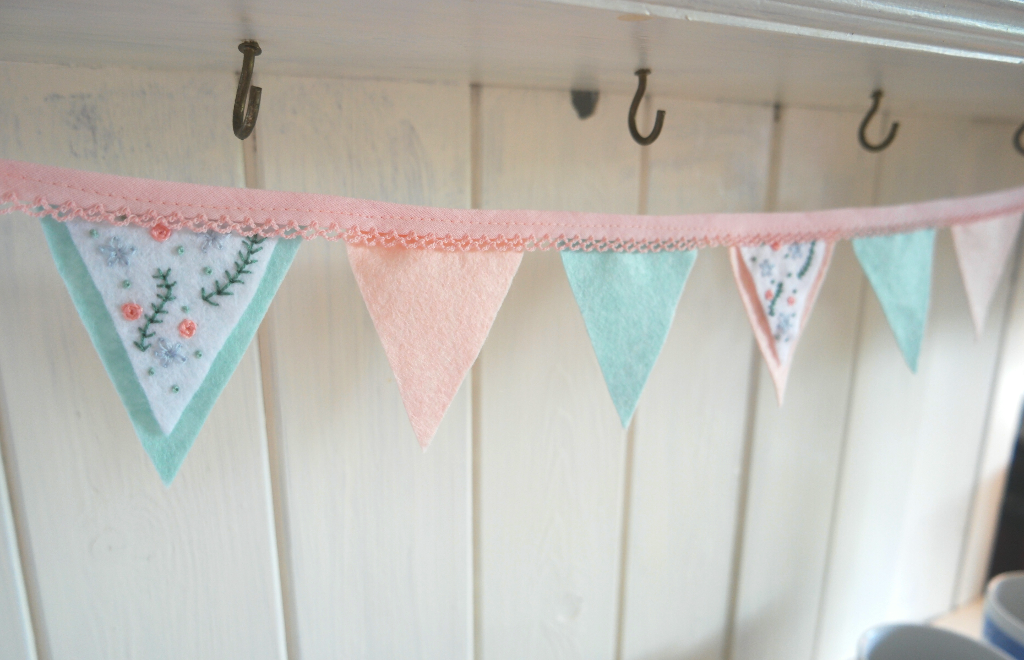
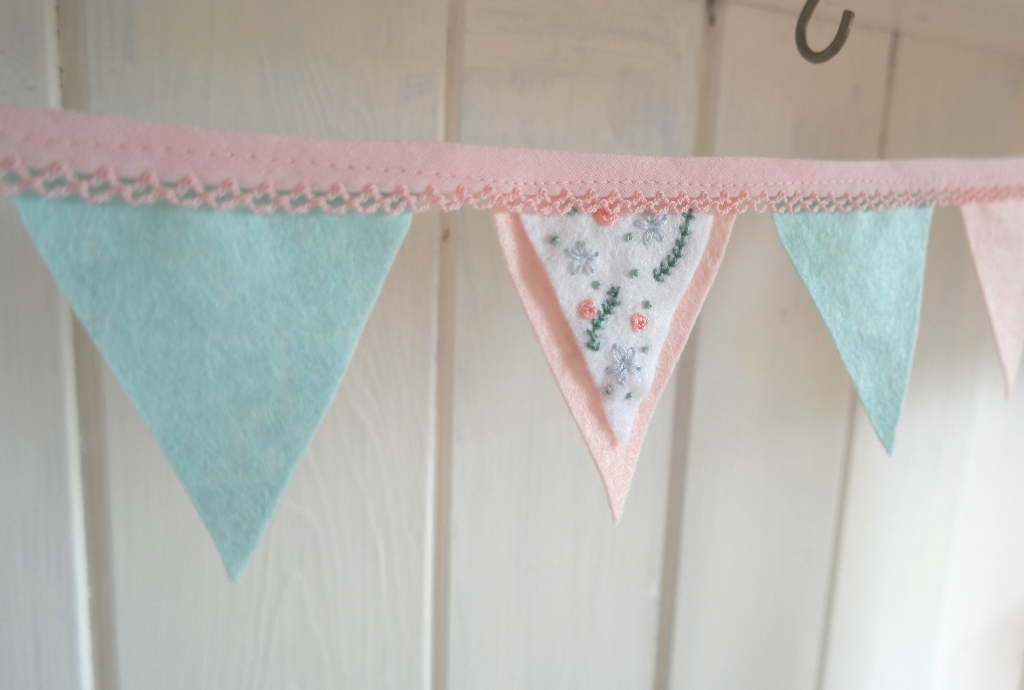
If you’d like the templates and the embroidery design, please fill in the form below.
[chimpy_form forms=”48″]


This is so pretty! I love the soft colors.