Easy Tulle Circle Skirt
Easy Tulle Circle Skirt
One of the nice things about getting older is that I’m so much comfier in my own skin.
I’m also much comfier in things I Iike wearing. I know what I like and I’m not bothered about what other people think!
Being in the happy situation that I’ve lost 3 stone over the last year and nothing fits anymore, I’ve got the perfect excuse to sew things for myself!
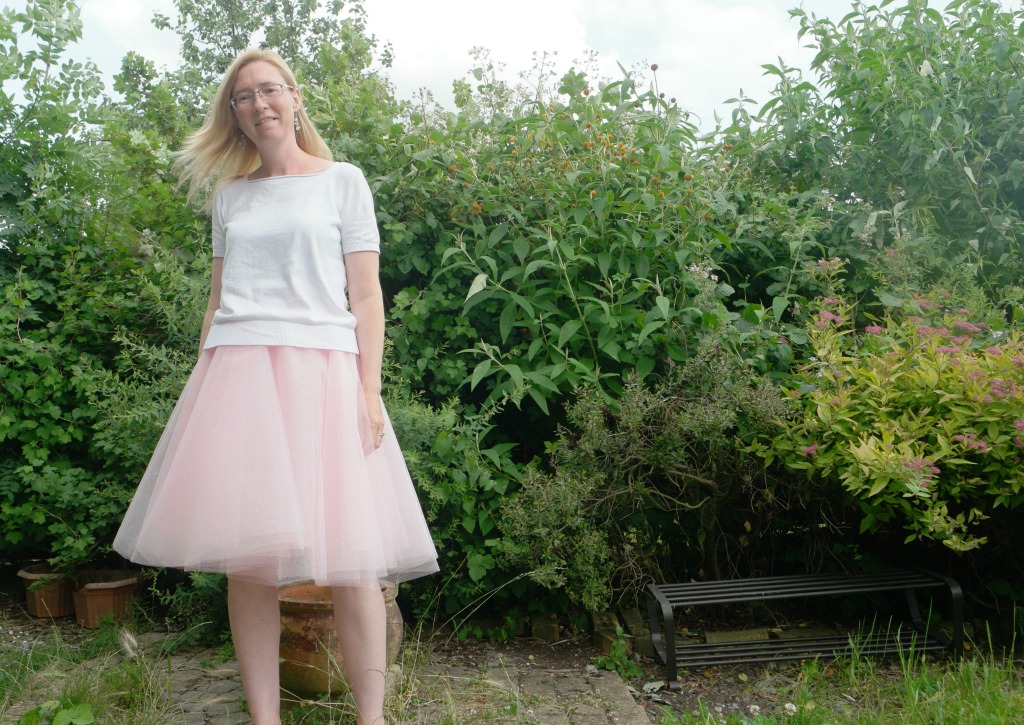
Back in the autumn I made this tulle skirt. It’s now too big and I also had a mishap with a candle, not to mention some issues with the handles on the kitchen cupboards.
There’s nothing like dressing up in a foofy skirt when you’re not doing anything special, so it was time to make a new one!
Although there are lots of layers in this easy tulle circle skirt, they can all be attached to the waistband at the same time, and the only layer that needs hemming is the lining.
If you are fairly slim, or if you don’t mind the skirt being short (ie above the knee), you’ll be able to cut complete circles from the tulle. Otherwise you’ll need to cut half circles and sew them together.
Ready to feel like a 4 year old at a birthday party? Here we go!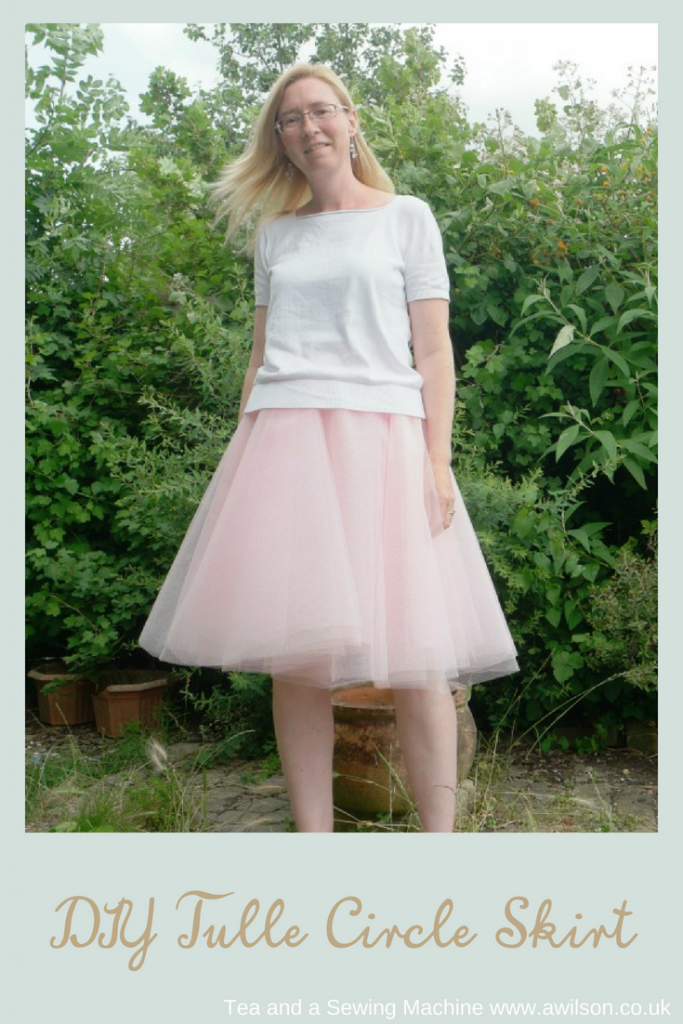
How to Make an Easy Tulle Circle Skirt
You Will Need
2 metres of lining fabric 150 cm (59 inches) wide
Several metres of tulle. I got 4 layers out of 6 m, but it will depend on your dimensions.
Enough waistband elastic to go round your middle
Bias binding for hemming the lining, at least 5 m.
Usual sewing supplies
Before You Start
You’ll need to measure your waist, round your hips and waist to knee (or however long you want the skirt to be.
There are tips about taking measurements here!
Take your hips measurement and divide it by pi. Don’t worry too much about this! It’s 3.14 something and it’s basically the relationship between the distance around the outside of a circle (ie your hips measurement) and the distance across the circle passing through the centre.
Most calculators have a pi button, but you could just divide by 3 instead.
This is the maths that you need to do:
Hips divided pi (or 3).
Desired skirt length x 2.
Add these numbers together. This will tell you how big the square of fabric needs to be in total.
When you’ve divided your hips measurement by pi, you’ll need to divide that answer by 2.
Hopefully you’ll be able to cut complete circles out of your tulle.
If not, you’ll need to cut half circles instead and sew them together.
Cutting Out
When you bought the tulle, it was probably already folded in half length ways.
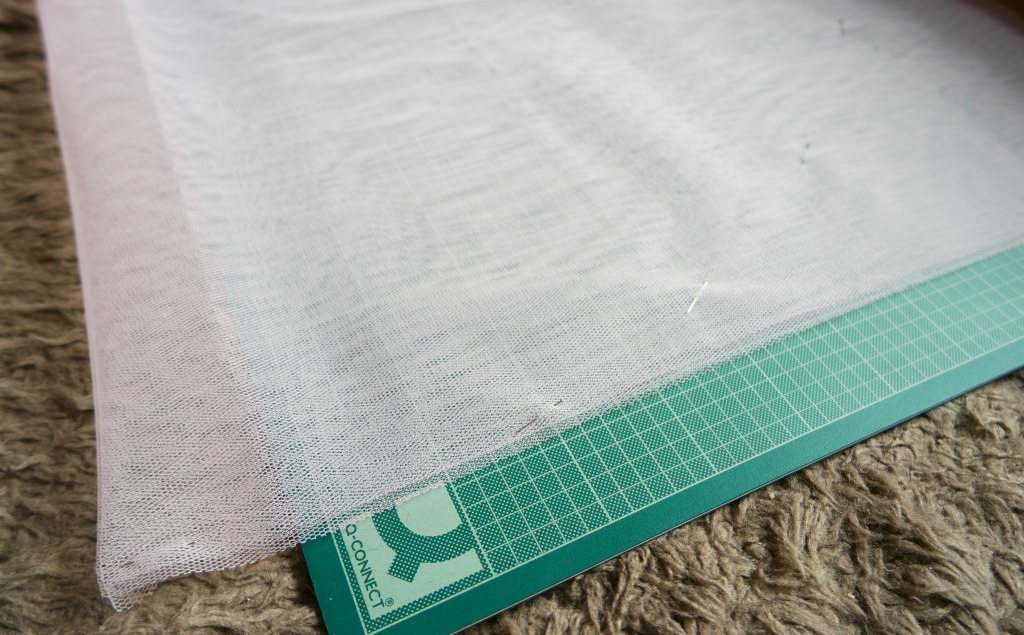
It will be easiest to cut out if you fold it into squares.
So keep it folded in half, then fold the short end over to make a triangle. 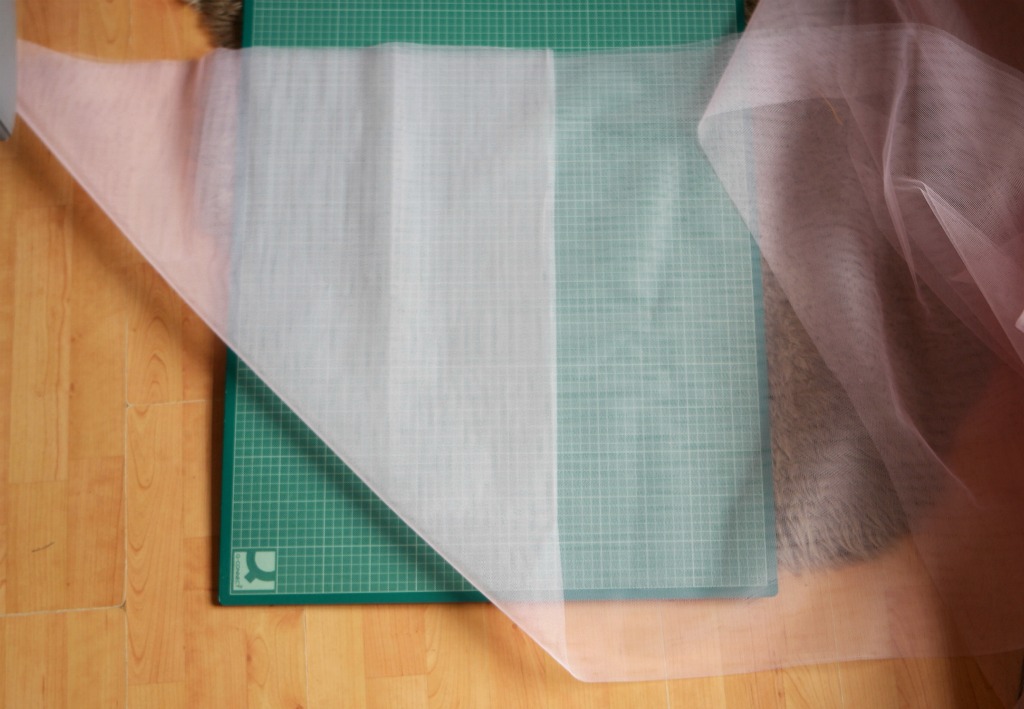 Mark where the edge of the triangle is. When you open this out, it will give you a square. Fold the square over. Mark where the short edge is and cut.
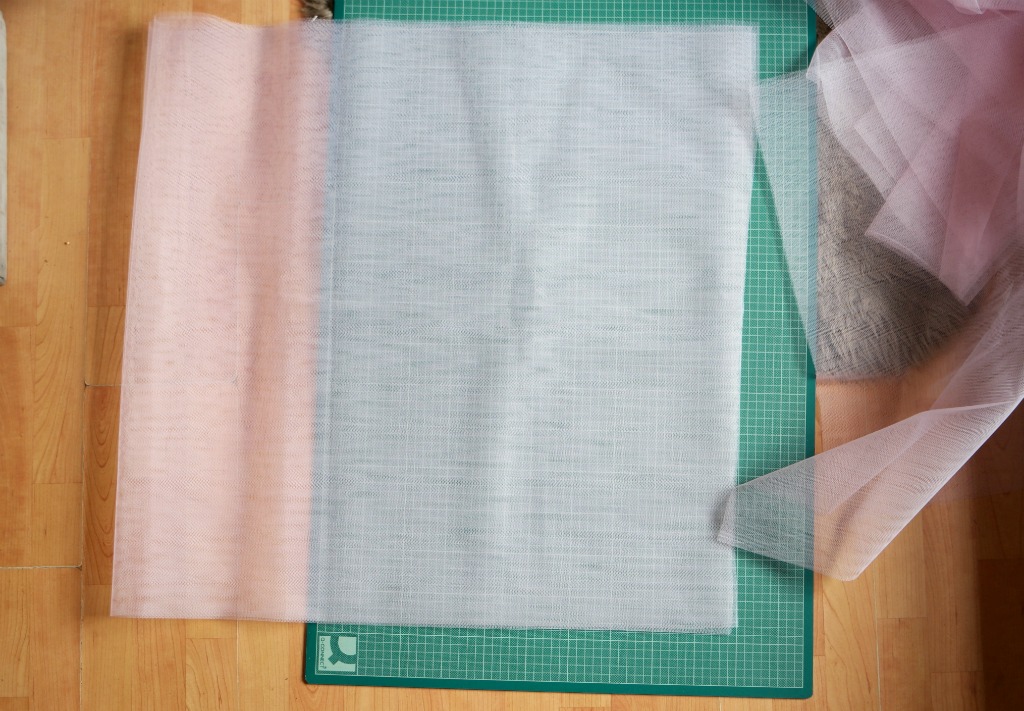
Keep going like this until you run out of tulle!
You can cut the lining in the same way.
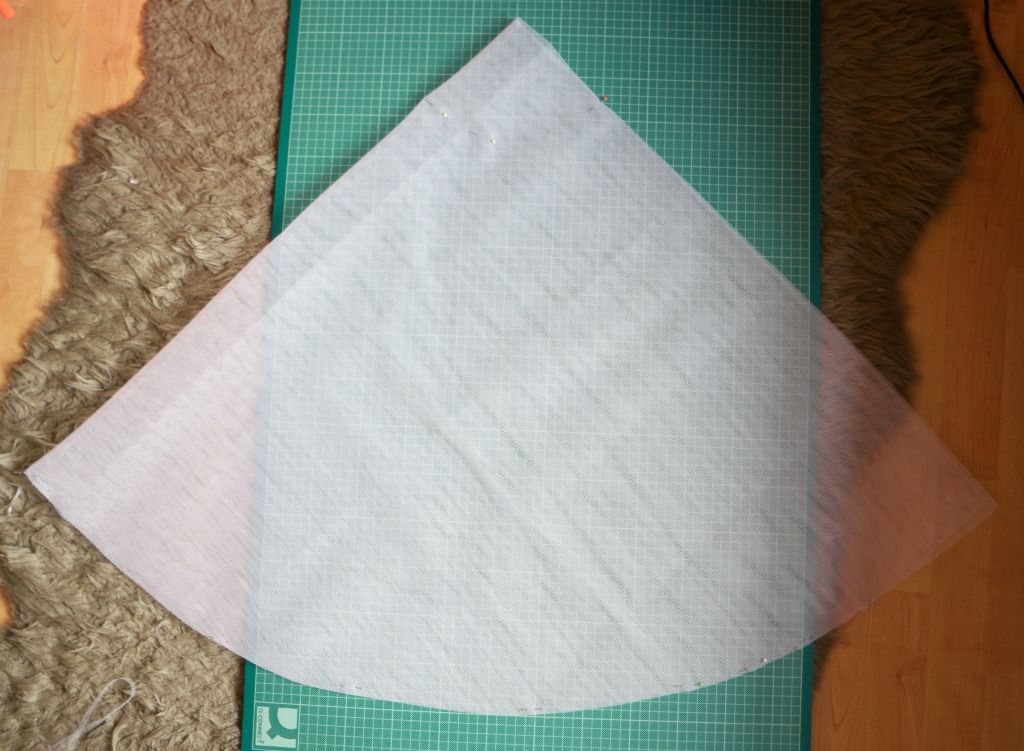
Now take one of the squares of tulle. Keep it folded and identify the centre corner. From this corner, measure down the same distance as your hips divided by pi divided by 2. Mark it with a pin, then measure across the corner to the other side.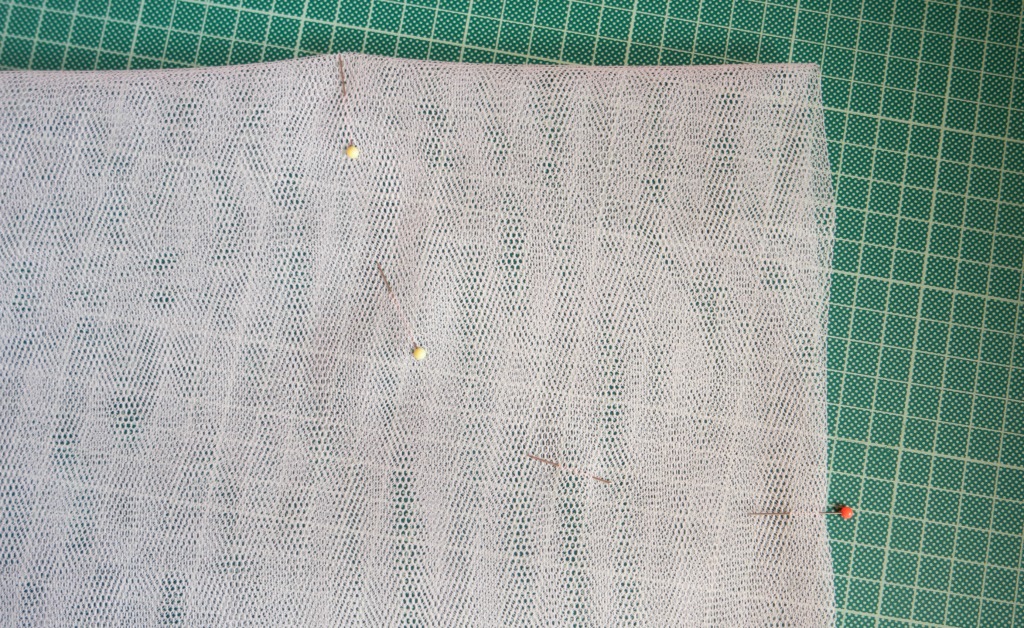
Now measure the total length of your folded piece of tulle down one side.
If you’re making a shorter skirt, if you are small or if you’re making it for a child, measure down from the top corner the same distance as your hip measurement divided by pi then divided by 2, plus your desired skirt length.
Measure this amount across the square to the other side, marking with pins as you go.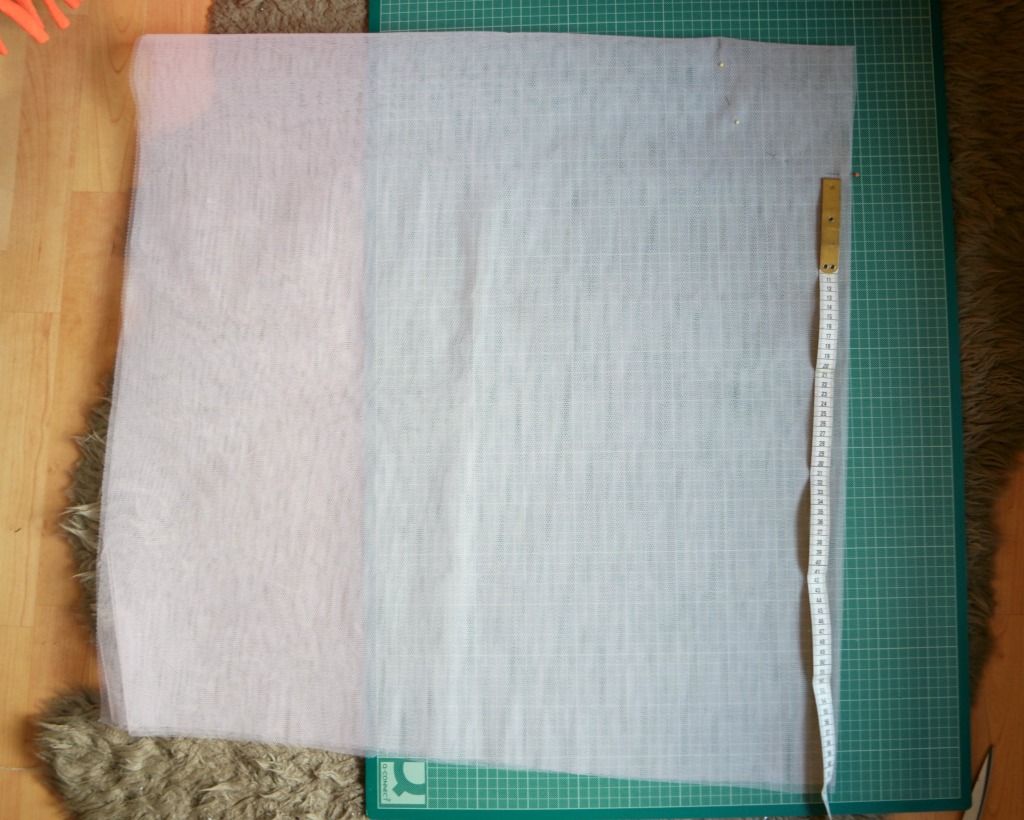
Now you can use this as a template to cut the other pieces.
When you’ve cut the bottom edge, cut the top corner. You could do this at the same time as cutting the bottom, it’s just easier to line up the pieces when the top corner is still there.
The lining can be cut in the same way, but it will need to be a bit shorter. Cut an extra 10 cm (4 inches) or so off the bottom edge.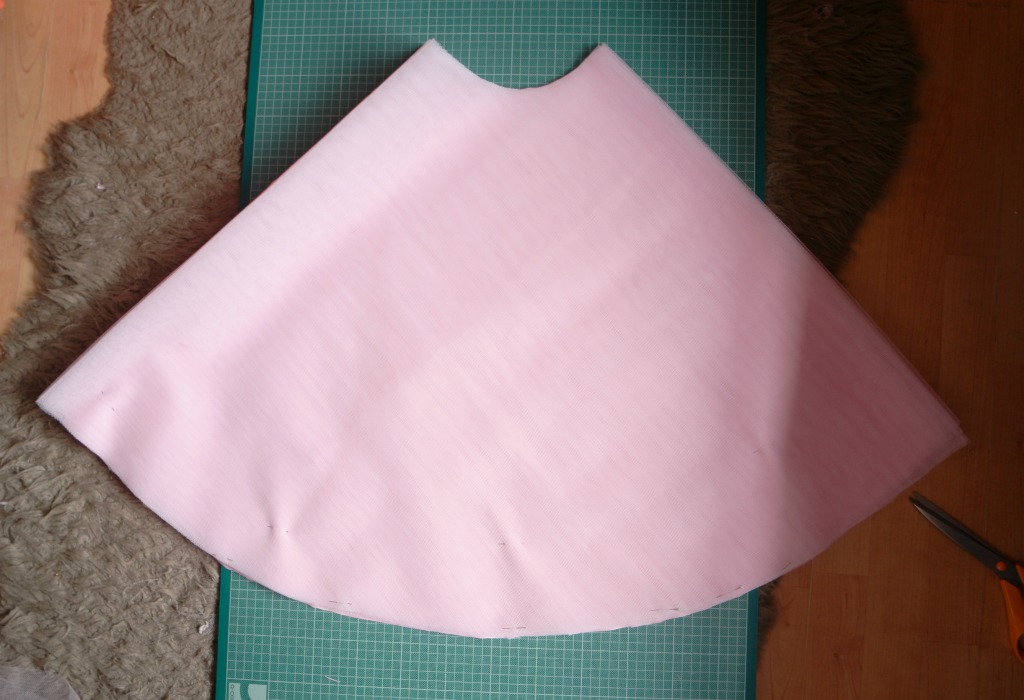
You have one more thing to cut now and that’s the elastic! Cut a piece that will go comfortably around your waist without being too tight, plus enough extra to sew the ends together.
Sewing the Skirt
Now you’re ready to sew your easy tulle circle skirt!
If you need to sew side seams, do this now so that you have complete circles of tulle and lining.
Hem the lining. This is easiest to do with bias binding. There’s a tutorial for the method I used here.
Lay the lining out right side up. Put the tulle layers on top of this and line up the circle in the middle.
Pin the layers together, then tack them. When you’re doing this, keep checking that you have all the layers.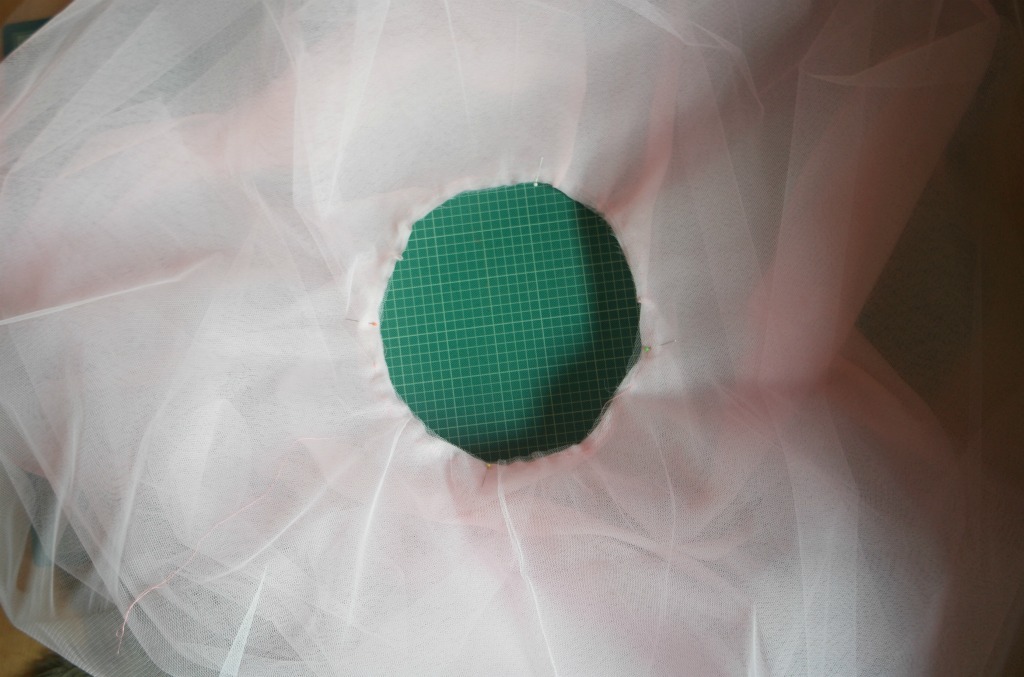
On the edge of the centre circle, mark off quarters. This is to make thing easier when you attach the tulle.
Sew the ends of the elastic together. I like to enclose the raw edges to minimise fraying. You might need to do this by hand if your sewing machine protests.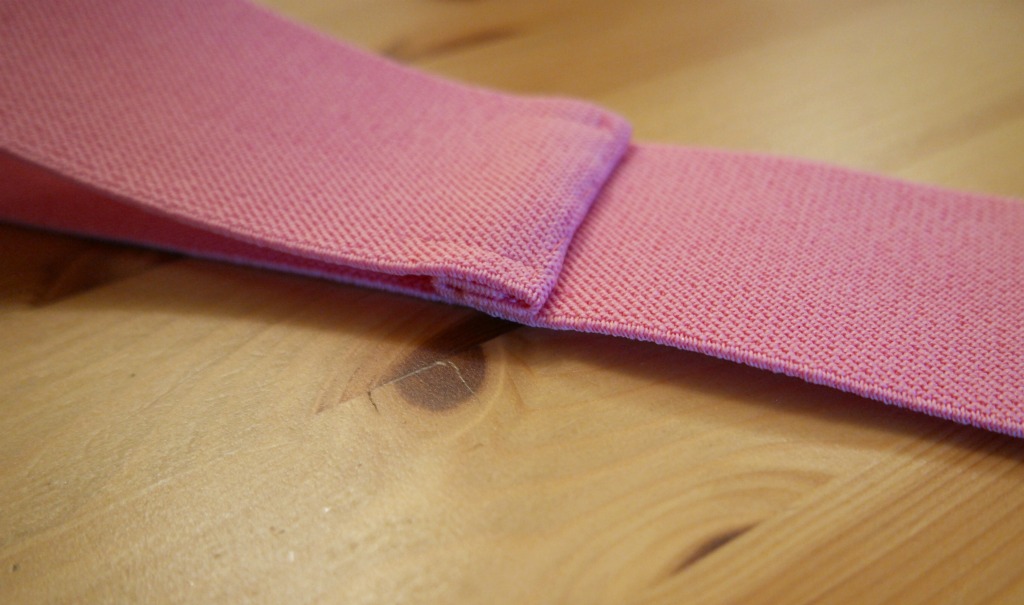
With pins mark quarters on the waistband like you did with the skirt.
Now you can sew the skirt to the waistband!
To do this, you’ll need the elastic at the bottom, then the tulle with the lining uppermost.
Choose a zigzag stitch on your sewing machine. This will allow everything to stretch so that you can get in and out of your skirt!
As you sew, stretch the elastic so that you can match the quarters of the waistband with the quarters of the skirt. You’ll need to use both hands for this.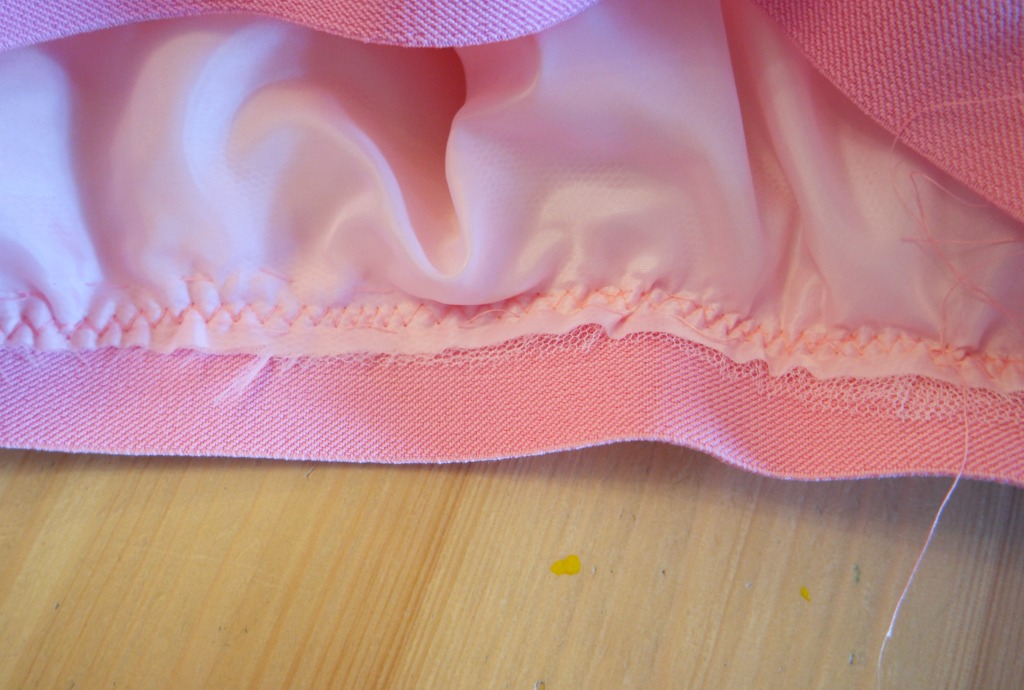
Trim away any stray threads and you’re ready to wear your easy tulle circle skirt to a party, or just for the school run and removing limescale from the loo like I did the other day!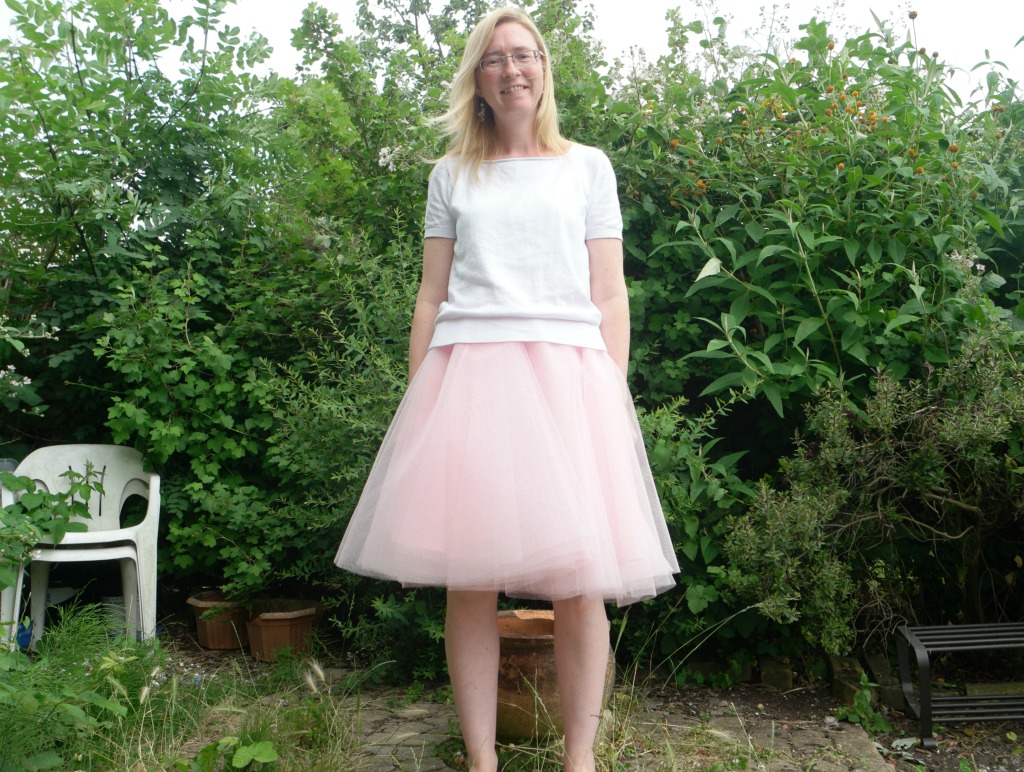


This is so lovely, and a great tutorial.
I love how you say you feel more confident to wear what you like without worrying what people think.
Thank you xxx