Easy Scrappy Pincushions
Although I’ve got better over the last few years, I still have a tendency to start things but not finish them, which is why lots of the projects on Tea and a Sewing Machine are usually fairly quick things! That way I stand more chance of getting them finished, although I do have an impressive pile of unfinished projects as well!
At the moment my concentration is so bad I’m even wondering whether I might have a grown up version of ADD!
Sometimes we want to make stuff even if we can’t concentrate, and doing something creative is believed to help with all kinds of issues relating to mental health. The answer isn’t to give up completely, but to accept that something complicated that’s going to take a while probably isn’t a great idea, while making something quick and easy is.
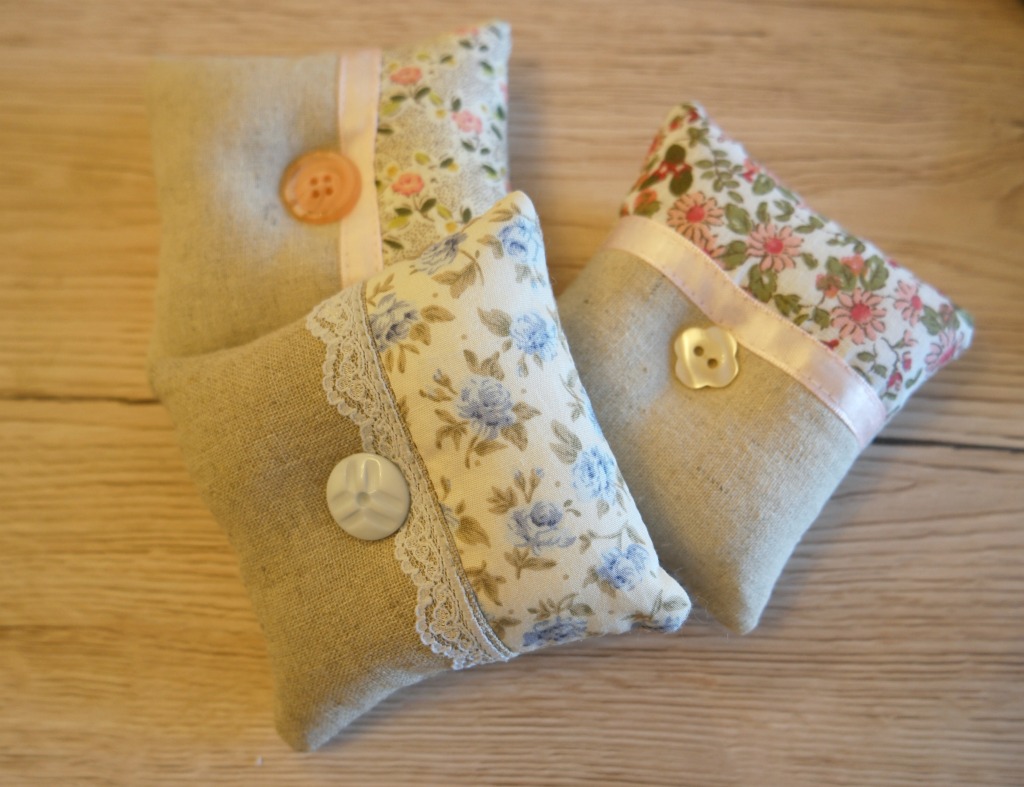
So earlier in the week I decided to make some scrappy pincushions. With things as they are at the moment, even finishing these was a challenge. The fact that I started 7 and only finished 3 probably says it all!
Scrappy pincushions are good for lots of reasons. You can make them in all different kind of ways (just look on Pinterest!), it’s handy to have a few, you probably have stuff to hand to make them already, you can use up bits and pieces left over from other projects and they make nice presents for friends and family who like to sew.
These scrappy pincushions measure about 10 cm square, and have a piece of plain fabric, a print, a scrap of ribbon and a button.
The three I actually finished are all made in the same way. I used linen for the plain fabric, but anyything plain would work.
If you don’t have any suitable buttons, you could see if you have any on old clothes that you don’t wear anymore, or you could try junk shops or ebay (affiliate link).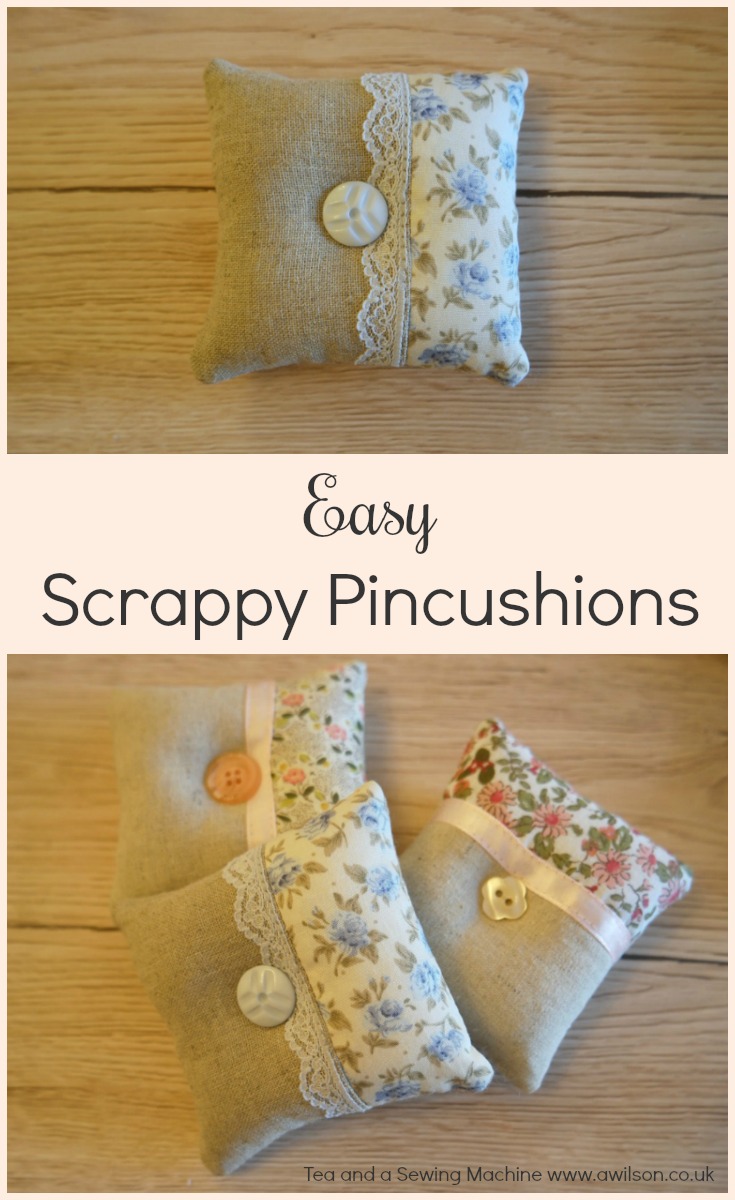
How to Make Scrappy Pincushions
You Will Need
Scraps of plain fabric, scraps of patterned fabric, ribbon or lace, buttons, polyester filling.
Instructions
1. From the plain fabric, cut a piece 7 cm x 11 cm and a square 11 cm x 11 cm, and from the patterned fabric a piece 6 cm x 11 cm.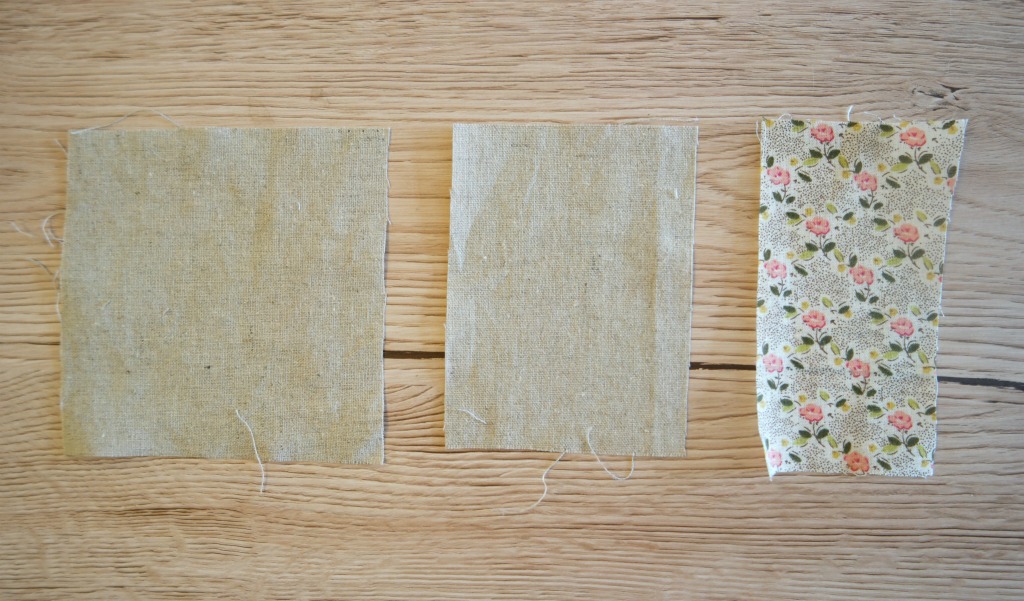
2. Sew the plain piece of fabric to the patterned piece. Trim the seam and press it open. You should end up with something that is vaguely square. If not, don’t worry, you can sort it out later.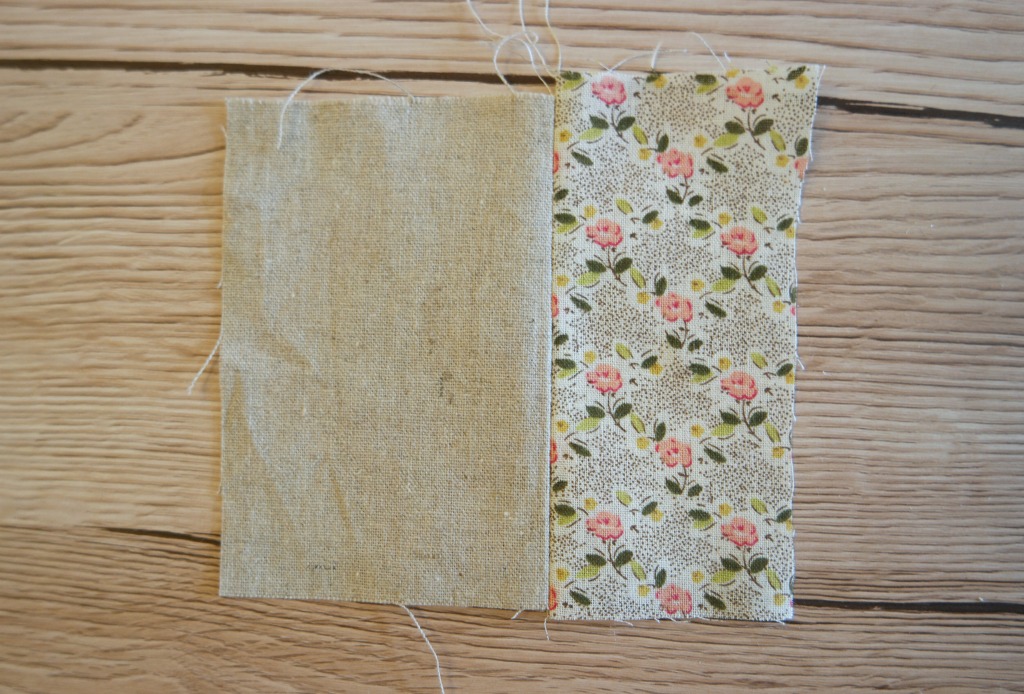
3. Sew a piece of ribbon or lace over the seam between the plain fabric and the patterned fabric.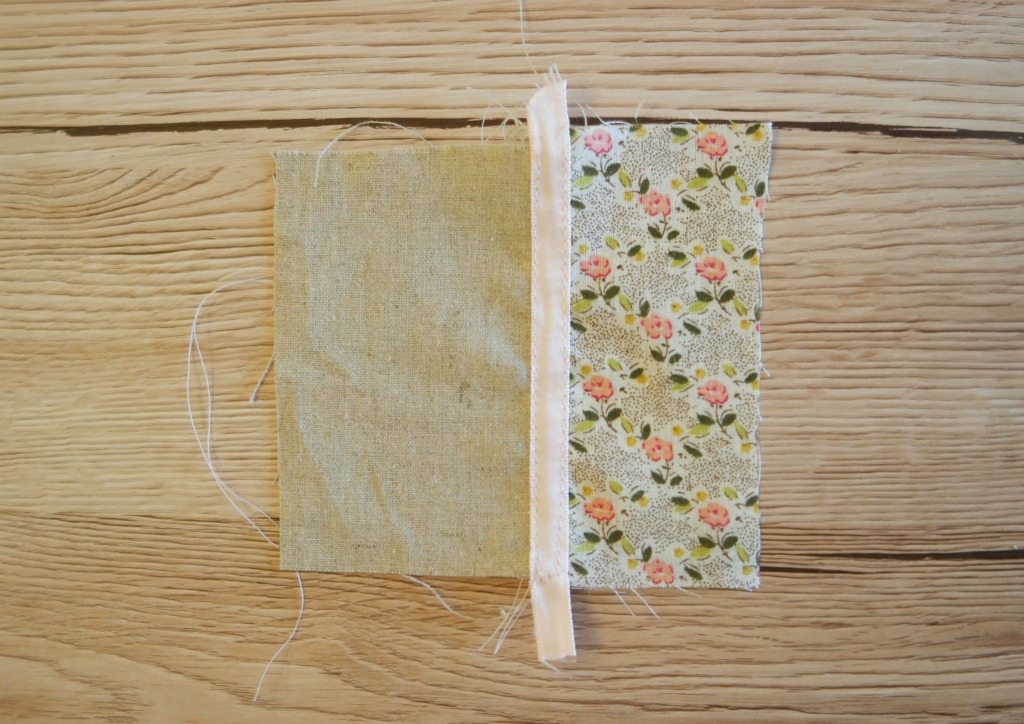
4. Pin the section you’ve just completed to the plain square piece you cut out earlier, with the right sides together. This will be the bottom of the pin cushion. Sew around the edge, leaving a gap in one side.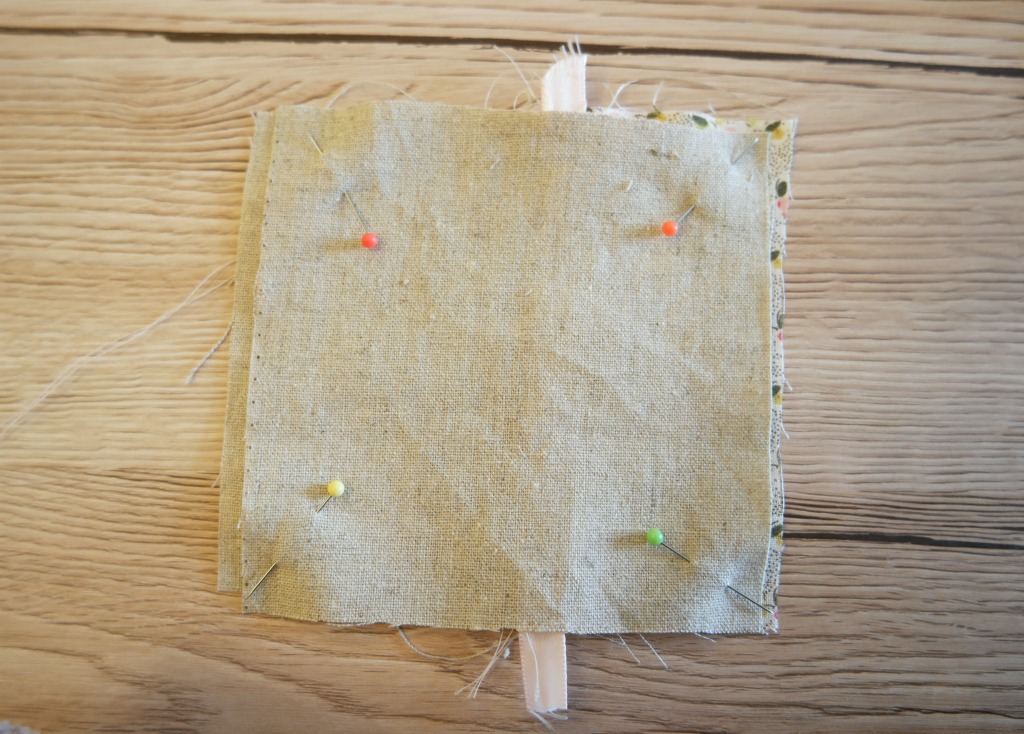

5. Turn it out and fill with polyester stuffing. Remember to fill it so that it is firm; you don’t want it to yield too much when you stick pins into it. Slip stitch the opening.
6. Sew a button in the centre. I sewed from the back of the pincushion through to the front, into the button, through the front and out through the back again. Then I tied the ends together. This works better than tying a knot because I found that pulling the thread tight just pulled the knot through! An alternative is to tie the end to a smaller button, then sew through the pincushion to attach the button on the top.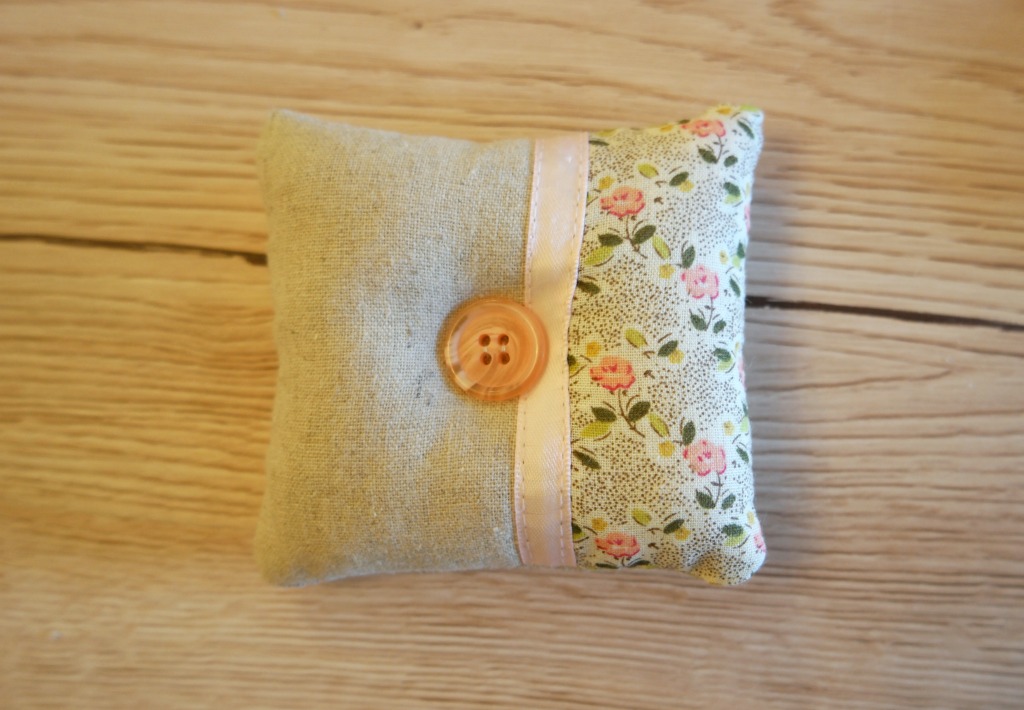
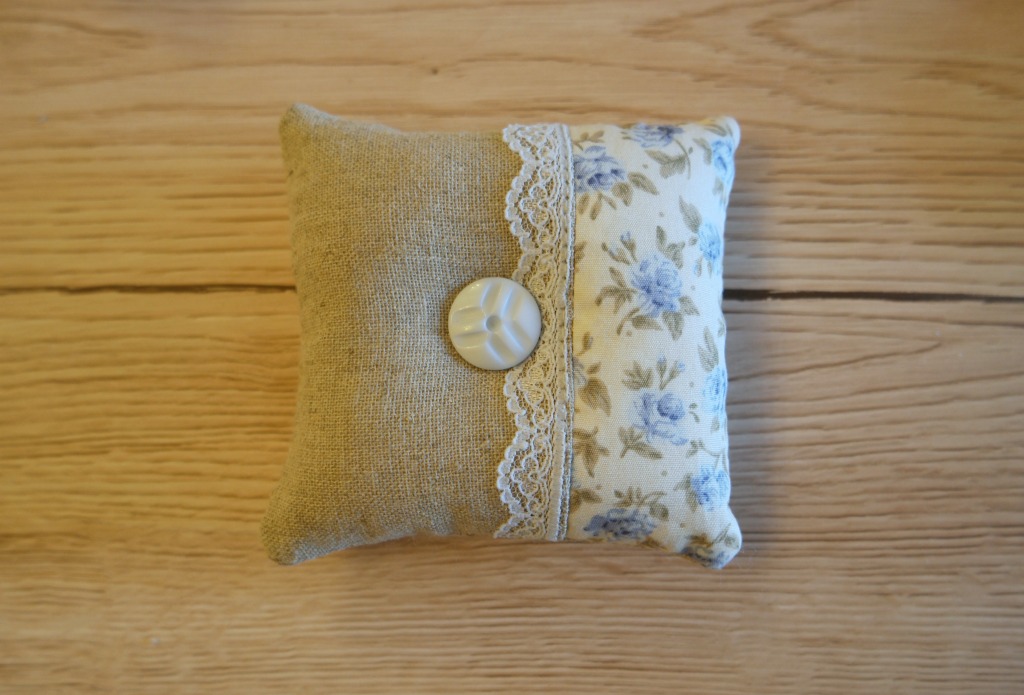
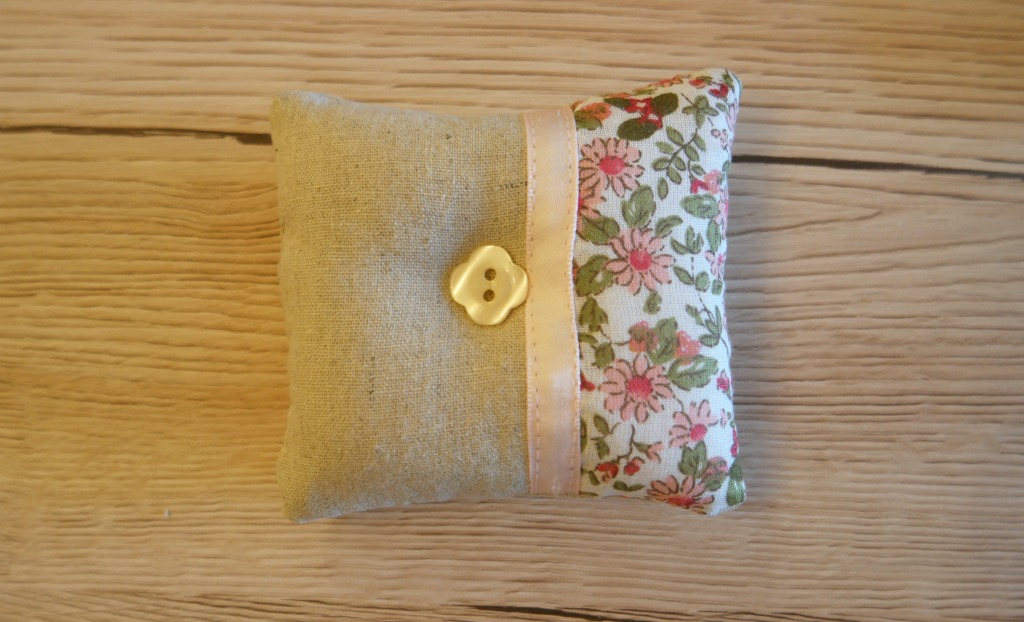
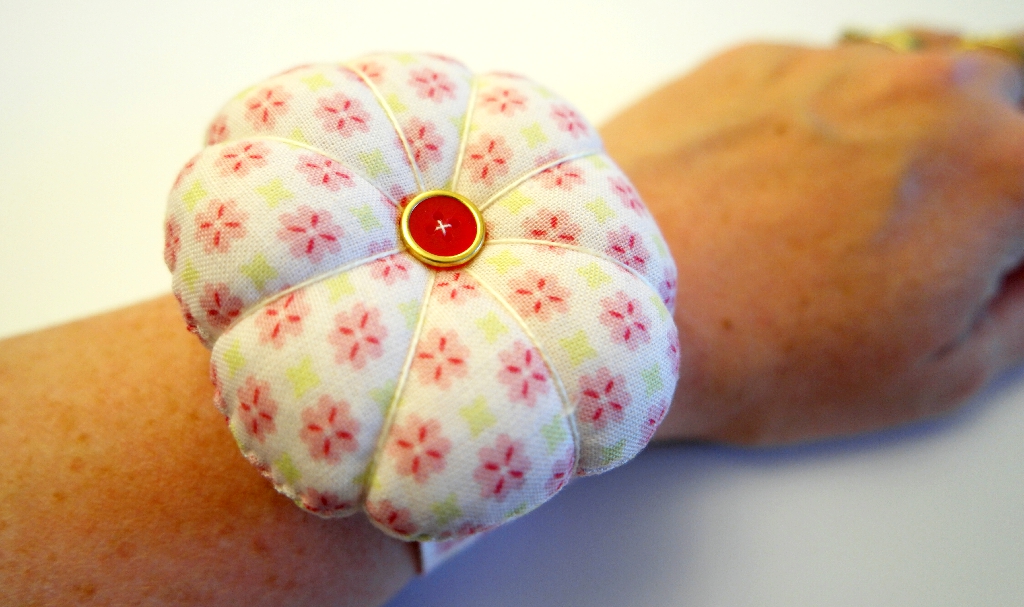
If you like this tutorial, you might also like this one for a wrist pincushion.


Me gusto el video de ambos elementos practicos y faciles de hacer.
Felicitaciones y gracias por motivarme.
Feliz navidad desde Chile.
Thank you xx Merry Christmas!
it is an interesting product i would definitely make one
Linen and lace – can’t beat it. Great way to use up small scraps.

Pam @Threading My Way recently posted…Easy to make ~ Denim Jeans Pocket Tote Bag ~ Tutorial
It’s a winner isn’t it 🙂