Easy Drawstring Bag With Enclosed Seams
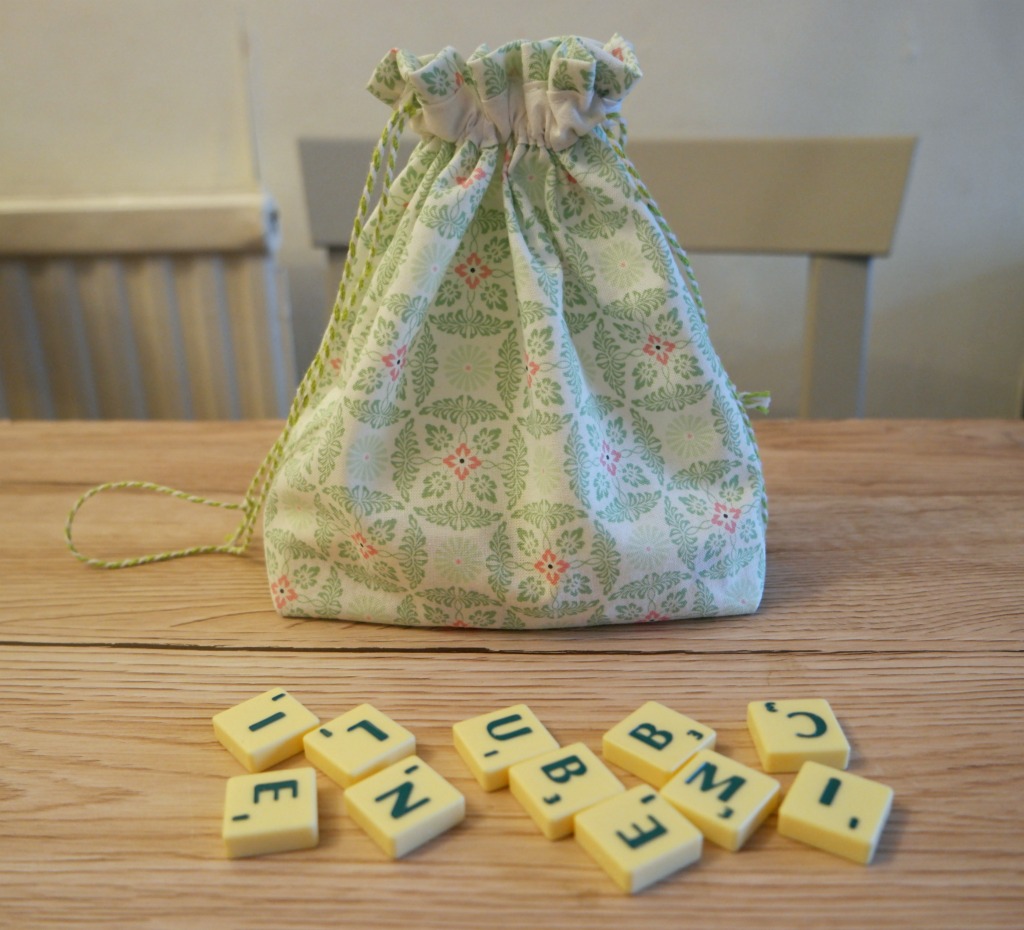
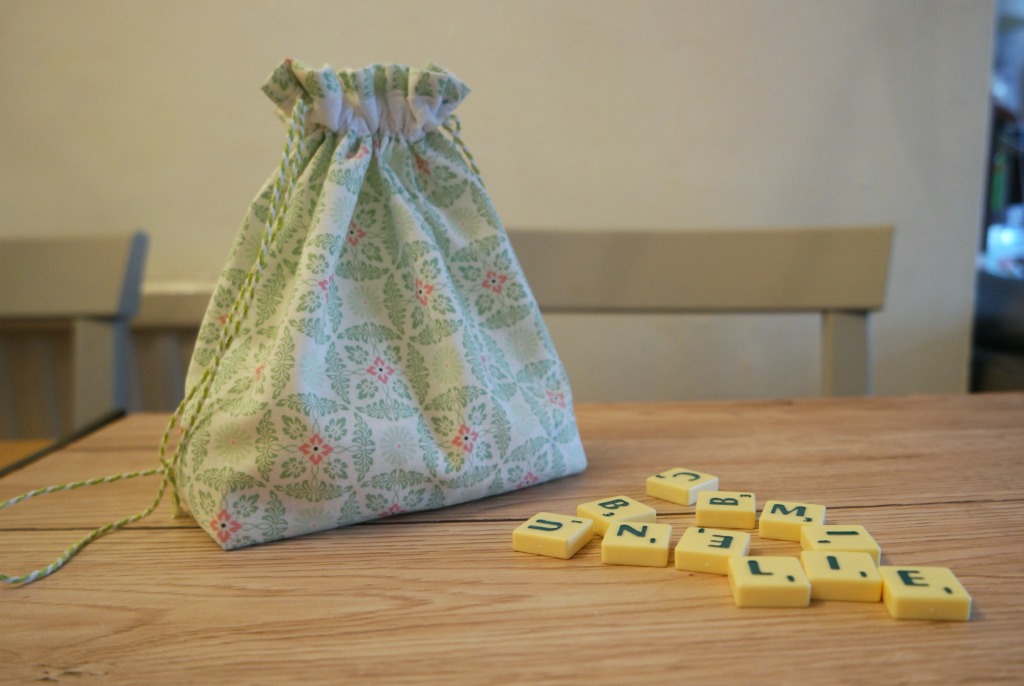
My friend Wendy recently asked me to make her a little bag. She and her husband Danny play Scrabble, and they need a bag to keep the Scrabble tiles in. It also needed to be big enough to get a hand in to take a tile out.
These were her only requirements!
I knew I had some suitable fabric, and that I would be able to whip up an easy drawstring bag quite easily.
Wendy’s a knitter but she doesn’t sew. She and Danny are also lovely, very kind, sweet with my boys and have invited us round to dinner lots of times. Danny is a very good cook, so going round to theirs is a treat!
So I added some of my own requirements to the easy drawstring bag.
Because it’s going to be used quite a lot, and hands are going to be in and out of it, I decided on enclosed seams to give them some strength and to prevent it from becoming tatty quickly.
I also decided on boxed corners, so that it will sit on a table without the tiles spilling out everywhere.
Little drawstring bags are useful for all kinds of things, even if you don’t play Scrabble!
So here are the instructions if you want to make for one yourself or for some kind hearted people you know who might find a use for one.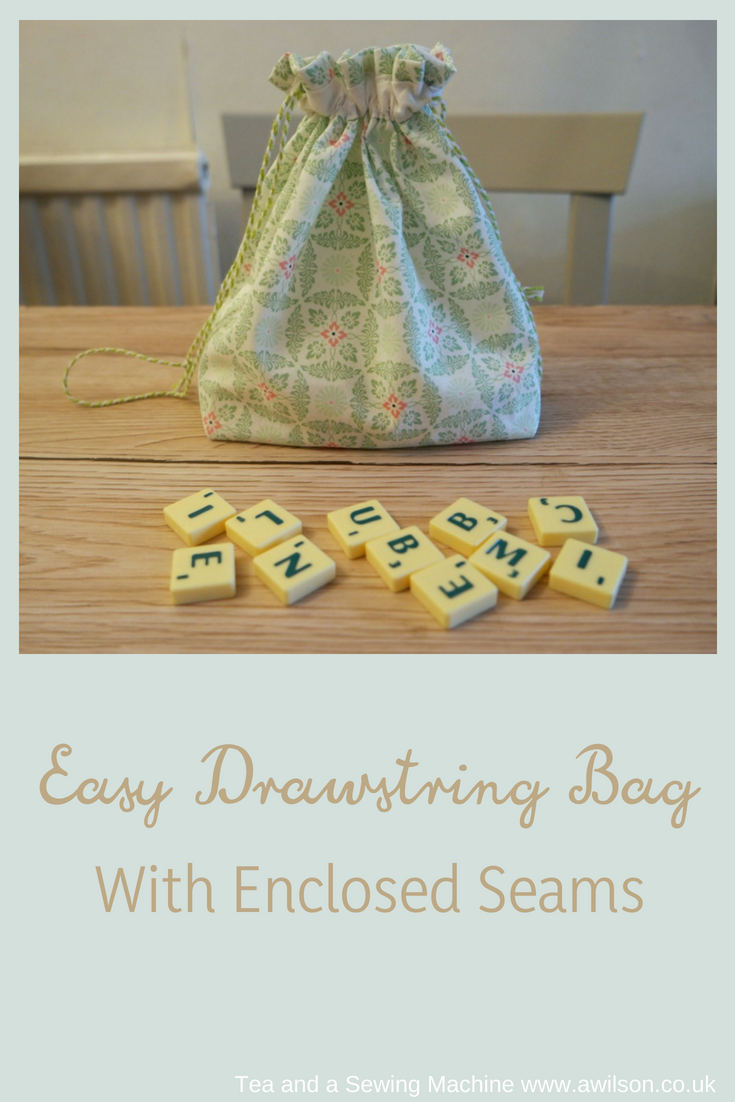
How to Make an Easy Drawstring Bag
You Will Need
A piece of cotton fabric large enough for your bag. I used a piece 23 cm x 45 cm (6 inches x 17 3/4 inches).
Bias binding
String or cord. I used bakers’ twine (affiliate link).
Sewing the Bag
If your fabric has a directional print, you’ll need to cut it in half widthways, turn one half round then sew it back together.
1. With the wrong sides together, fold the fabric in half widthways. Pin the sides and sew a 1 cm (1/4 inch) seam. Cut the seams in half. Press the seams.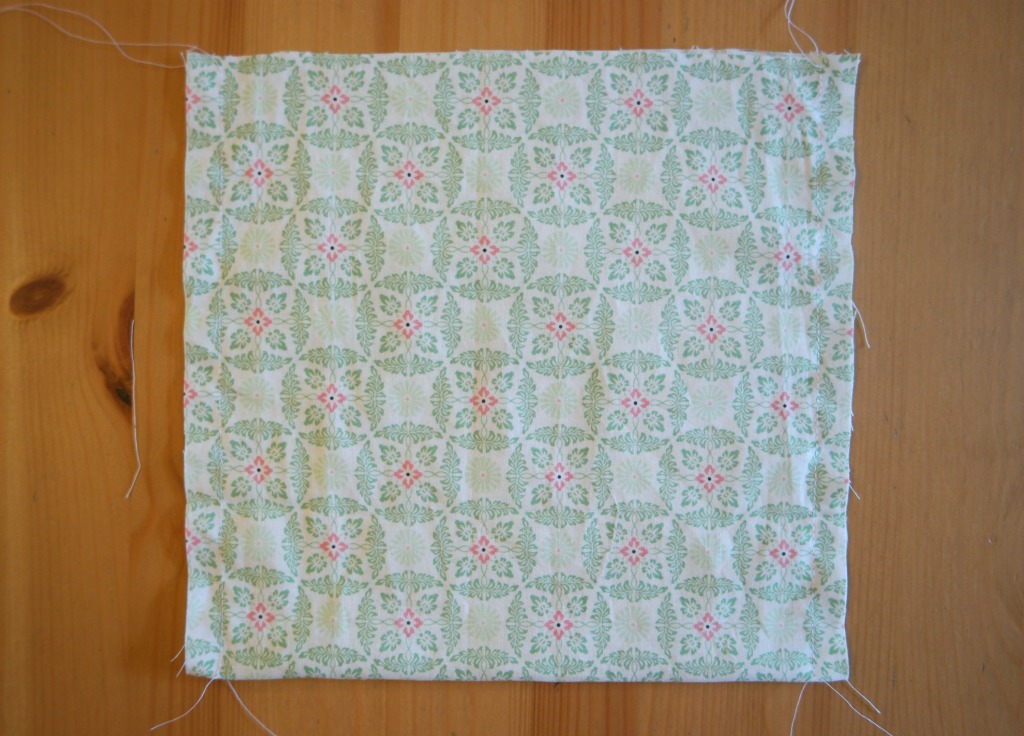
2. Turn the bag inside out. Pin the side seams so that the raw edges are enclosed. Sew the seams again, a couple of mm away from where the raw edges are inside the seam. Press again.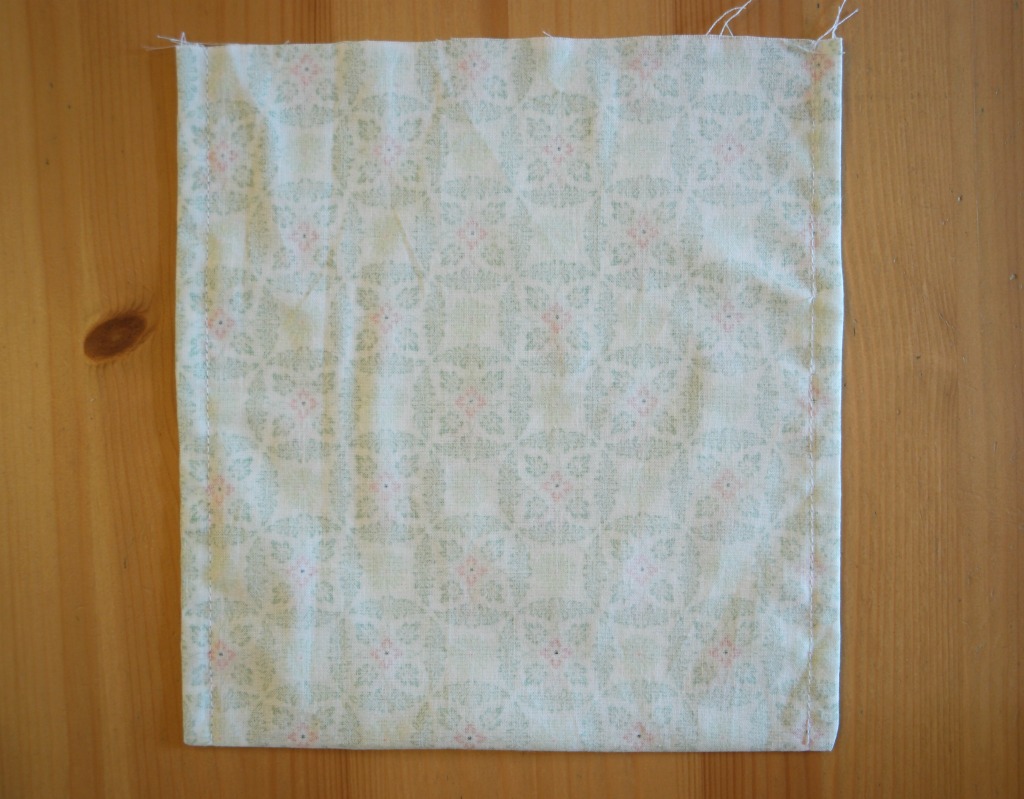
3. To make the boxed corners, turn the bag the correct way out again. These seams are going to be enclosed too!
Take one of the corners and squish it flat so that the side seam is next to the bottom of the bag. If you used a directional print and reassembled the fabric, there’ll seam along the bottom. Otherwise you’ll need to press it so that there’s a fold. Using your finger might be enough. It’s just to get the corners square.
Measure up 2 cm (3/4 inch) up from the corner and pin. Sew across the corner at right angles to the seam. 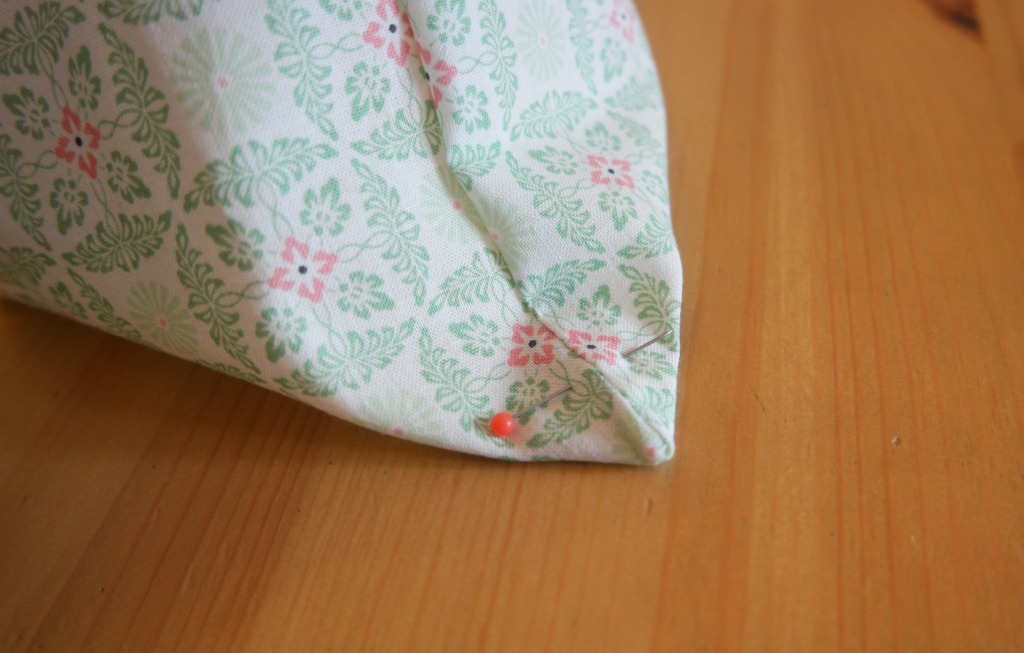 Cut the corner off.
 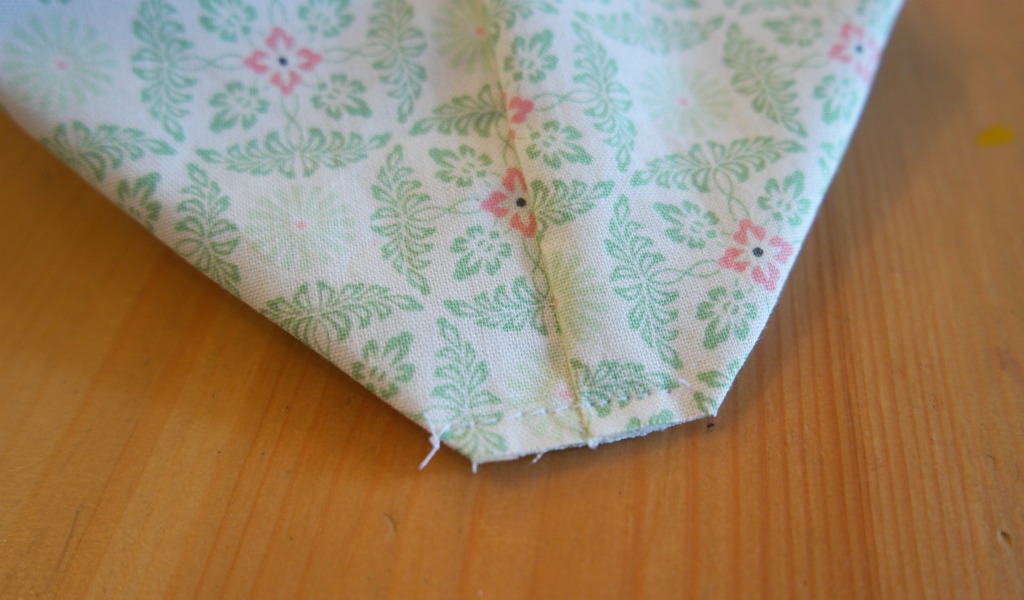 Repeat with the other corner.
4. Turn the bag the wrong way out again. Pin the corner seams and sew to enclose the raw edges.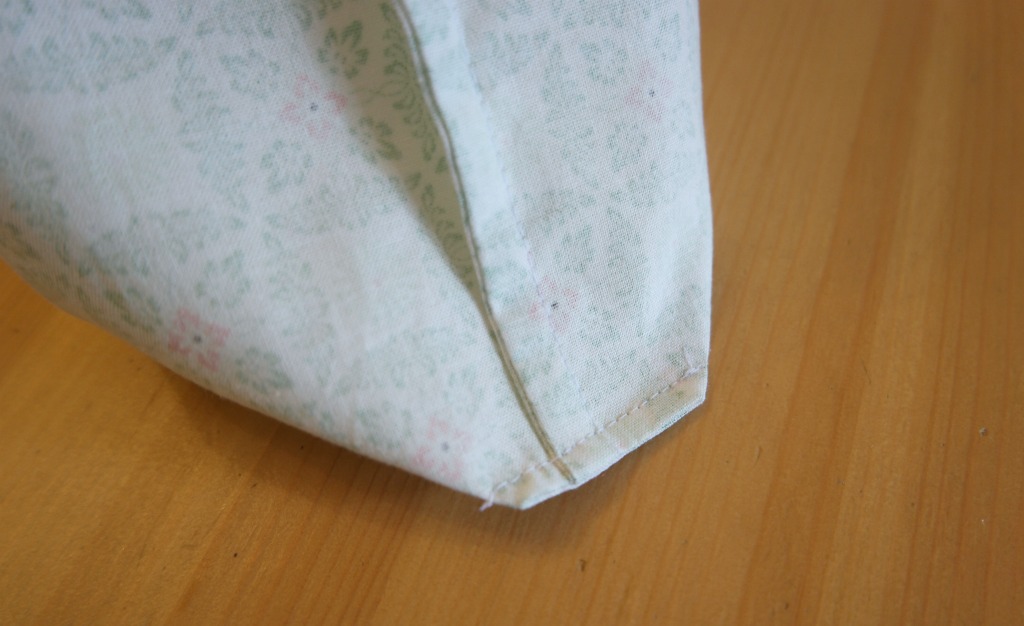
5. Take the top edge and fold it over. Fold it over again. Pin, then sew, keeping close to the lower edge of the folded section.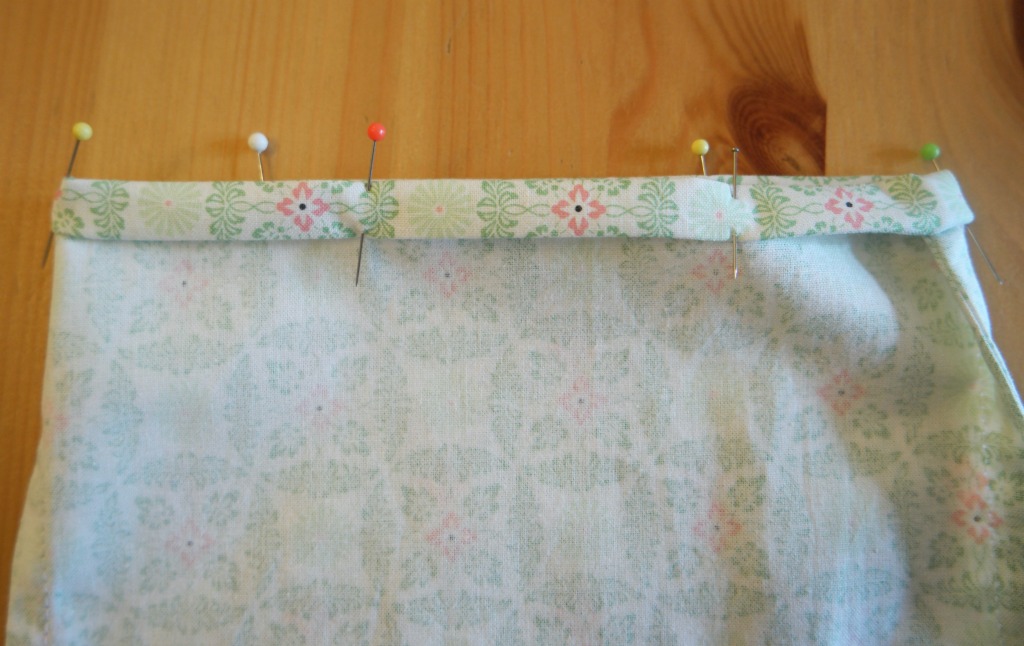
6. To make the casing, cut 2 pieces of bias binding about a cm (1/4 inch) shorter than the width of the bag. Pin both pieces to the bag on the right side, just below the top, leaving a gap between each piece at the sides. Sew along each long edge of the bias binding. Don’t sew the short edges!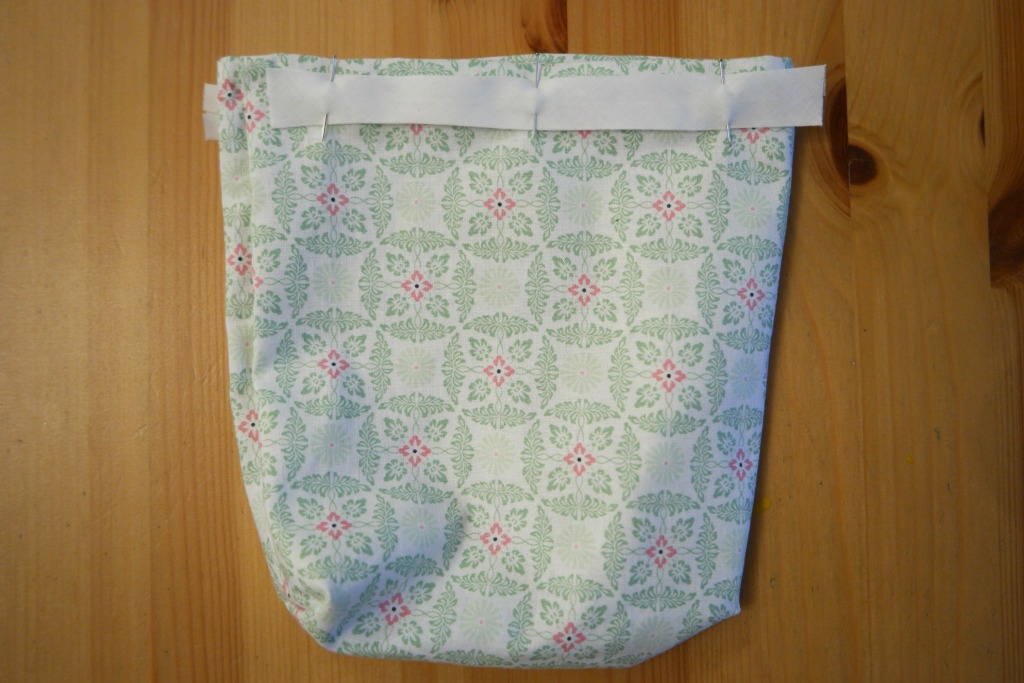
7. Cut a length of ribbon or cord 4 times the width of the bag, plus a bit extra. 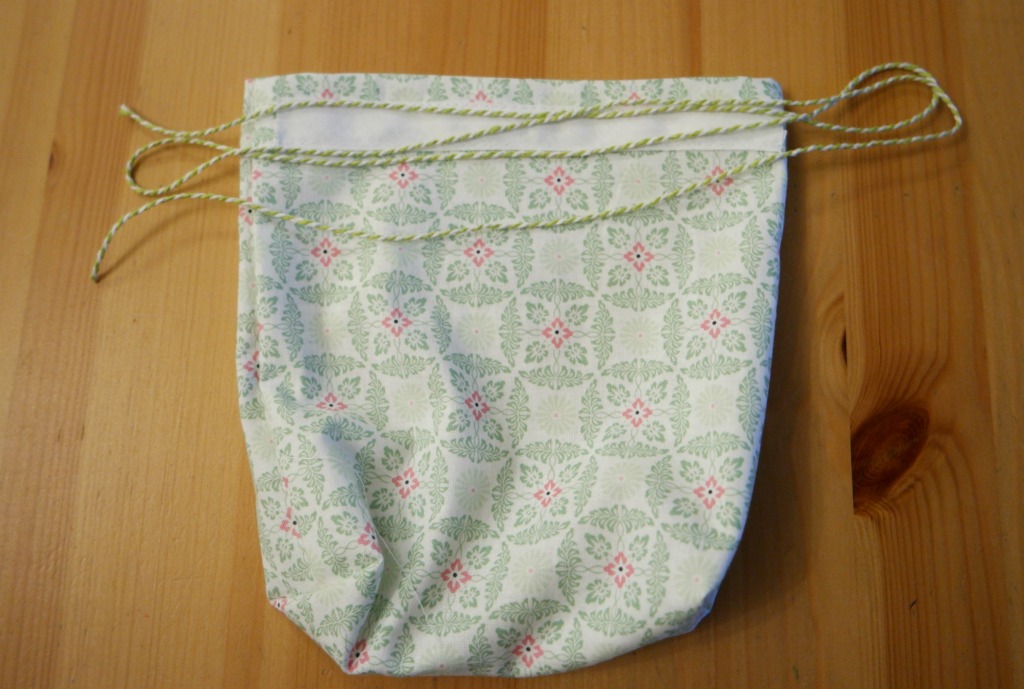 Tie one end to a safety pin and pass it through both pieces of the bias binding. You’ll need to go through each piece twice.
8. Tie the ends of the cord. Before cutting anything, pull the cord to check that it closes. There will be 2 bits of cord at each opening, so if it doesn’t work, try pulling the on the other bit.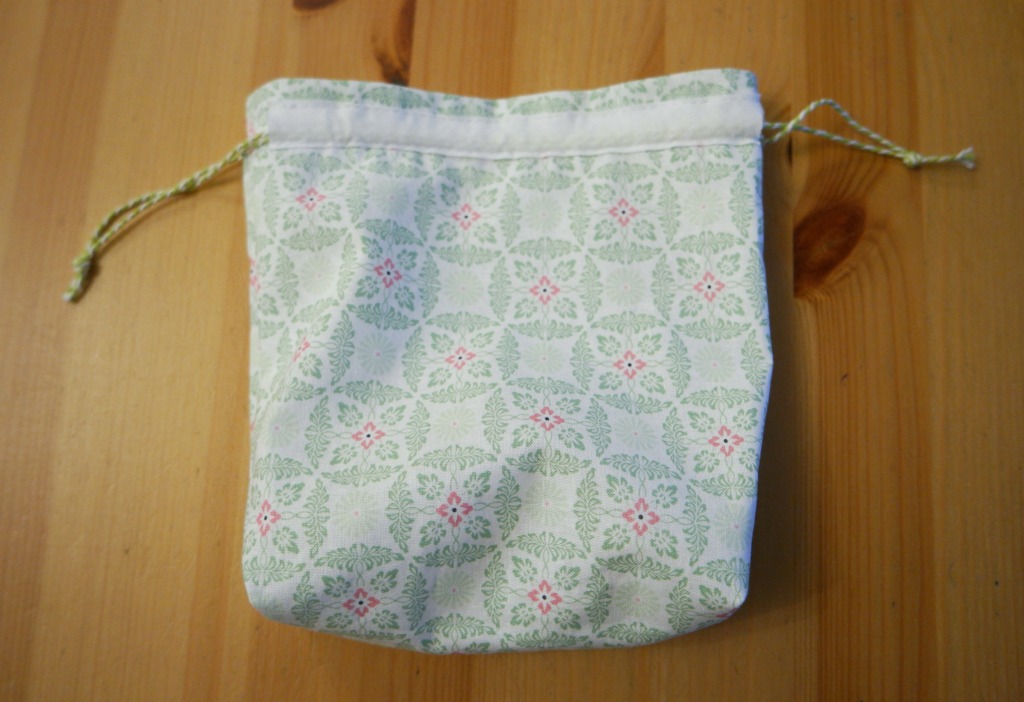
Now your bag’s ready for your Scrabble tiles!
Tips
To reduce the amount of visible stitching on the outside of the bag, pin the bias binding so that it overlaps the bottom of the hem.
If you are using ribbon or thicker cord, you might prefer to pass it through the casing just once and pull the bag closed on one side rather than on both sides.
A piece of velvet or corduroy would make a nice bag for storing scrabble tiles or something similar, but it might be a bit thick for enclosed seams. If the fabric won’t fray, you could pink the seams instead.
If you liked this, you might also like these posts.


Hi Anna,
I’m gifting a Scrabble game for Christmas, but the game’s included bag is just too tacky for my liking.
Your pattern and instructions are great! (except the cotton fabric piece of 23 cm X 45 cm, should convert to TEN inches X 17 3/4 inches). I was able to re-direct some waiting-to-be-cut mask fabric and t-shirt ties into a very personal gift add-on. Thank you!
Spooky, I’ve been making drawstring bags this weekend too! I like to pass the ribbons through twice, like you have here, it’s so easy to close the bag.
This is a great tutorial, so clear and easy to follow. Thanks.
Thanks Julie, they’re always useful!