Easy DIY Felt Flower Wreath
Since my Christmas wreath came down, my poor front door has been left without a wreath.
I’ve got plans to cheer it up by painting it a pretty shade of green, but the weather’s been either too cold or too wet!
Until spring turns up (hopefully soon, so bored of winter now!), my door needs something.
Inspired by so many beautiful felt flowers on Pinterest, I decided to have a go at making some, which I could then use to make a felt flower wreath.
Making the felt flowers was surprisingly easy! The best kind of crafts are the sort when you can get good results easily, and these felt flowers definitely fall into that category.
I bought some buttons to put in the centre of the flowers, but in the end I decided they were pretty enough for a felt flower wreath without them!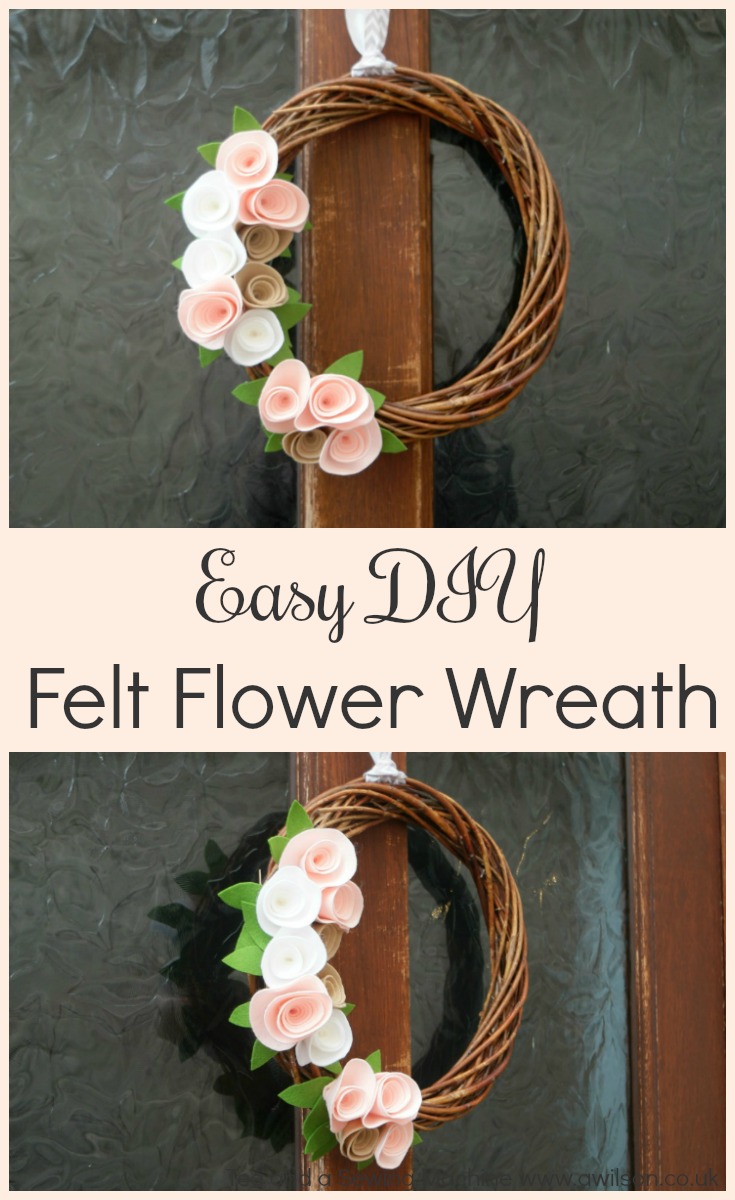
How to Make Felt Flowers
I have included some affiliate links.
You Will Need
Felt (I used these felt sheets from Minerva Crafts), a glue gun, items to make the circle templates, a willow or grapevine wreath
.
Making the Templates
I made three templates by drawing round a bowl, the lid of a tin and a mug. This gave me templates that were 16 cm across, 12 cm and 9 cm.
In the end I decided that the largest flowers were a little bit too big, so I didn’t use them. I might glue them to hair clips and wear them in my hair instead!
Making the Flowers
1. Cut circles from felt.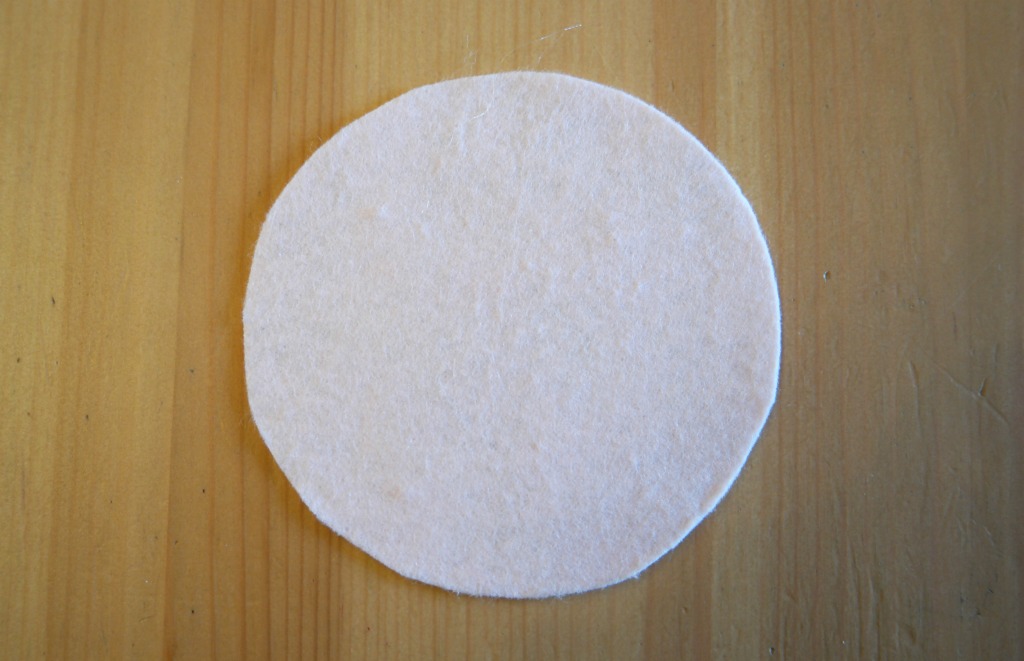
For the wreath I used 3 of the middle sized flowers and 9 smaller flowers.
2. Cut a spiral into the circle. As the centre of the circle will form the outside of the flower, the spiral will need to get wider towards the middle.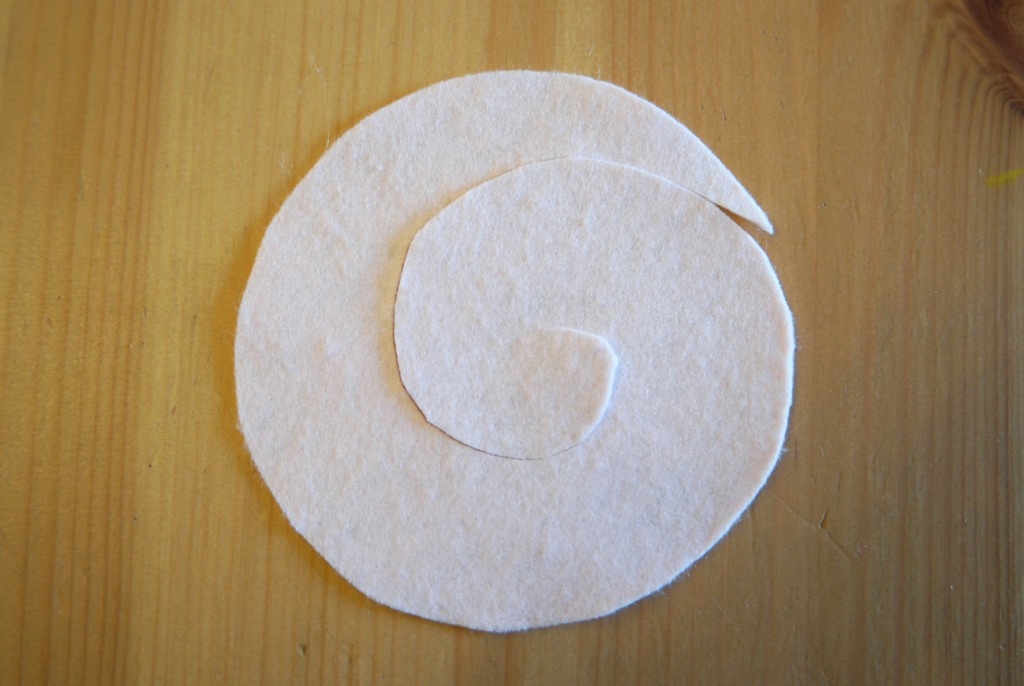
3. Starting at the outside, carefully roll the spiral up. To start with, the bit you cut will be the bottom of the flower.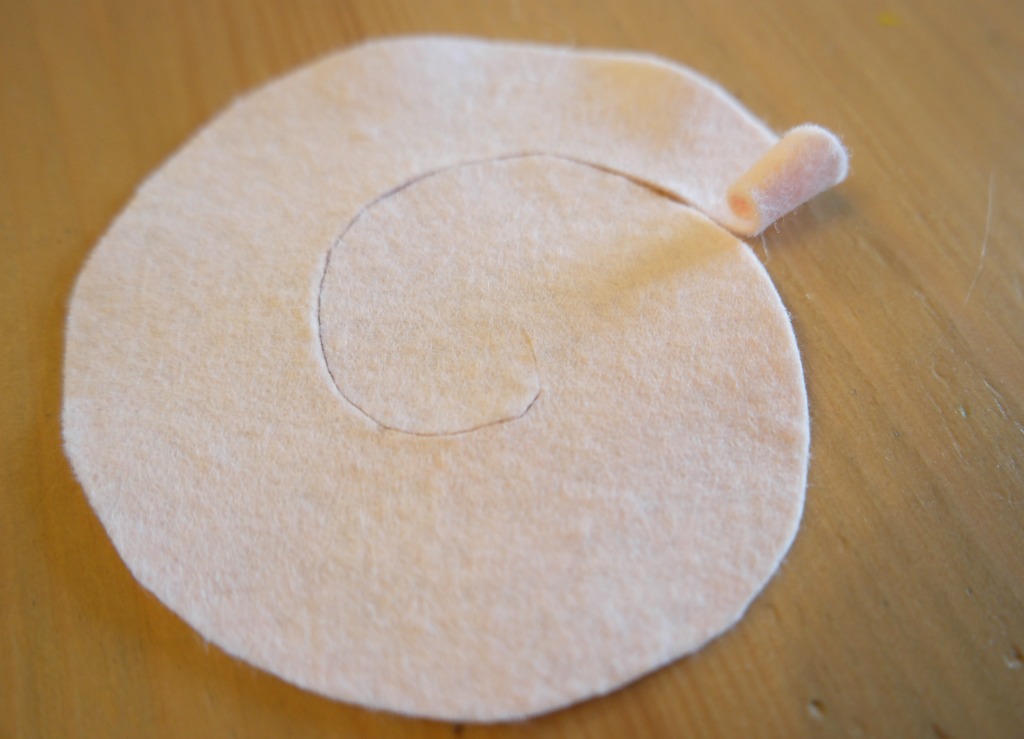
4. Keep rolling! When you’ve rolled up the whole spiral, you might like to put a pin through the flower to hold it.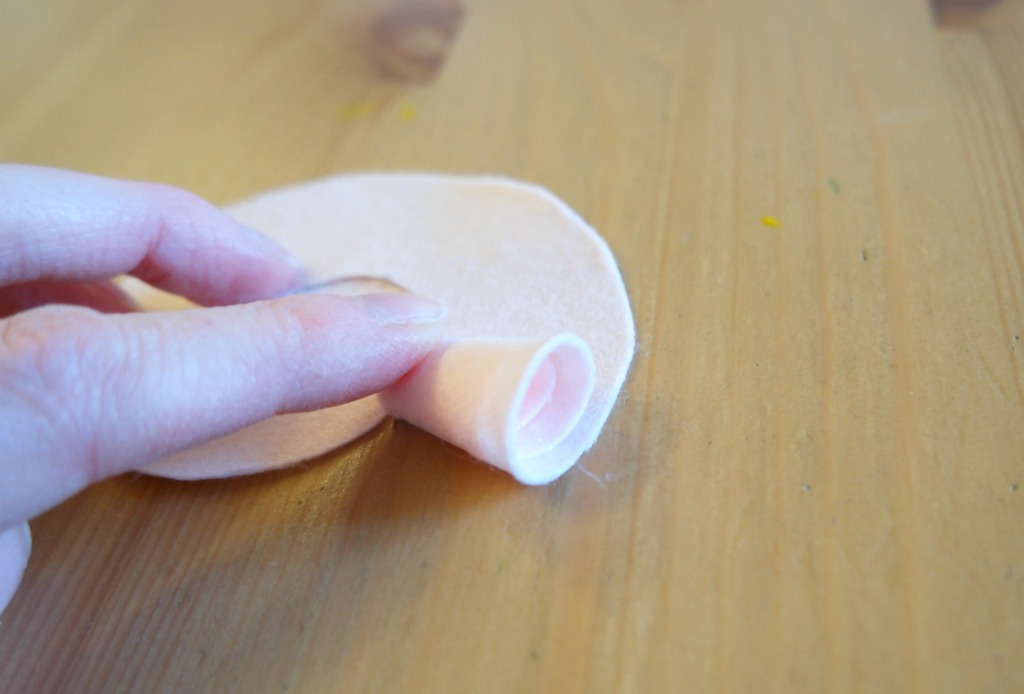
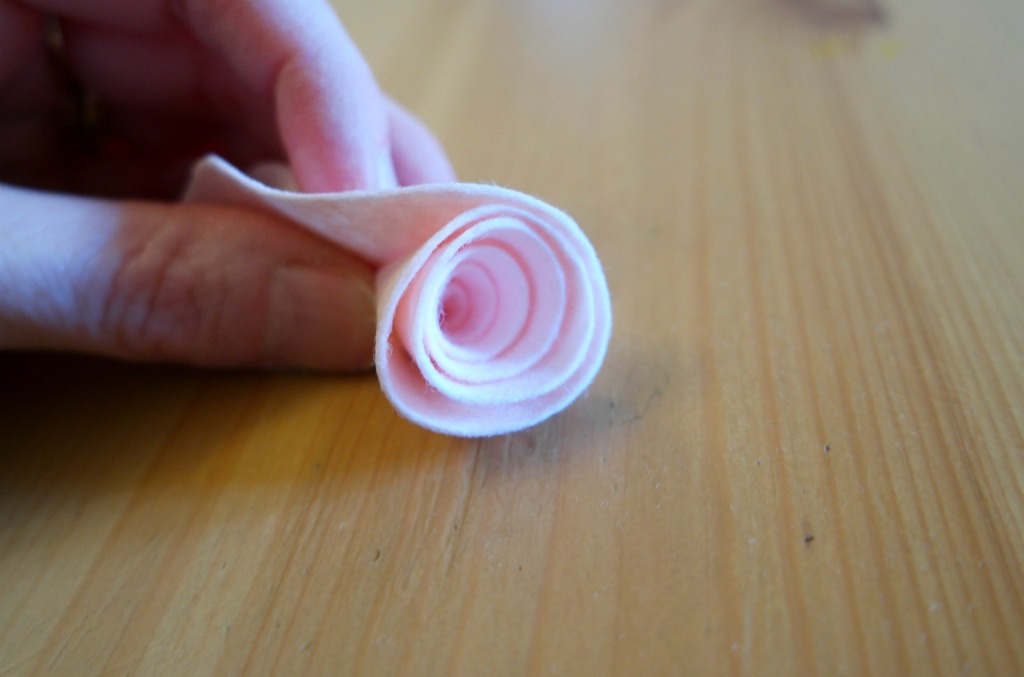
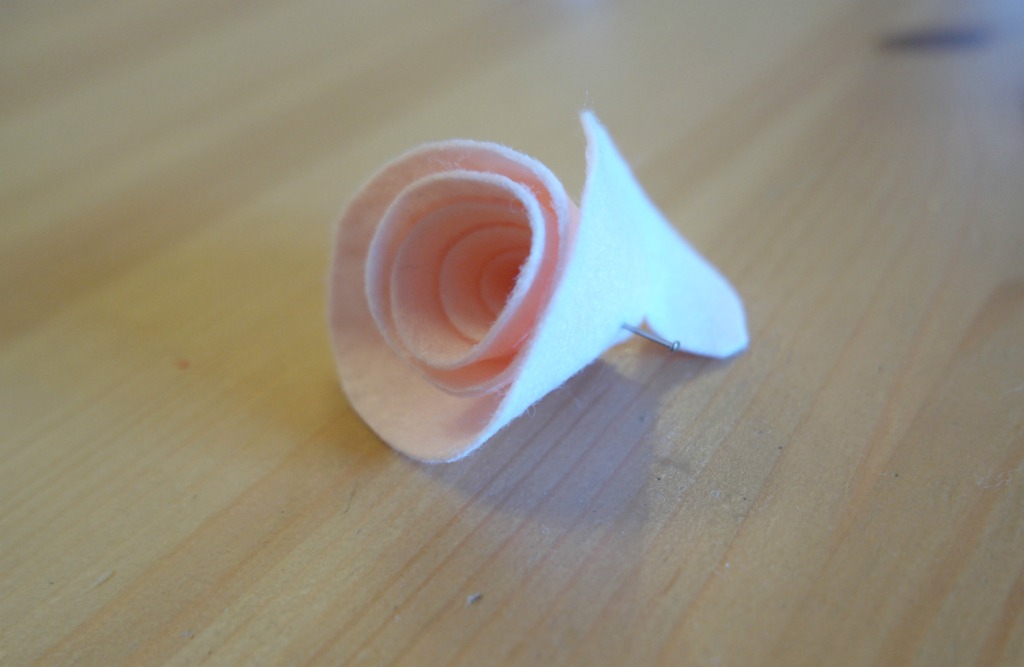
5. Using the glue gun, put a blob of glue on the bottom of the flower. Stick the end of the spiral over the base of the flower.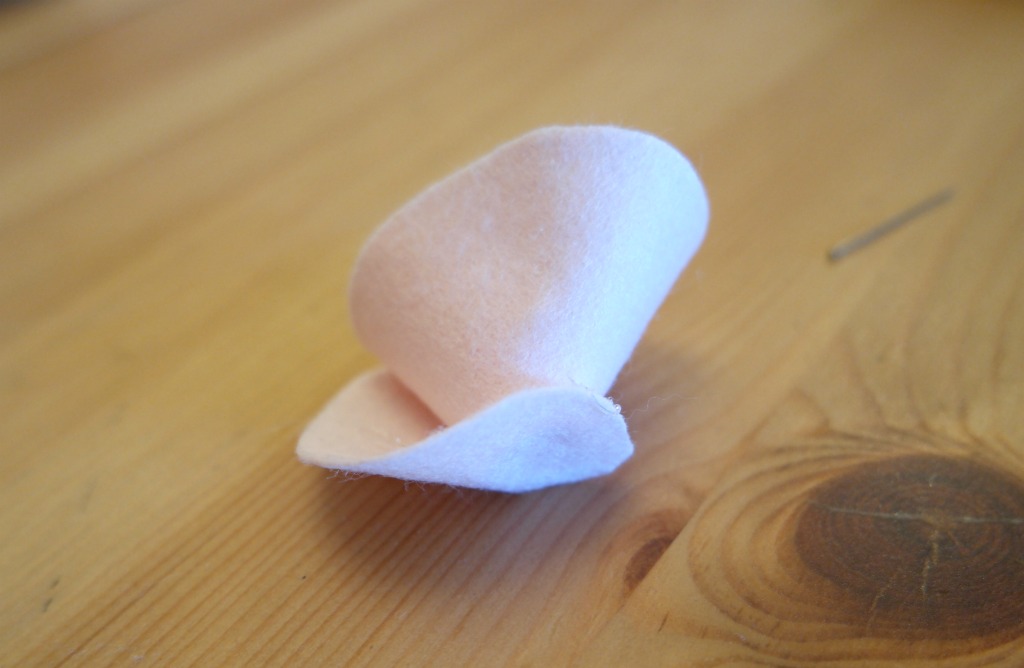
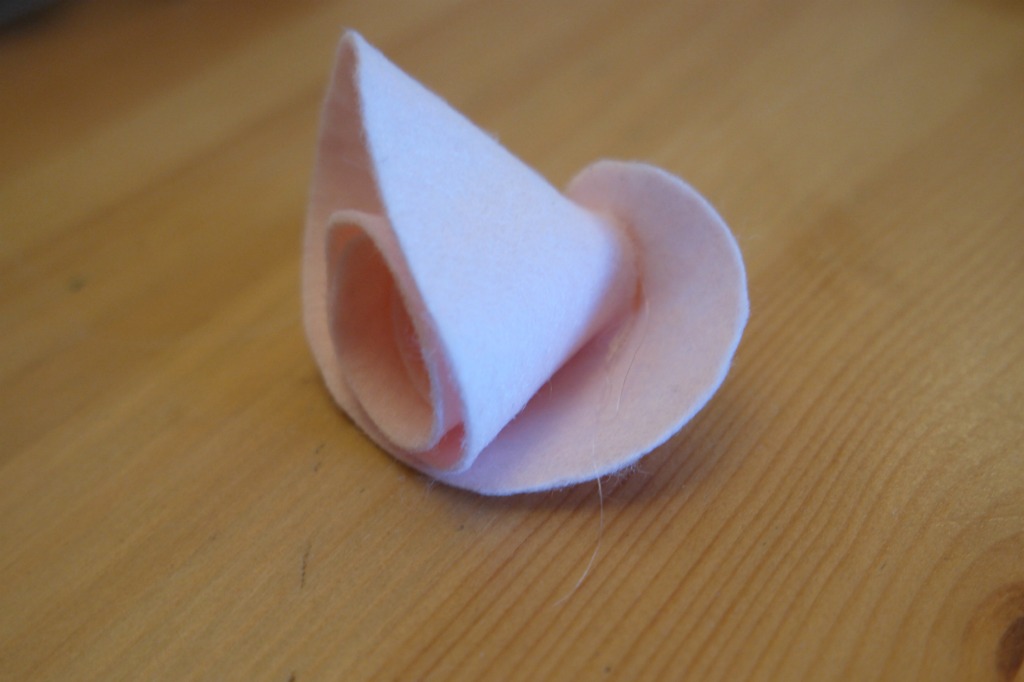
You could probably sew them if you prefer, or use PVA glue or fabric glue, but I’d recommend using the glue gun. I’d actually not used one before, but it was very easy, the things stuck very well and the glue dried nice and quickly.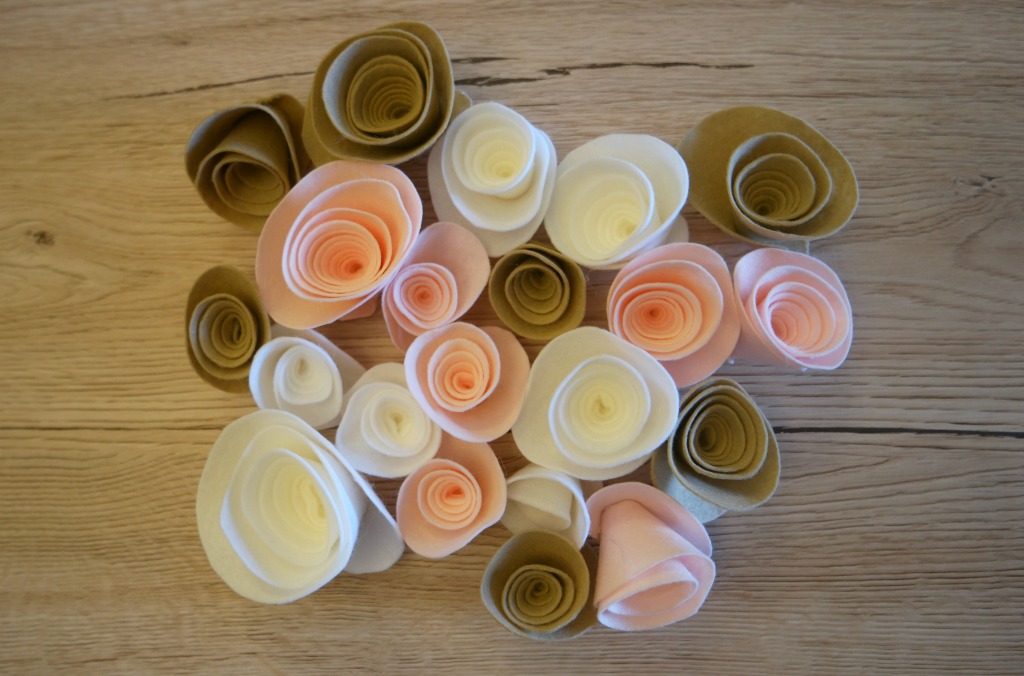
6. To make the leaves, cut a strip of green felt, then cut it into rectangles. 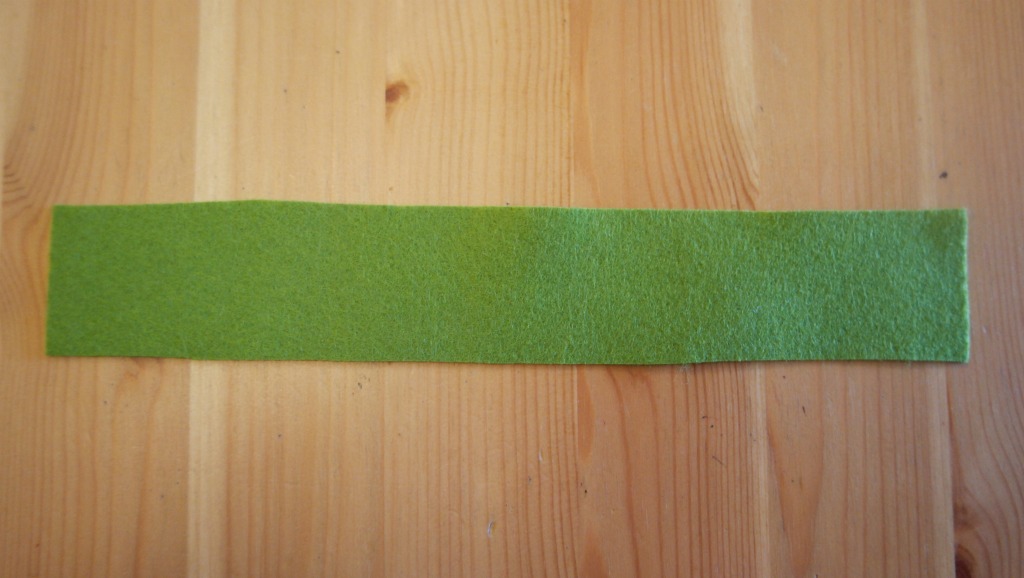
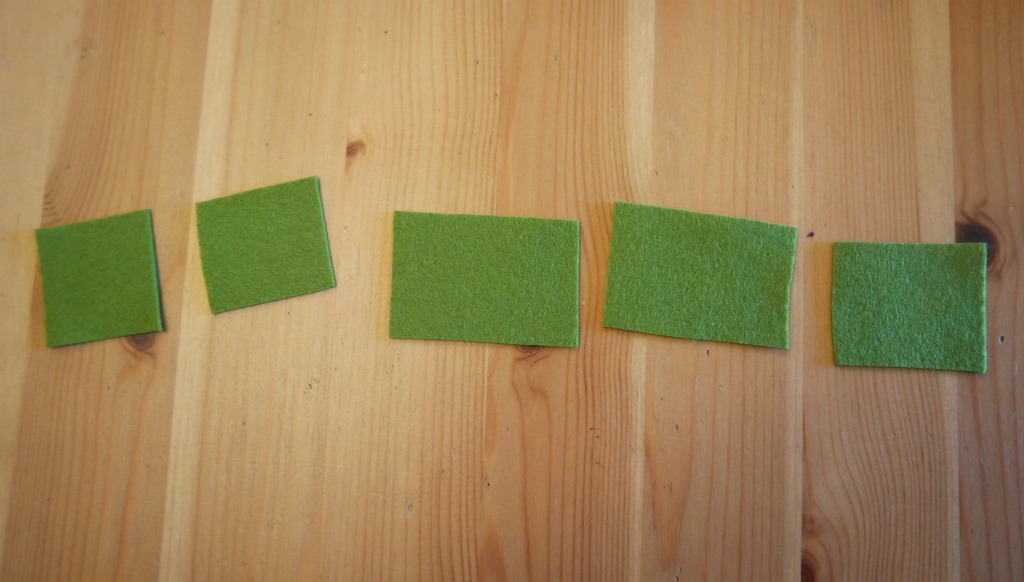 Cut a curved bit away from corner to corner, then do the same on the other side.
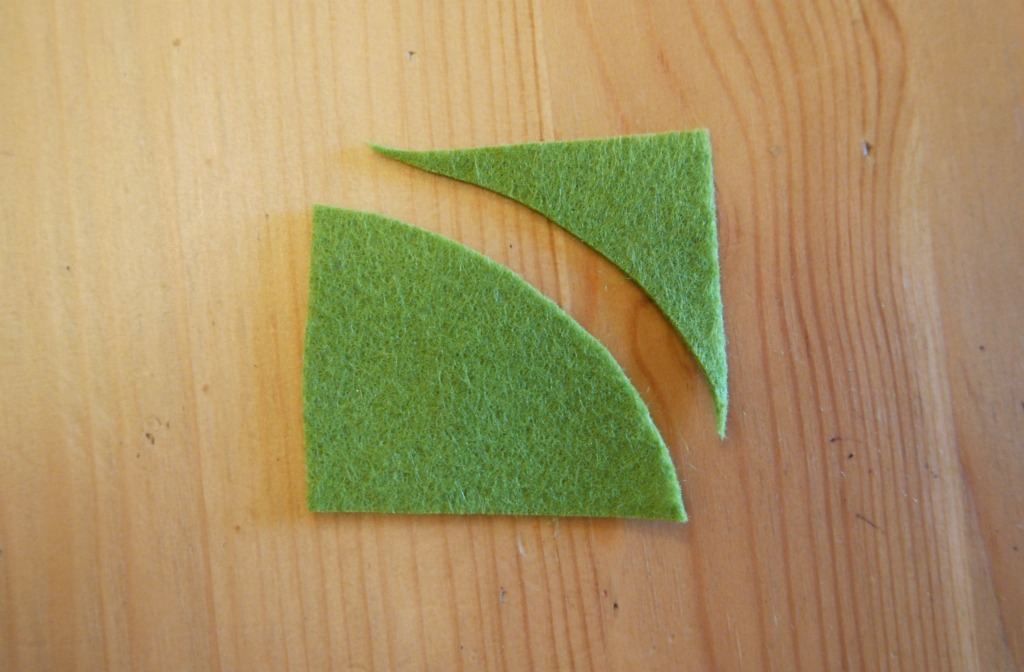
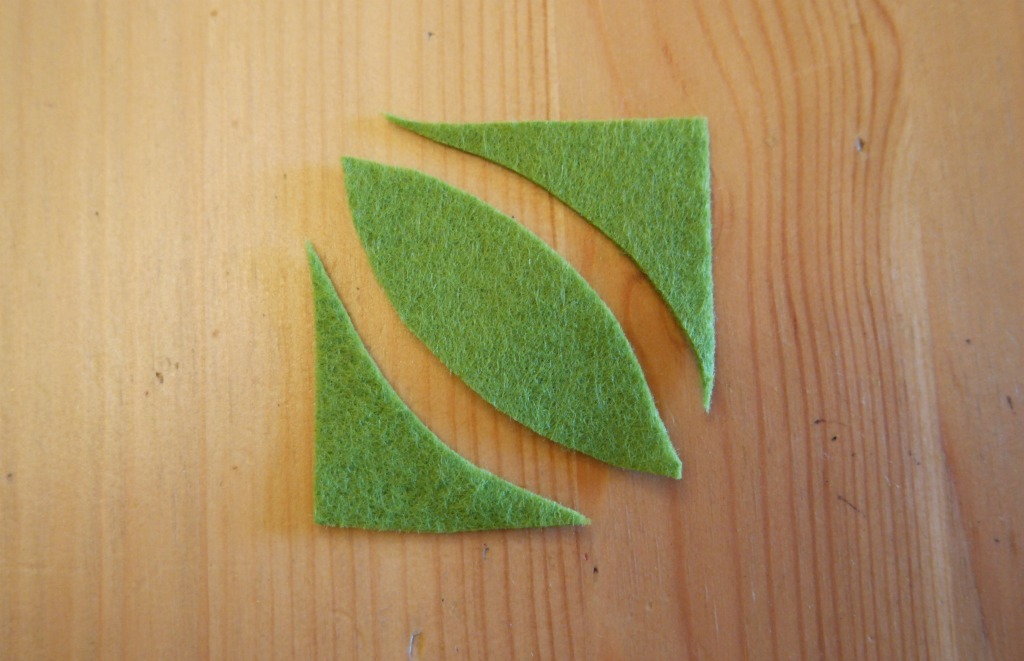 Don’t worry about getting them all the same size. You can use smaller leaves with the smaller flowers, and anyway in nature leaves are usually different, even on the same plant!
7. Stick 2 leaves to the base of each flower.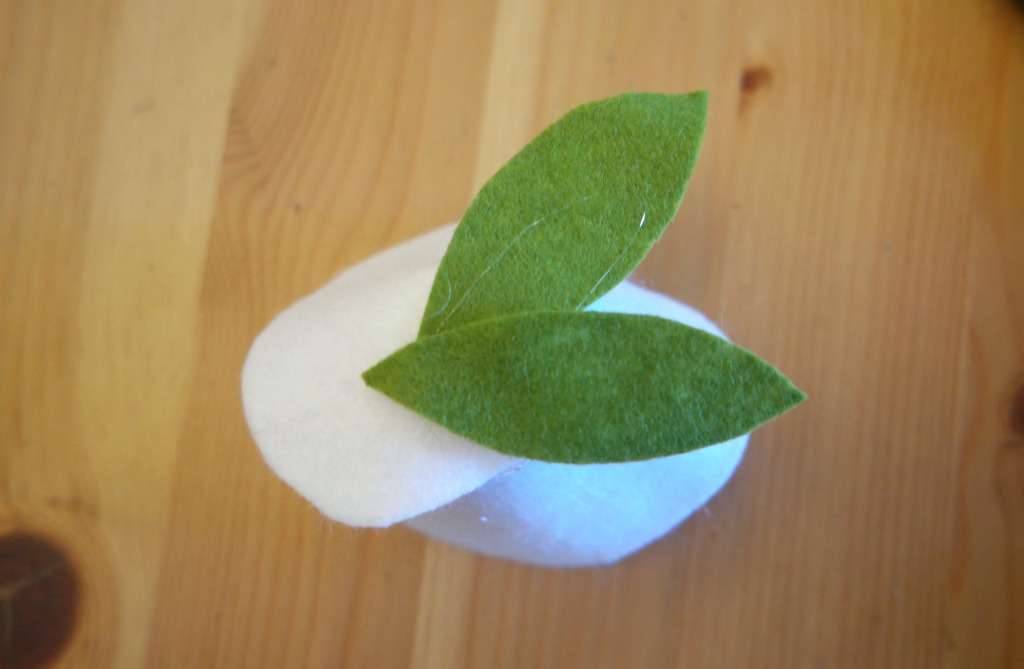
Attaching the Flowers to the Wreath
I apologise for the lack of photos for the steps here, I got so carried away I kept forgetting to take pictures!
1. Take the 3 middle sized flowers and glue them to the wreath. I put the top and bottom flowers closer to the inside edge of the wreath with the leaves pointing inwards, in the middle flower closer to the outside edge with the leaves pointing outwards.
2. Take 3 of the smaller flowers and arrange them around one of the larger flowers.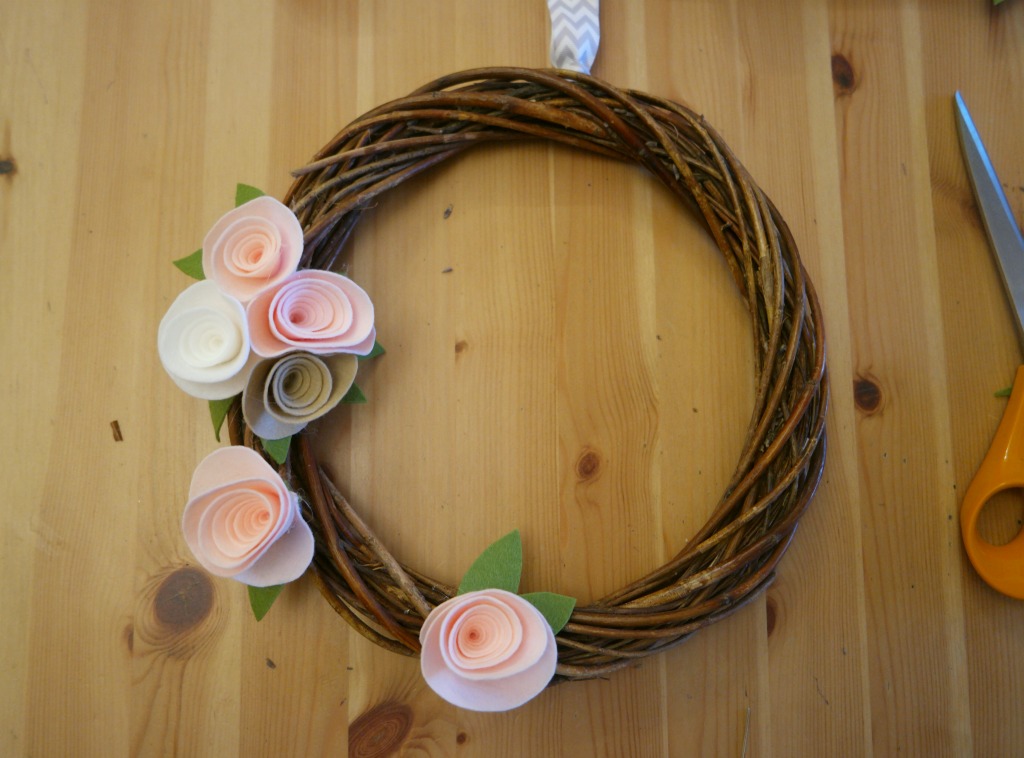
Then do the same with the other 2 larger flowers and the rest of the smaller ones. Don’t worry if there’s some wreath showing. You might want to cover it completely, but I think that being able to see wreath in between breaks it up a bit, like silences in music.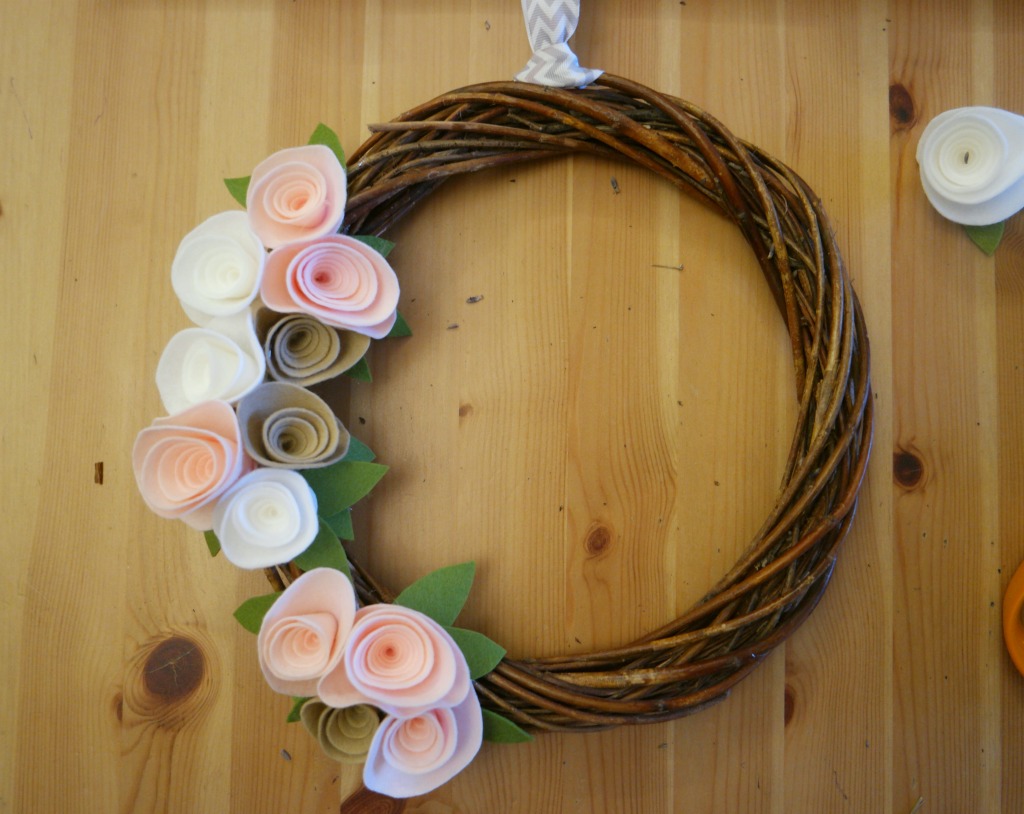
3. Thread a piece of ribbon through the felt flower wreath and hang it up!
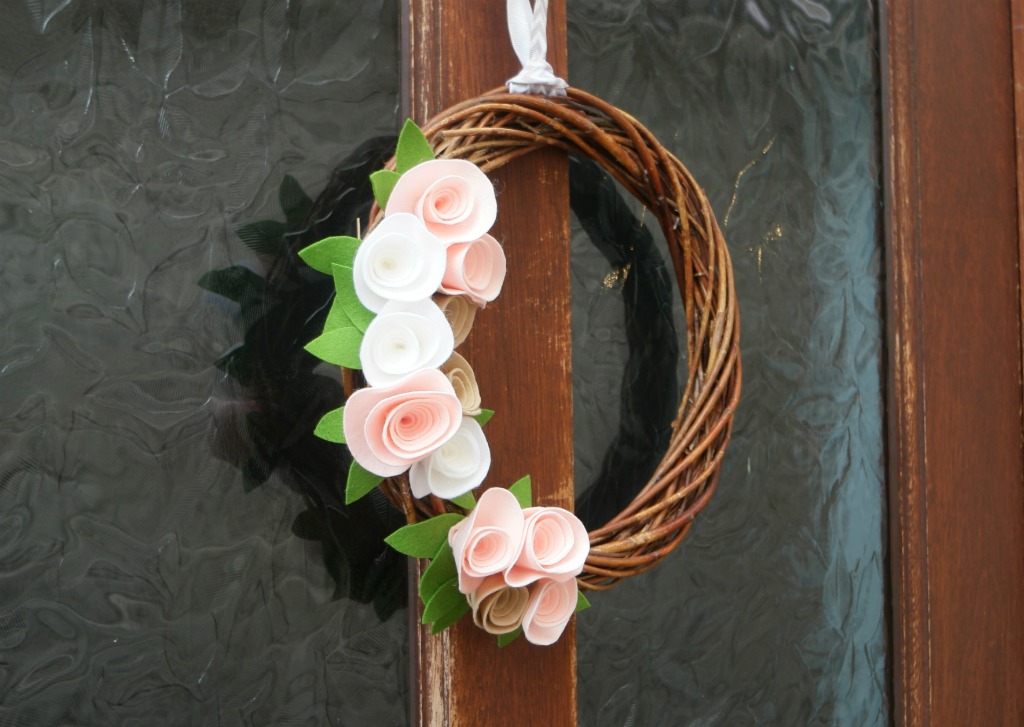
If you enjoy making door wreaths, you might like to have a look at my wreaths page!


Your wreath is beautiful! Thank you for the how-to for the flowers and leaves. I need something new for the door and this is it. 🙂
Thank you 🙂 Have fun!