Easy Crocheted Cardigan Tutorial: Solomon’s Knots
A couple of months ago I was sent some beautiful chunky yarn from Wool and the Gang.
I had three balls of Heal the Wool, but I had no idea how much of something it would make up!
So I decided to pick a stitch and start crocheting. If I had enough I would make a cardigan. If not, I would make a scarf instead.
I started off crocheting shell stitch because it’s one of my favourites. I had in mind something lacy, but because the yarn was so chunky, the shells were very dense. So I abandoned the shells and gave Solomon’s a knots go instead.
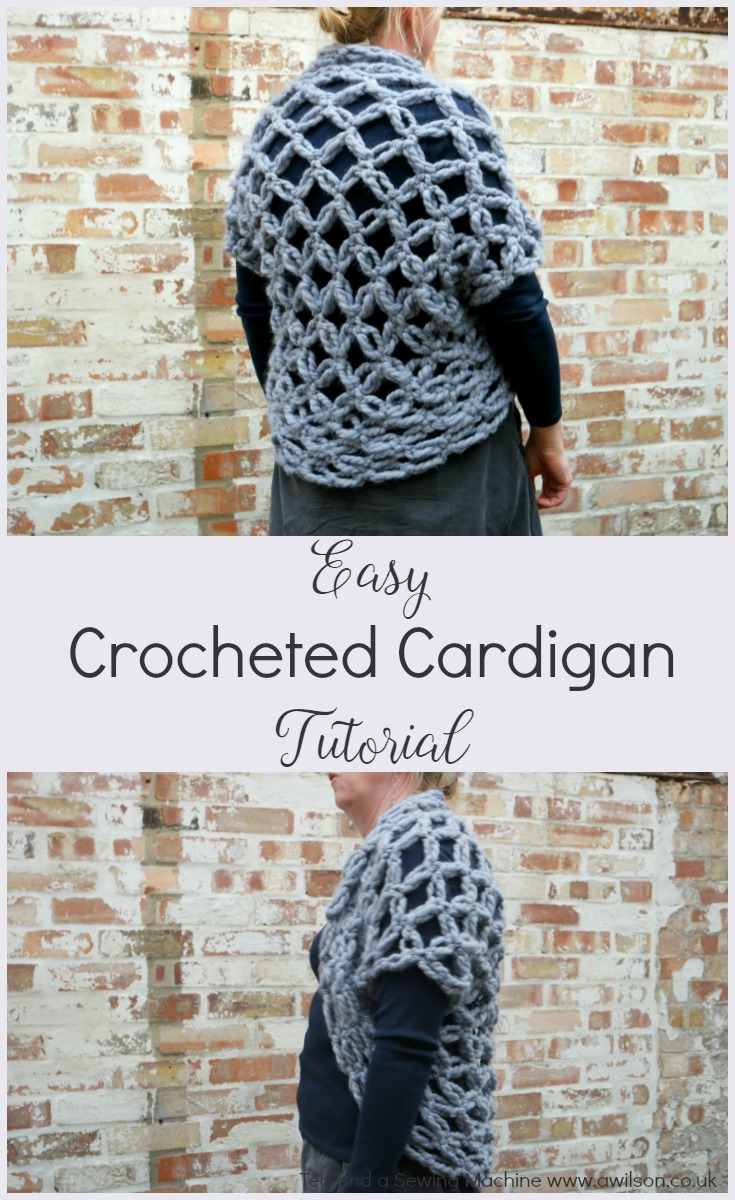
The results were much better! Solomon’s knots gave it the lacy effect I was looking for. If you’d like to take a look at the tutorial for Solomon’s knots, you can find it here. The post also has a review of the yarn I used.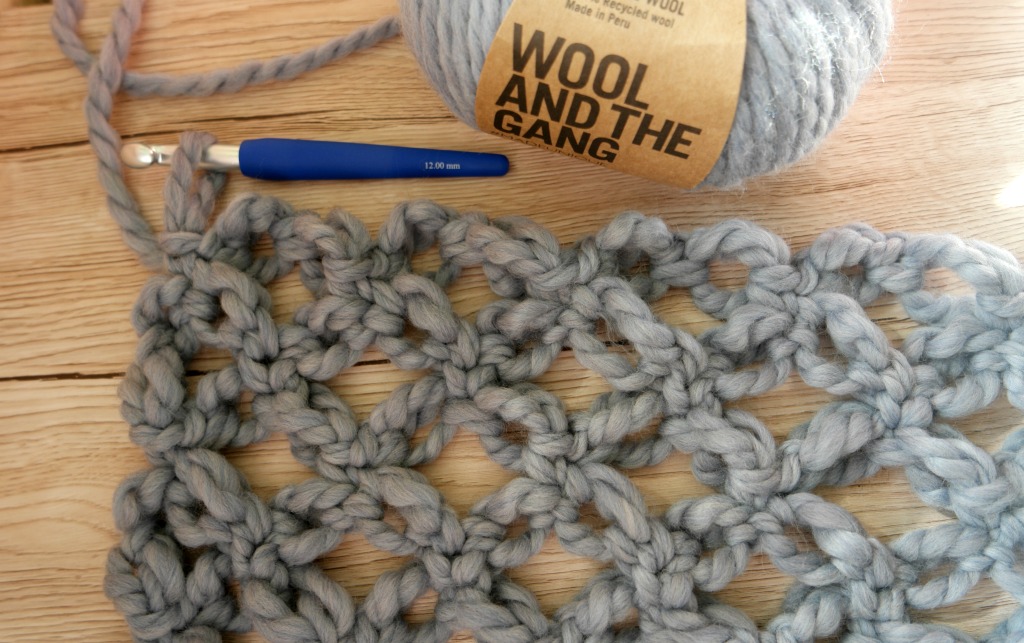
Because I wanted to make something simple that would be easy to undo if necessary, I decided to make a cardigan along the lines of this one from One Dog Woof.
As I hardly ever just copy things (I have issues with being told what to do 😉 ), I took Chiwei’s advice in making the crocheted rectangle, making the sleeves and the idea of adding an edging. I made it my own by using a different stitch, and as her measurements were all in inches and I didn’t feel like converting them to cm, I’ve no idea whether my rectangle ended up the same size!
If you want to make one yourself, here’s my version of this easy cardigan tutorial!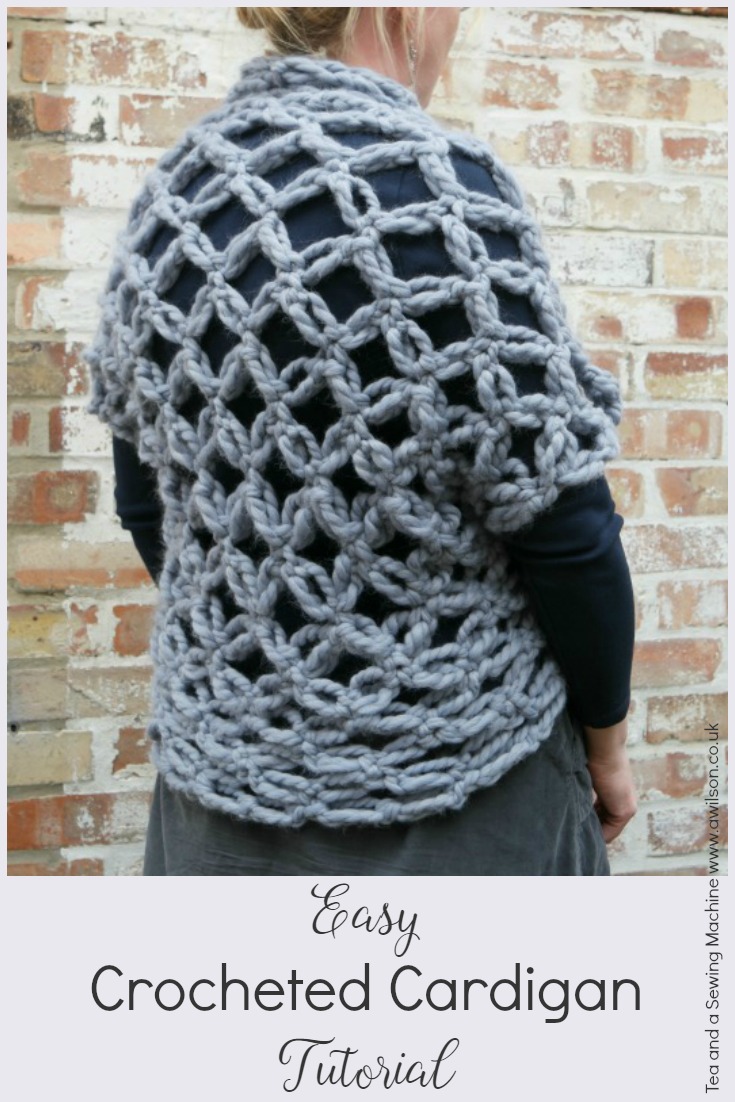
Easy Crocheted Cardigan Tutorial
For this easy crocheted cardigan tutorial, I used 2 balls of Heal the Wool in dusky blue and a 12 mm crochet hook.
1. Make the first row of Solomon’s knots (the tutorial for Solomon’s knots is here). This will determine how long the cardigan is, so before crocheting, you will need to measure across yourself from neck to hips. Bear in mind that the sleeves will cause it to be shorter at the front so you’ll need it to be sure that it’s gong to be long enough.
You will also need to measure across yourself with arms outstretched. I measured from elbow to elbow.
It’s difficult to measure yourself like this, so you’ll probably need somebody to help you!
2. Work second and subsequent rows until your rectangle is the right width. Remember that this measurement will need to include sleeves.
My rectangle was 16 stitches wide and 18 stitches high, roughly 80 cm x 65 cm.
3. When your rectangle is the correct size, tie off the yarn and lay it out. Fold the corners inwards and pin them together, leaving a gap for your arms. I left a gap of 4 stitches. Slip stitch the sleeves.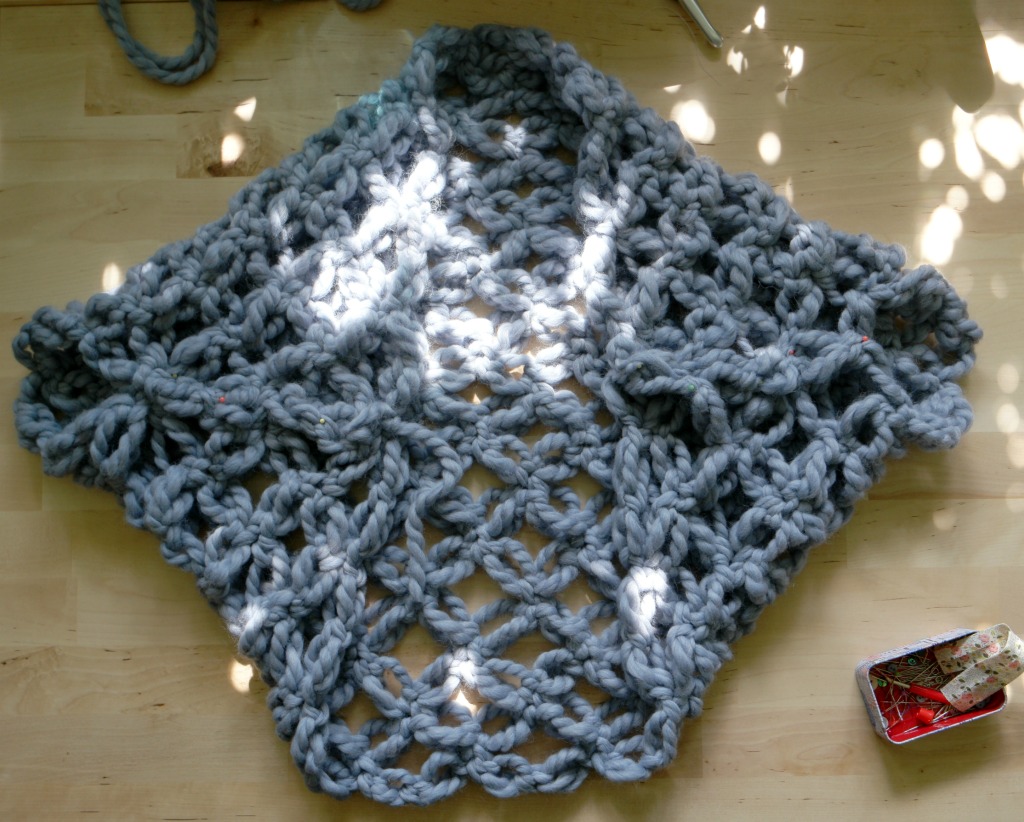
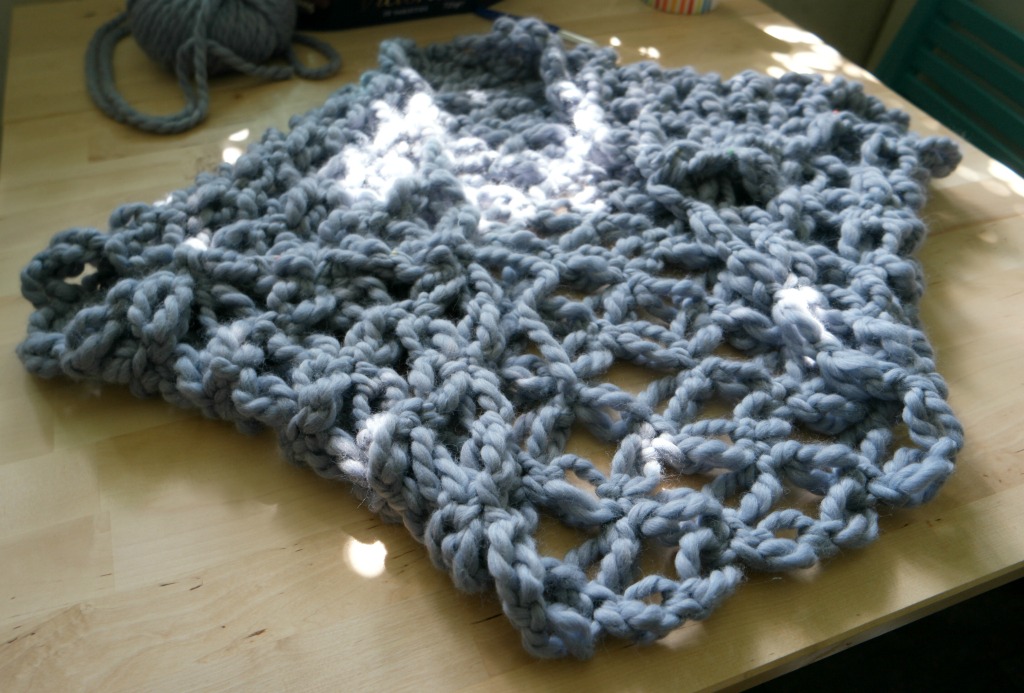
4. Starting at the bottom edge, work 2 more rows of Solomon’s knots all the way round.
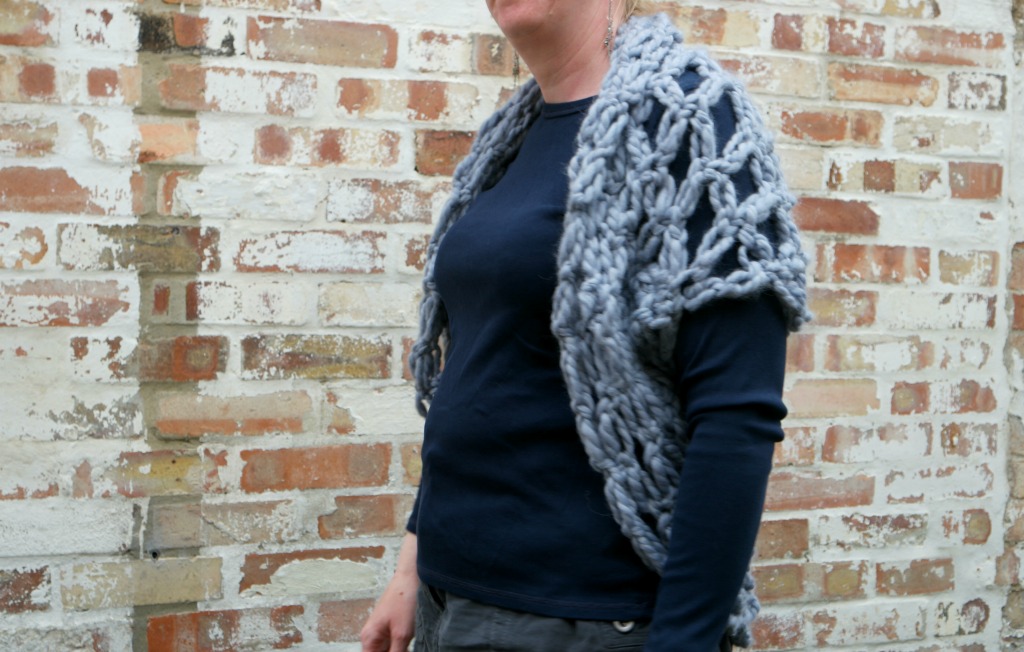
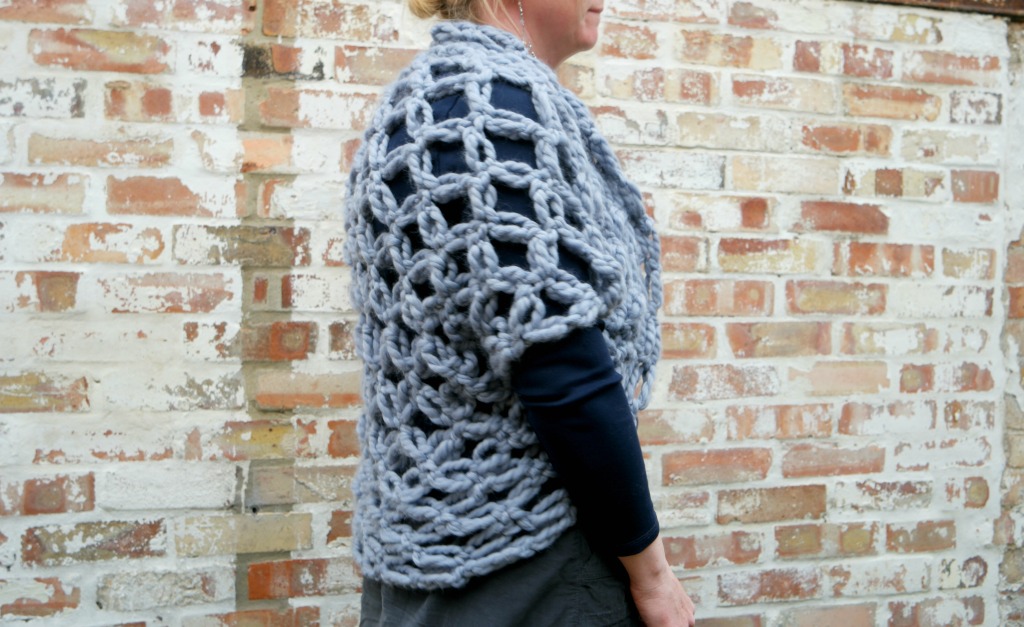
You could use this easy crocheted cardigan tutorial to experiment with cardigans of different sizes. This one actually turned out to be a little bit smaller than I was expecting (I was worried it was going to be huge!). A smaller one might be nice to wear with an evening dress.
Linking up here.


This cardigan tutorial is fantastic! I love how you adapted the Solomon’s knots to get that perfect lacy effect. It’s great to see such a creative twist on a classic design. I’ll definitely be trying this out. Thanks for sharing!
Thank you
Fantastic!
I did very similar cardigan just that with granny square.
Your is super.
Thank you! I imagine yours is lovely too 🙂
I can’t believe you can turn a rectangle into something that fits so well. I love the idea of this wool, made from waste – how cool is that?

I like this, perfect for a spring/autumn layered look.
Julie recently posted…Handmade Monday #24
I’ll definitely make something similar to this again, it was so easy!