Easy Backpack Tutorial
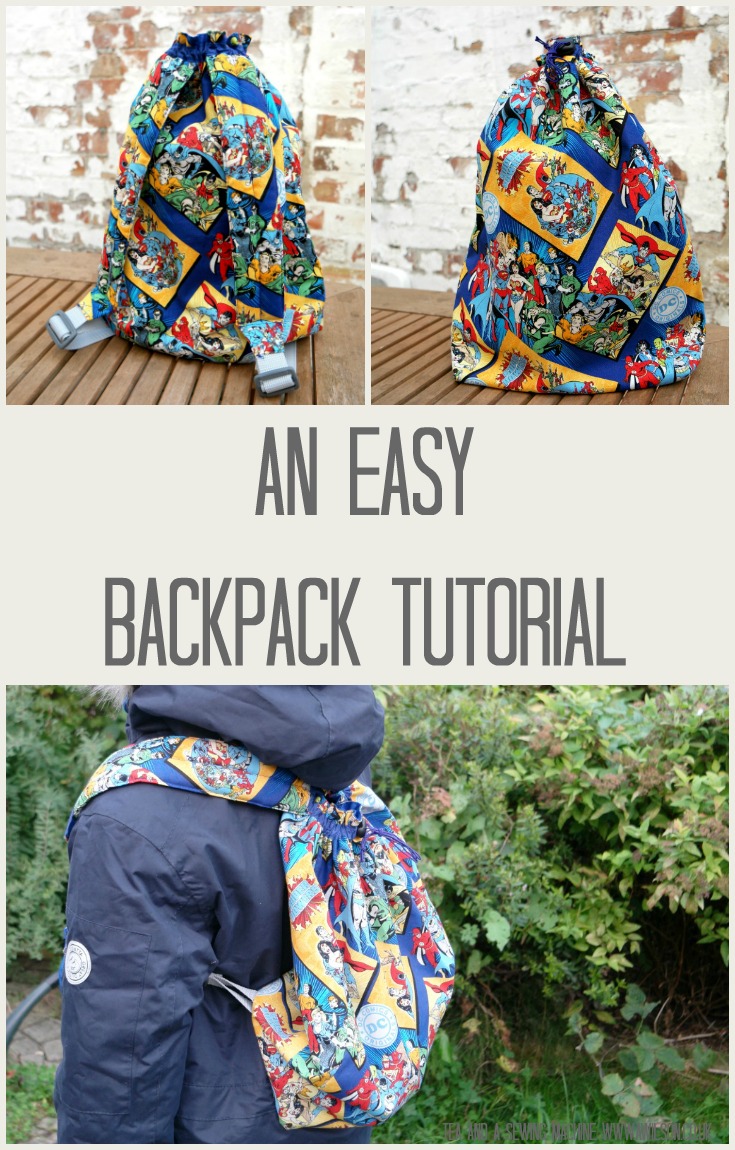
An Easy Backpack Tutorial
When my boys were tiny, I always had a bag of stuff for them. Little cups with milk or water in, an extra blanket, nappies, wipes, a bib, a change of clothes, spare socks, it was easy to fill a large bag!
As they got older, I thought I wouldn’t need to bring so much stuff for them whenever we went out.
Unfortunately, as I have discovered, this is not the case. They still need stuff, it’s just different stuff! They don’t need cups of milk anymore. Now it’s macs, jumpers, bottles of water, snacks, not to mention all the stuff they collect while we’re out.
Thankfully though, now they are not babies any more, my boys can carry their own stuff.
This is where the easy backpack tutorial comes in!
Making 4 of these meant that I didn’t have time to do anything complicated, so I’ve kept things as simple as possible.
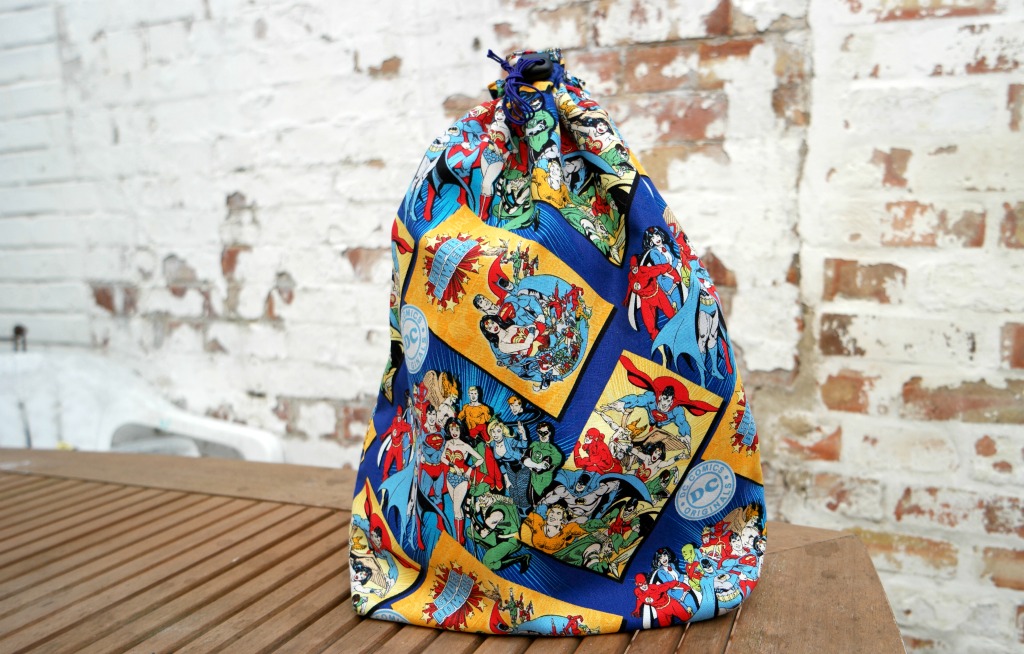
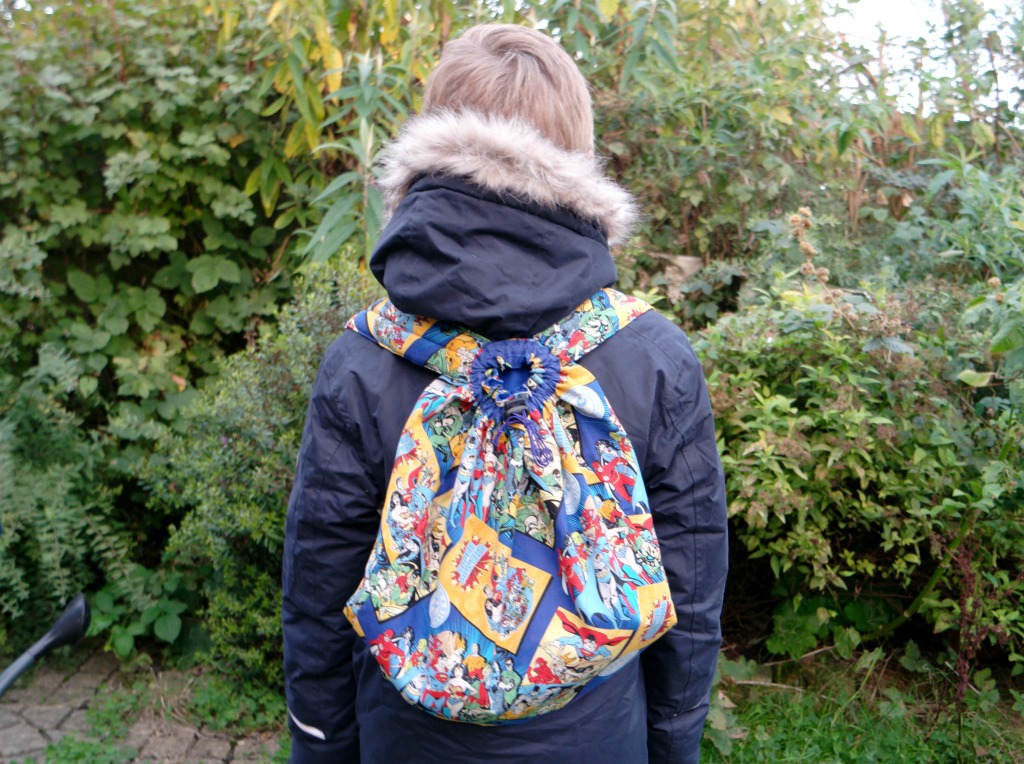
The backpacks are quite small, but large enough to hold a microfleece, a mac, a bottle of water and a camera.
They are made of cotton, so they fold up small enough to be tucked into a little suitcase when we go on holiday.
The backpacks close with a drawstring.
I lined the backpacks I made, but if you are in a hurry, you could leave the lining out. I just wanted to make sure that mine were strong enough to hold the rocks they will probably end up holding!
The straps are padded for comfort and using webbing with a strap buckle means they can be adjusted. If you are pretty sure that you won’t need to adjust the straps, you could just cut the fabric strips a bit longer and sew them straight onto the bag.
There are other tips at the bottom of the easy backpack tutorial if you need to make a backpack in a hurry!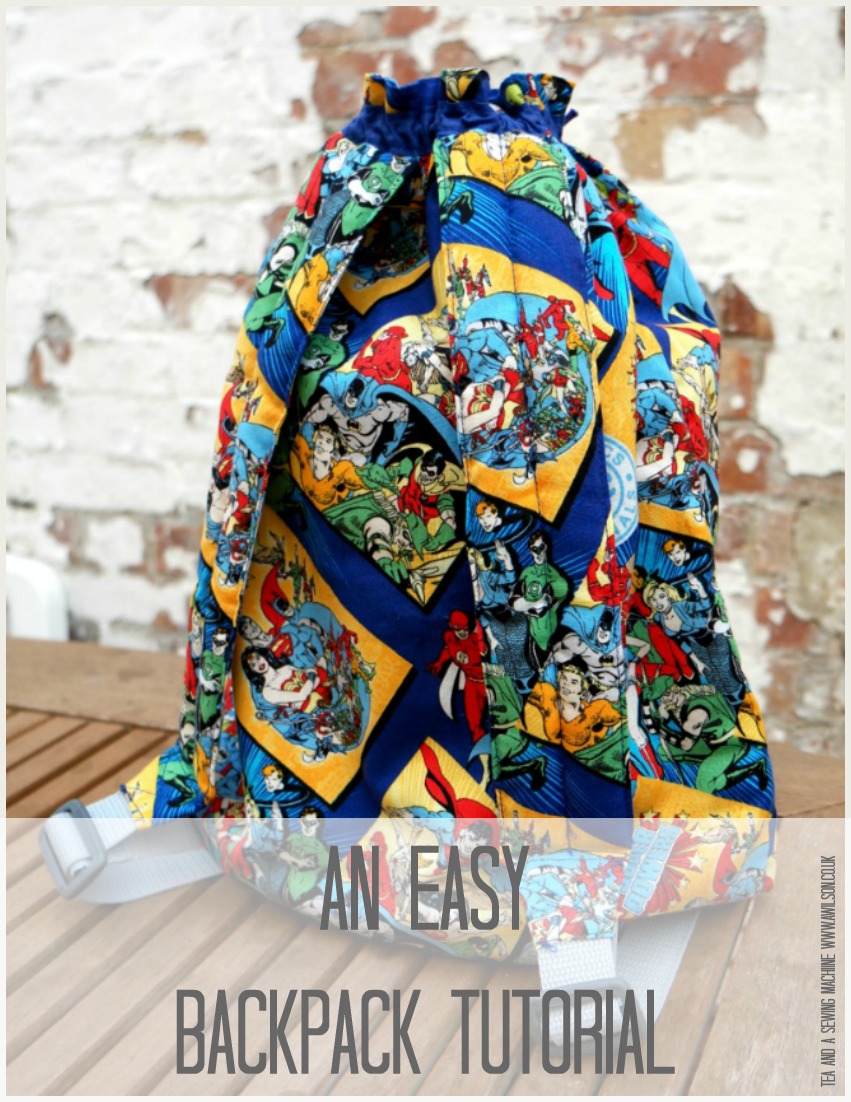
How to Make an Easy Backpack
This tutorial contains affiliate links.
You Will Need
Half a metre of cotton fabric for the outer, half a metre of cotton fabric for the lining, 1 metre of bias binding, elastic cord, toggle (for the cord), wadding, webbing, 2 strap buckles.
Making the Outer
1. Cut 2 rectangles from cotton fabric 38 cm x 48 cm. If you are using fabric that does not have a directional print, you could just cut 1 rectangle 38 cm x 94 cm and fold it in half.
2. With the right sides together, sew along the sides and the bottom. Trim the seams.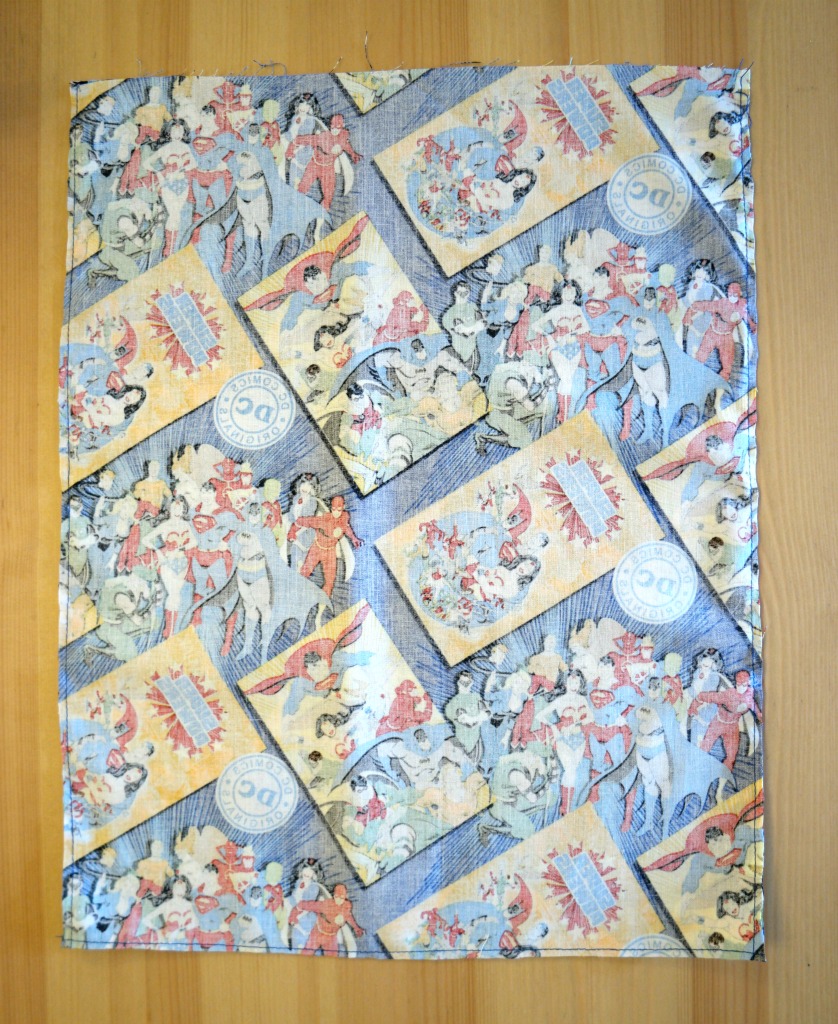
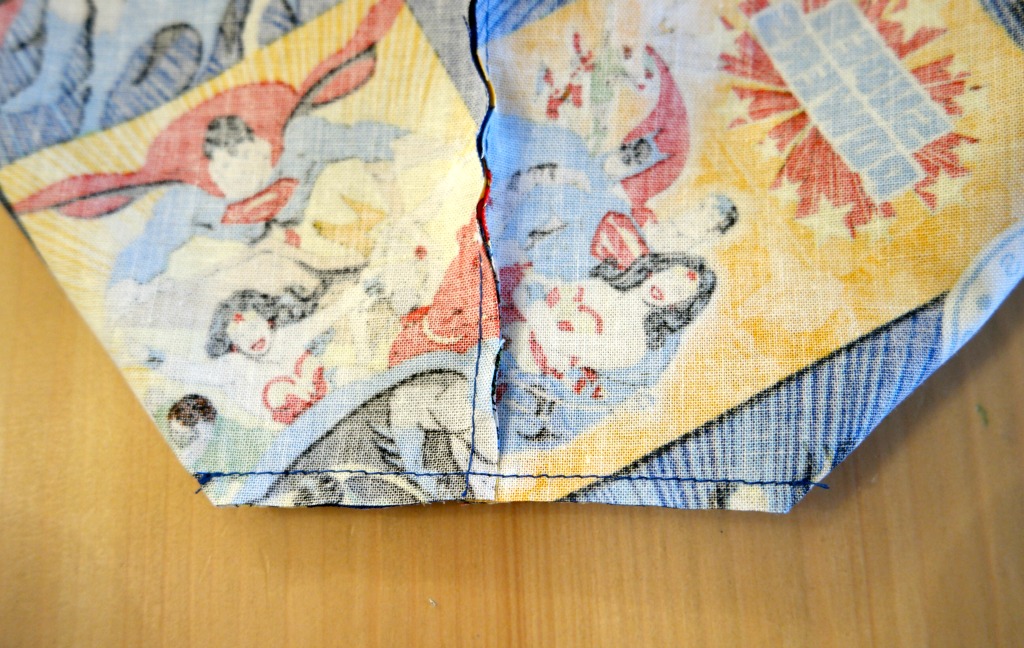
3. Take one of the corners. Open it out, then squash it flat so that the seams are together. Measure 5 cm up from the corner and pin.
4. Sew across the corner at right angles to the seam. Cut the corner off. Repeat with the other corner.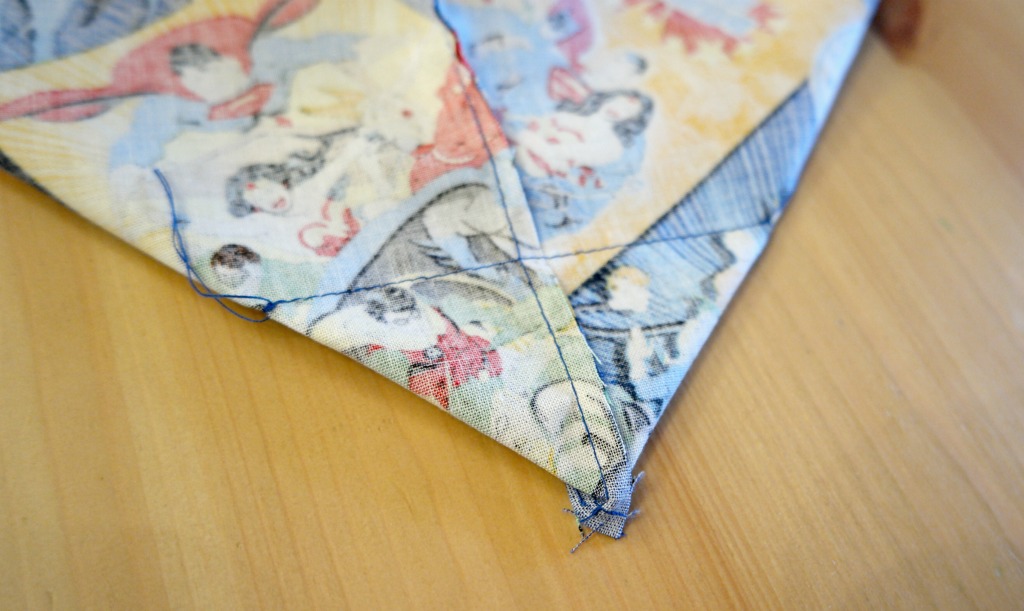
Making the Lining
Make the lining in exactly the same way that you made the outer.
Before you sew the side seams, just check your measurements so that the lining ends up being the same size as the outer.
Joining the Lining to the Outer
1. Pop the lining inside the outer so that the right sides are together and pin.
2. Sew around the top of the bag, leaving an opening of about 10 cm.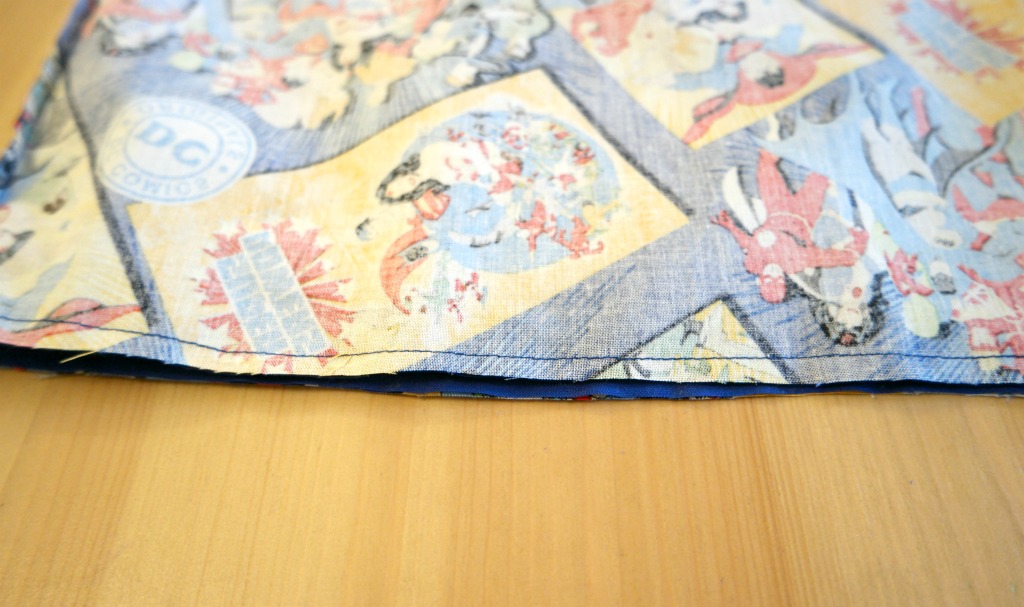
3. Trim the seam, then turn the bag the right way out.
4. Push the lining inside the bag and press it around the top edge so that the lining is not visible on the outside. You could do this with the iron, but your finger will do.
5. Tuck the raw edges of the opening inside and pin.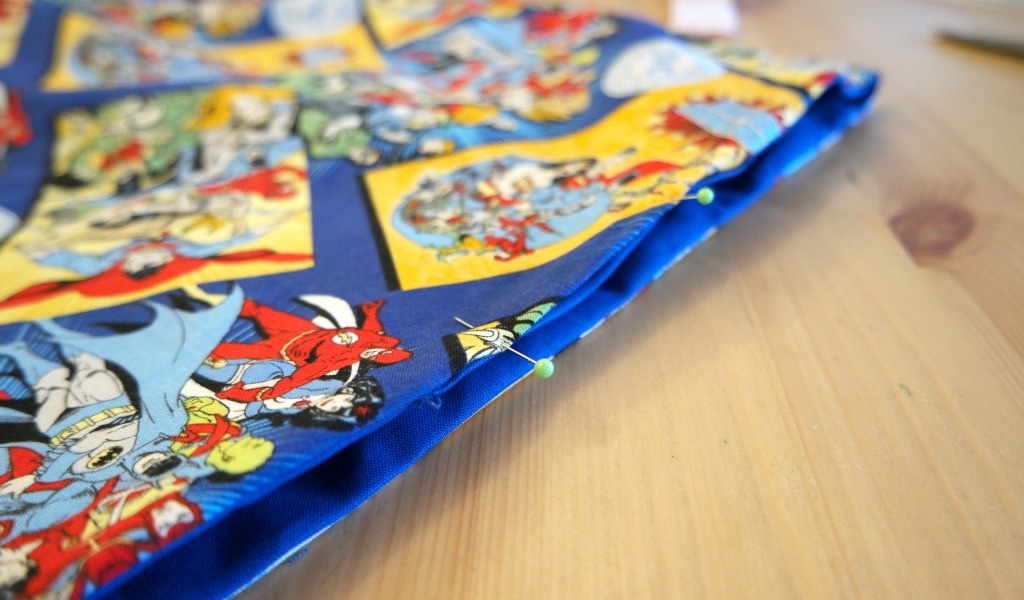
6. Top stitch all the way round the top of the bag.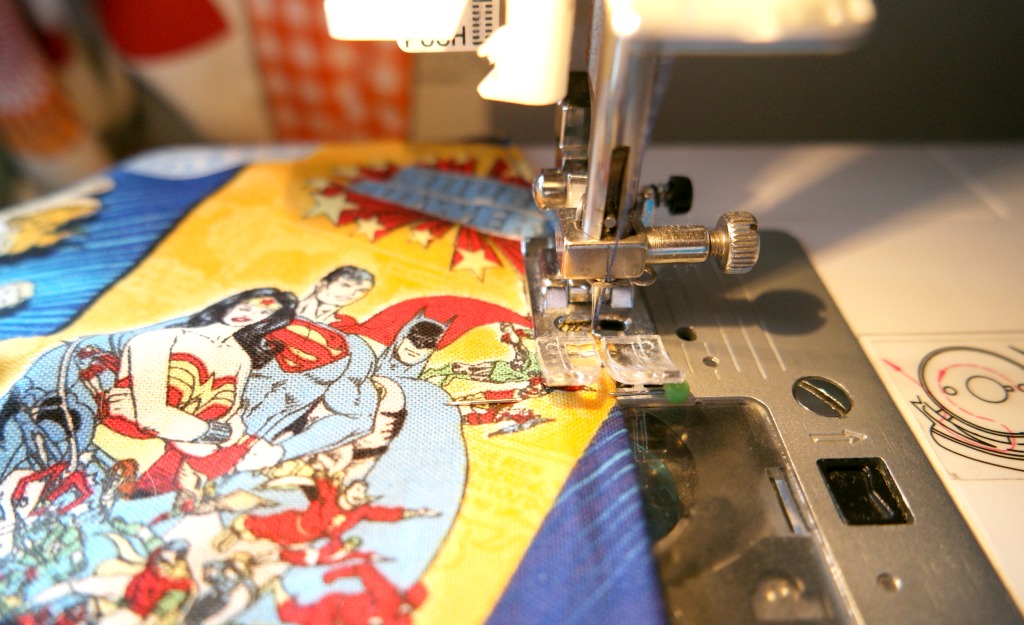
Making the Straps
1. Cut 2 rectangles of fabric 12 cm x 35 cm and 2 pieces of wadding 4.5 cm x 26 cm.
2. Take one of the rectangles and one of the pieces of wadding. Fold the rectangle in half and crease it with your finger.
3. Open it out and place a piece of wadding on top of it. One of the long edges needs to be next to the crease and one of the short edges needs to be 3.5 cm from the top.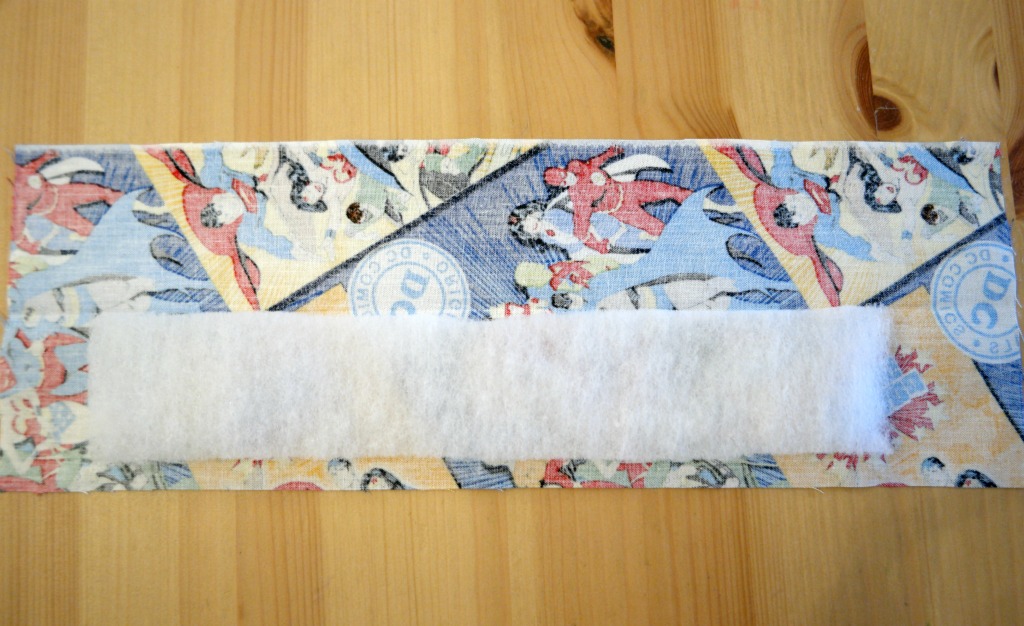
4. Fold the rectangle in half again. Fold the raw edges of the long sides inwards. The easiest way to do this is to fold the bottom edge round the wadding and pin it, then fold the other side over, fold the edge inwards and pin it all together.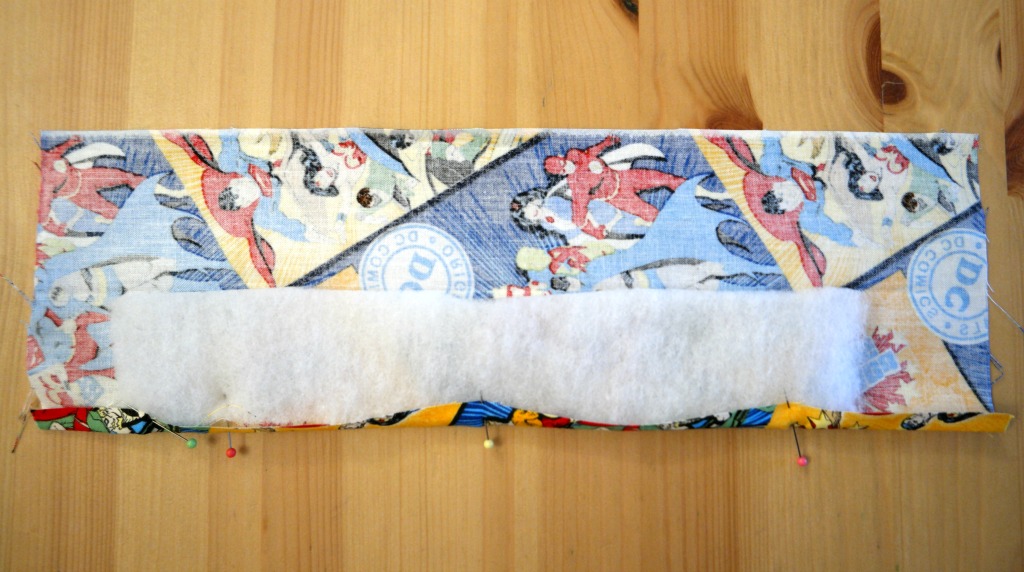
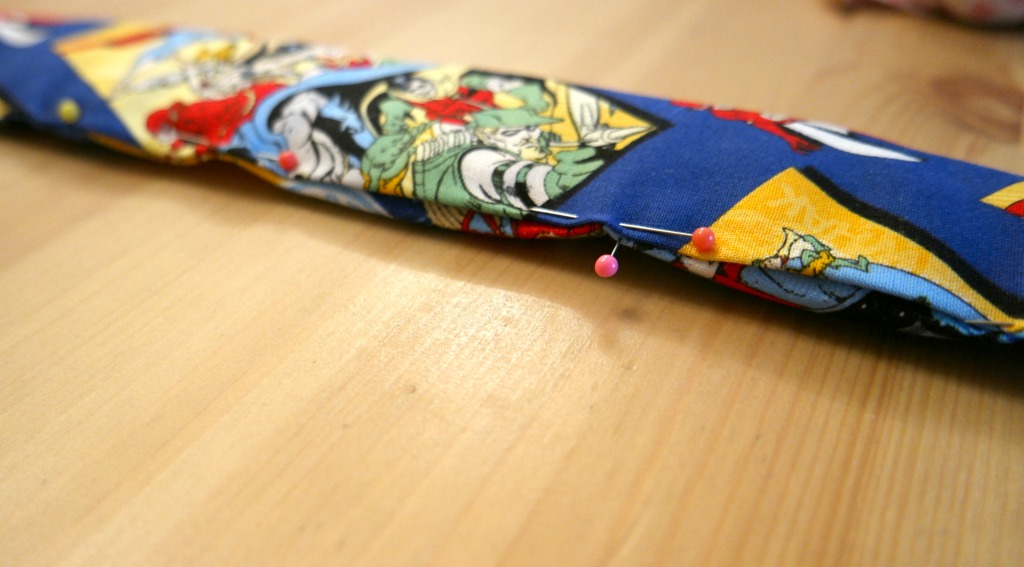
5. Sew along the open edge. To make the straps symmetrical, you might like to sew along the folded edge too.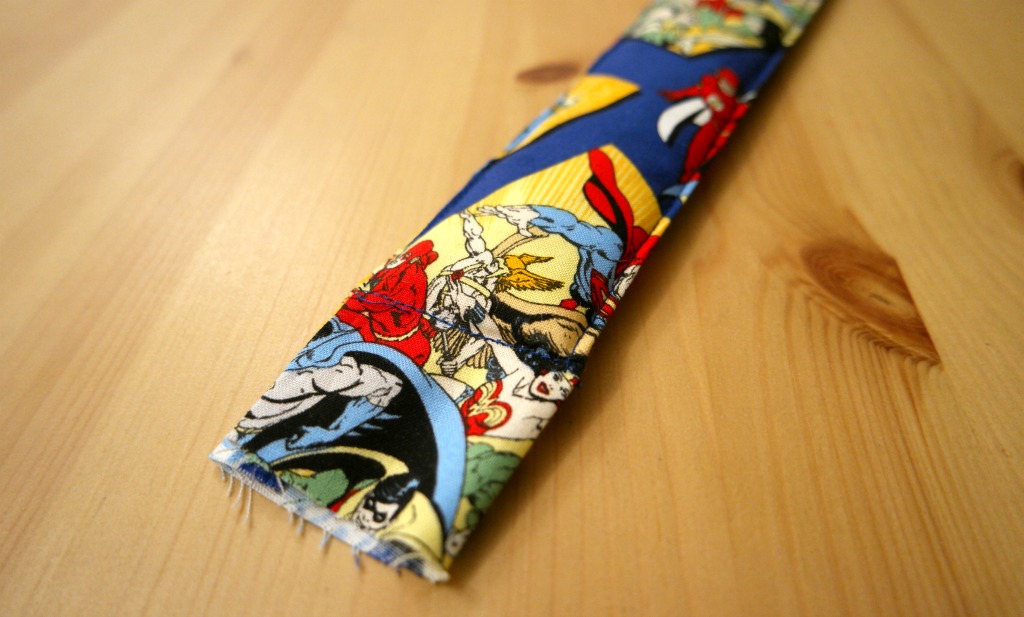
6. Sew along the short edges where the wadding ends. Then sew down the length of the strap along the wadding so that you sew the wadding but keep the ends of the straps clear.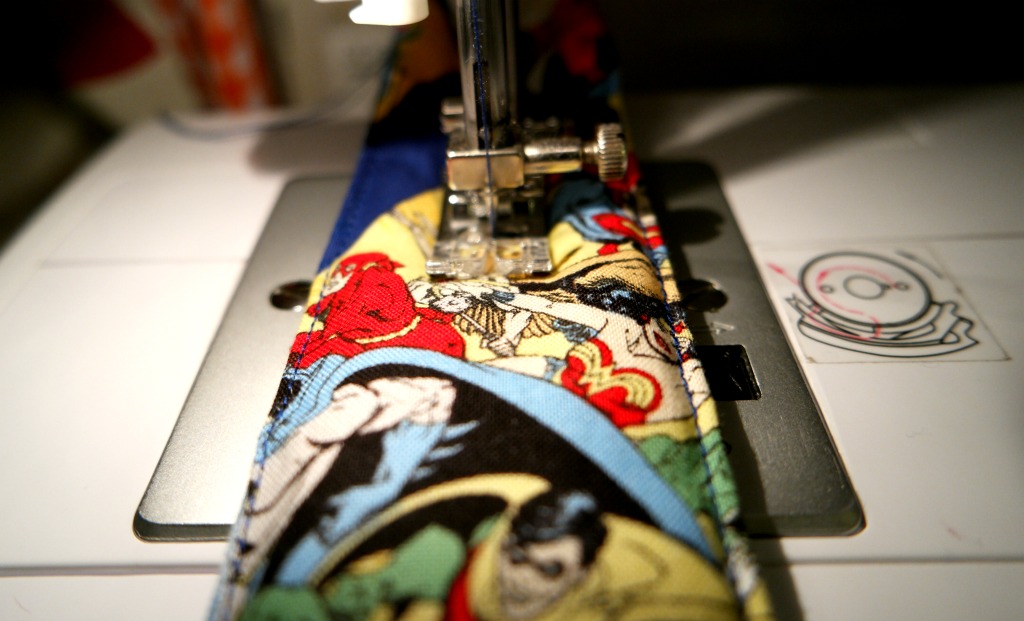
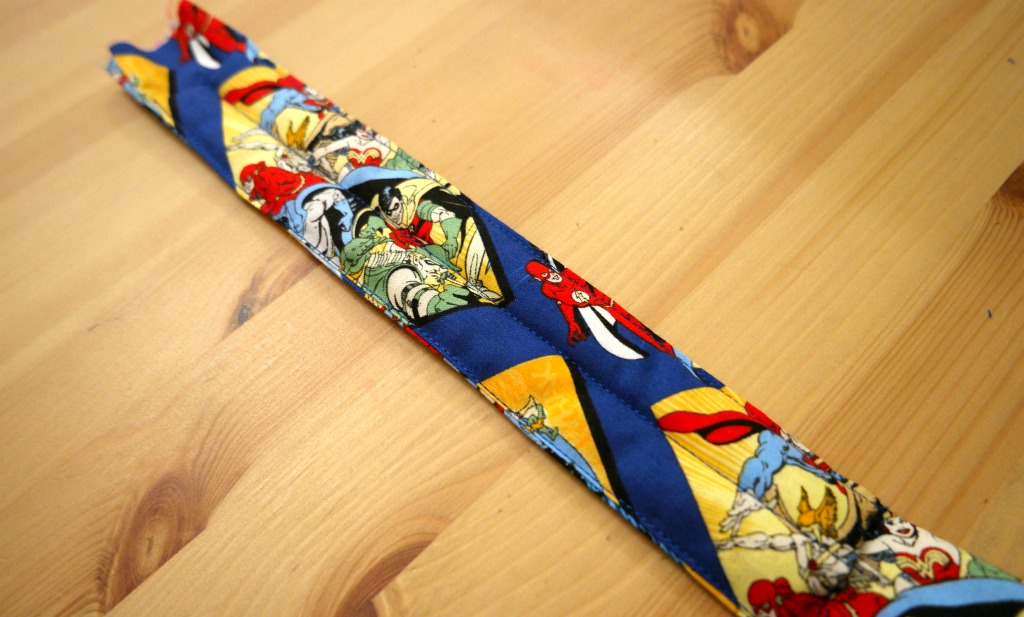
7. Find the top end of the strap and tuck the raw edges inwards. Pin, then sew across the short edge.
Attaching the Webbing to the Straps
1. Cut 2 pieces of webbing 26 cm long. You might want to check that this will be long enough, especially if you are making the bag for an adult.
2. Melt the ends of the webbing to prevent fraying. The best way to do this is with a candle. Light the candle, then slowly pass the raw edge of the webbing over the candle about 1 cm away from the flame. Remember you are not trying to set fire to it! You just want to get it hot enough so that it melts a little bit.
3. Slip one end of the webbing into the open end of the strap. Pin the strap round the webbing. There might be a neater way of doing this, but this way was the quickest and least fiddly!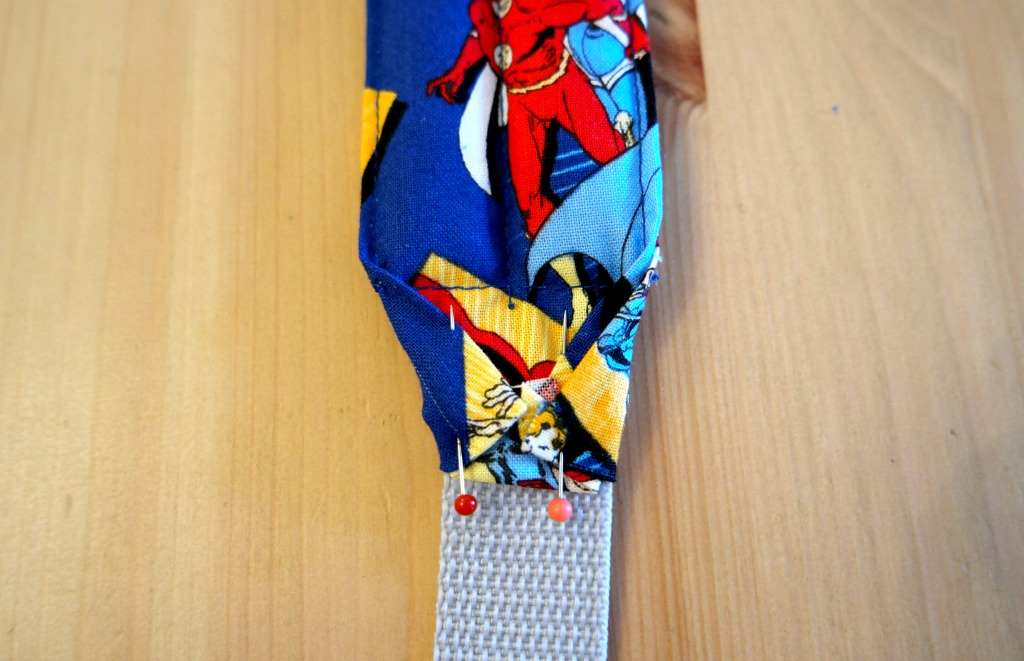
4. Sew the webbing in place. I did this by sewing at the top and the bottom, then across in both directions.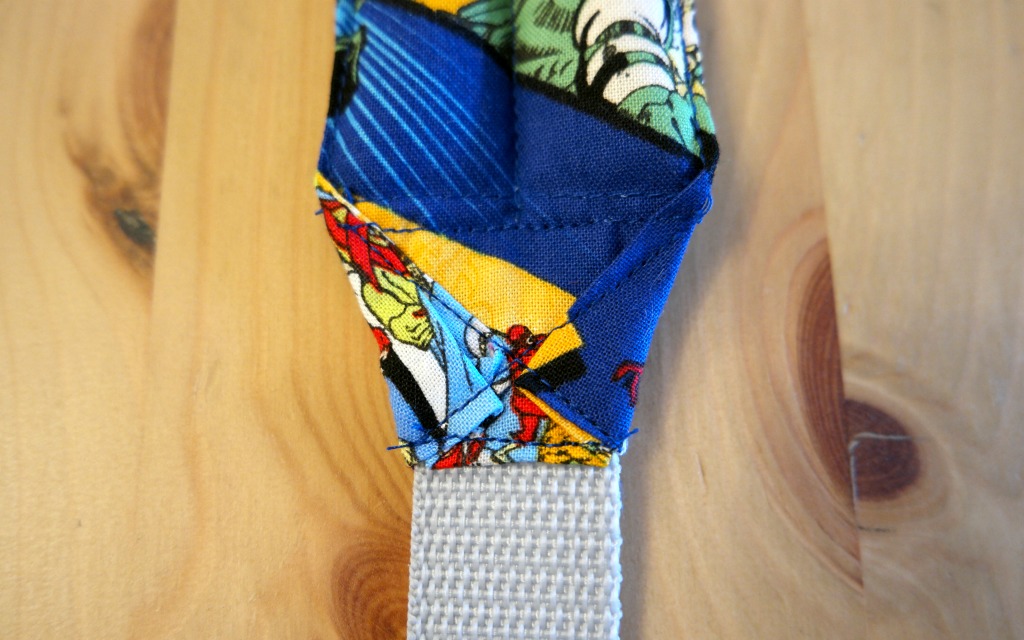
5. Repeat for the other strap.
Attaching the Buckle to the Webbing
1. Cut 2 pieces of webbing 11 cm long.
2. Melt the raw edges as you did for the straps.
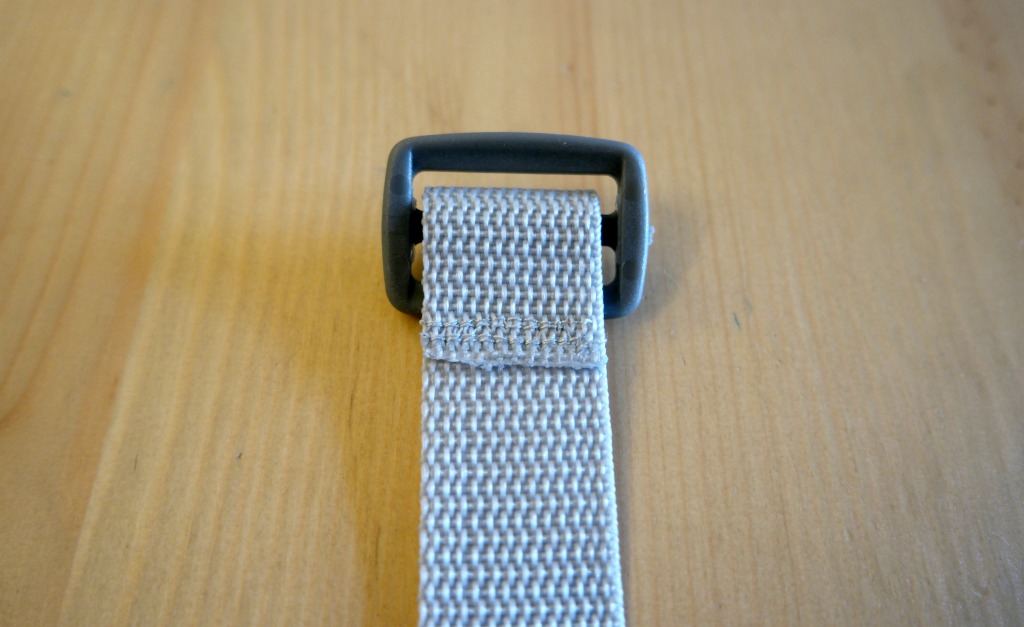
3. Slip the buckle onto the webbing and fold it over.
4. Sew in place. I sewed it in a couple of places and then went back over it to make it stronger. To get close to the buckle, you could use a zip foot.
Making the Casing For the Cord
1. Cut a piece of bias binding long enough to go around the bag, plus a couple of cm extra.
2. Fold one end of the bias binding under, then pin that end to the front of the bag on one side of the centre, about 1 cm down from the top.
3. Pin the rest of the bias binding all around the bag until you get back to the centre of the front. Fold the end underneath and pin.
4. Sew along the top edge of the bias binding, then again along the bottom edge. Where the ends meet, you might like to sew over it a few times to strengthen it.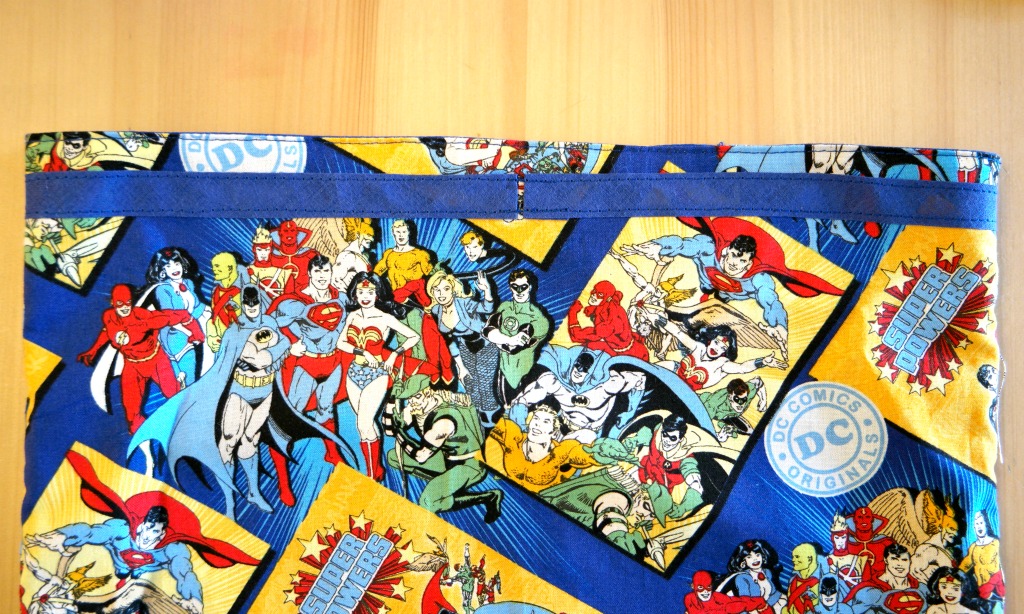
Attaching the Straps
1. Take one of the straps and pin it to the top to the back of the bag, just under the bias binding and about a cm from the centre.
2. Sew the strap in place. I’d recommend sewing over it several times! I sewed the top and the bottom, then across to make an x.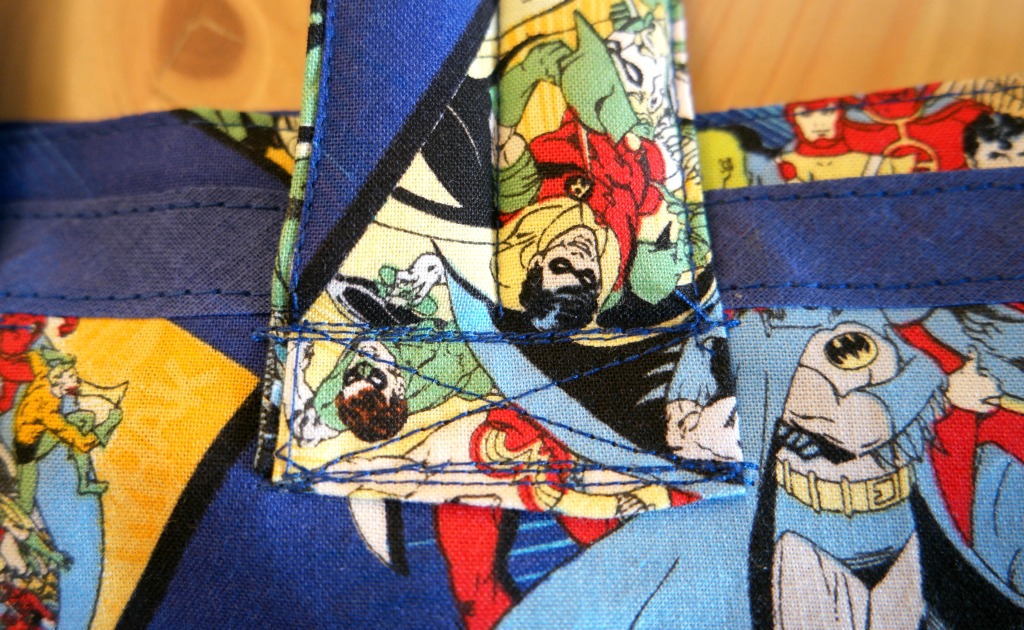
3. Repeat for the other strap.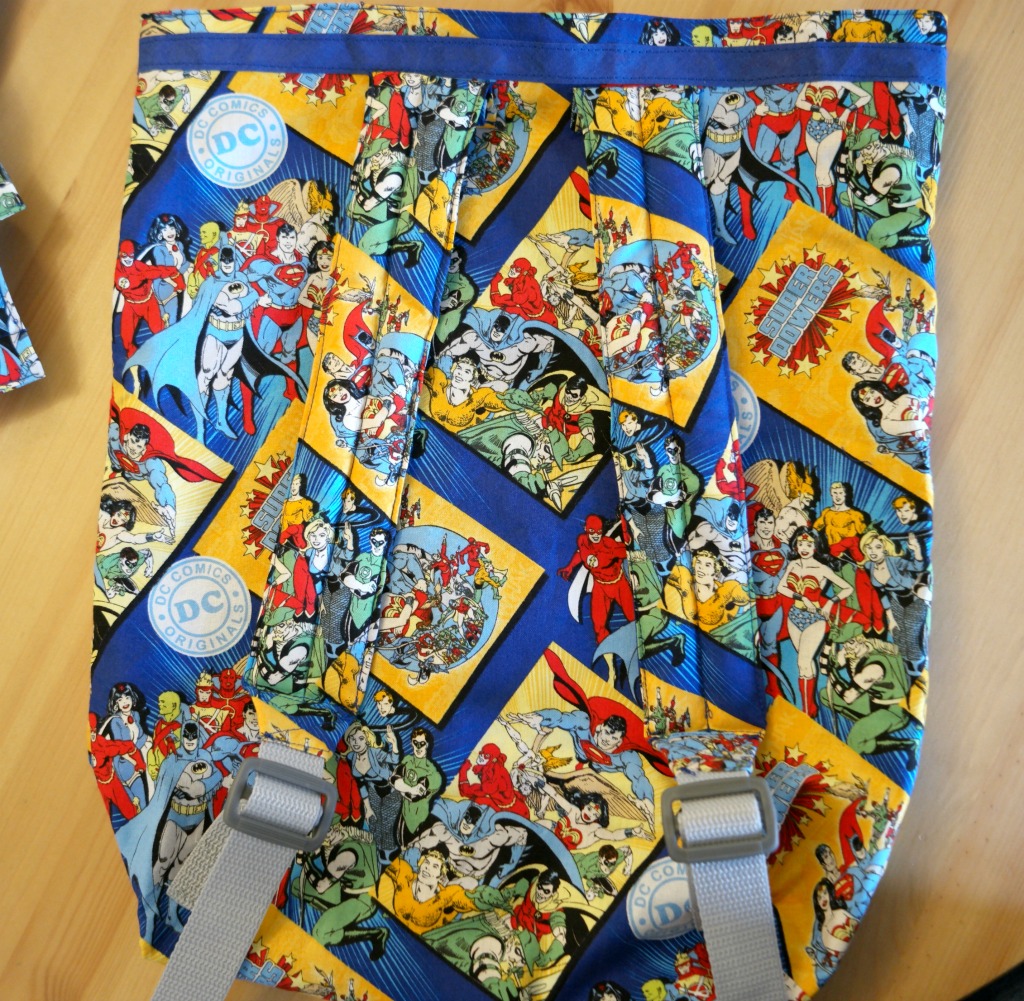
4. To attach the pieces of webbing with the buckles, identify on of the corners on the back of the bag. Pin one of the webbing pieces to the the bag, just above the corner and at an angle. Sew in place. Repeat for the other piece of webbing.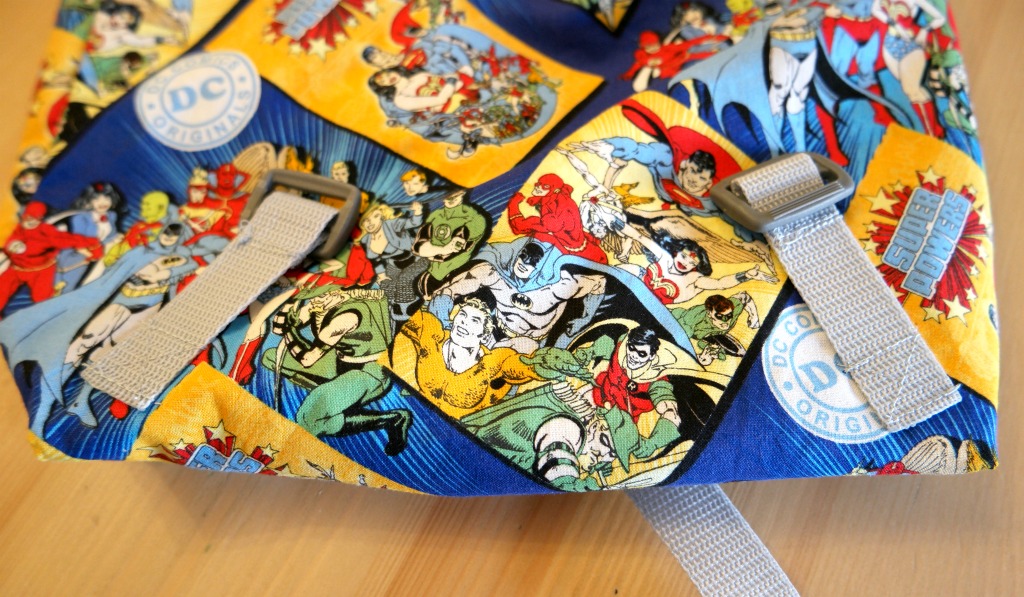
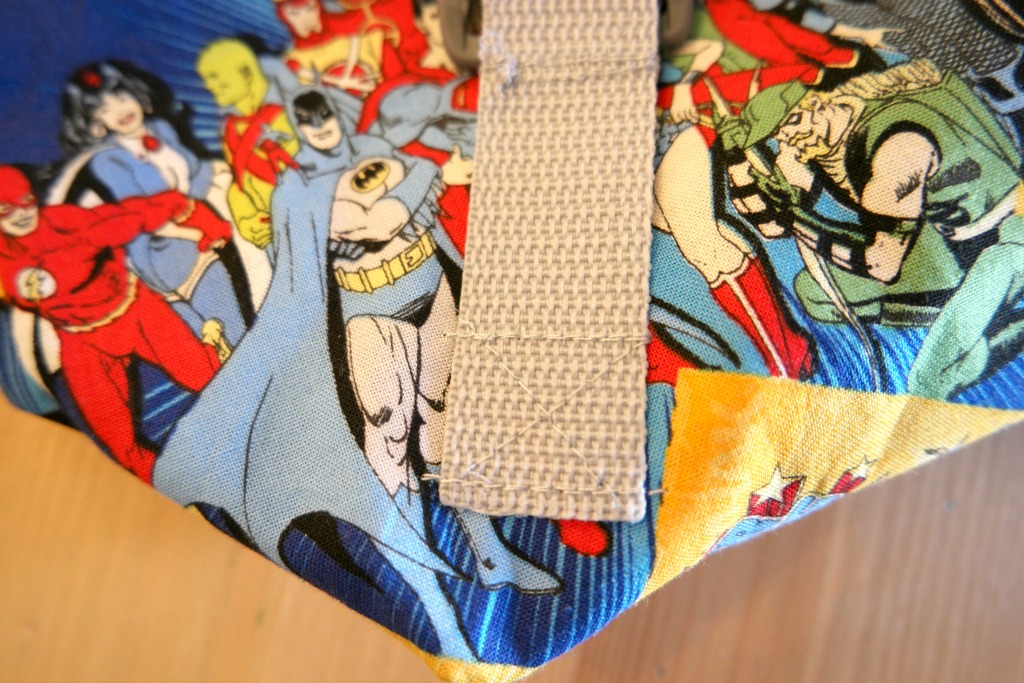
This part is a bit fiddly but I actually found it easier than I was expecting! With each strap, instead of pulling the bag out each time, I lifted the needle and the foot and moved it to where I needed to sew next. When the strap was attached, I then pulled it out and trimmed the threads before moving onto the next strap.
Threading the Cord
1. Cut a piece of elastic cord long enough to go round the bag.The stuff I used was thinner that I was expecting, so I doubled it over.
2. With a safety pin, thread the cord through the casing you made with the bias binding.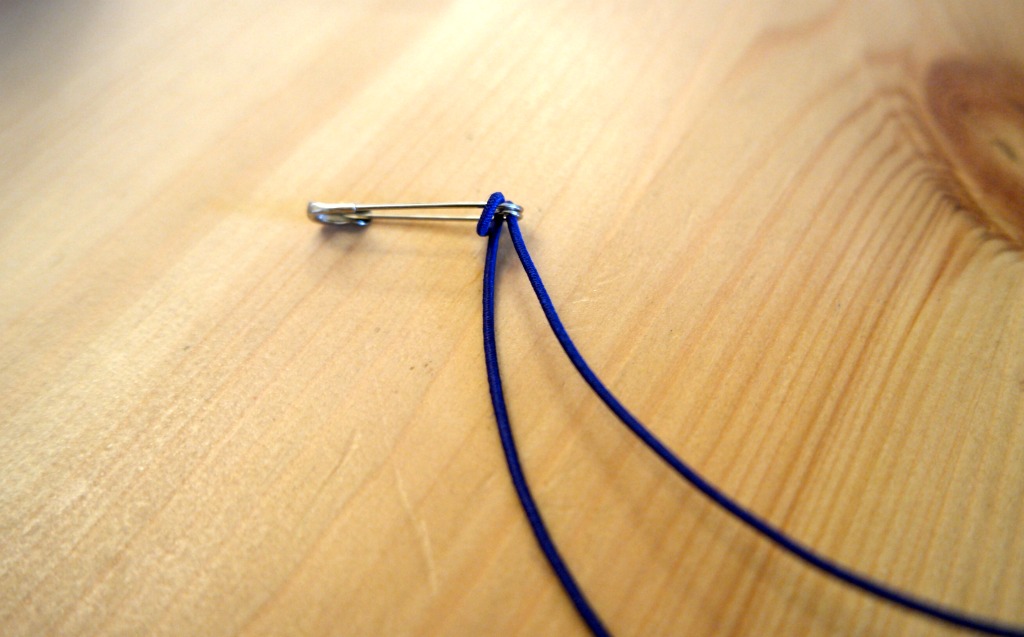
3. Thread the ends through the toggle and knot them.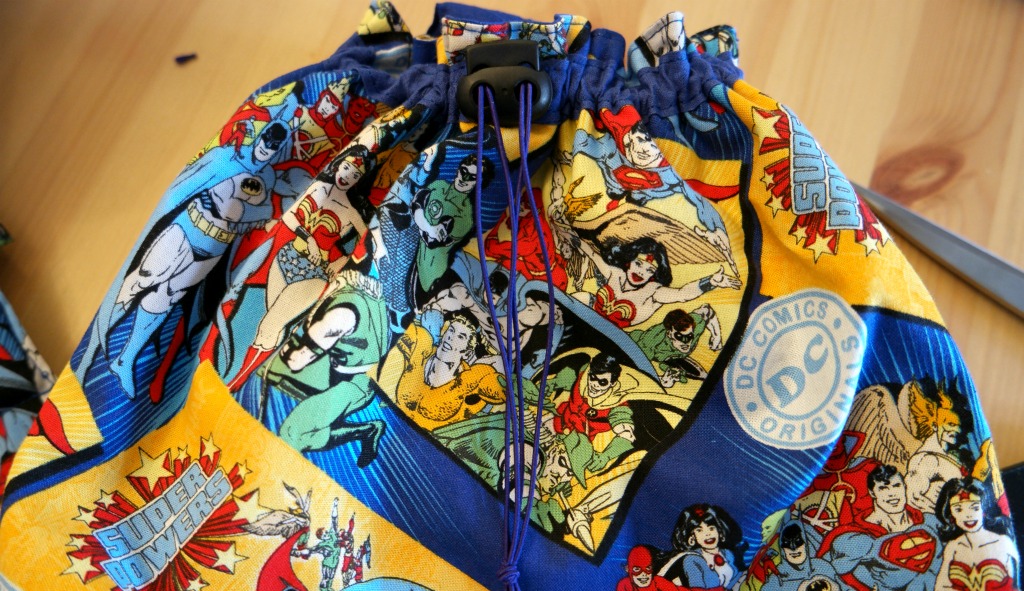
Tips
I hope you’ve found my easy backpack tutorial helpful! Here are some tips.
If you’re in a real hurry, you could skip the lining. This will also make it smaller when folded up. However, it might be less strong. I lined mine because I’m pretty sure they’re going to be used for carrying rocks as much as macs!
Using a print that doesn’t have a direction will also save time as you can use a long rectangle instead of 2 smaller ones.
If you have a bit more time, you could add pockets on the front and a flap to cover the top.
Obviously cotton isn’t waterproof! If you need your backpack to be waterproof, you could try oilcloth or laminated cotton, but this might make it thicker. Another alternative would be ripstop, which is much lighter. Or you could buy waterproofing spray, which would at least keep your stuff dry in a shower.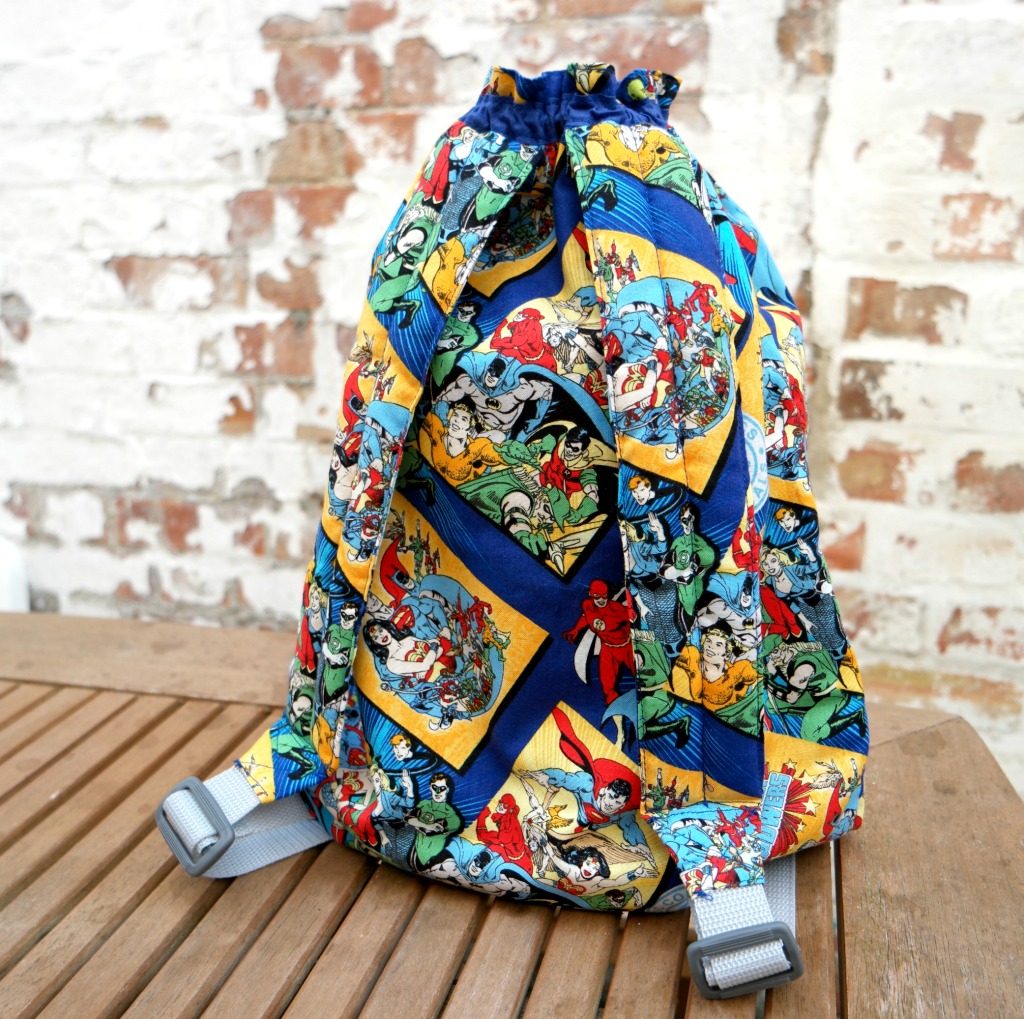

Linking up here.

Good idea to get the kids to carry their own gear, Anna. This is a great design! The drawstring top makes it very do-able to sew four of them, and easy for the boys to close and open.
Pam @Threading My Way recently posted…Showcasing ~ Stela Coin Purse ~ Tutorial & Pattern
Thanks Pam 🙂 I’ve found that the elastic means they don’t even have to open if they need to put their water or sunglasses away.
That was an amazing tutorial we appreciate ur generosity….pls can u put up a sew along for a multiple purpose diaper changing bags ..thanks in anticipation
I was thinking about doing a sew along, probably be in the summer 🙂
great tutorial! thanks for sharing on craft schooling Sunday!
creativejewishmom/sara recently posted…Wishing You A Meaningful Yom Kippur!
Thank you 🙂
What fabulous bags and a great tutorial, I need to make a new pe bag for my little monster and I think this is perfect.
They’d make good PE bags 🙂