Easiest Bunting Tutorial Ever
Easiest Bunting Tutorial Ever
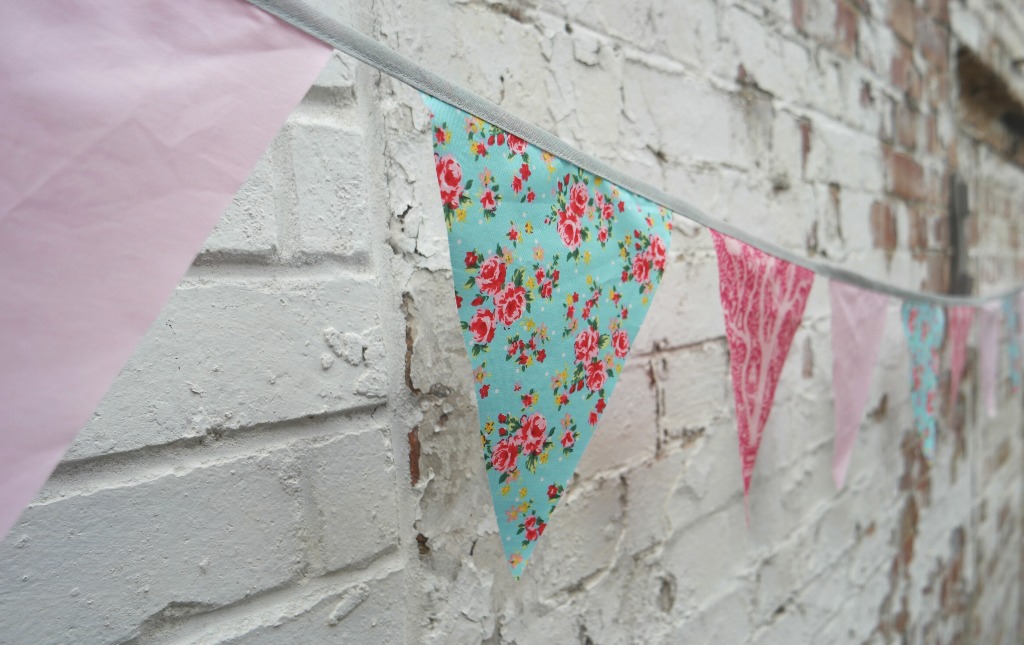
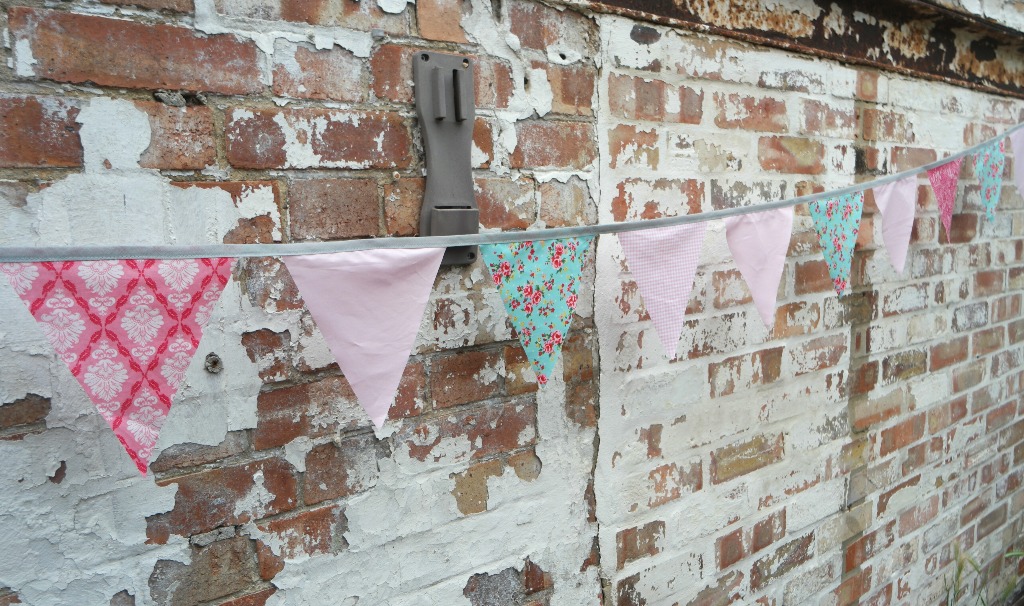
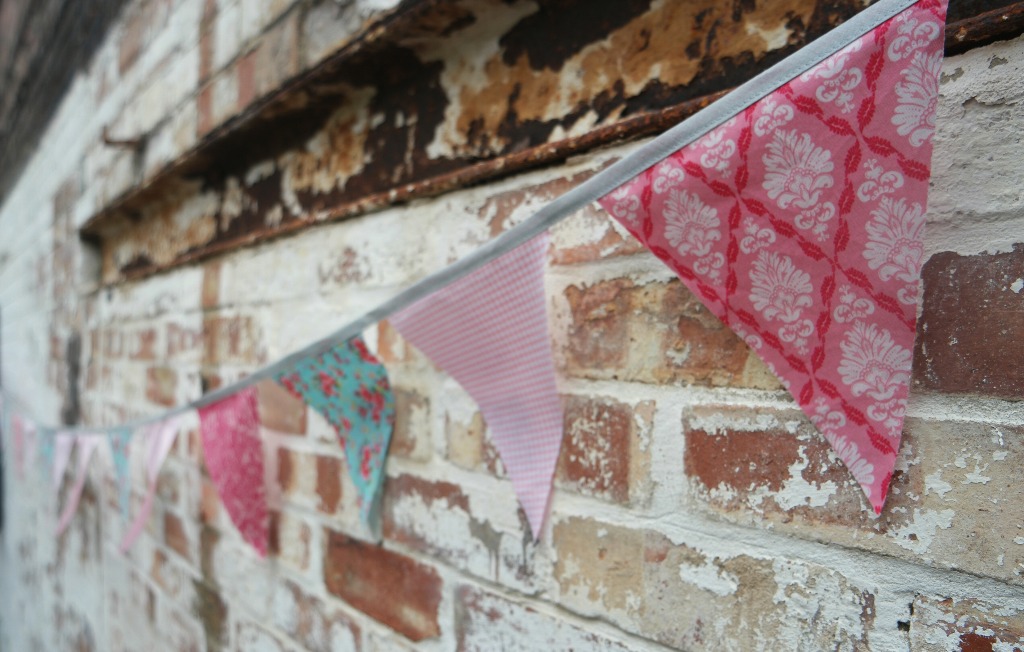
Making bunting isn’t especially difficult, but there are several ways of going about it. Some ways are more time consuming than others.
Taking your time over it is fine if you’re only making a bit, or if you need it to be special.
One of my favourite bits of bunting I’ve made is this with the trees . Although it didn’t take an age to make, it did take a little while! I made the templates for the trees, backed the fabric with interfacing, cut everything out, appliqued the trees to the flags, sewed the flags up then sewed the flags to the bias binding.
I love my tree bunting and it lives in my kitchen!
If you need to make a lot of bunting, or if you just want to make some quickly to put up in the garden (or on the front of your house to distract attention away from peeling paint!), then you need a plan for getting it done with the minimum amount of faffing about.
So here’s the easiest bunting tutorial ever!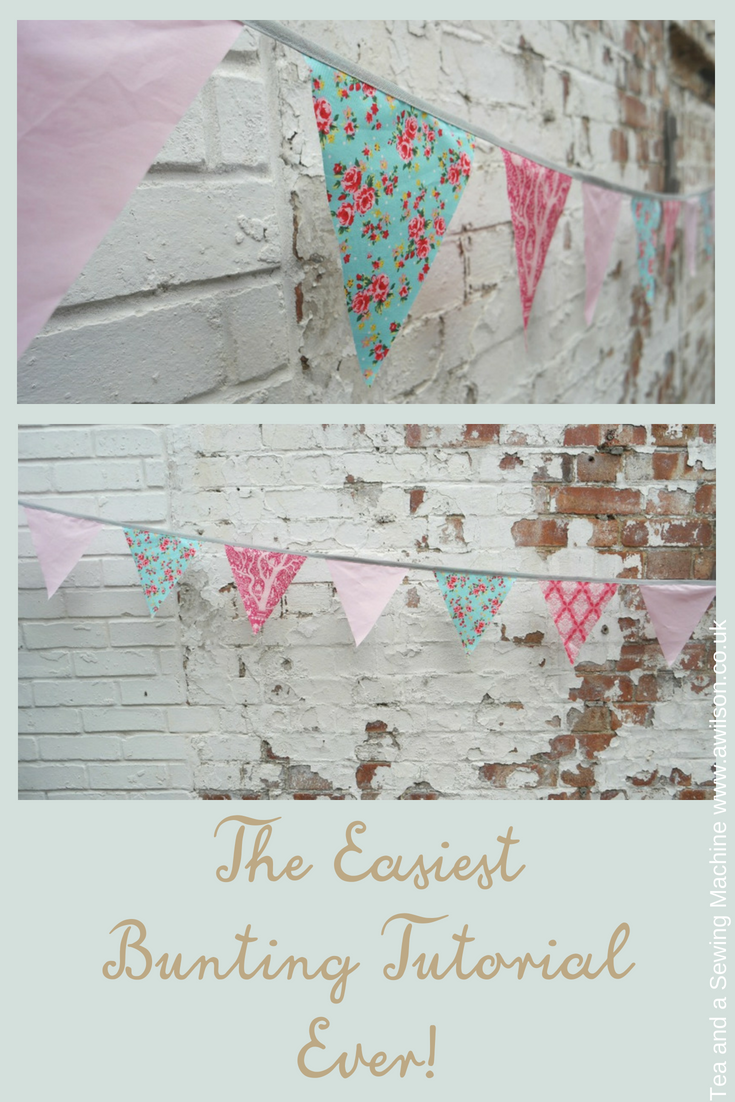
How to Make Bunting the Easy Way
You Will Need
Cotton or polycotton fabric
Bias binding
Bunting template
Scissors or rotary cutter
Bunting template (make your own or you can have mine in exchange for an email address)
Pins
Sewing machine (you could sew the flags by hand but a sewing machine will be quicker!)
Making the Bunting
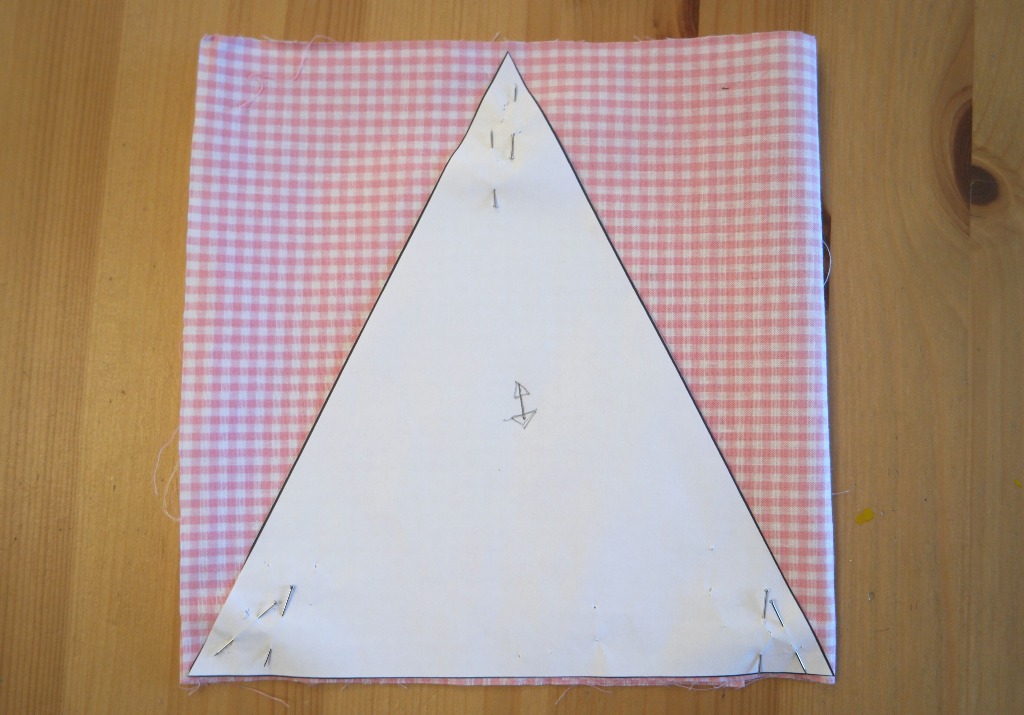
1. Make your template. Once you’ve printed it out, you could stick it to a piece of cardboard. This will make it easier to cut round if you’re using a rotary cutter. There are bunting templates here.
2. Cut your fabric into strips the same width as the the length of the flag.
3. Line the top edge of the flag up with the top edge of the strip. Now fold the strip so that you end up with several thicknesses of fabric the same width as the top of the flag. Keep the fabric folded. Don’t cut it into squares!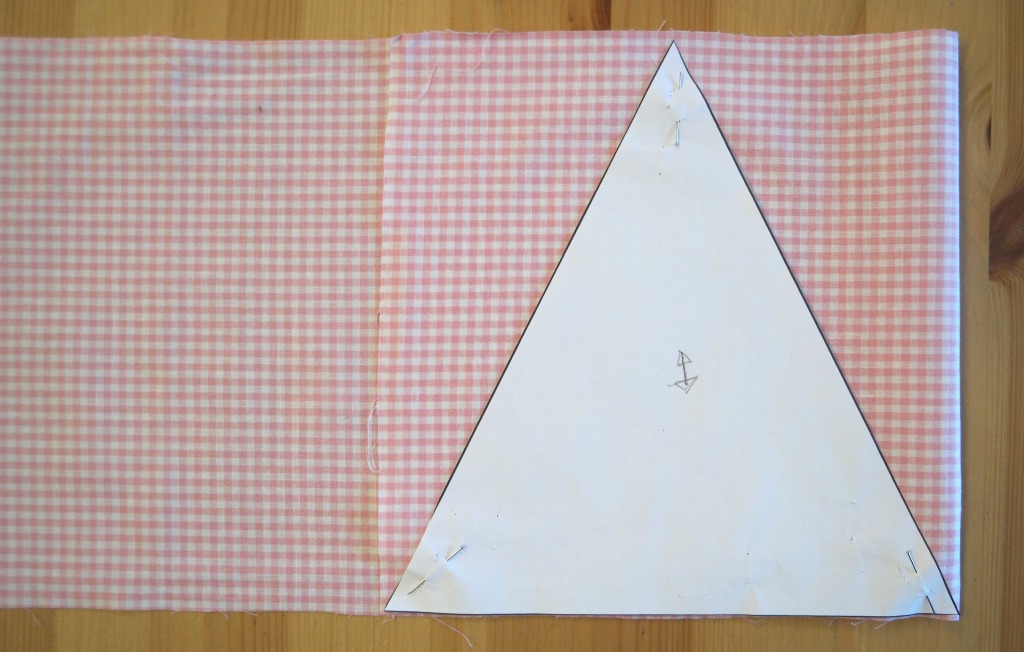
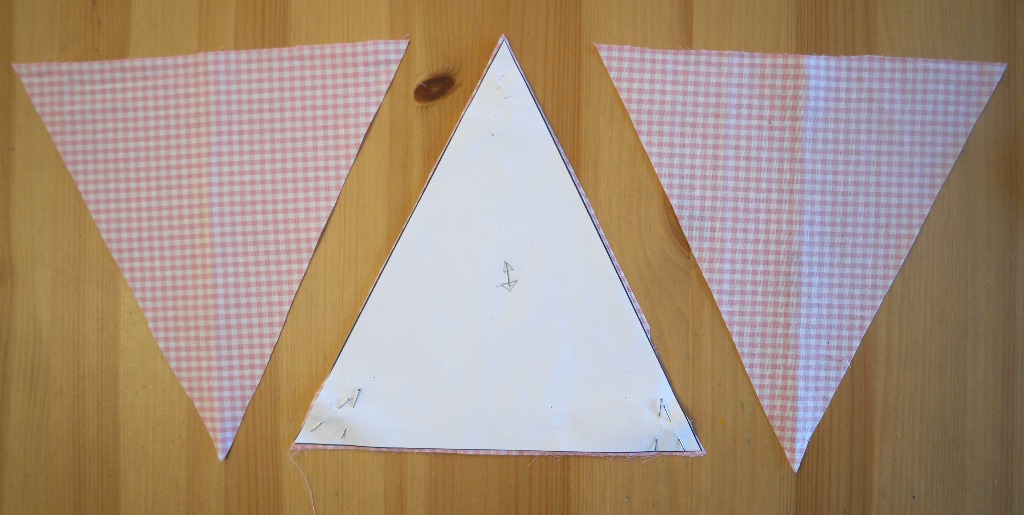
4. Cut the fabric along the sides of the template. You’ll find that as well as the flags in the centre, you’ll have some extra ones at the sides too.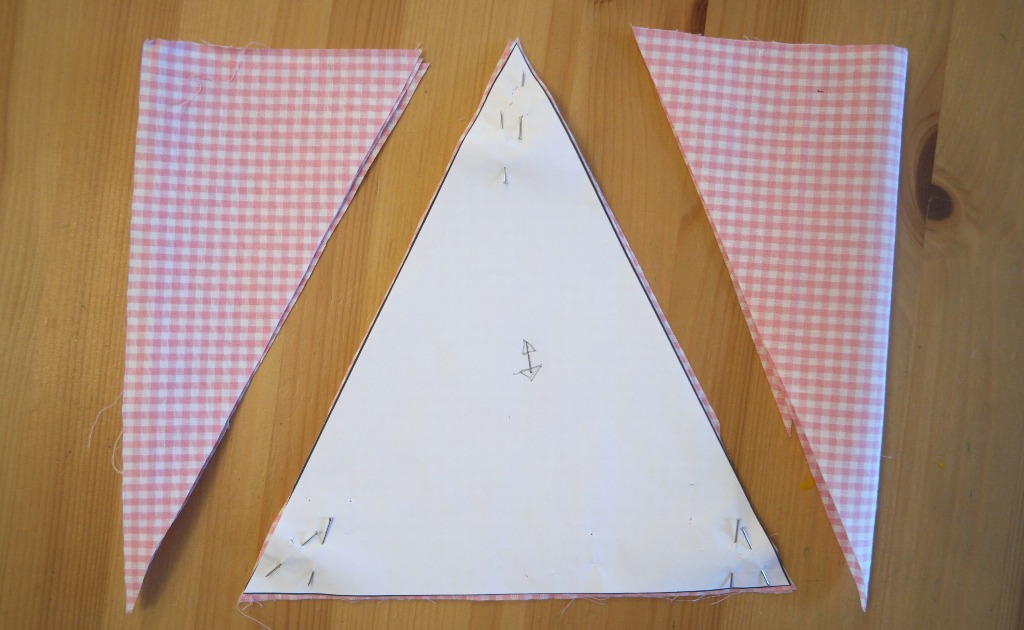
5. Take your bias binding and unroll about a metre. Fold it half lengthways and press it with your finger.
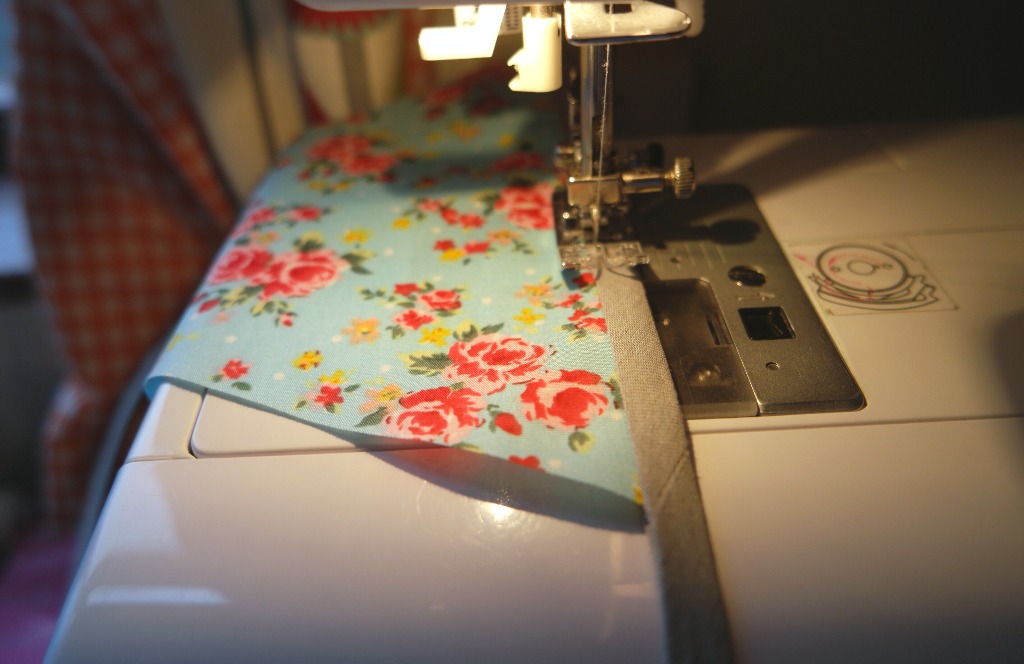
6. Leaving a bit free at the end for tying (15 – 20 cm or 6 – 7″ is probably enough), slip one of the flags inside the bias binding and pin it. Start sewing from the end of the bias binding, keeping close to the open edge. Keep sewing the bias binding past the flag.
7. Leave a bit of a gap (keep sewing though!) then slip another flag in. You’ll have to stop every so often to fold the bias binding in half, but I do this while sitting at the sewing machine.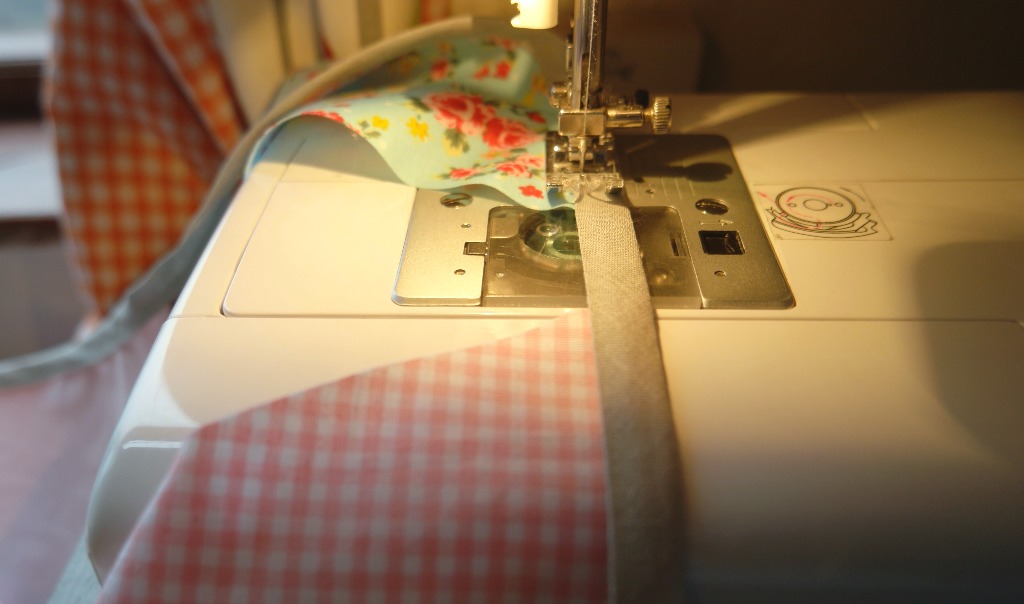
Keep going until you run out of flags or bias binding!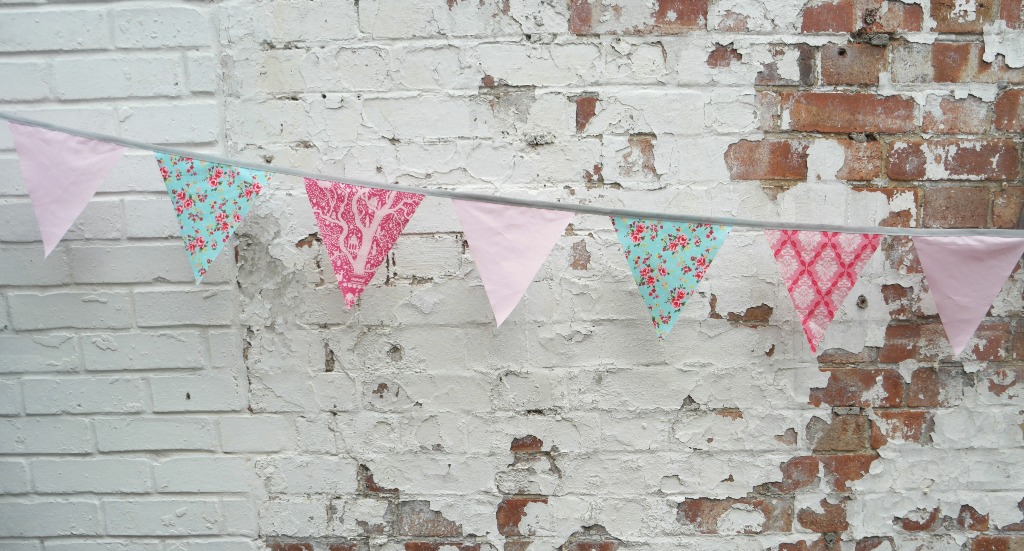
Tips
You can use fabric you have already, but if you’re worried about colour combinations, you could use a fat quarter pack. You’ll only get about 8 flags out of a fat quarter though.
If you are using fabric from your hoard and you’re not sure about choosing things that go together, pick a favourite print, then choose some plain fabric, spots and/ or checks in similar colours.
If you’re concerned that the fabric might fray badly, you could iron on some fusible interfacing first.
Using a fabric with a directional print will mean that either some of your flags will be upside down, or you’ll have to discard the upside down ones. Non directional prints are better for this.
Polycotton works just as well as cotton as you’ll be unlikely to be washing it very much. It’s also cheaper and less likely to fray.
If you liked this bunting tutorial, you might also like these:
Cushion cover with appliqued bunting




I made bunting a while back and did it all carefully, sewing 2 triangles together and turning them out. But that was for a gift so I thought it was necessary. I think if I were making it for a party or for our garden I would use your method here, it looks super quick!
Old mens shirts from the charity shop or a jumble sale would be ideal wouldn’t they?
Yes they would 🙂 Probably anything actually! xxx