A Burlap Purse Tutorial
A couple of weeks ago I made this bag for the Minerva Crafts Bloggers’ Network. I love the fabric and it’s so pretty, I decided I needed a little burlap purse to go with it!
The burlap purse is made in the same way as the bag. The front sections of burlap and cotton are sewn together and the pleats made. Then the lining, interfacing and purse outer are trimmed down to the same size. It’s all sewn together and then attached to the clasp frame.
 How to Make a Burlap Purse
You will need
Scrim (I keep calling it burlap, but I actually used scrim which is lighter and easier to work with), cotton fabric for pleats, cotton fabric for lining, sew in interfacing, purse frame.
The stuff I used came from Minerva Crafts. These are affiliate links.
Scrim Fabric

Gutermann Ring a Roses Summer Loft Kaleidoscope Poplin Quilting Fabric

Gutermann Ring a Roses Summer Loft Ring of Hearts Poplin Quilting Fabric

The clasp frame I bought from my local fabric shop, but there are some on Minerva crafts here.
To Make the Pattern Pieces
If you don’t want to faff with making your own pattern, you can buy one here for £2.
1. Draw round the outside edge of the purse frame, marking off the top of the hinges. Don’t worry about the clasp.
2. Draw a line along the bottom where you would like the bottom of the purse to be. A bit extra will be needed for the boxed corners, so add 1.5 cm and draw another line.
3. Draw down to the bottom line from where you marked the hinges. From the bottom of this vertical line, mark 3 cm outwards. Draw this new line from the hinges.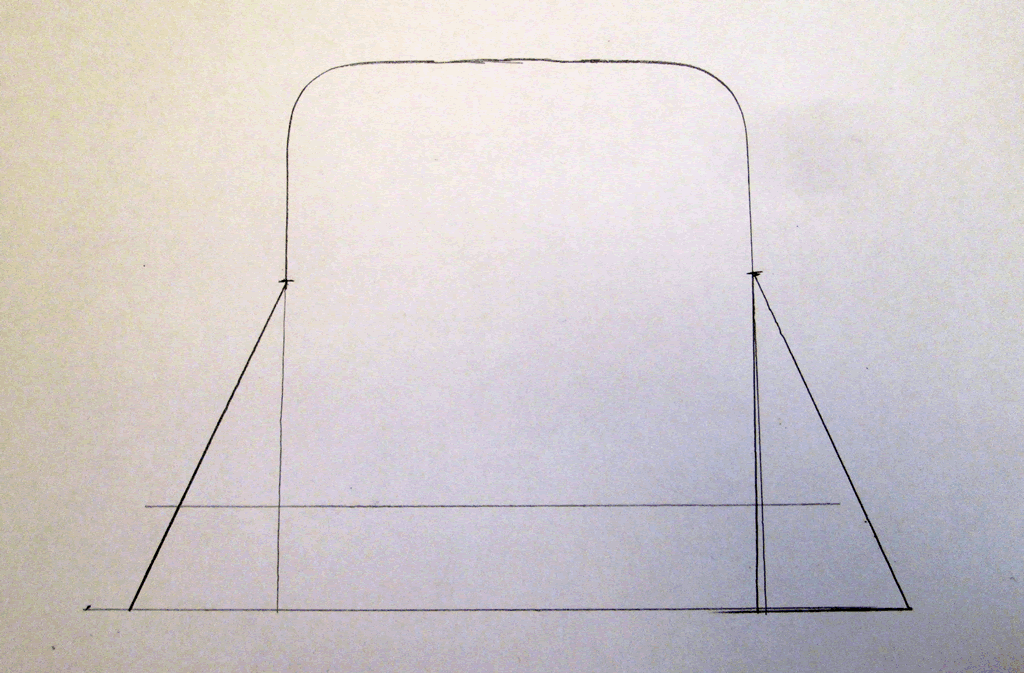
4. Decide where you would like the pleats to be. Mark those on by drawing 2 more lines.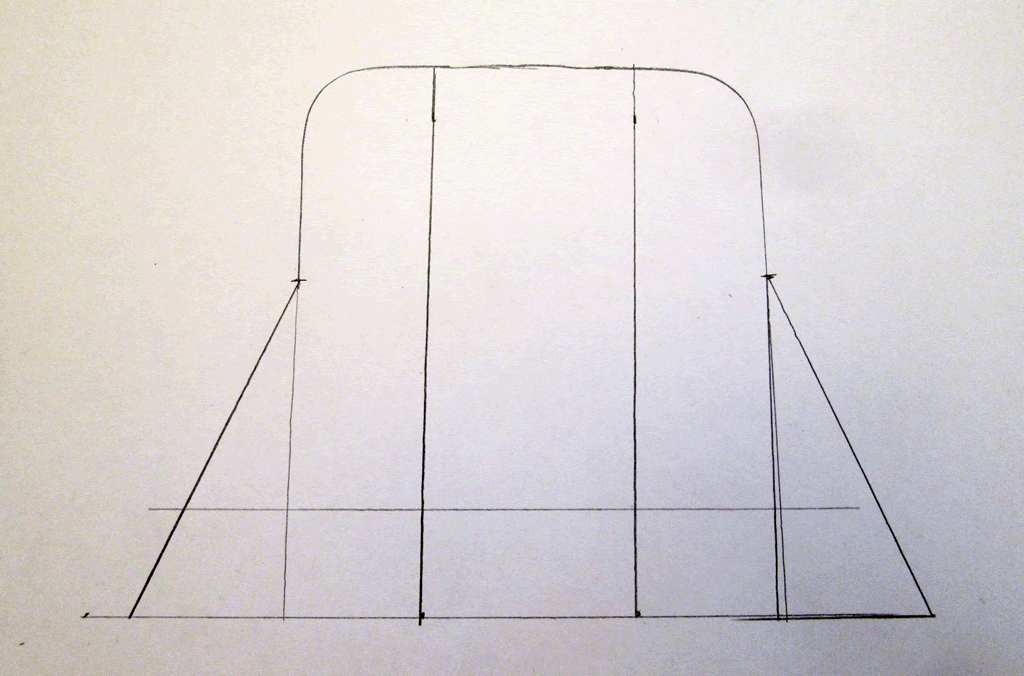
5. Using the purse outline as a template, draw the pattern piece for the lining and the interfacing. Cut it out.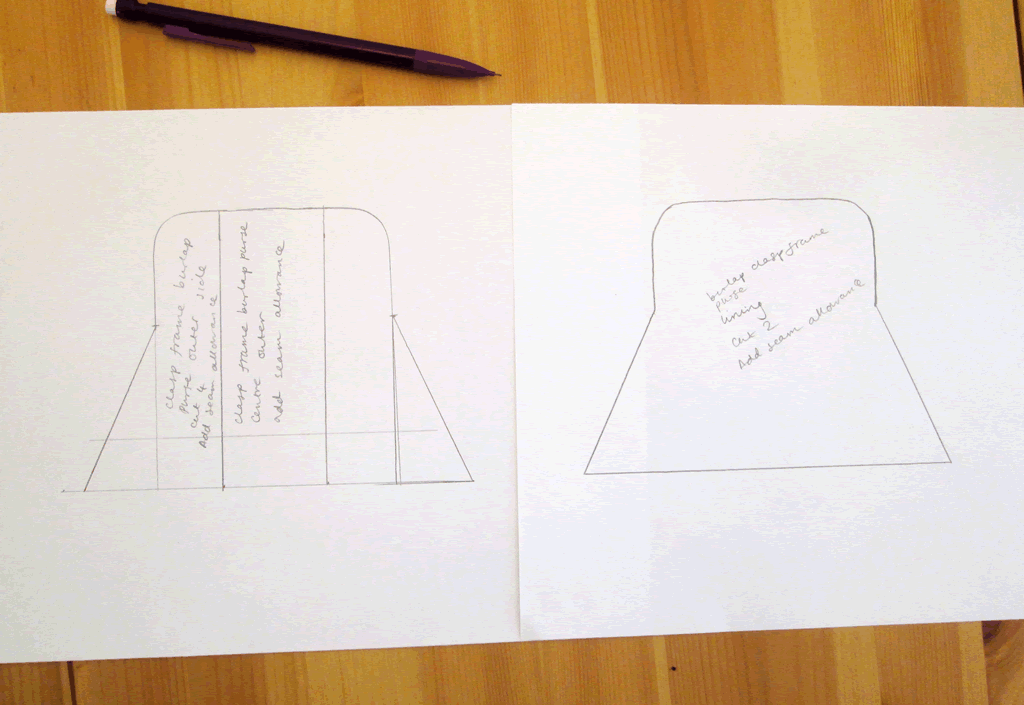
6. Cut out the pattern pieces for the purse outer. You will need 1 side piece and 1 centre piece. You will also need to make an extra piece for the inside of the pleats. This will need to be the same height as the other purse pieces and 3 cm wide.
If all this seems like to much aggravation, you can buy a pattern here.
Cutting Out
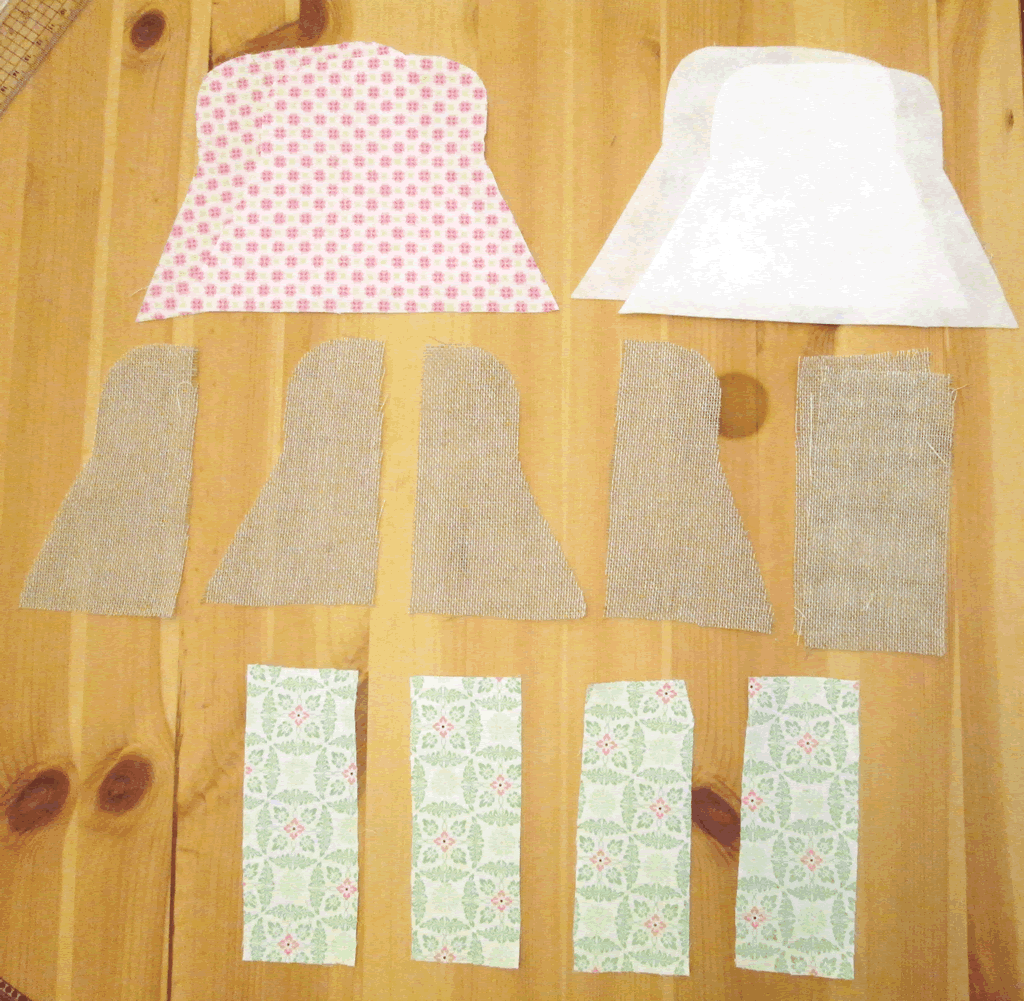
1. Using the purse shaped pattern piece, cut 2 of the lining and 2 of the sew in interfacing.
2. From the burlap, cut 4 side pieces and 2 centre pieces.
3. Cut 4 of the pleat insides from cotton fabric.
Sewing Up
1. Take 1 of the cotton pleat insides. Sew it to the long straight edge of one of the outside edge pieces.
Take another of the outside edge pieces and a pleat inside and do the same again, remembering to have the outside edge piece the other way round!
Sew the pleat insides to the centre piece.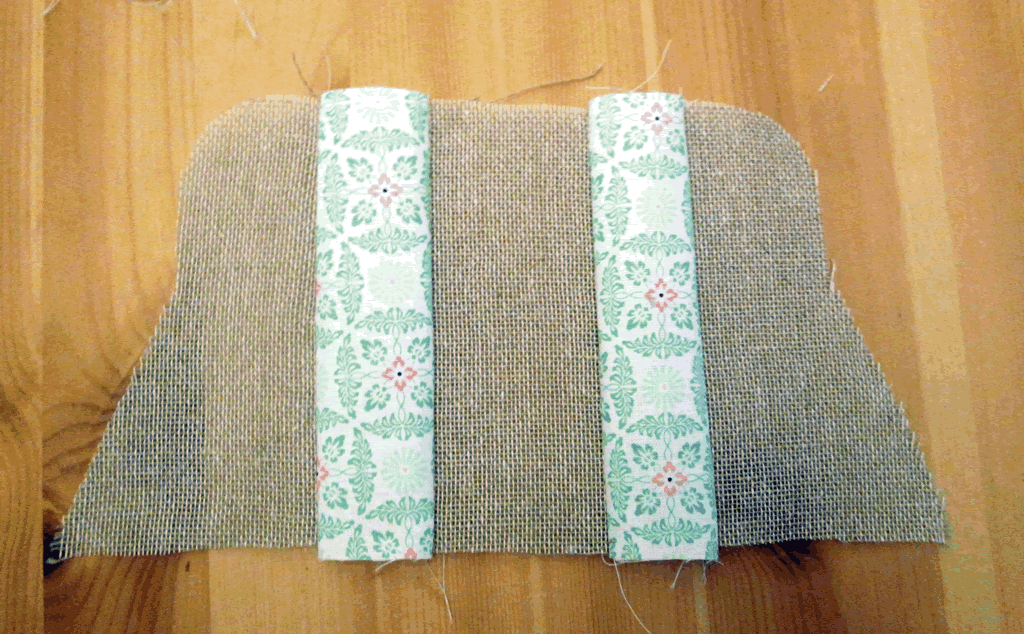
Repeat for the remaining purse outside pieces. You now have 2 purse outer sections.
2. Press the seams towards the cotton sections. Now fold the pleats so that the seams meet in the middle of the pleat. Pin, then sew a few stitches at the top of the pleats to hold them.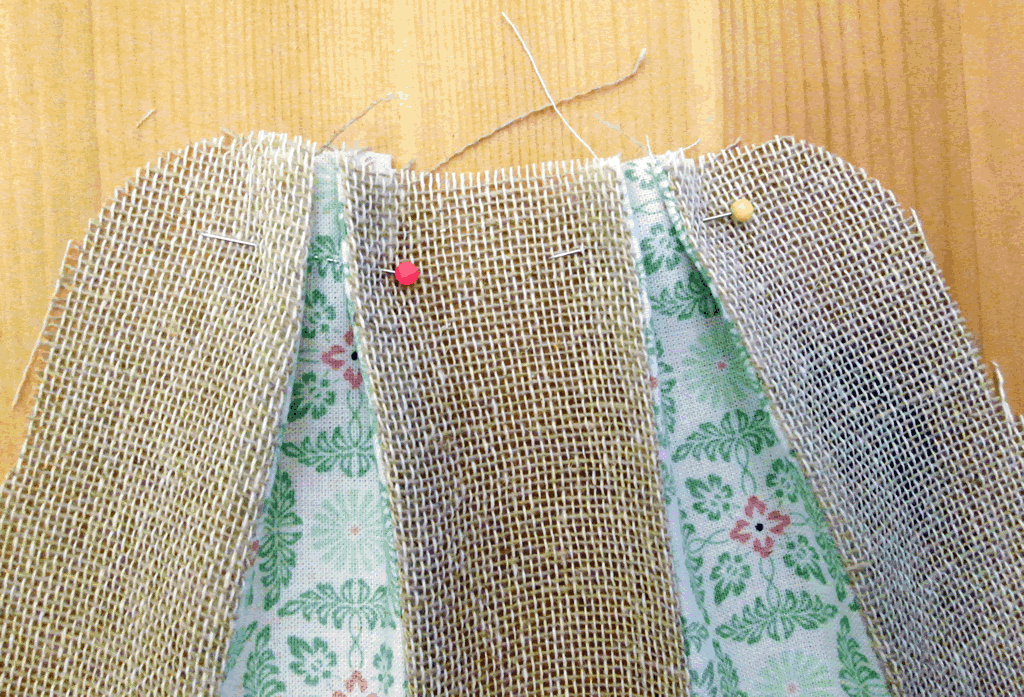
3. Pin the bottom of the pleats so that some of the pretty pleat inside is exposed.
4. Pin one of the interfacing pieces to the wrong side of the purse outer section. Trim down the outer so that it is the same size as the interfacing. Repeat for the other purse outer and interfacing.
5. With the right sides together, sew the purse outer plus interfacing around the outside edge, between where the hinges of the purse frame will be.
6. Trim the seam, but not too much as the scrim will fray!
7. Squish the corners so that the seams are together. Measure up 1.5 cm and pin. Sew across the corner. Cut the corner off. For a more detailed tutorial on sewing boxed corners, please see this tutorial here.
8. Take the lining pieces and sew from where the hinge will be on one side to about a third of the way along the bottom. Repeat for the other side. It is important to leave an opening so that you can turn it the right way out!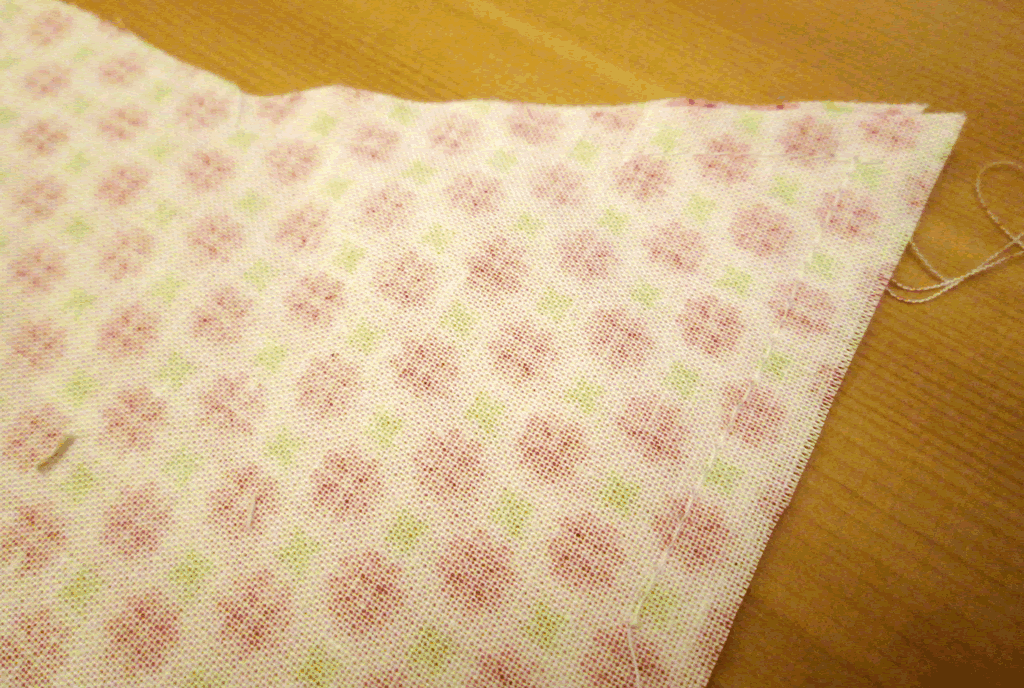
9. Make the boxed corners in the lining in the same way as you did for the purse outer in Step 7.
10. Pop the lining inside the purse outer so that the right sides are together. Sew around the opening.
11. Turn the purse all the right way out. You might like to press it a little bit at this point. Slip stitch the the open part of the lining.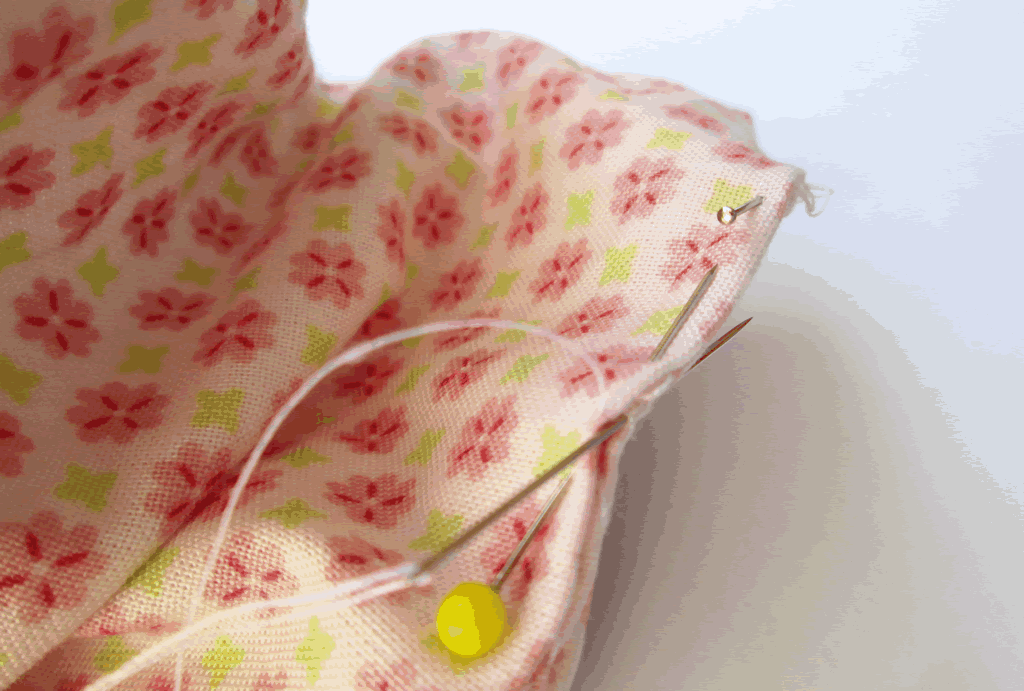
11. Using some strong thread (or ordinary thread doubled), sew the purse to the frame. To sew it, you will need to use back stitch so that you have stitches running continuously around the frame. 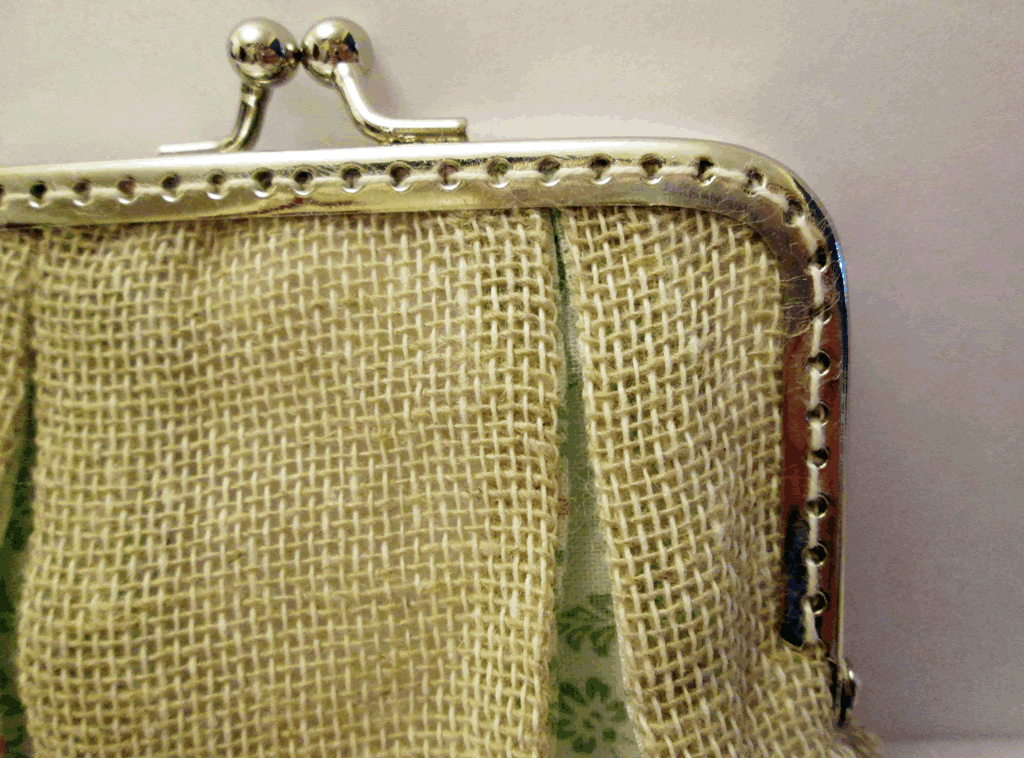 I would be lying if I said this wasn’t a fiddly nightmare! My tip would be to not trim the seam allowance at the top of the purse to closely. If it is a bit thicker, it will be less likely to keep slipping out of the frame. Also when you are sewing, insert the needle at an angle so that the stitches are not visible on the purse lining. And be prepared to keep jabbing at it with the needle and meeting only the frame and not the hole!
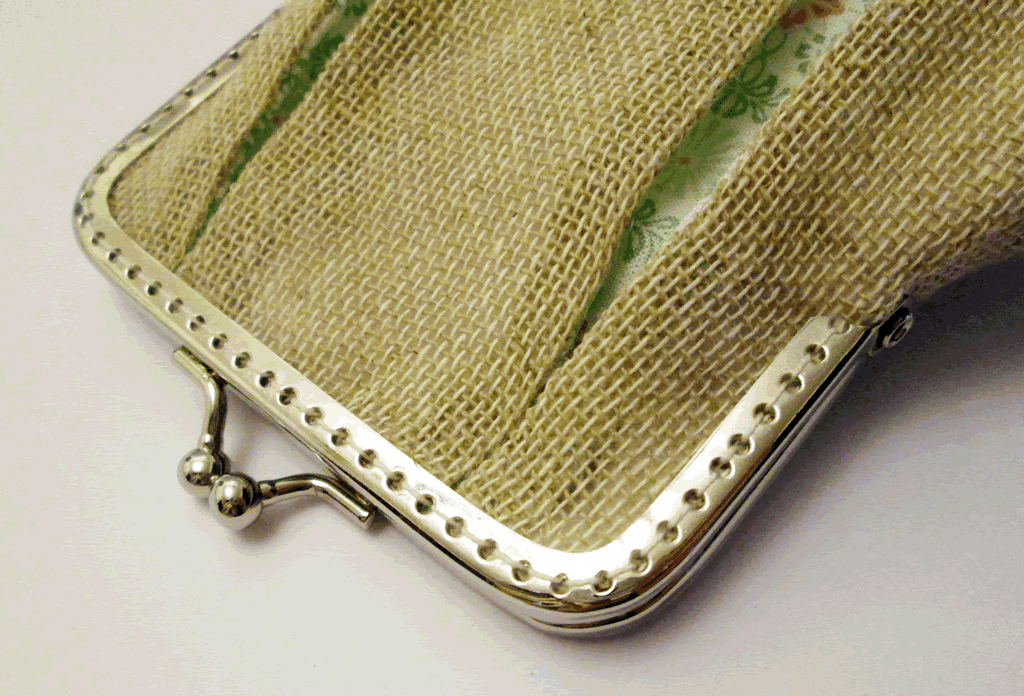
I think the fiddliness was worth it!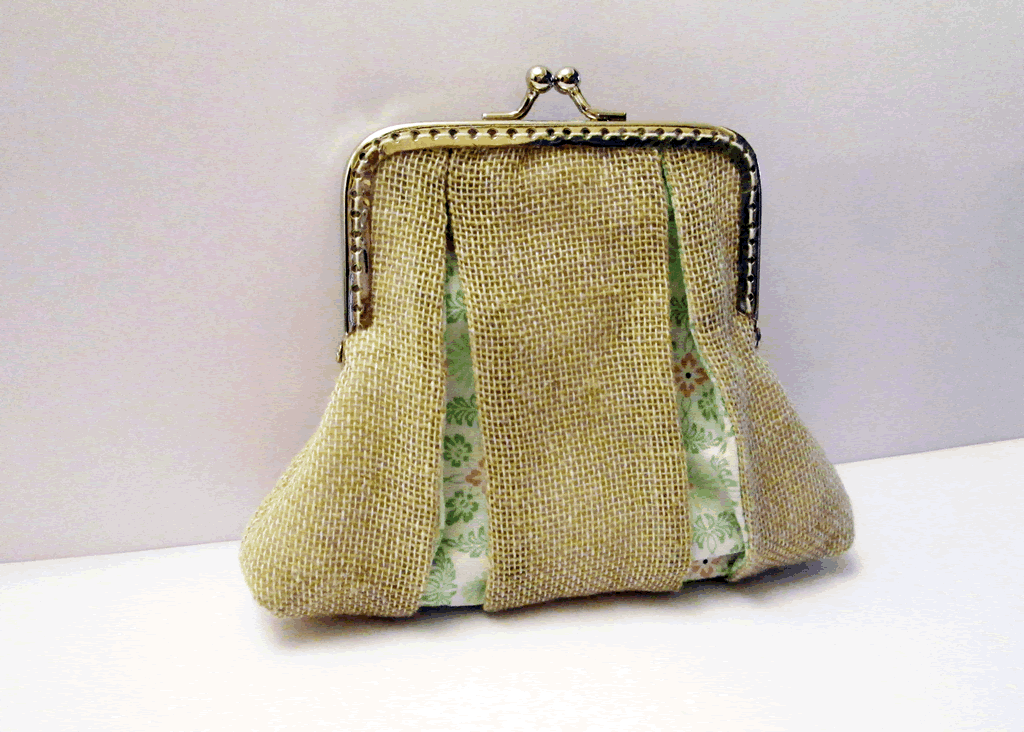
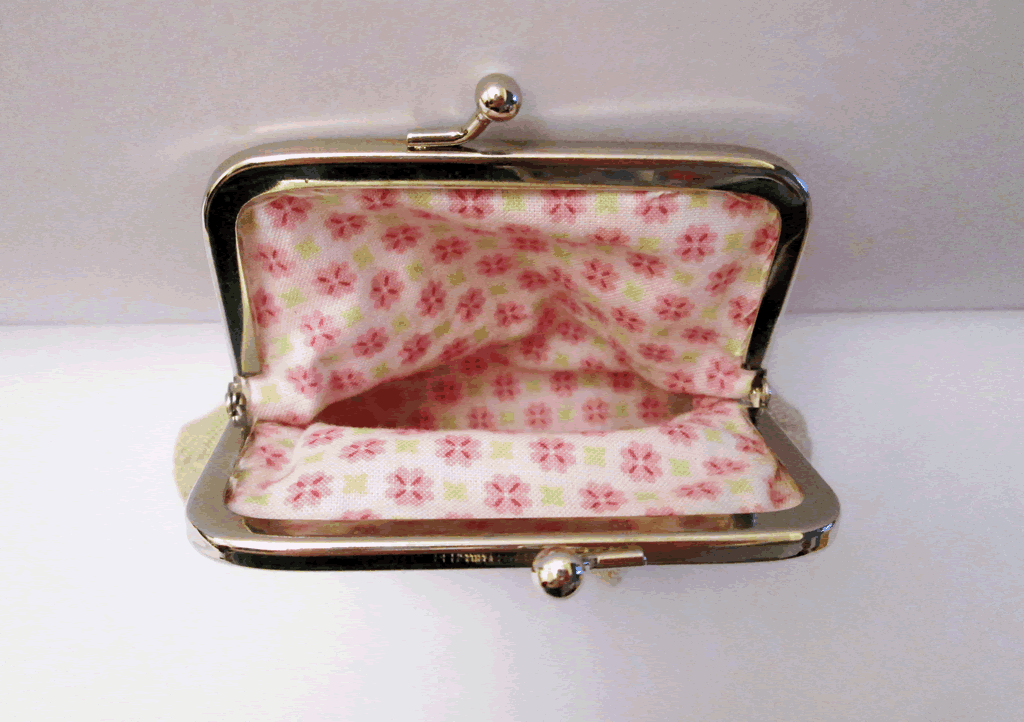
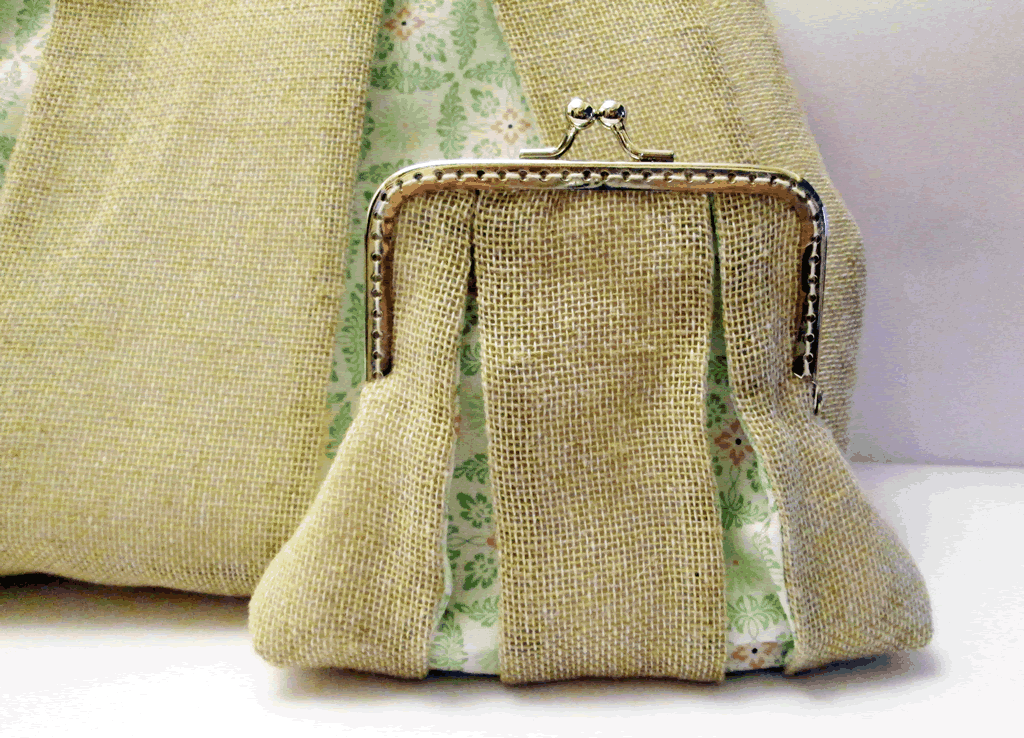
Linking up here.
 How to Make a Burlap Purse


What a sweet little purse. I love it! Saving this tutorial to try later.
Thank you 🙂
Anna I would like to feature you tomorrow at Sweet Inspiration, I just need a link up to our party pls.
Done it Mary, thank you xx
Wow Anna, this is really special. I could never make something like this too complicated and so many small pieces of fabric, but I can certainly admire your amazing talent. Thank you for joining us and giving us lots of Sweet Inspiration.

Mary-the boondocks blog recently posted…How to Repurpose Cans instead of being Overrun by them – Πώς Μπορείτε να Επαναπροσδιορίσετε τα Δοχεία
Thank you 🙂 xx
too super cute! I have one of those clasp thingies and was trying to figure out what to make so now I know! I will have to use burlap I think or if that doesn’t work, use another cloth here (trying not to buy anything this year if I can help it.) love it thanks for the tute and inspiration!
That little purse will probably work in all kinds of different fabric 🙂
Gorgeous little purse! I love the combination of fabrics too.
Thank you!
I love burlap in sewing projects and must admit addicted to the mini frames
I could develop an addiction to those frames too!
That is so pretty. I love the mixture of burlap and cotton.

Ginny recently posted…Confessions of a Novice Sock Knitter
Thank you!