DIY Winter Dress Tutorial
DIY Winter Dress Tutorial
It always makes me a little bit sad at the end of the summer when I have to put away my pretty dresses and dig out my dreary, sensible winter things instead.
This year has been a good year for the pretty dresses. Not only did I manage to make 4 dresses and 2 skirts, it’s actually been warm enough to wear them. So wear them I did. Lots. I spent most of the summer galumphing around my little corner of Norfolk looking as though I was on my way either to a 50s themed tea party or an event for overgrown, elderly fairies.
Now I’m in saggy, dreary things that don’t fit, but I have plans to change this one new outfit at a time! I can still wear pretty things even though it’s autumn. They just need to be warm pretty things I can wear with tights and leggings, boots and warm cardis.
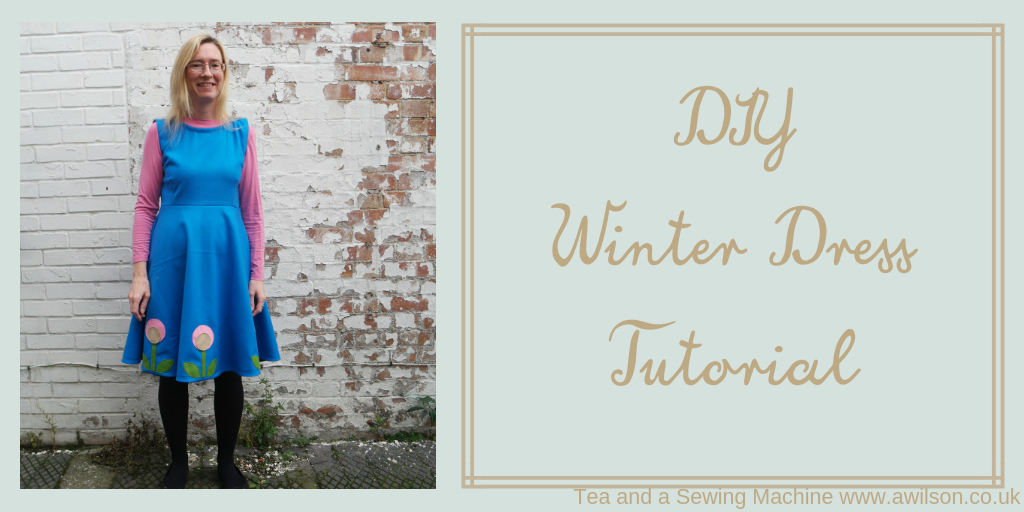
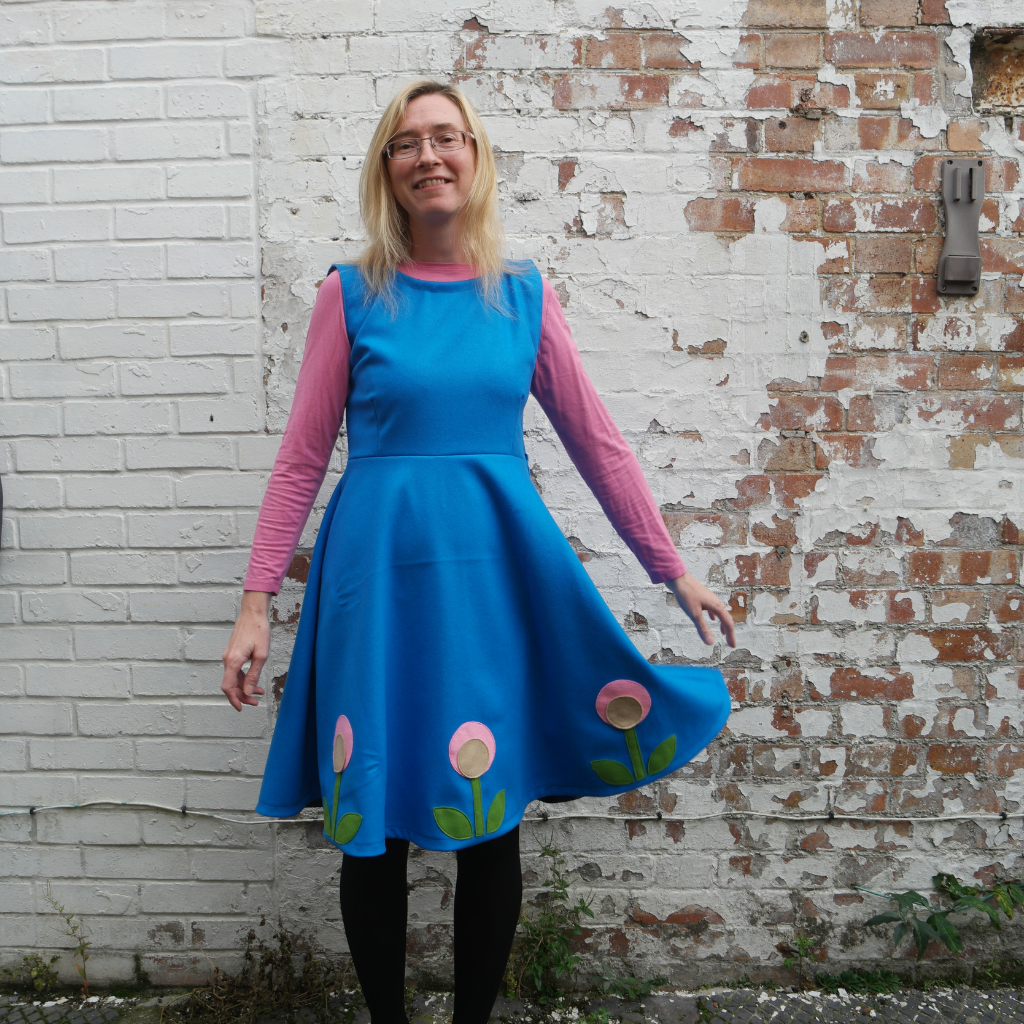
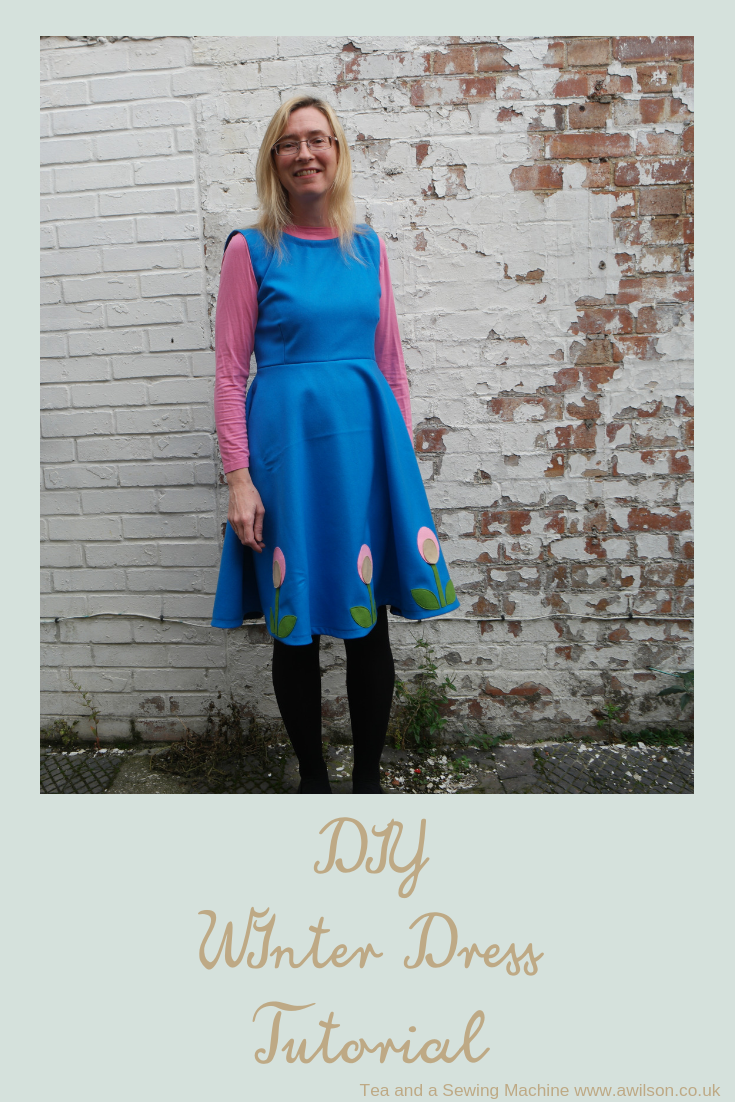
So here is DIY winter dress number 1!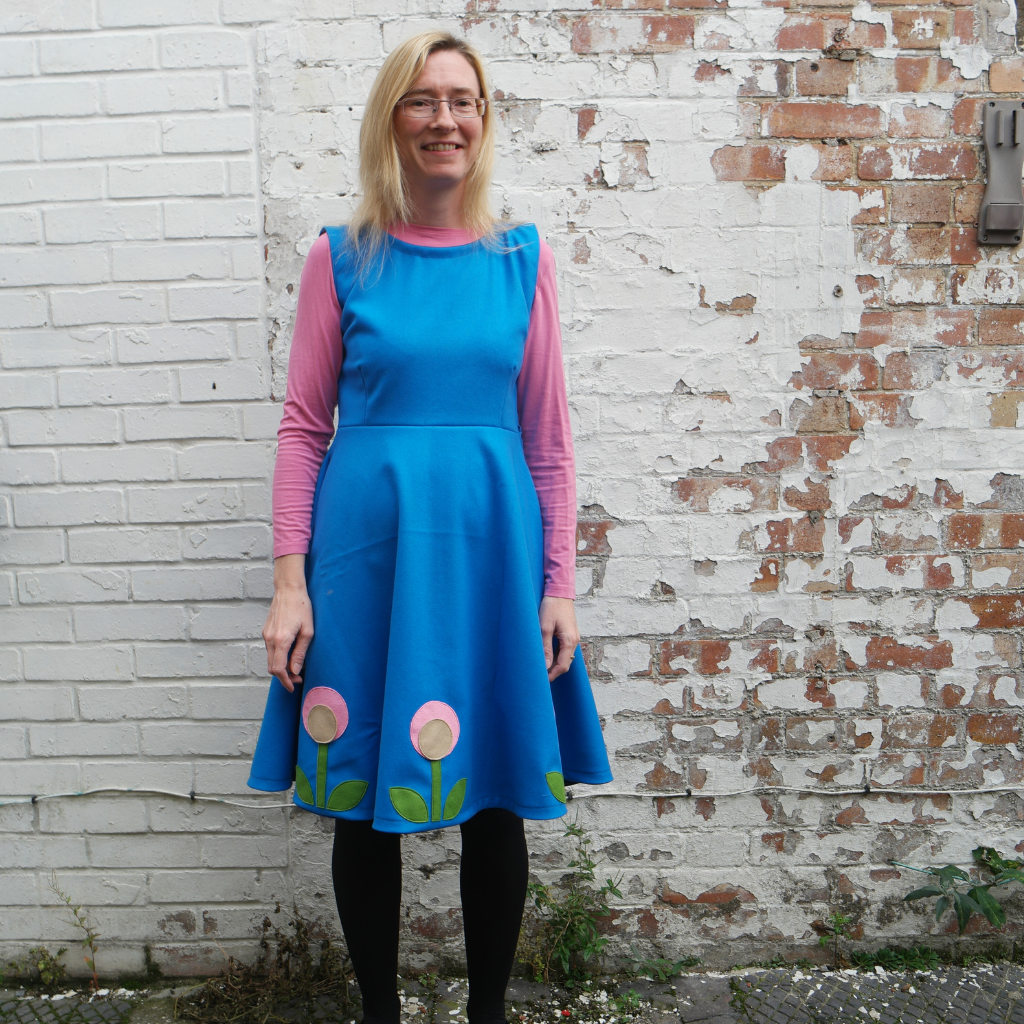
The fabric I used for my DIY winter dress is a bright blue wool that I was sent ages ago by the people at AW Hainsworth. They make woollen cloth for all kinds of things and the stuff they sent me is specifically for making clothes.
It’s beautiful, kind of like felt but it drapes nicely and isn’t too thick. I’d never made clothes from anything like felt before, and I’m hoping it’s going to be lovely and warm when the cold weather arrives!
I didn’t want to hem it or use facings because I was concerned about bulk. It doesn’t fray at all so I could have left them as they were, but I wanted to make them actually look finished! So I used so satin bias binding to finish the raw edges.
It’s very similar to the dresses I made in the summer. The main differences, apart from the fabric, are that the armholes are bigger and I allowed more ease for wearing, as I would be wearing a long sleeved top underneath it. The skirt is also half a circle rather than a full circle, so it uses quite a lot less fabric.
Here’s the tutorial if you want to make a DIY winter dress for yourself! If you’d like the templates for the flowers, you can have them in exchange for an email address. There’s also a free printable for recording your measurements. The details are at the bottom of the post.
Making a DIY Winter Dress
You will need:
Some big bits of paper (pattern paper is ideal)
Pencil
Tape measure
A French curve (or a plate)
Ruler
Wool or wool blend dress fabric. Small prints are fine but big prints and large checks and stripes are probably best avoided! I used 2 metres of fabric 145 cm wide.
Felt or other fabric for the applique.
Bias binding for finishing the raw edges.
A 20 cm (8 inch) zip.
Usual sewing supplies.
Taking Measurements
Before you start on your DIY winter dress, you’ll need to take some measurements.
You will need to measure:
Nape of your neck to your waist
Across your collarbone where it meets your shoulders
Across your shoulders
Bust
Waist
From your shoulder to where you measured your bust
Waist to knee (or where you want the hem to be)
If you’d like some tips for taking measurements, you can read this post here.
Drafting the Pattern
You’ll need a piece of pattern paper or similar, larger than your largest dimensions. Mine was 50 cm (20 inches) square.
Draw a vertical line the same length as the distance from the nape of your neck to your waist (or the top of your your shoulder if you don’t have somebody to help you!).
Find your waist measurement and divide it by 4. Add a couple of cm to allow for the darts, a couple more for the seam allowance and a little bit more for ease, especially if you’re planning on wearing it over something else.
Draw a horizontal line of this length at the bottom of the vertical line.
Now take your collar bone measurement. Divide this by 2 and draw a line this length at the top of the vertical line.
Divide your shoulder to shoulder measurement by 2 and draw a horizontal line of that length a couple of cm (an inch) below the collarbone line.
Find your shoulder to bust line measurement and mark it on the vertical line. Divide your bust measurement by 4, plus a 3-4 cm for a seam allowance and ease (1 1/2 inches). Draw a horizontal line where you marked on the vertical line.
Now join the lines up! To get the shape of the armhole, you could use a French curve if you have one, or a plate if you don’t.
To draw the neckline, mark down from the top of the vertical line about 15 cm (6 inches). Using the French curve (or the plate), join this point to the end of the collarbone line.
To add the side darts, mark a point about 8 cm (3 inches) in from the side and just below the bust line. At the side mark a point about 2 cm (3/4 inch) below the bust line. Draw a line from the first point to a cm above the point at the side, and another from the first point to a cm below the point at the side.
Draw the waist darts in the same way. Draw a line about 10 cm upwards from the centre of the waist edge of your pattern piece. From the top point, draw 2 more lines that end a cm either side at the waist.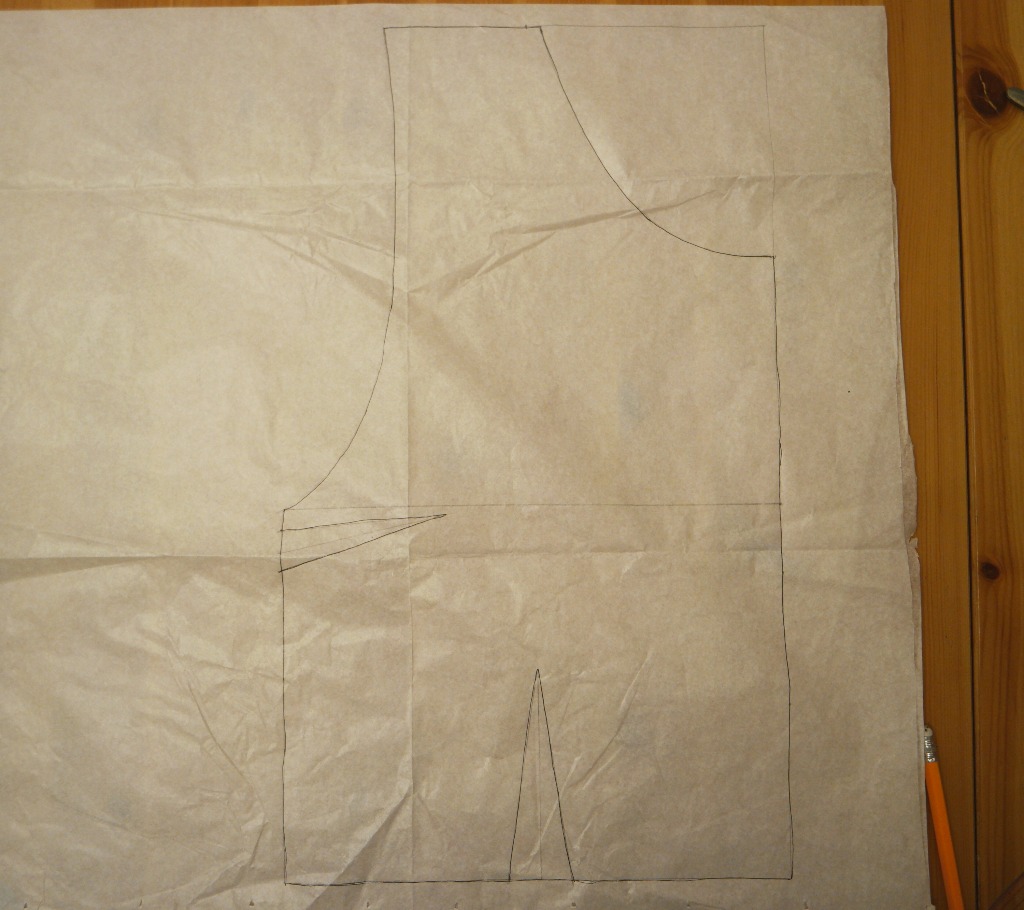
To draft the back piece, redraw the pattern piece without the extra at the waist that you added to allow for the darts. To draw the neckline, mark a point 10 cm down the vertical line and join it to the collarbone line.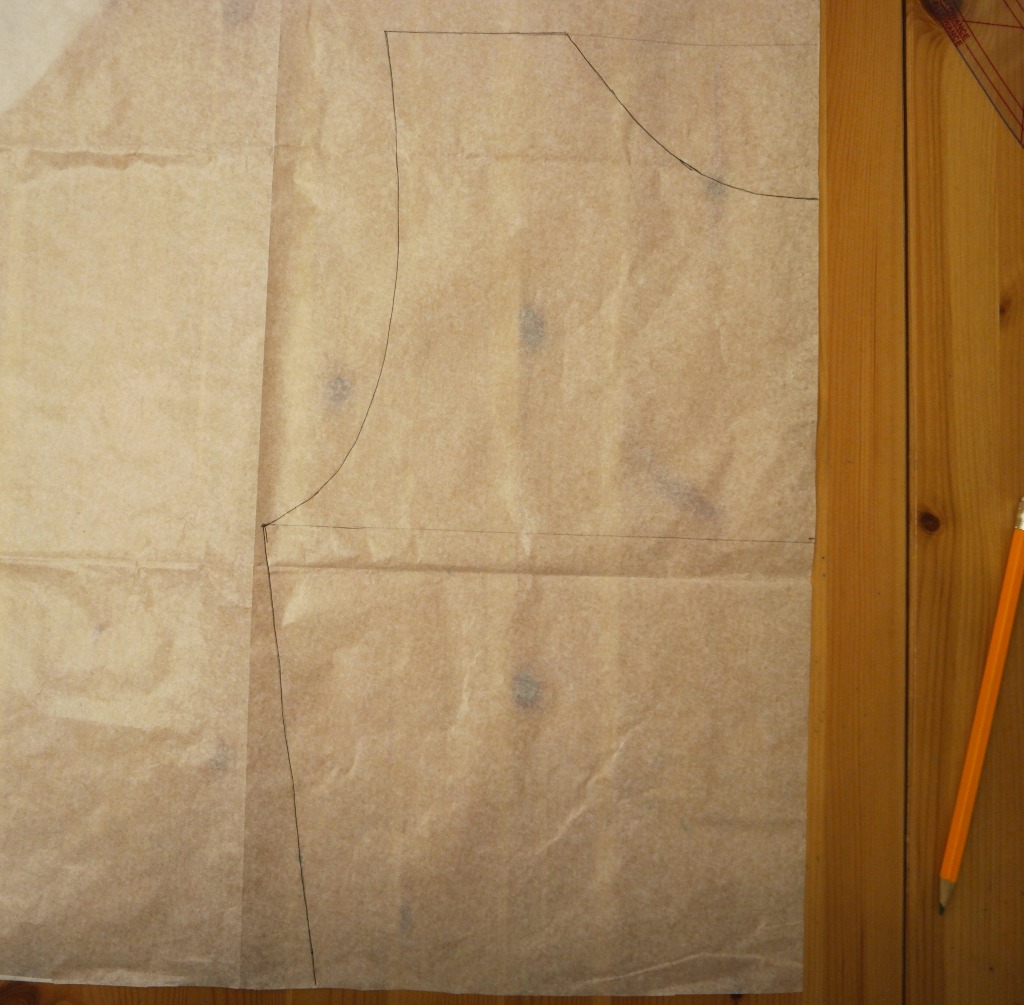
Working out the Skirt
When I was making my summer dresses, I didn’t bother with making a pattern piece first. Instead I cut it directly from the fabric.
For this DIY winter dress, the skirt is half a circle but the grain still needs to be running up and down the centre.
This means cutting it out at an angle, which is possible, but it’s easier and there’s less measuring if you have a pattern piece.
Take your waist measurement plus 4 cm seam allowance and a couple of cm for ease (2 1/2 inches). Divide this by 3 and add it to your waist to knee measurement. I’m going to refer to this as your total length measurement!
Cut a square with sides as long as your total length measurement. From one corner, measure across from one side to the other, marking off with a pen as you go. You should have a quarter of a circle.
From the same corner, measure down your waist measurement divided by three, across from one side to the other. You’ll now have a quarter of a circle with a chunk missing from the centre, like a quarter of a doughnut.
Unfortunately I forgot to take any pictures while I was cutting out the skirt! There are some pictures in this tutorial here if you need some.
Cutting Out
Cut one of each of the bodice sections, on the fold with the grain running up and down.
Cut 2 skirt pieces with the centre of each piece running parallel with the grain.
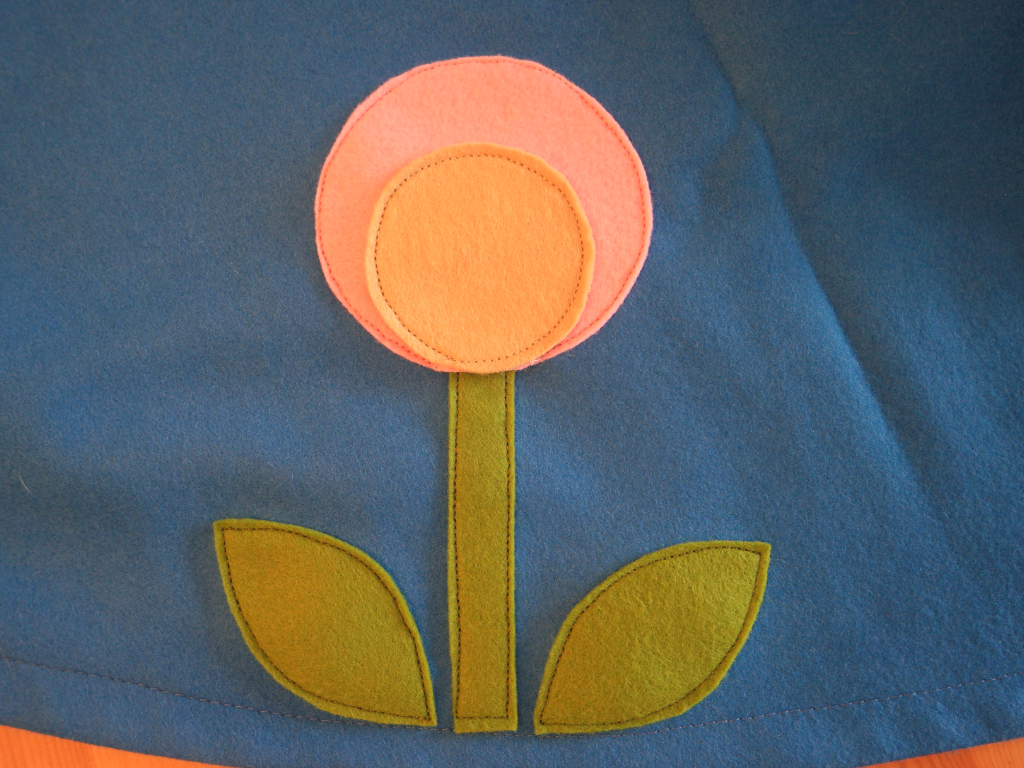
For the appliqued flowers, cut 6 of each circle, 6 stems and 12 leaves.
Sewing Up
1. If you want the appliqued flowers on your DIY winter dress, you’ll need to do those first. Position them on the dress, pin, then sew them in place. Start with the stems and the leaves, then the circles. I sewed the circles together then appliqued them to the dress. This was probably easier, but I had to be careful when sewing them on because I didn’t want pink stitching on the brown circles!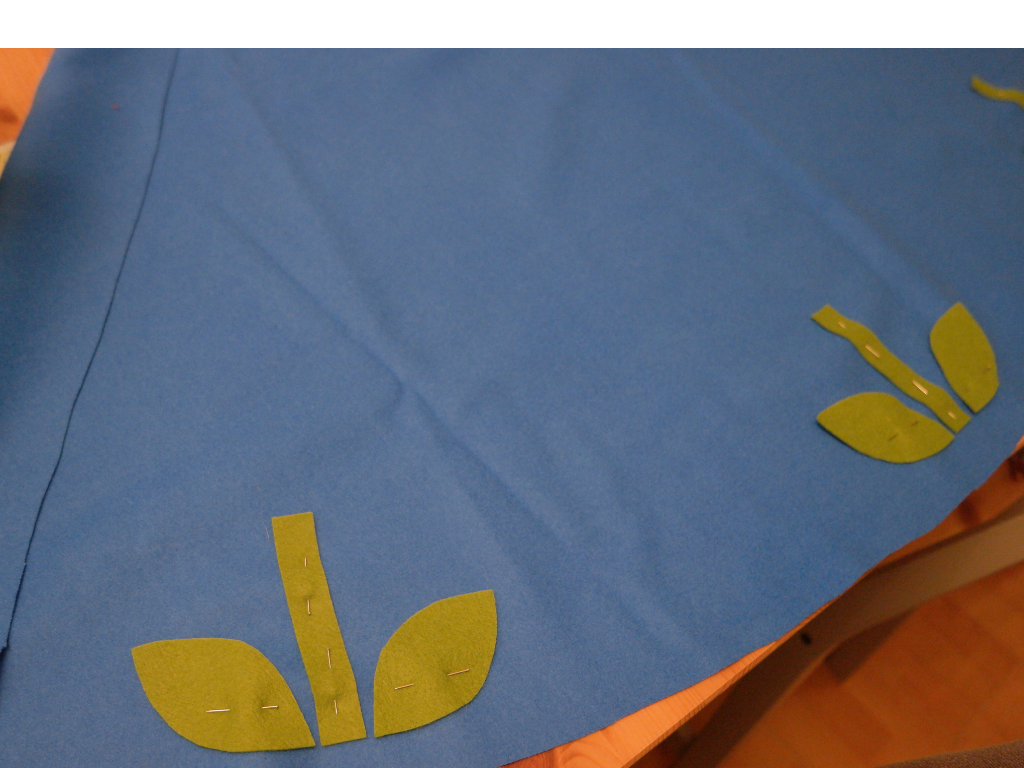
2. Sew the darts. Start at the edge and sew towards the point. Don’t sew right up to the point, stop just before to avoid bumpiness. If you need more of a tutorial, there’s one here.
3. Sew the skirt to the bodice. Take one of the bodice pieces and one of the skirt pieces. With the right sides together, pin them at the waist. Sew. Repeat for the other bodice and skirt piece.
4. With the right sides together, sew the shoulder seams. Now try the dress on. Check that the darts are where you want them and that the waistline is actually on your waist! If they’re not, you might need to adjust the shoulder seams or the waist. When you are happy that it fits, trim the seams and press.
5. Sew the side seams. Pop your dress on inside out. Match the waist, then pin the side seams of the bodice. On one side, mark where you’ve pinned with chalk. Unpin that side and take the dress off. Repin the seam.
Starting at the waist, sew the side seams of the bodice on both sides. Don’t worry, putting the zip in is the next step and it’s easier to do when you’ve already sewn the side seam!
You might need to trim the armholes a bit so that they match.
Starting at the waist again, sew the side seams of the skirt.
6. Install the zip. Decide which side you want the zip to be on. For right handed people this is likely to be the left hand side. If you’re left handed you might prefer the zip to be on the other side. Remember that when the dress is inside out the left hand side is on the right!
Pin the zip over the seam and tack in place. When you’re pinning, keep checking that the teeth of the zip are over the seam. Sew the zip in place. This is easiest to do with a zip foot, but it’s fine if you don’t have one.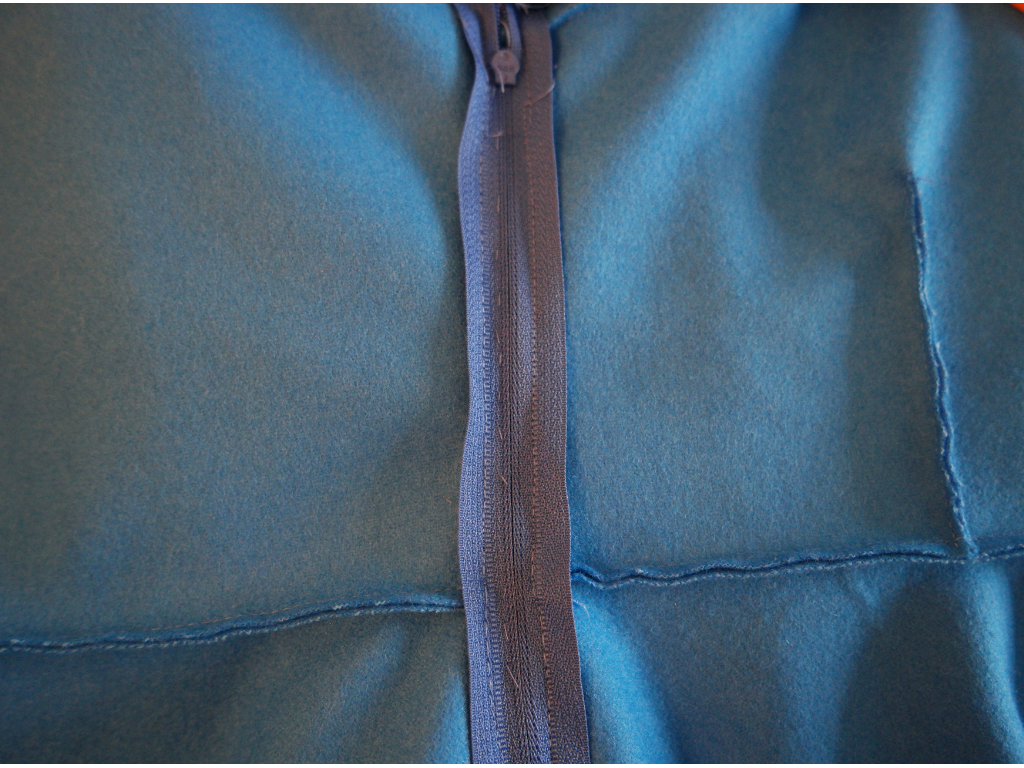
Once you’ve sewn the zip in, unpick the seam to expose the teeth of the zip.
If you need a more detailed tutorial, there’s one here.
7. Finish the raw edges with bias binding. For sewing the hem, it’s best to leave it on the roll. Unroll some of it and open it out. Pin one end of the bias binding to the skirt with the right sides together so that the edge of the bias binding is aligned with the raw edge of the skirt. Sew the bias binding to the skirt, keeping close to the folded edge.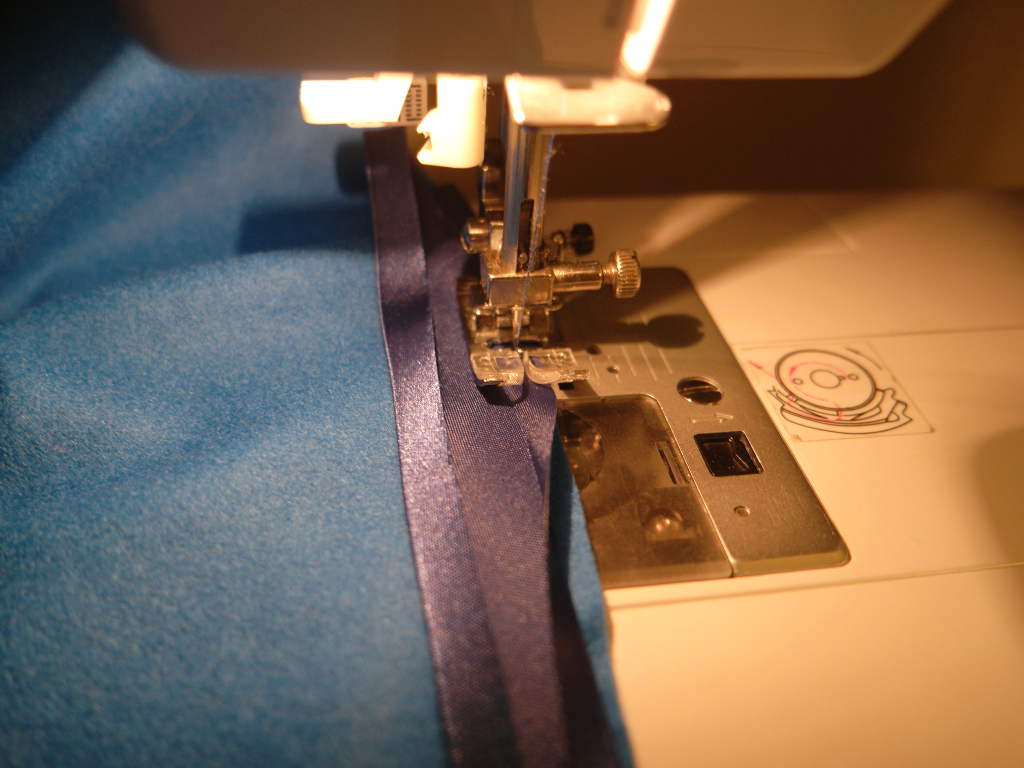
Fold the bias binding over so that the binding is on the wrong side of the skirt. Sew the other edge of the binding to the skirt.
Finish the neckline and the armholes in the same way.
I’m very happy with my DIY winter dress! It might need some more flowers though. What do you think?
Don’t forget your flower templates and your measurements printable for your DIY winter dress!
[chimpy_form forms=”40″]
Please note that although these are free and I’m happy for you to have them, I do ask for an email address and you will be added to the Tea and a Sewing Machine Machine mailing list. You can unsubscribe from these emails at any time. If you’d like to know why I do this, you can find out here.

