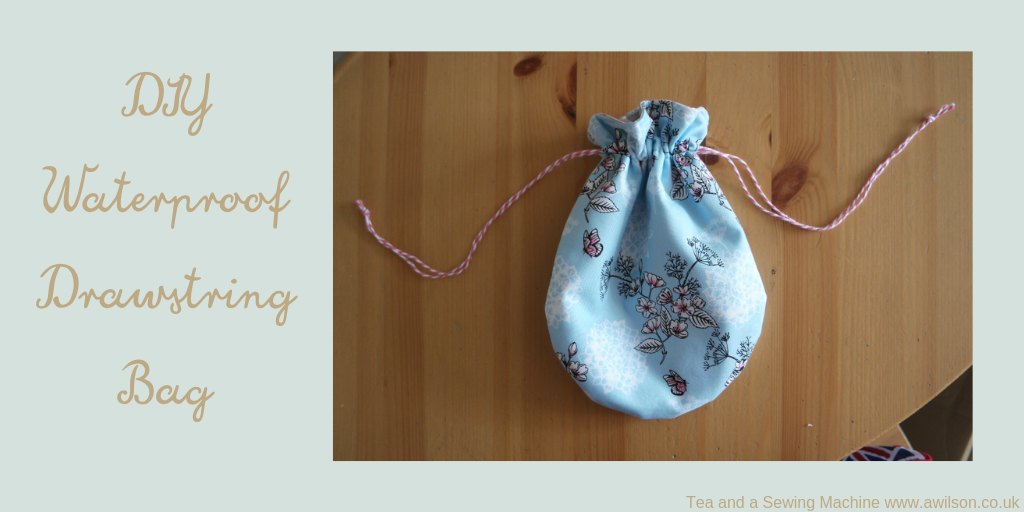
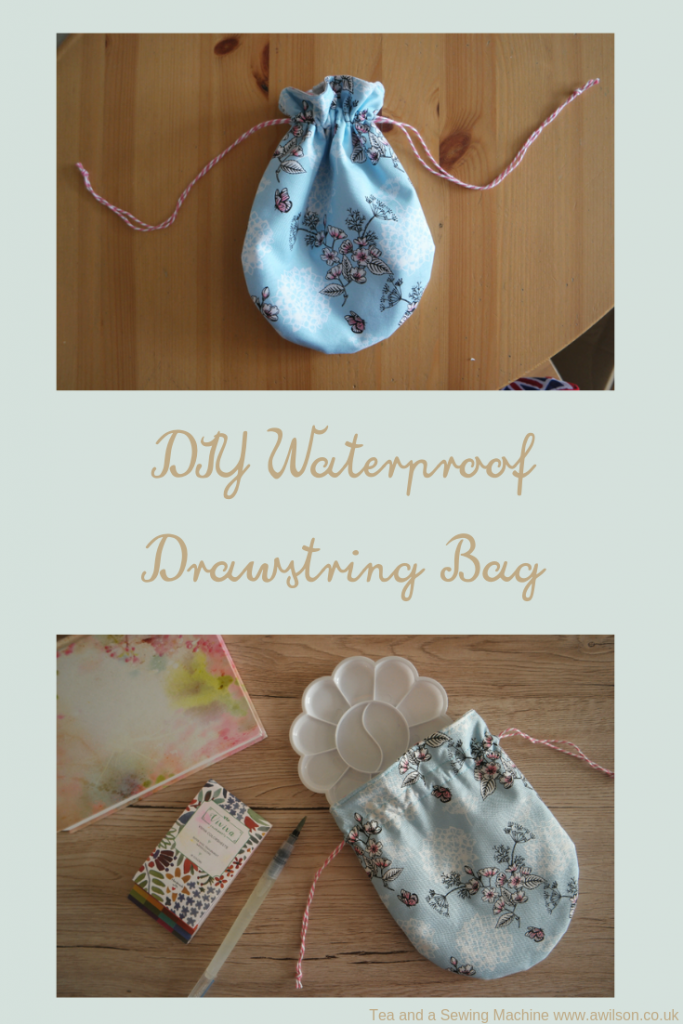
DIY Waterproof Drawstring Bag
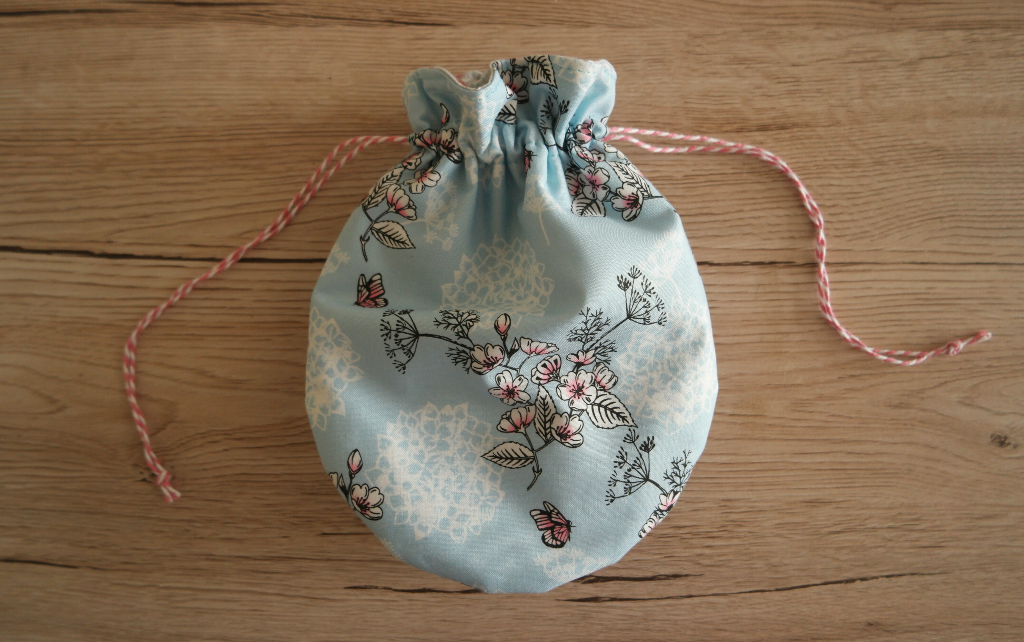
I was sent the fabric I used for this project by Hunkydory Crafts. Isn’t it pretty? I almost didn’t want to cut into it! You can find the fabric here.
One of the things I was planning on doing before we went on holiday was to make a little bag with some bits and pieces for keeping my art stuff.
Unfortunately I have a habit of being over ambitious about just how much I can get done in the time I have! I managed to get the washing and packing done, and the house wasn’t too messy, but I didn’t manage to make anything.
As it was, it didn’t matter too much. I took my art stuff with me anyway, but I hardly used it because there wasn’t time.
So I’m making it now. There’ll be other trips and it’s a treat for myself!
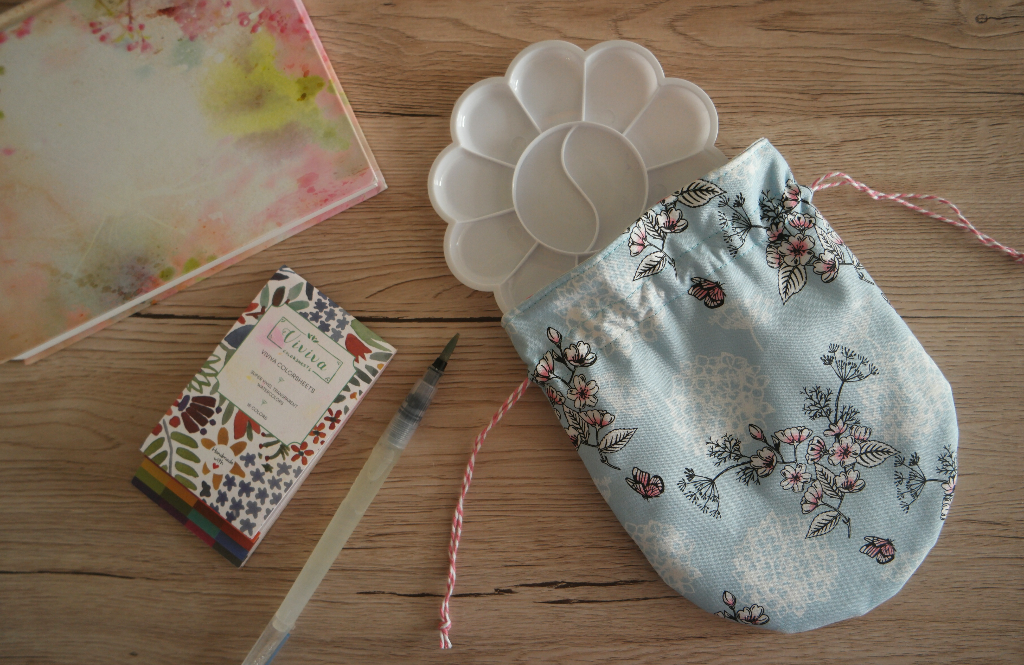
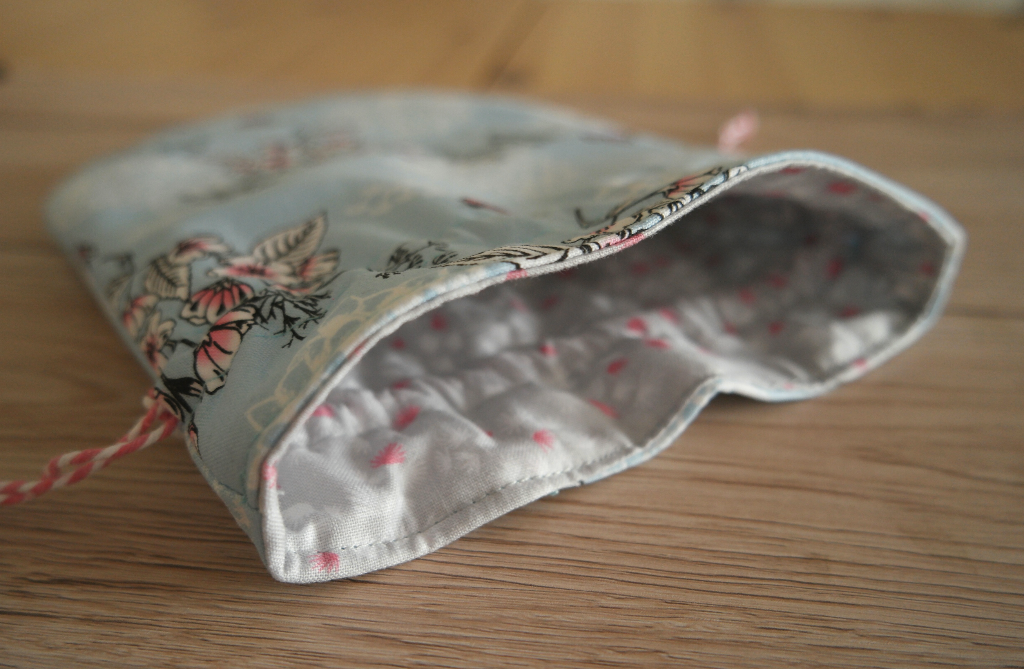
The first item in my art kit is a waterproof drawstring bag. The waterproof element is achieved by a shower curtain layer between the outer and the lining.
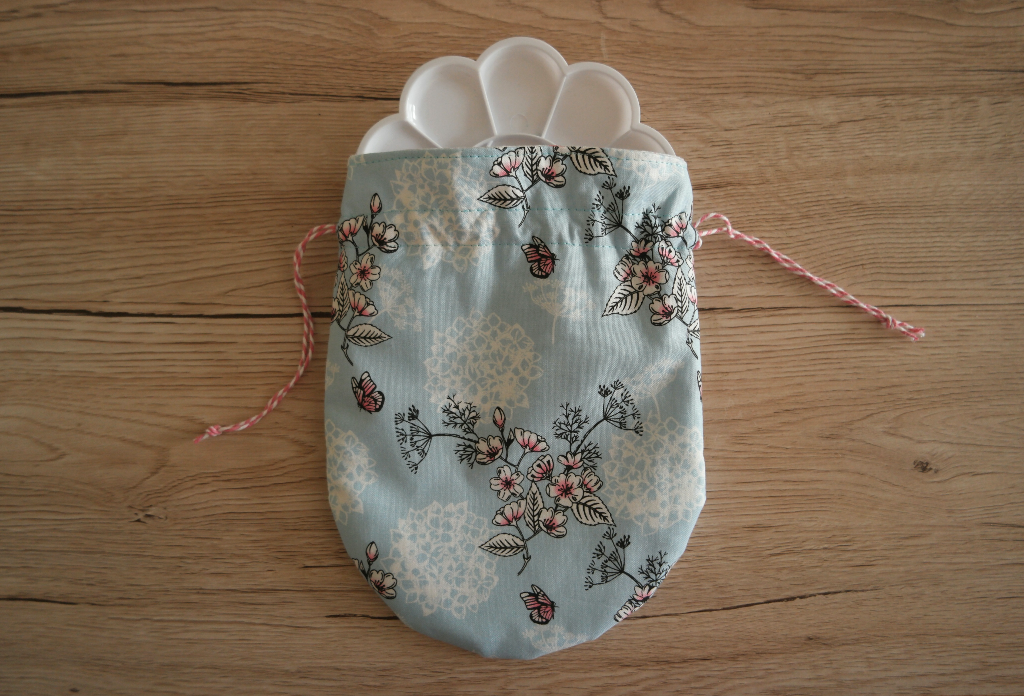
I’m so happy with the results I’m not sure yet whether I will be using it for a wet, painty pallette or for something else!
Instructions
You Will Need
Fabric for the outer
Fabric for the lining
Old shower curtain or similar for the waterproof layer
Interfacing (optional)
Something for the drawstring. I used bakers’ twine. If you need ideas for what you could use, there are lots of suggestions in this post on Threading My Way.
A safety pin
Cutting Out
You can download the template here, or you could make a bag in whatever size or shape you like!
You’ll need to cut 2 from the outer fabric, the lining and the shower curtain.
If you’re using interfacing, you’ll need to cut 2 of those as well. The shower curtain layer gives the bag some weight if you don’t want to use interfacing.
Sewing The Bag Together
To make the outer, you’ll need to sew the outer fabric with the interfacing and the shower curtain.
Take one of the shower curtain pieces, then a piece of interfacing, then an outer piece face up. Then another outer piece, face down, then interfacing, then the other piece of shower curtain.
Pin the layers together. Mark the channel for the casing by with a pin 5 cm down from the top, then another 1.5 down below that.
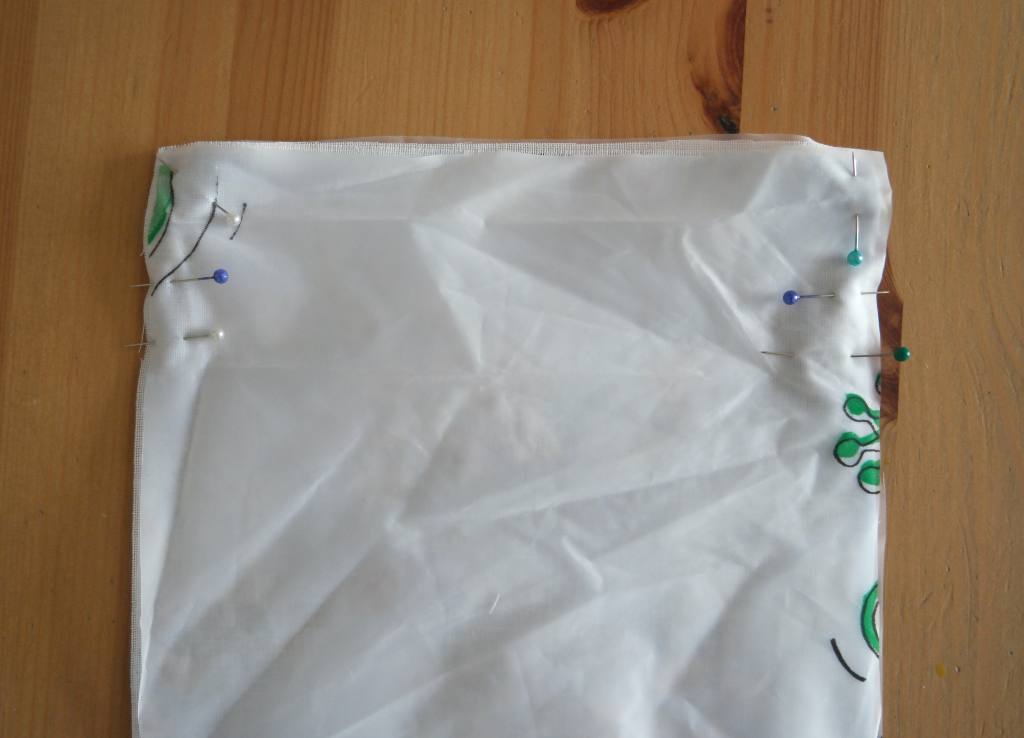
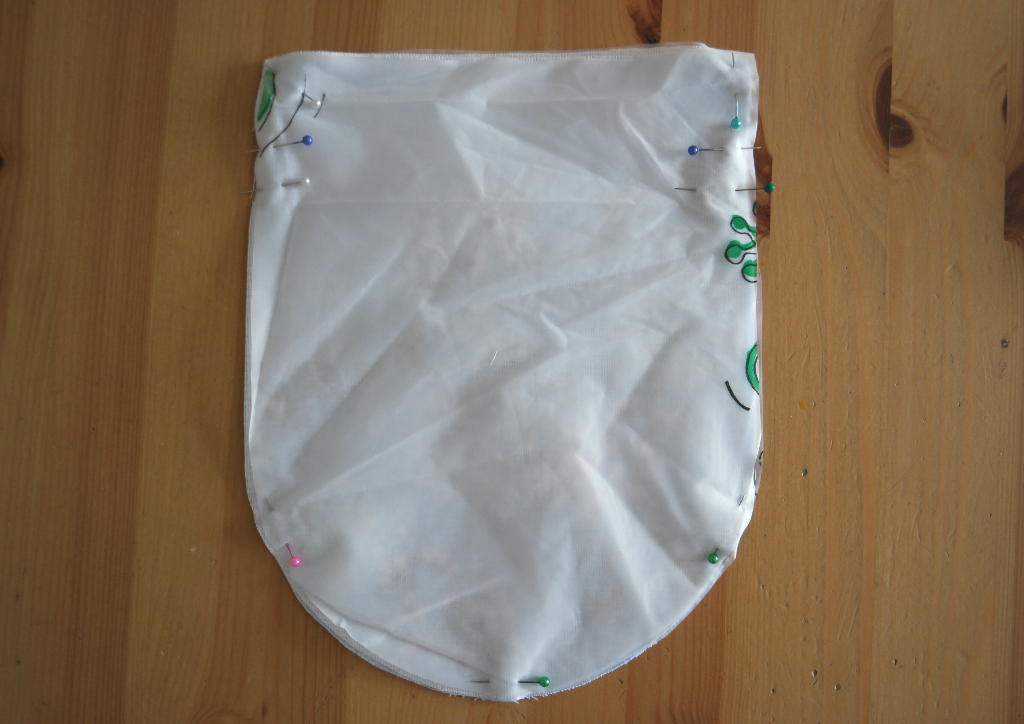
Pinning the shower curtain is a bit of an issue because of the holes the pins make. I think it’s alright as it’s inside the bag and not visible at all, and it’s not going to make much difference to how waterproof it is. If you have perfectionist tendencies and this bothers you, you could pin in the seam allowance.
From the lower pin, sew round the edge of the bag.
Now sew from the first pin to the top edge.
This way you’ll have a gap between the pins which will become the casing for the cord in a minute.
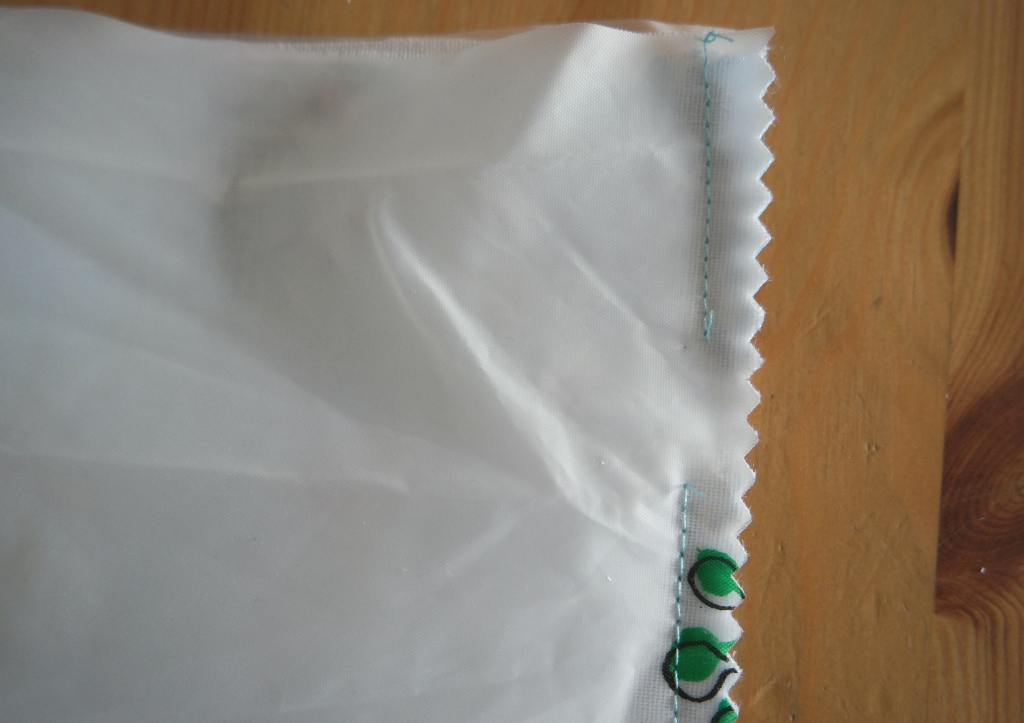
Trim the seams and clip the curved edge.
Put this to one side and take your lining pieces. Pin them with the right sides together. Mark the gap for the casing like you did with the outer. Trim the seams and clip the curve.
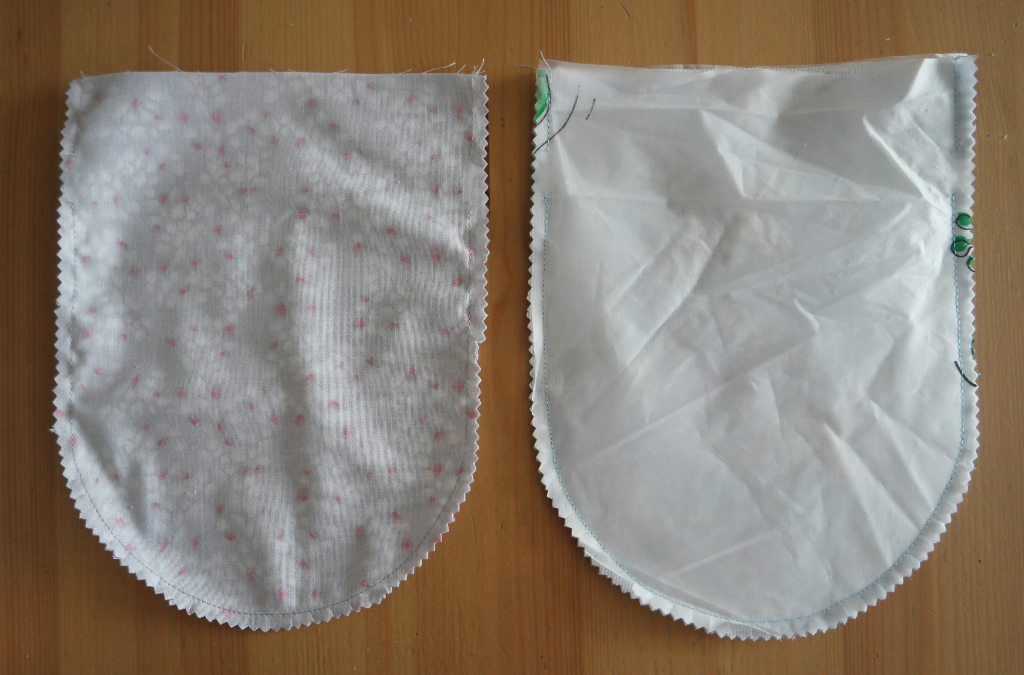
Turn the lining the right way out. Pop it inside the outer and pin the top edges together.
Sew the top edge, remembering to leave a gap so that you can turn it out!
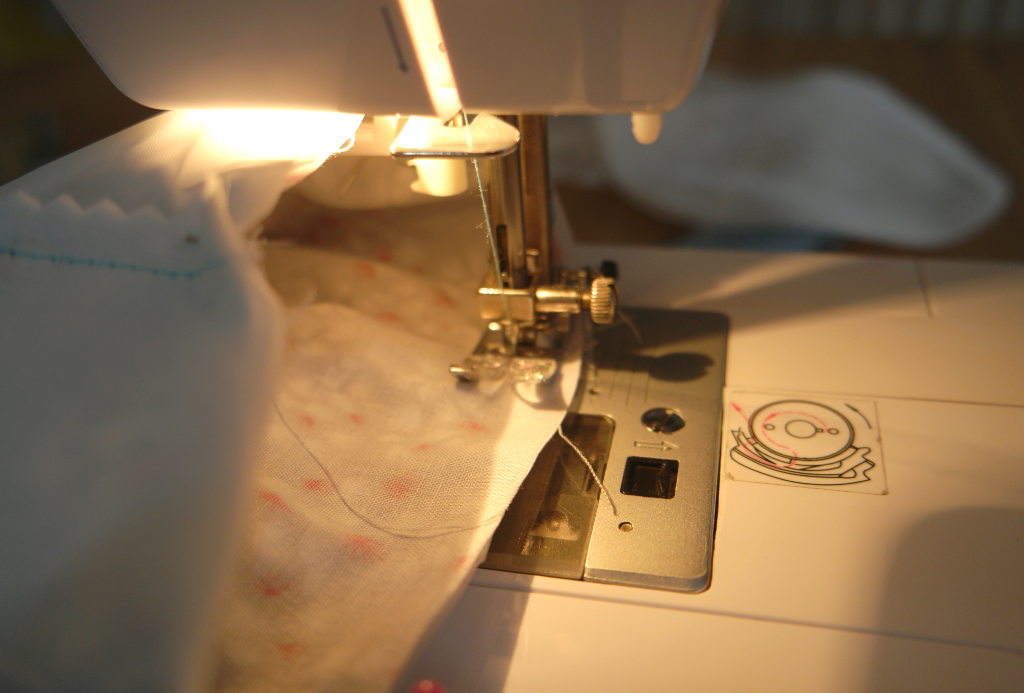
Turn the bag the right way out and slip the lining inside. You might want to run the iron on it at this point. I did and the shower curtain was fine, no melted plastic!
Tuck the opening in the top edge inside and pin. Top stitch all the way round the top edge of the waterproof drawstring bag.
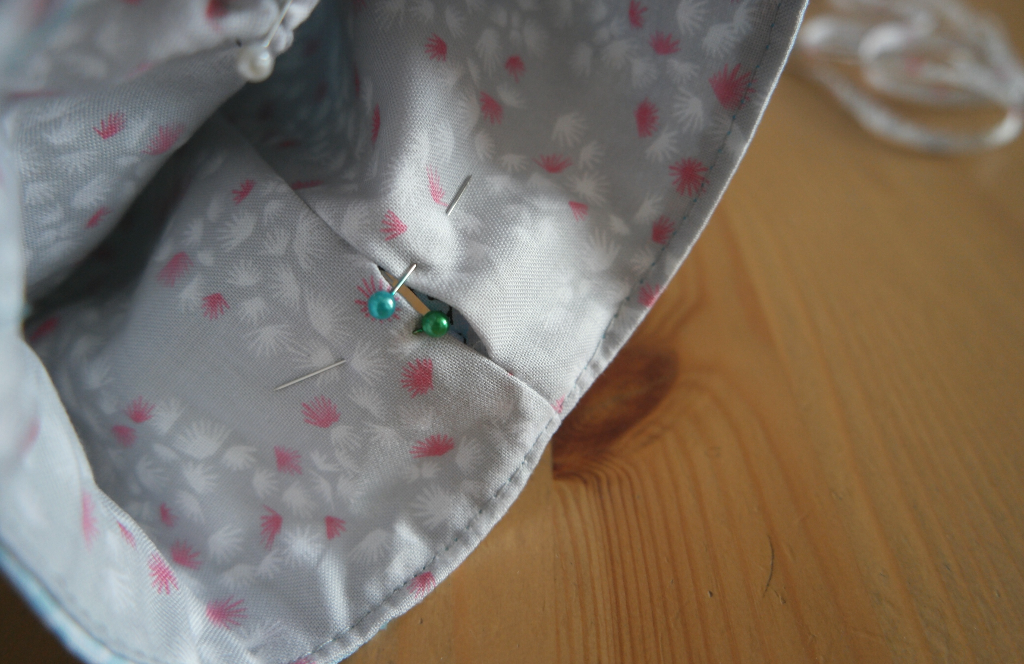
Markthe gap for the casing. Sew all the way round to make the channel for the casing.
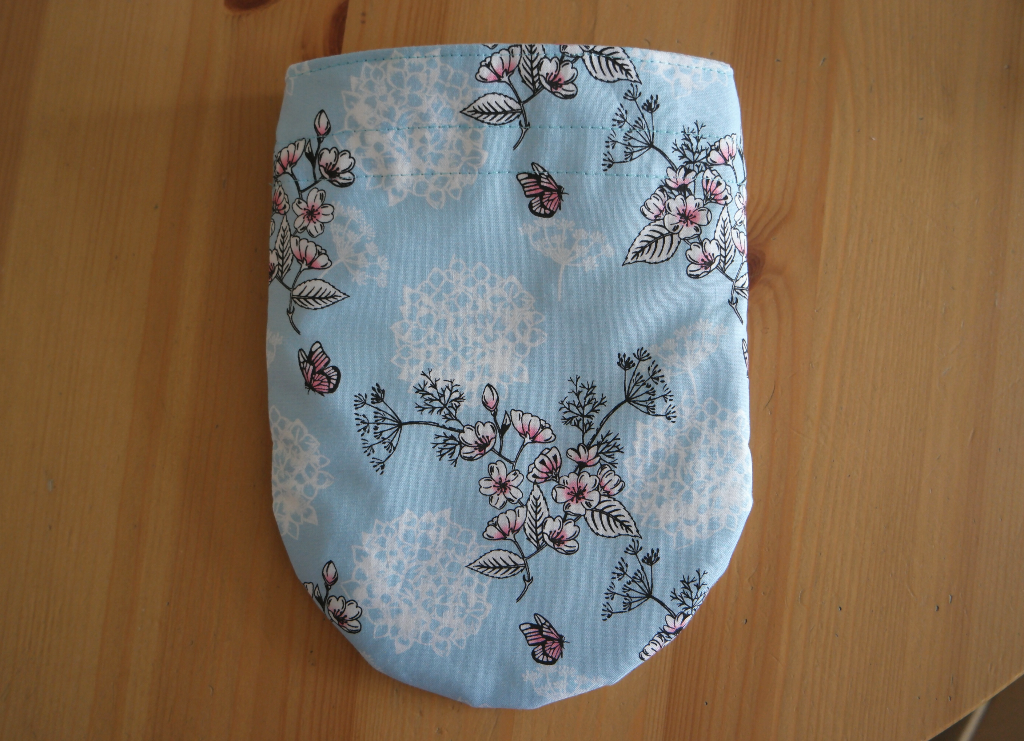
The Drawstring
You’ll need to cut enough cord to go round the top of the bag twice plus a bit extra.
Tie one end of the cord to the safety pin. Thread it through the channel. You’ll need to go round twice, leaving a bit free on either side.
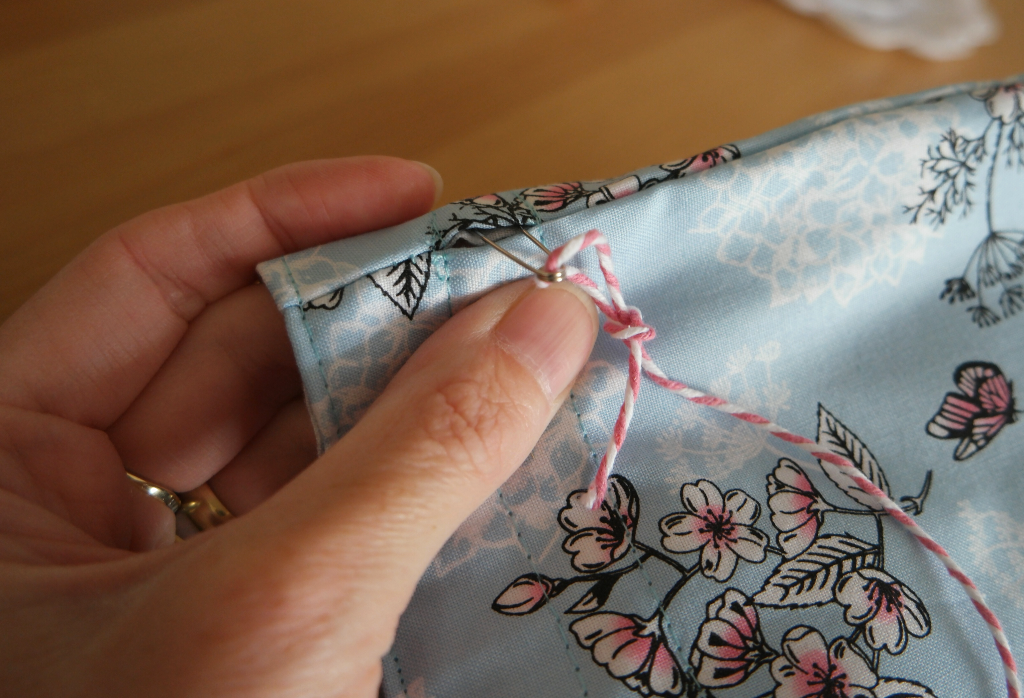
Tie the ends together.
Make sure that there’s about the same amount of cord free on either side. Cut the loops on the opposite side to the knotted end.
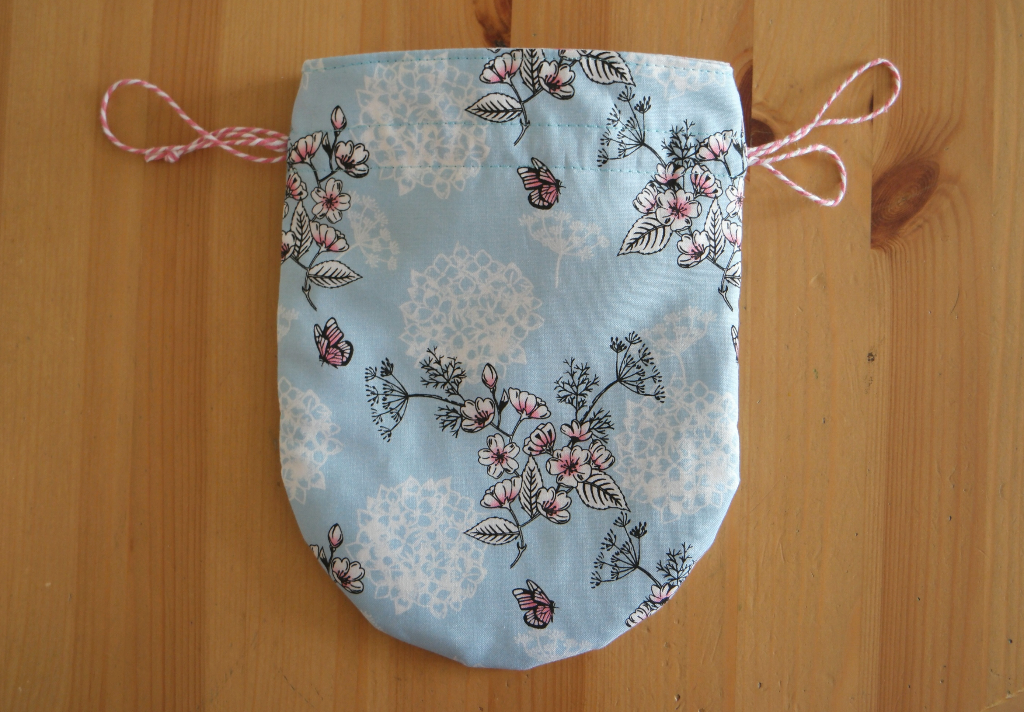
Pull at the knotted end. Identify the bits on the other side that didn’t move and tie those ends together. Then tie the others together.
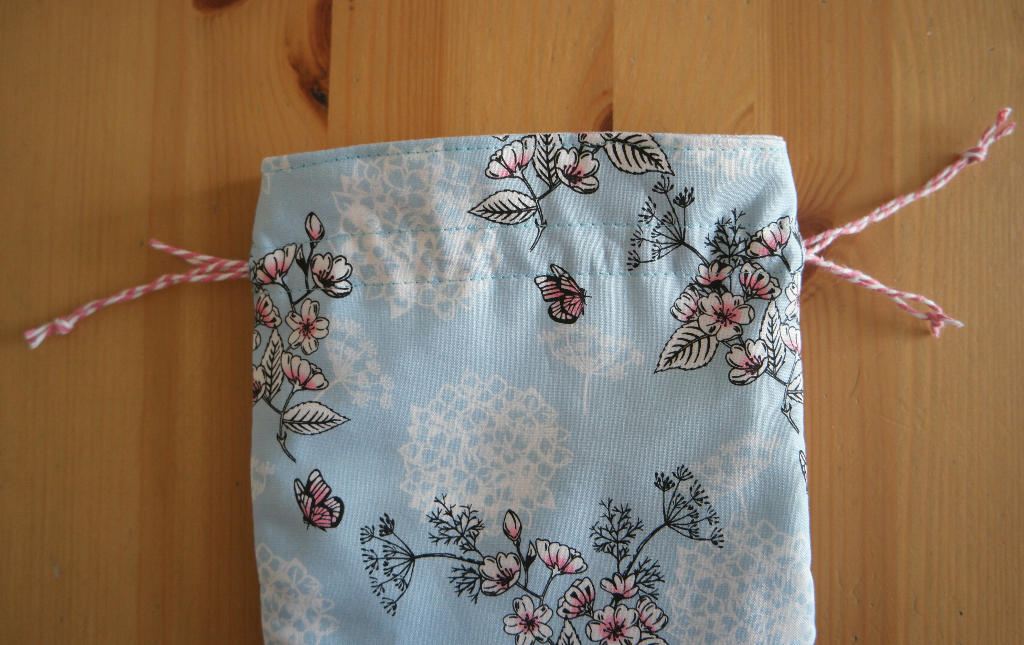
When you pull the cord, if you’ve tied the right ends together the bag will close.
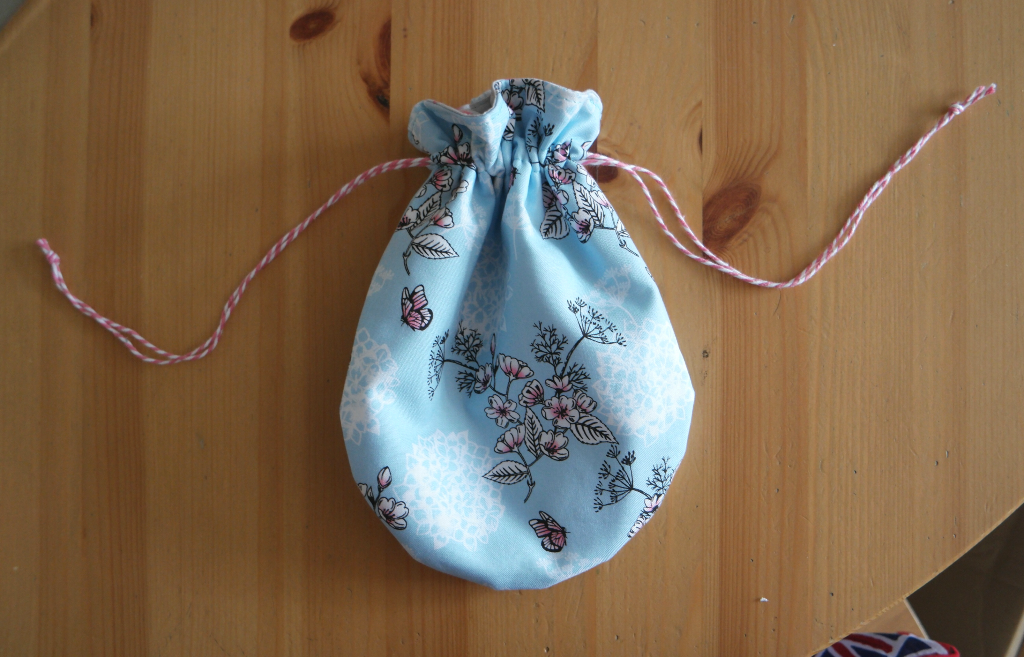
Using Your Waterproof Drawstring Bag
If you don’t have wet art stuff to put in your bag, here are some other possible uses for it:
Washing things
Makeup
Damp facecloths if you have small children and you use cloths instead of wipes.
A bigger one could hold swimming things or an aquadoodle.


Brilliant, a perfect size and what pretty fabric. Pinned 🙂
Thank you xx