One of my favourite pre Christmas jobs is decorating the Christmas tree.
Anybody looking at my tree might think it’s a bit of a mess!
It’s not colour coordinated and nothing matches. It looks nothing like a tree you might see in a shop.
A lot of our decorations hold memories and that is what makes them special. When the boys help me decorate the tree, it’s also a trip down memory lane.
I still have things my boys made when they were at nursery and from the primary school days.
Something that has become a thing for us is buying Christmas decorations when we’re on holiday. So there’s a little wooden star from Norway, a glittery bear from Colorado and Santa putting fairy lights up on a lighthouse from Maine.
Some of the decorations are quite old, including some from our first tree in our first home, over 20 years ago.
There are others that we were given, ones that say “Baby’s First Christmas” and ones that I’ve made.
They all go on the tree and I enjoy the memories.
I like having Christmas decorations that mean something, and handmade decorations fall into that category.
They make nice gifts as well, and there’s always the option to personalise them.
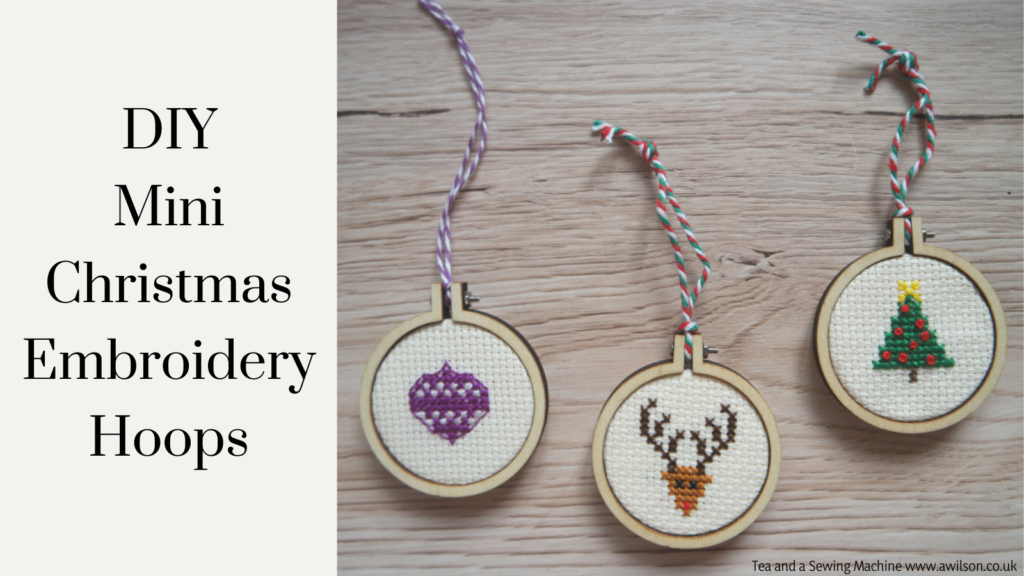
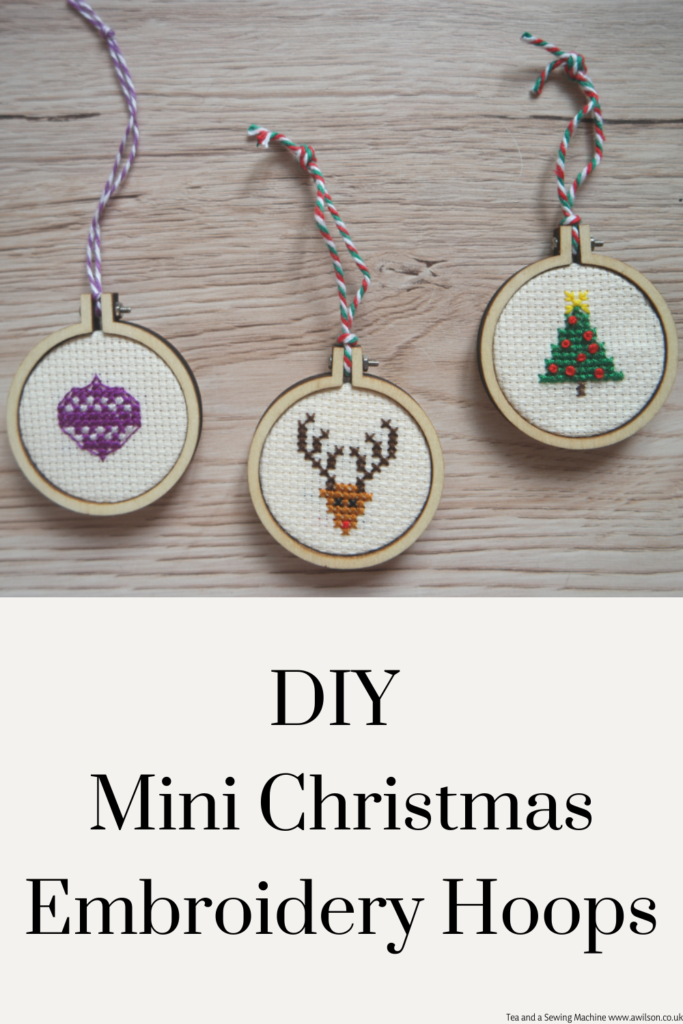
These DIY mini Christmas embroidery hoops are quite quick and easy to make. Once you’ve tried them, you might like to experiment with your own designs!
You might also be interested to know that I have kits of these little hoops for sale in my Etsy shop.
You Will Need
A mini embroidery hoop
A small piece of 14 count Aida
Embroidery thread in green, yellow and brown for the tree, dark brown, a lighter brown and red for the reindeer, purple and white for the bauble.
A tapestry needle
A small piece of felt for the backing, or you could use the wooden piece supplied and a glue gun.
Cross stitch design (they are free to download and the form is at the bottom of the post).
If You Haven’t Tried Cross Stitch Before Or If You’ve Forgotten
Cross stitch is usually worked using two strands of embroidery thread.
Aida is woven into helpful little squares, which makes getting the crosses all the same size easy.
Start in the bottom right hand corner of one of the squares. Bring the thread up from the back of the fabric to the front, leaving a tail of a couple of cm (an inch). Pass the needle back through the fabric to the back into the corner diagonally opposite.
Now bring the needle back up to the front again through the corner directly underneath. Complete the cross by passing the needle through directly opposite.
Outlines are worked in backstitch using a single strand of embroidery thread.
Tips
To start, find the centre of the design and the centre of the aida and count outwards.
It’s usual with cross stitch to work from top to bottom, and from left to right, but depending on the the design and your preference you might find it easier to start somewhere else, like the middle! It’s up to you!
Instead of tying a knot, you can either weave the ends in as you go, or you can use this method that Mr X Stitch uses.
If you have a row of stitches, make all the half stitches, then go back the other way to finish the crosses.
Work the bits in light colours first. If you need to carry the thread across the back, it will be less noticeable than the darker colours.
Making the Decoration
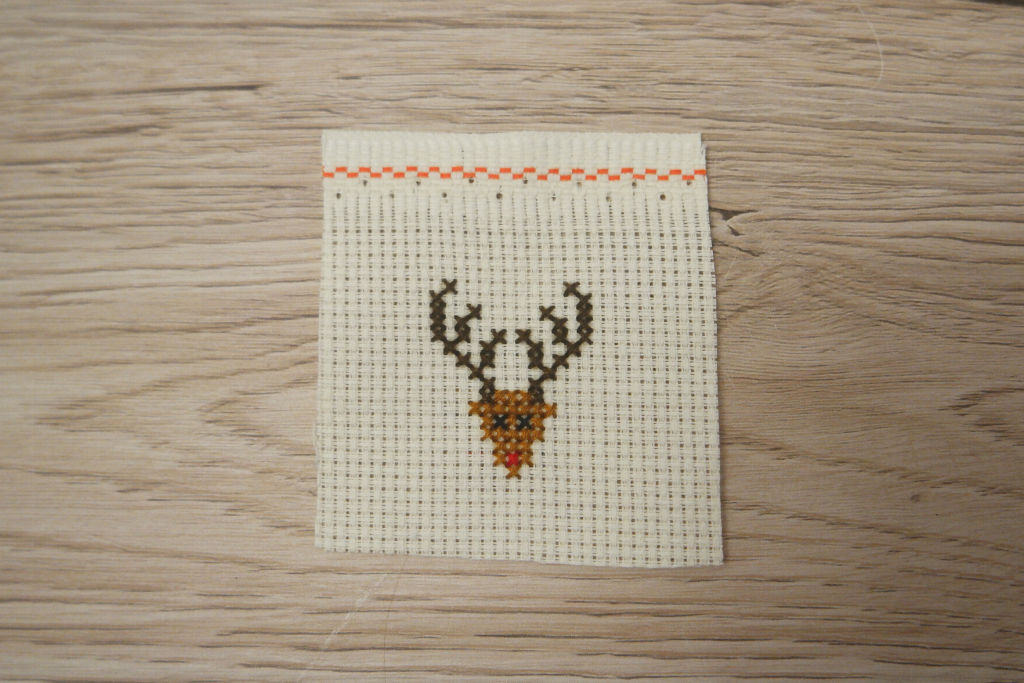
Embroider the cross stitch design onto the aida.
The bauble is edged in back stitch and the baubles on the Christmas tree are French knots.
The finished cross stitched designs are below.
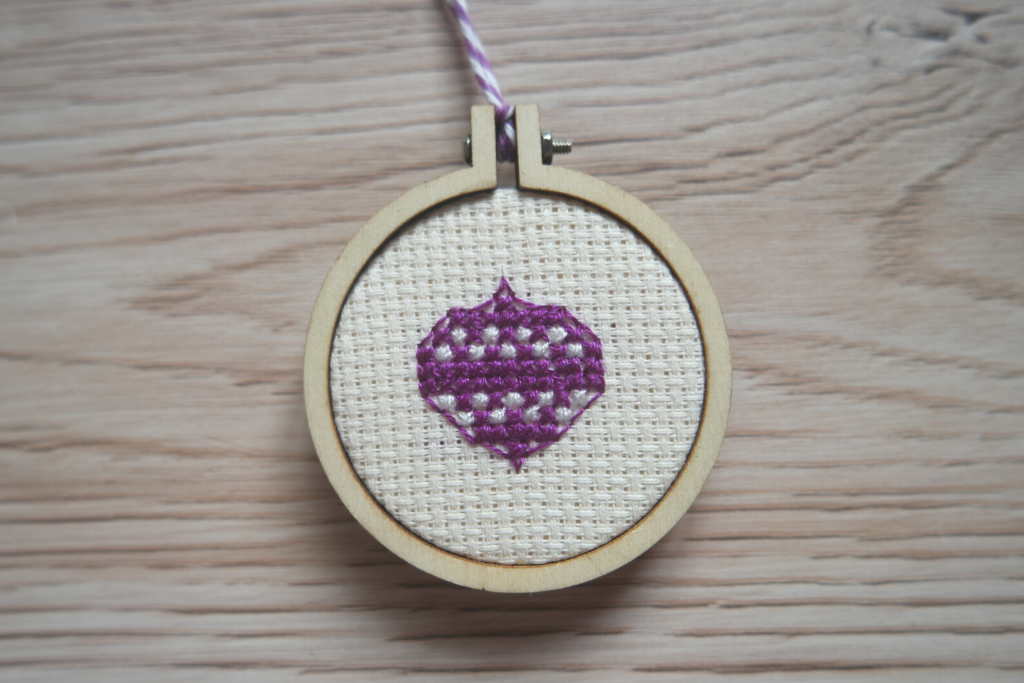
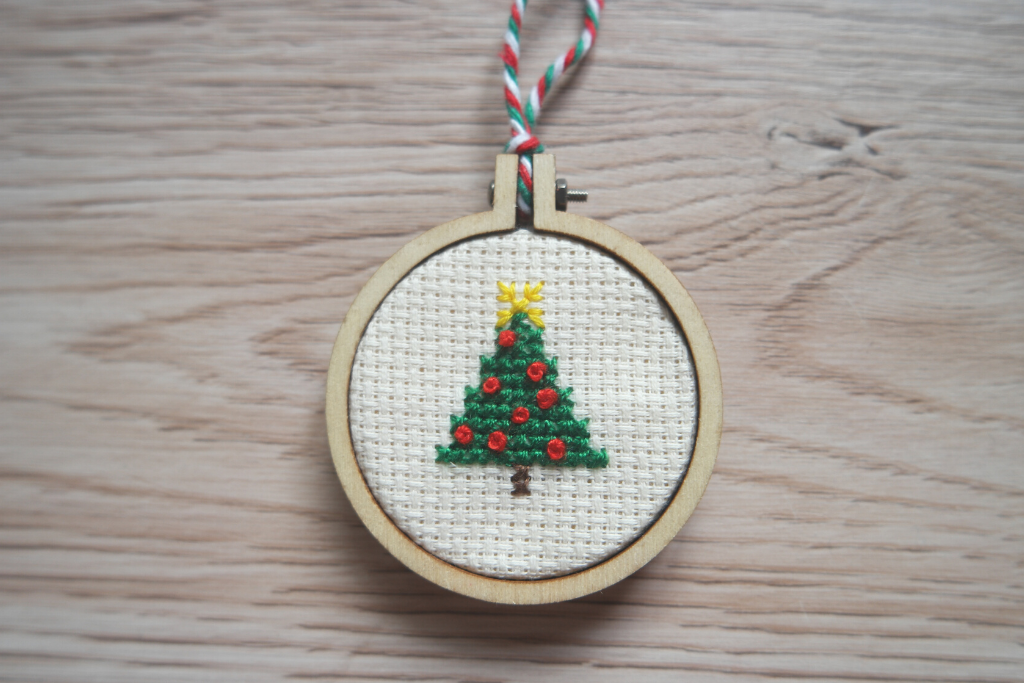
Pop the finished cross stitch into the embroidery hoop. You might need to loosen it a little bit.
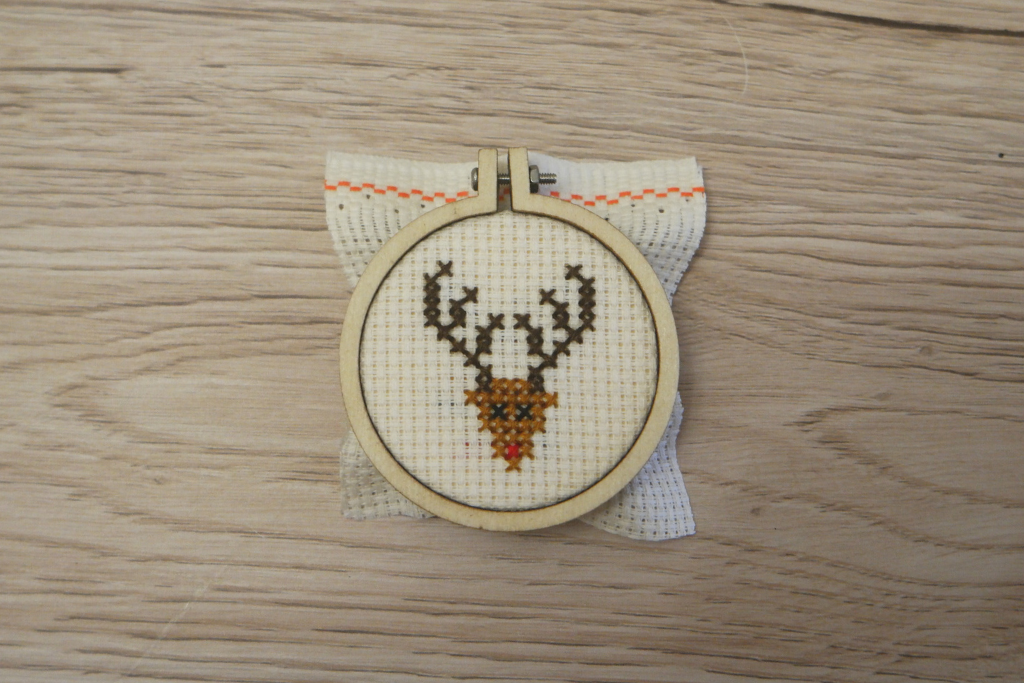
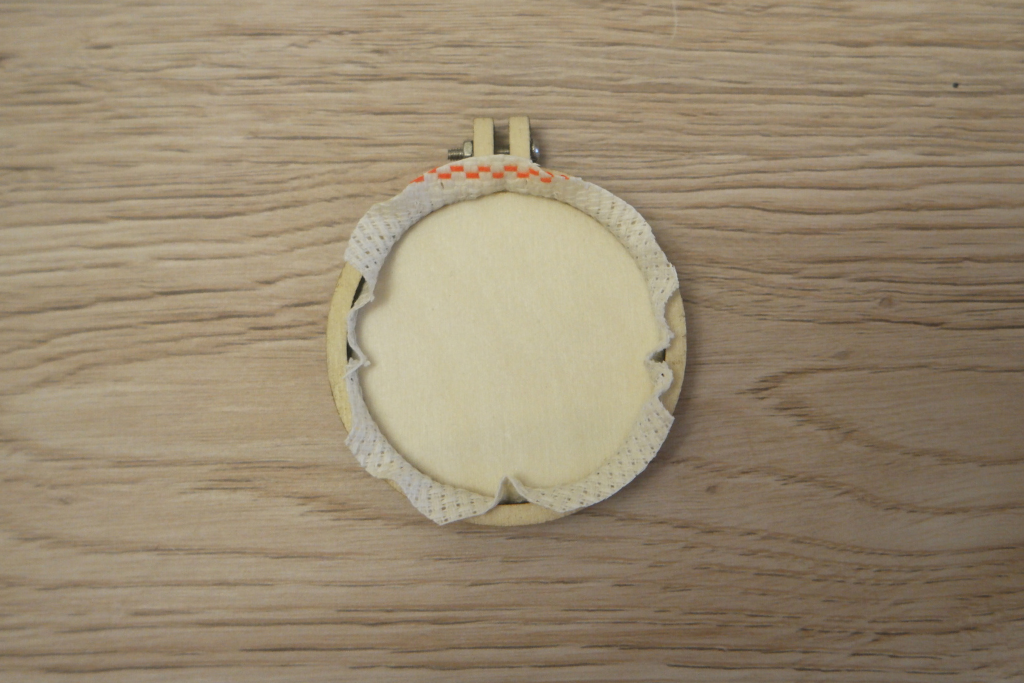
Trim the excess fabric at the back, but leave enough to sew to the felt.
To finish the back, you can either glue the wooden circle that came with the hoop onto the back with a glue gun, or you could cut a circle of felt the same size as the wooden circle and sew it on. The gluing method is probably quicker but likely to be messier. The felt circle method will take longer but will probably be neater.
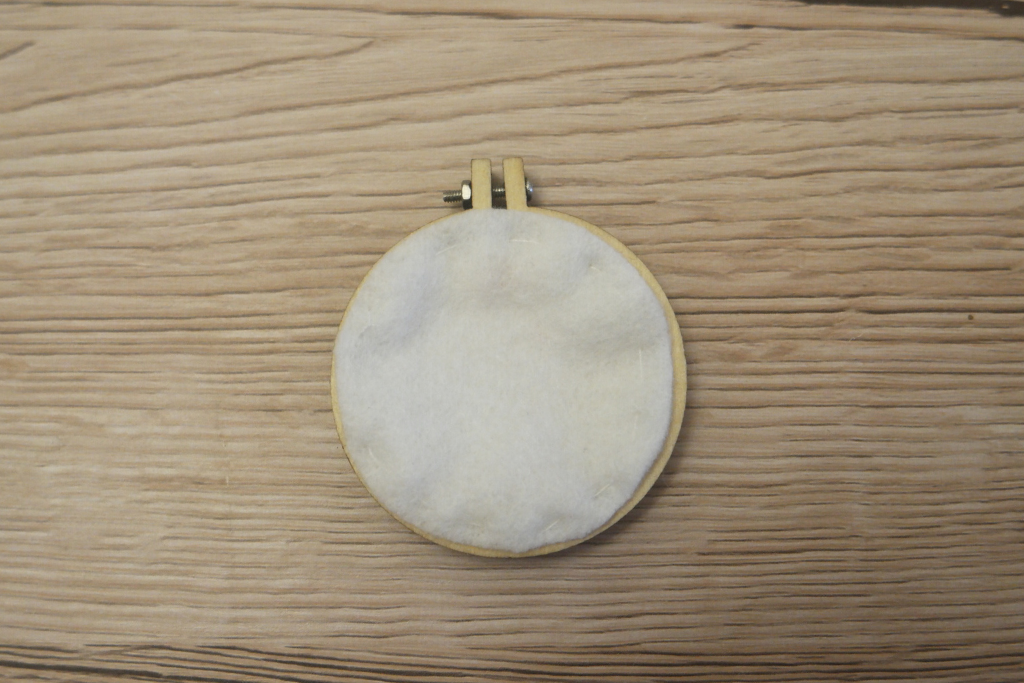
Tie a piece of ribbon to the hoop for hanging.
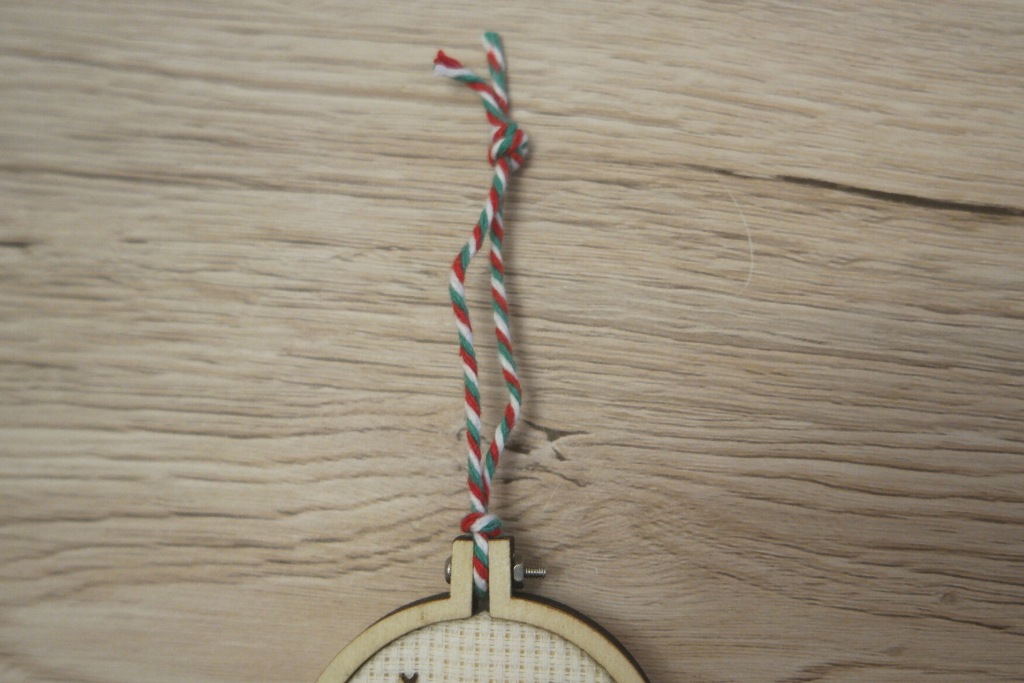
Now your DIY mini Christmas embroidery hoops are ready to hang on your Christmas tree!
You can download the three cross stitch designs for free by filling in the form below. Please note that you will be added to the Tea and a Sewing Machine newsletter list. This goes out weekly (usually) and has links, updates and other things I think you might like. Your details will not be shared and you can unsubscribe at any time.


Leave a Reply