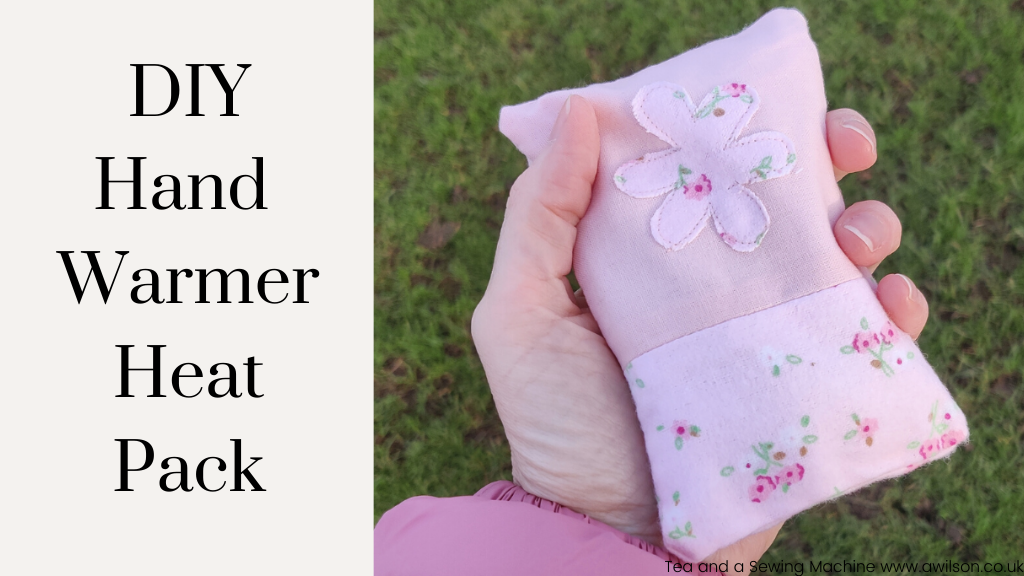
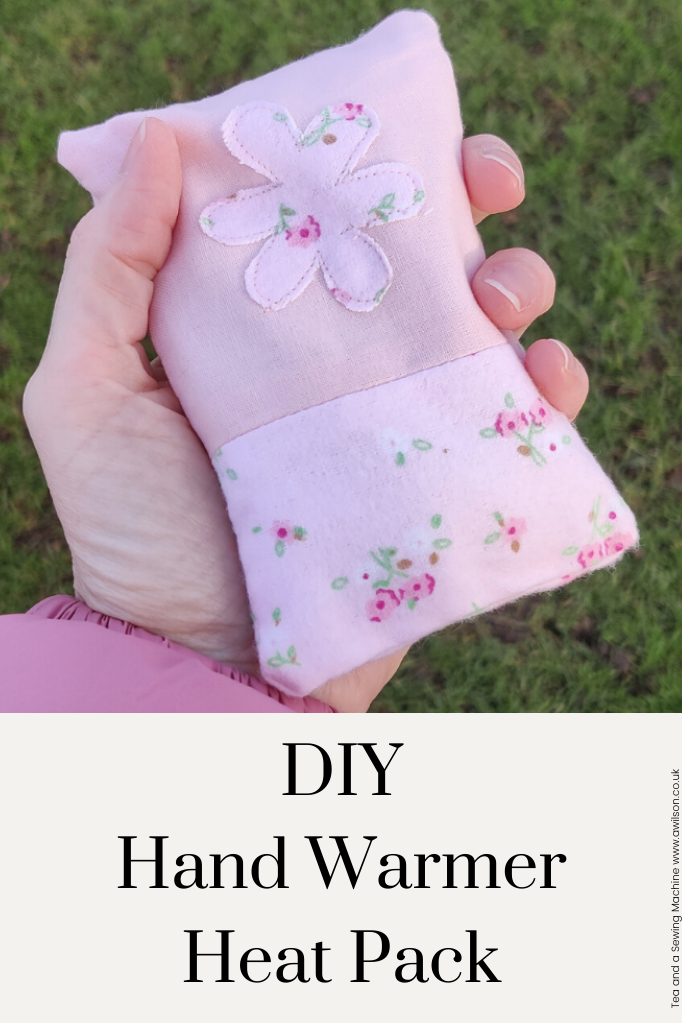
Having a DIY hand warmer heat pack in your pocket when it is cold is like a little treat.
One of the reasons why I like to have a cup of tea while I’m out is so that I can warm my hands on it!
Carrying a cup of tea around with you isn’t always practical however, and when the tea has been drunk you can’t warm your hands on it any more!
A little rice bag works just as well as a cup of tea. If you put it in your pocket, you can warm your hands up when they start to feel cold. It’s especially useful if you need to use your fingers and they’ve seized up because of the cold, or if you have creaky joints that are made worse by cold weather.
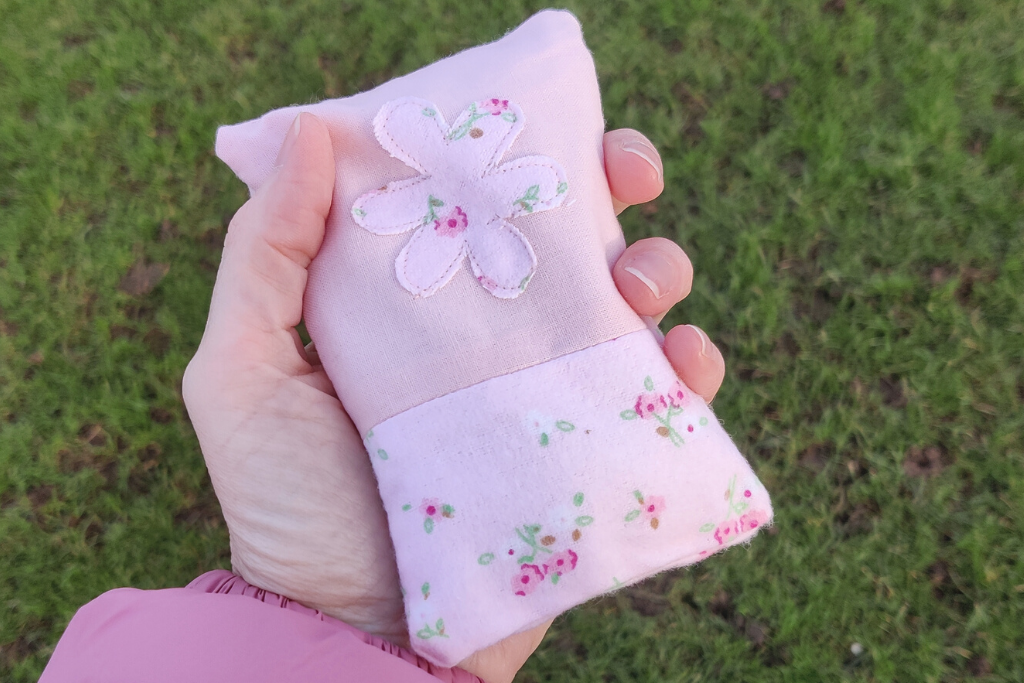
This DIY hand warmer heat pack is easy to make. The rice is in a separate bag, so if the cover gets grubby you can wash it. It also means you can decorate the cover with things that might not agree with the microwave if you want to.
You can use whatever little scraps of fabric and trim you have to hand, and make it whatever size you like.
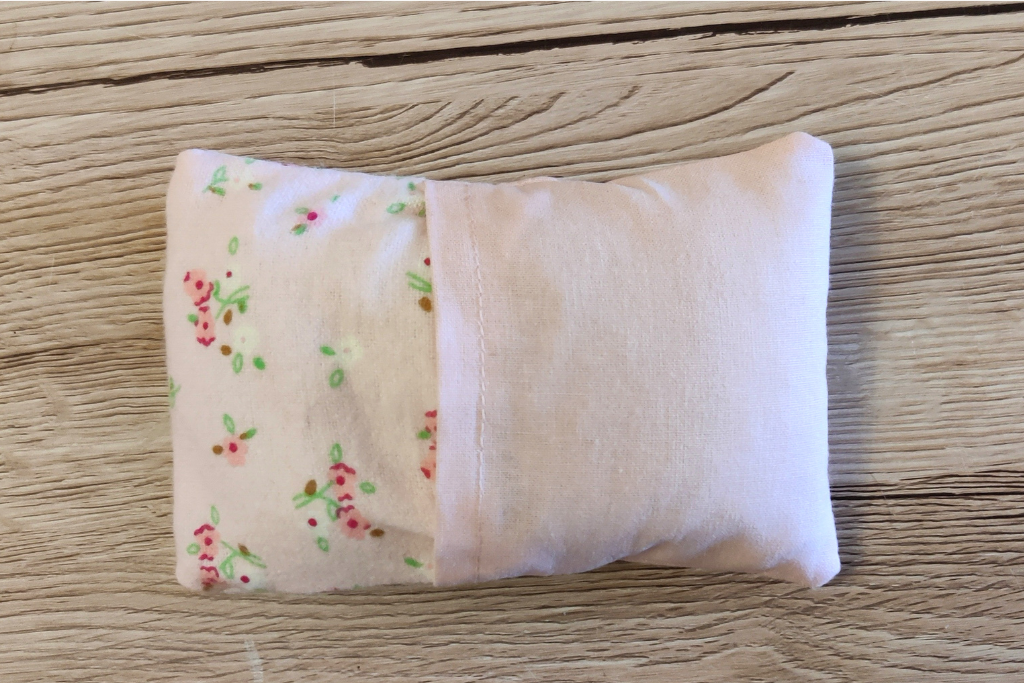
The cover has an envelope back, like a cushion, so there’s no fiddling about with zips and the like.
I filled the bag with rice. Another option is buckwheat, which is far too exotic for Norfolk and is why I used rice.
A 1 cm seam allowance is included.
You Will Need
To make a DIY hand warmer heat pack, you will need:
Cotton for the rice bag (anything else is a fire risk!)
Rice
Scraps of fabric, trim and anything else you would like to use. I used 1 plain fabric and 1 print.
Usual sewing supplies
Cutting out
For the rice bag, cut 1 rectangle of cotton fabric 30 cm x 11 cm (12″ by 4 1/2″).
For the outer, cut 1 piece 7 cm x 11 cm (2 3/4″ by 4 1/2″) from patterned fabric and another 11 cm x 11 cm (4 1/2″ by 4 1/2″) From plain fabric, cut 2 pieces 10 cm x 11 cm (4″ x 4 1/2″).
Cut a flower shape, or another simple shape that is easy to applique from patterned fabric.
Making the Rice Bag
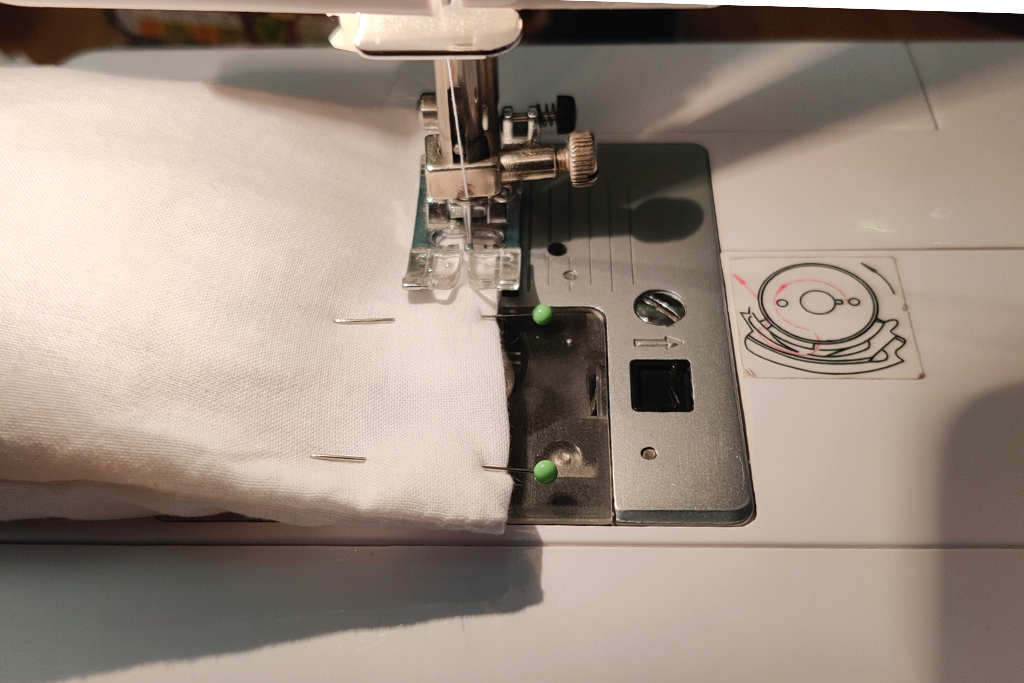
Fold the cotton fabric in half and pin the sides. Sew the sides.
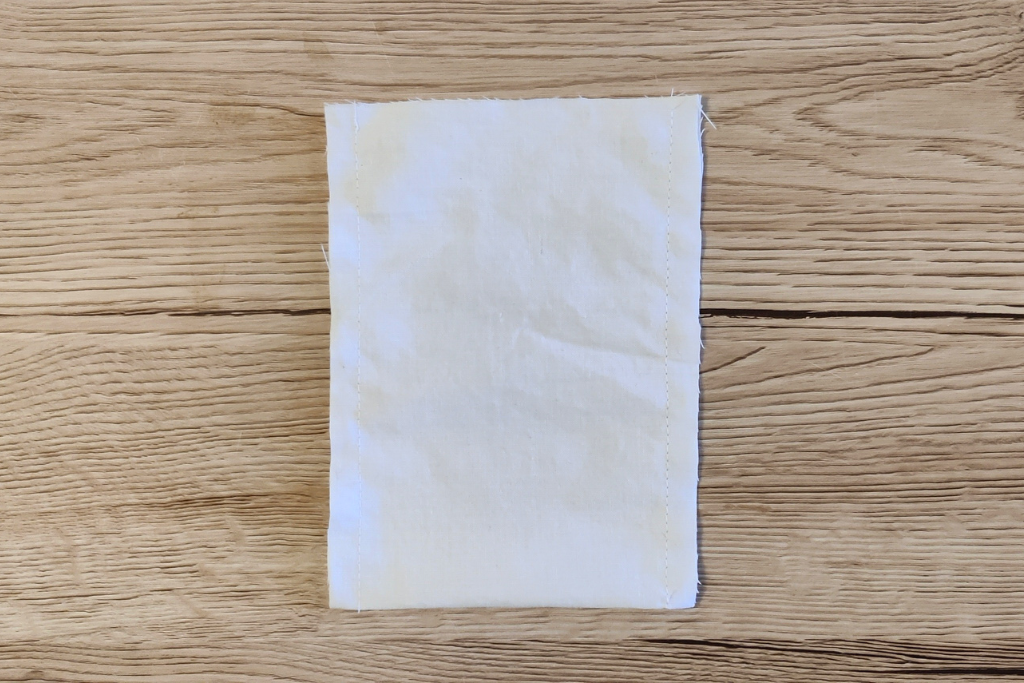
Turn the bag the right way out. Carefully fill it with rice. I used a milk jug. It needs to be about 1/2 to 2/3 full. Any more than that and you’ll have difficulty getting into the cover!
Pin the opening and sew. If it’s too difficult, take some of the rice out.
Sewing the Cover
Applique the flower to one of the plain pieces. I used a small straight stitch. If you want to use zigzags, you’ll need to use interfacing under the rectangle.
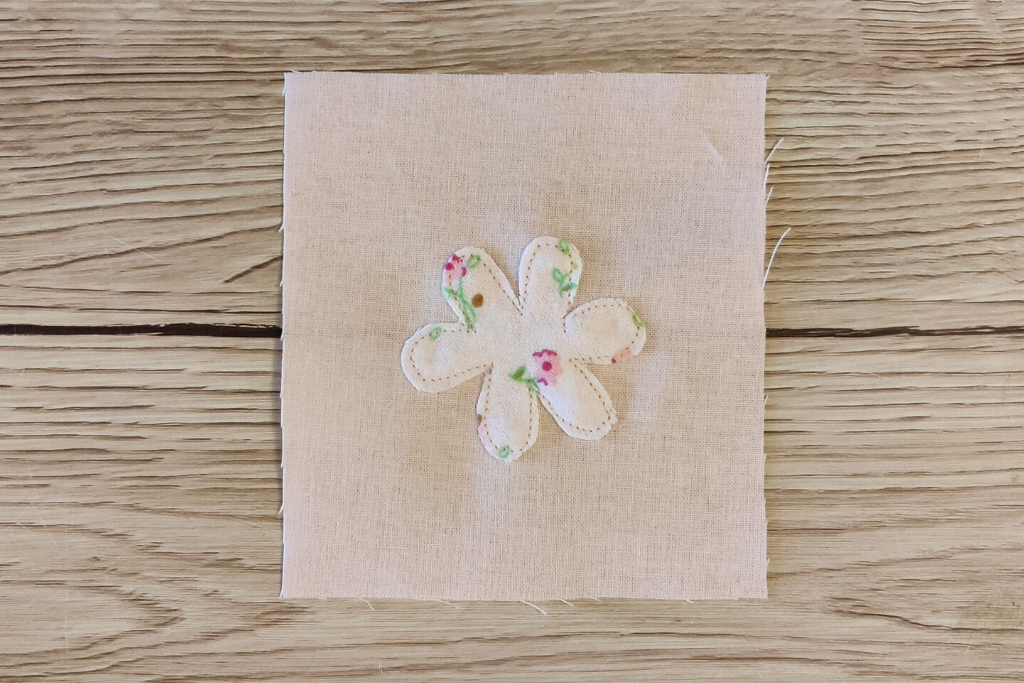
Join the smaller patterned piece and the bit with the applique along one of the short edges. Trim the seam and press it open.
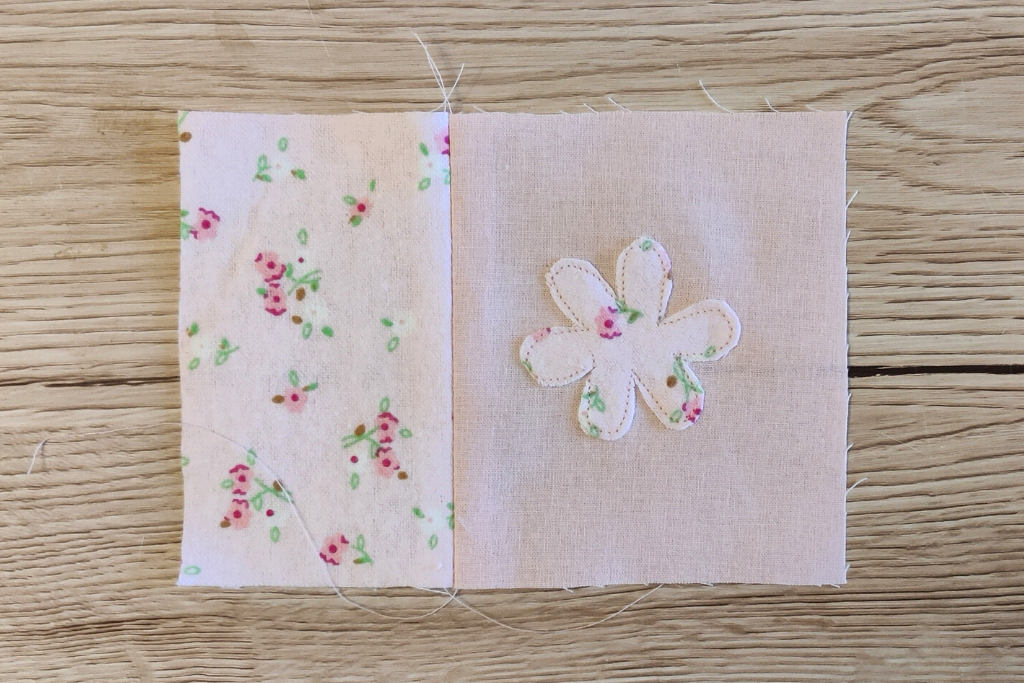
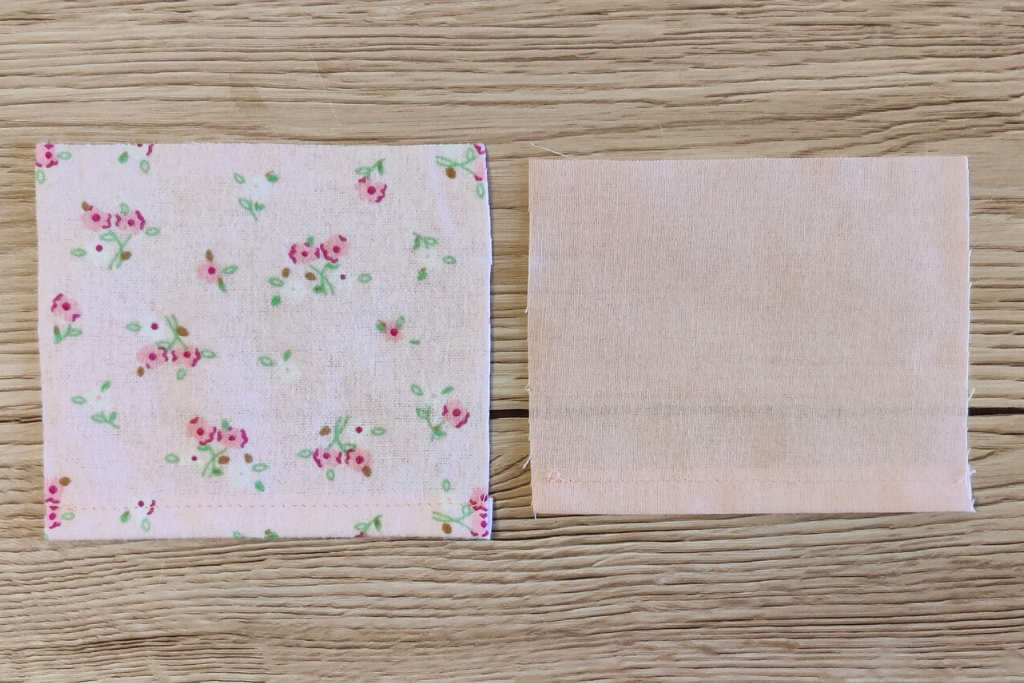
Put the front to one side and take one of the back pieces. Hem one of the short edges.
Do the same with the other back piece.
With the right sides together, place the plain back piece face down over the front, then the patterned piece.
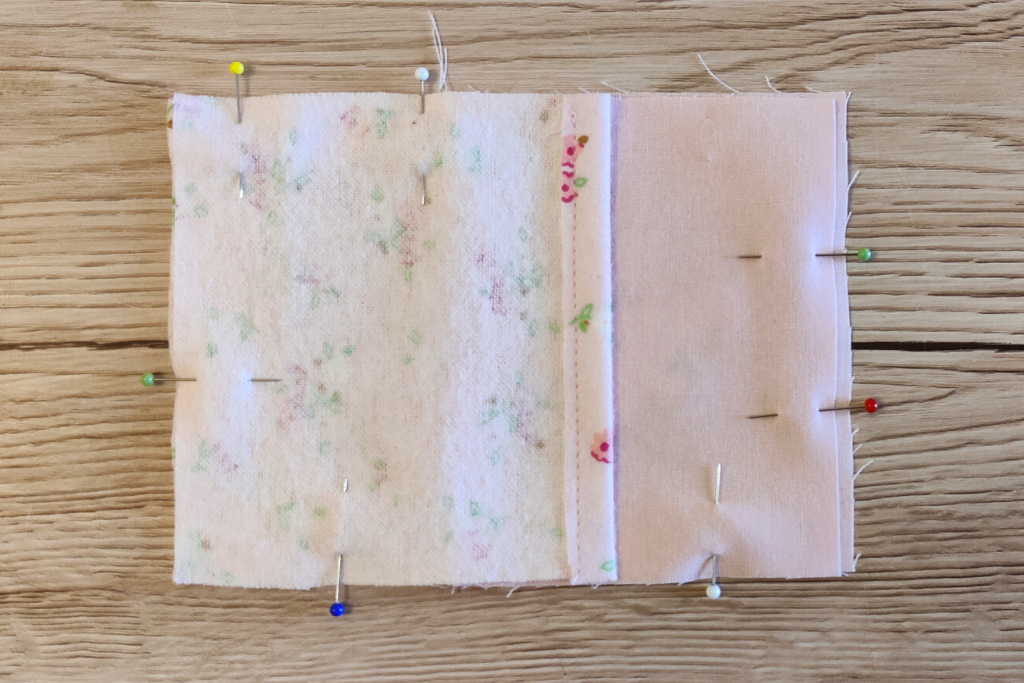
The thing to remember here is that the back section that you put down first will be the one on the top when it’s the right side out.
I wanted the plain piece on the top, although once it was finished I wished I’d done it the other way round!
Trim threads and seams. Cut off the points of the corners.
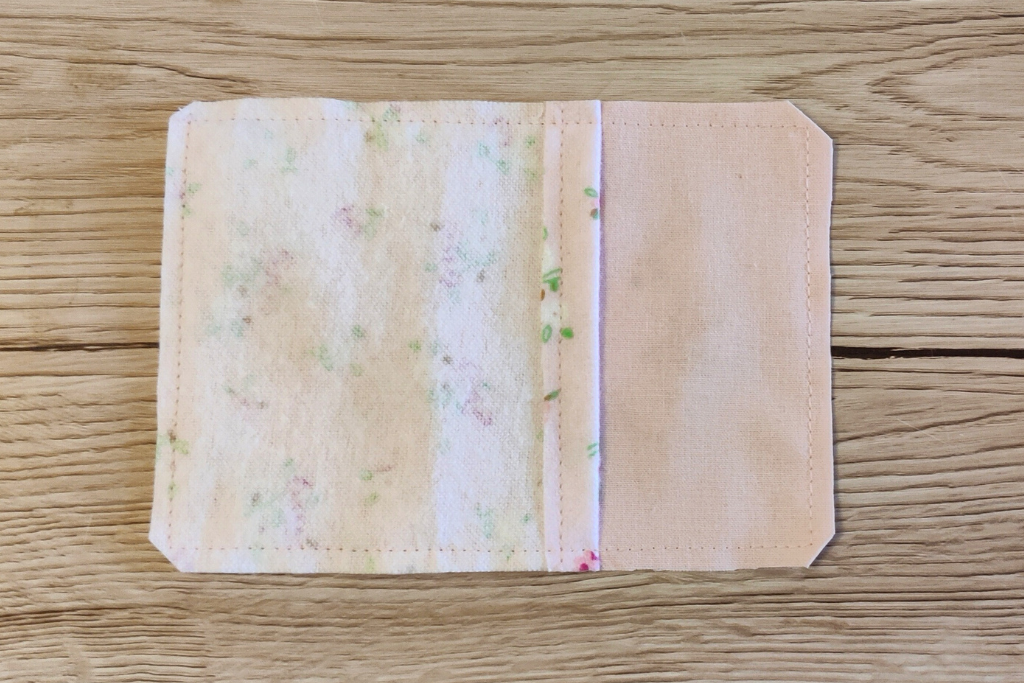
Turn the cover the right way out and your DIY hand warmer heat pack is ready to use!
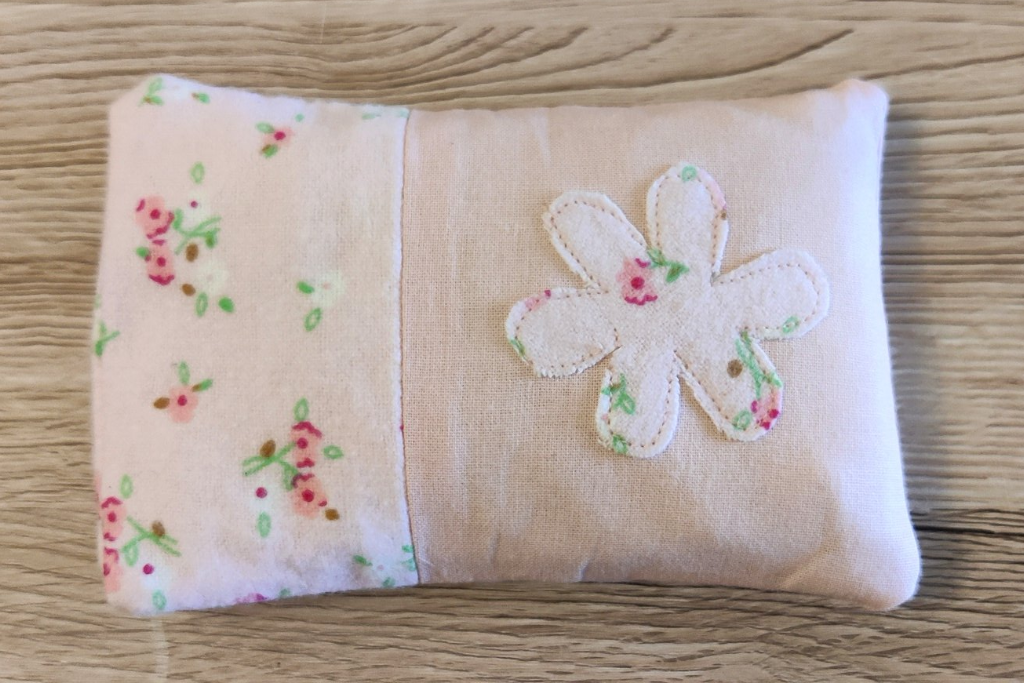
Using Your DIY Handwarmer Heat Pack
It’s very important that you only use cotton for the rice bag. Synthetic fabrics are more likely to melt or catch fire!
Pop the rice bag without the cover on in the microwave for 15 seconds, with a bowl of water. If it’s not hot enough, put it back in the microwave and heat it for 10 seconds at a time until it reaches the desired temperature. Please note it is seconds, not minutes! If someone with reduced mental capacity is doing this, please keep an eye on them!
If you don’t have a microwave (ours broke a year ago and we didn’t replace it as we felt we could manage without one), you can heat the rice bag in the oven instead. Put the oven with a bowl of water on 100 degrees C/ 200 degrees F/ gas mark 1 for 20-30 minutes.
Another option that is possibly safer is to heat the oven to 180 degrees C/ 350 degrees F/ gas mark 4. Turn the oven off, then pop the rice bag in the oven with the bowl of water and leave it for 20 minutes.
As with the microwave method, it is important to remember that you’ve left something potentially flammable in the oven. If you are forgetful (you’re in good company!), then set a timer.


Leave a Reply