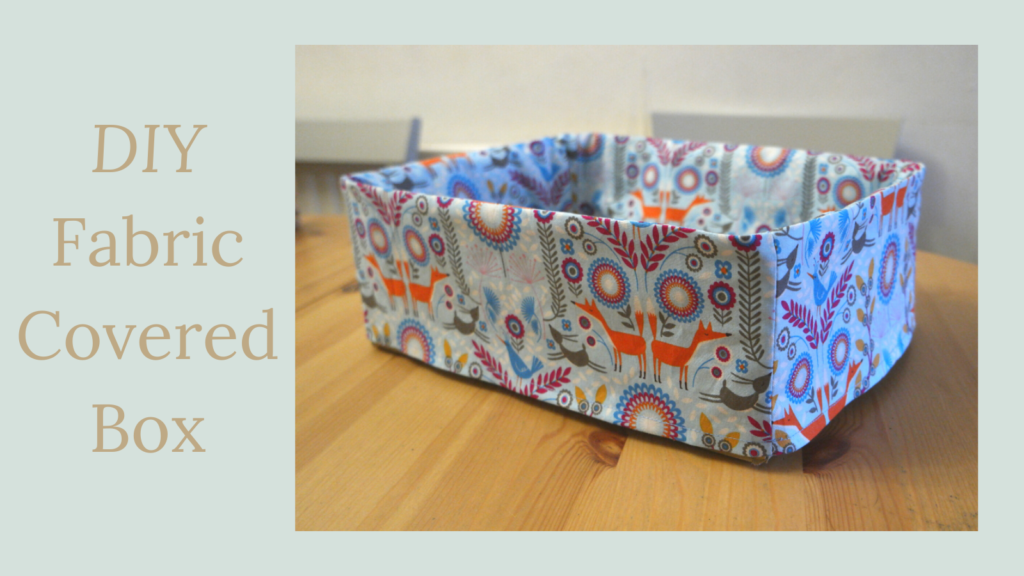
DIY Fabric Covered Box
In England, we are about a month into Lockdown 3. This time they’ve shut the schools again, so as well as my 2 home educated boys, I have my teenaged Covid schoolies as well.
Things were slightly in different in Lockdown 1, mainly because the schools didn’t have long to get ready. Most of my older boys’ school stuff was on the homework app.
This time schools have been more prepared, and my boys’ school are trying to keep it as much like school as possible. Personally I think this is bonkers because they’re not at school, they’re at home, and the lack of flexibility is making things difficult.
So if you’re out there in internetland and you feel that you’re struggling, believe me, you’re not on your own!
Another thing that’s an issue this time is that our house really does feel small. Although the days are starting to draw out now, it’s still cold and damp and nobody wants to spend much time outside. Being able to use the garden as well was the thing that saved our sanity last time!
So at the moment, I have one messy husband who has taken over the kitchen as his own personal office, my 15 year old Covid schoolie does his school stuff upstairs, and my 13 year old Covid schoolie is in the living room with me and the School of Mummy boys.
However, people manage in small houses, and controlling mess is one way to make a house feel less small, although that’s easier said than done sometimes in a house full of messy people!
The School of Mummy mess is mostly contained, but the 13 year old tends to leave his stuff strewn about everywhere.
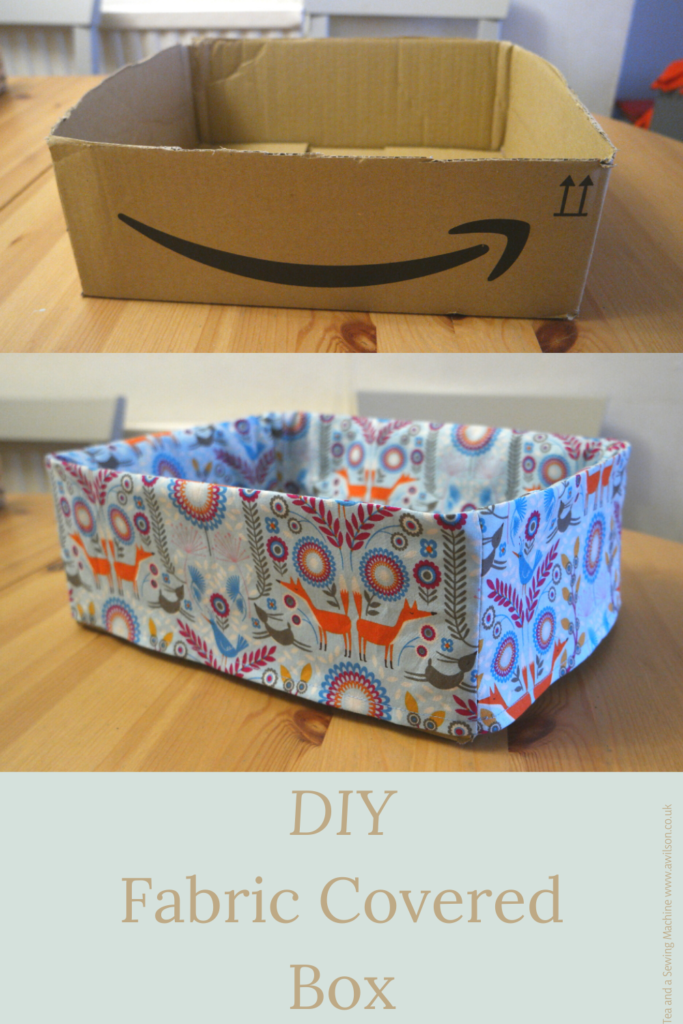
One thing I’ve done to help him is to sort him out with a box to keep all of his books and things in. I didn’t have anything nice that didn’t already have stuff in it, but I did have an Amazon box.

Now if I was inclined to be precious about this kind of thing, I might describe an Amazon box as unsightly. I’m not going to though, because a cardboard box with books in it is a whole lot less unsightly than a lot of school books littering the sofa and the floor.
Having said that, I did want to make it a bit nicer.
I’ve made fabric baskets before, and it can be tricky getting them to hold their shape. The best ones that did were these. I used a fusible stiffener which made them more rigid than ones where I’ve used ordinary interfacing.
I didn’t want to buy anything else, so the easiest and most obvious thing to do was to take the box we were using and turn it into a fabric covered box.
The best thing about this is that it can be adapted for a box any size.
Instructions
You Will Need
A box
A tape measure
Fabric
Paper and pencil
Usual sewing supplies
Measuring the Box
The first thing to do is to measure the box.
You will need to measure the height, depth and breadth.
Make a note of these and add 2 cm to each of them. This will be your seam allowance.
Cutting Out
From your fabric, cut 1 piece depth x breadth. This will be the bit that goes in the bottom of the box.
Then cut 4 rectangles that are depth x height, and 4 rectangles that are breadth x height.
Sewing the Cover For the Box
Take 2 of the smaller rectangles and sew them together along one of the long edges. If you’re using a directional print, one of the pieces will need to be upside down.
Trim the seam and press it open.

Do the same with the other 2 smaller rectangles.
Now repeat with with the larger rectangles.
Take one of the larger side sections and 1 of the smaller ones. With the right sides together, pin them so that the short edges are aligned on the right hand side.
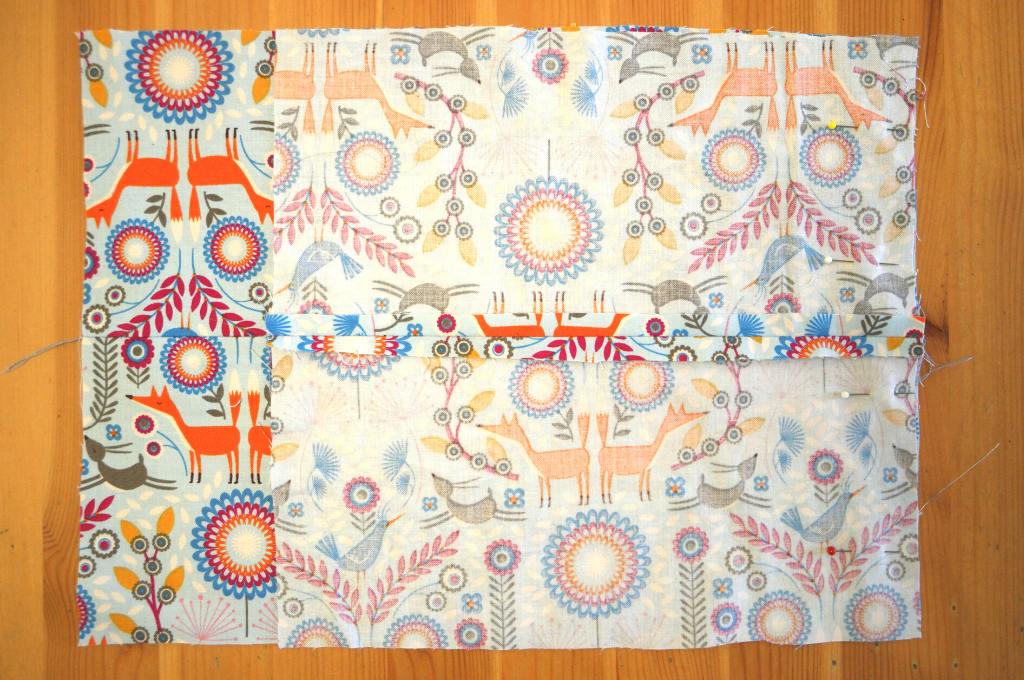
Check that the seams match, then sew the side seams. Trim and press.
Repeat with the the other side pieces.
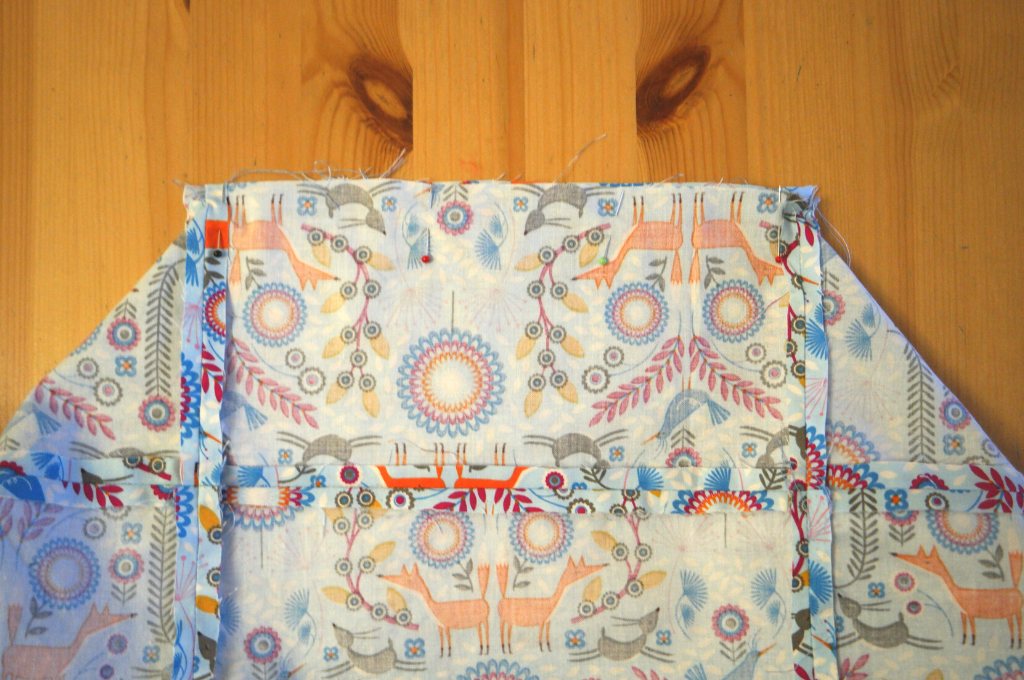
Now join these sections together. You have a longer piece, a shorter piece, then a longer one, then a shorter one.

Hem the outside edge.
Fold in half along the seam and press. This is so that the top edge will sit neatly on the box.
Pin the bottom section to the bottom of the side pieces and sew. The easiest way to do this neatly is by pinning then sewing one side at a time. Because the seam allowance is small, you might not need to trim it, but you’ll probably want to cut the corners off.
Here’s the finished fabric covered box…
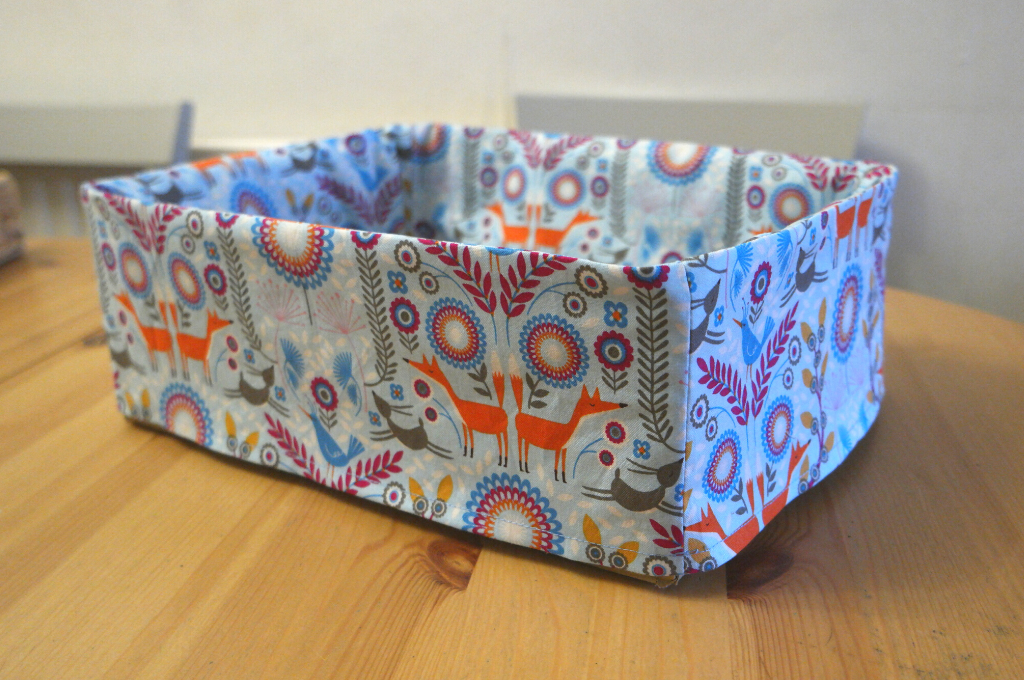
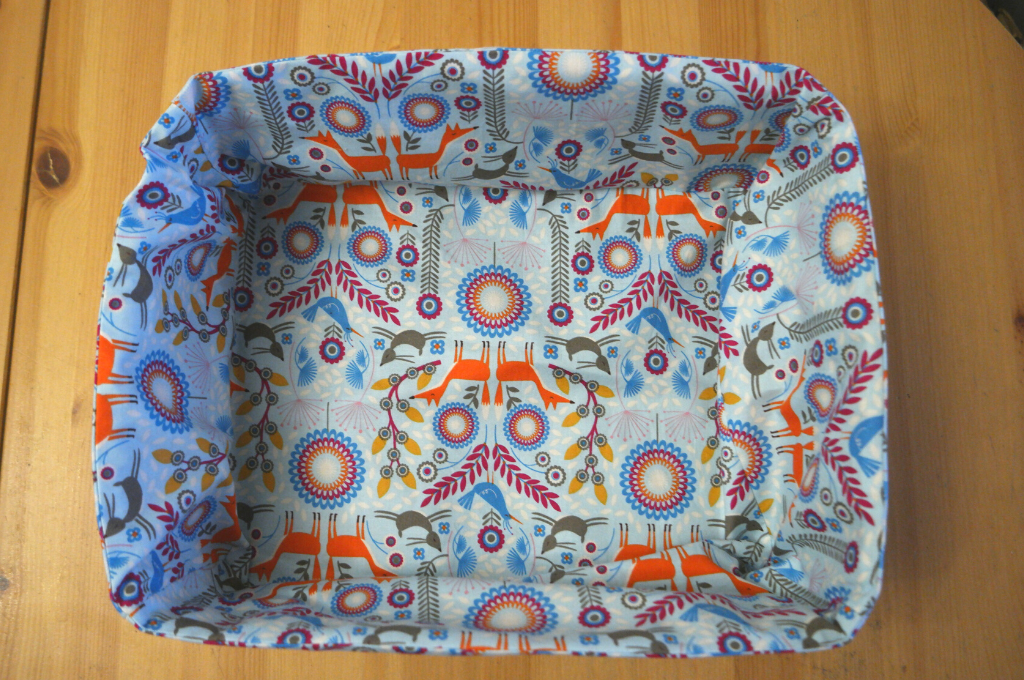
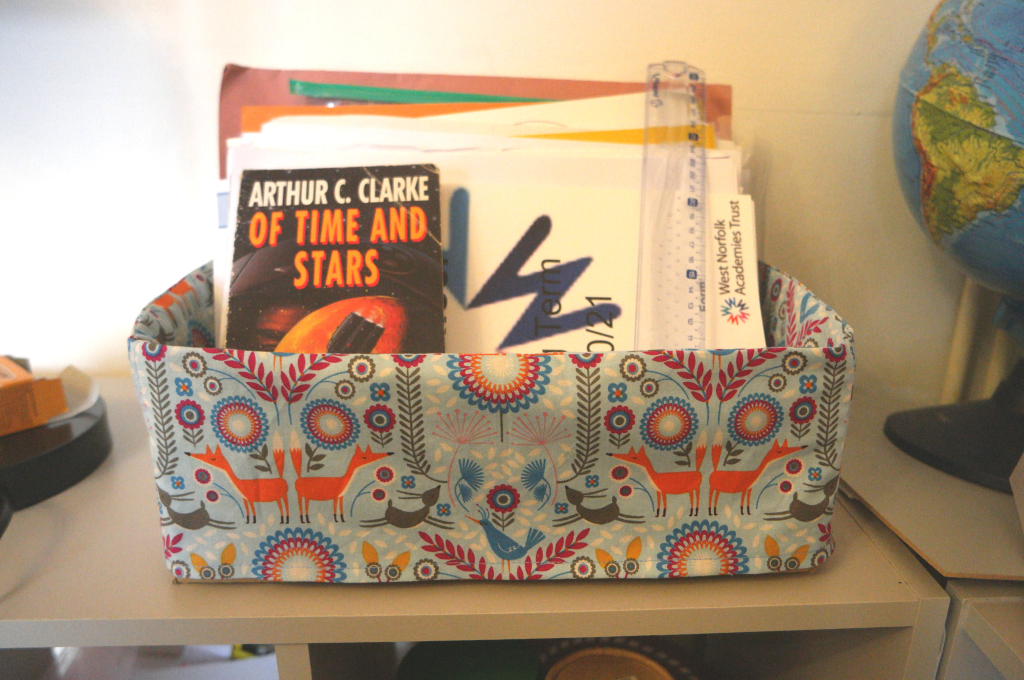
And here it is where it now lives with Aidan’s stuff in it!
Tips
To give the cover more weight, you could add some interfacing.
If you wanted the bottom hem to not be visible, you could add extra length to the outside pieces and either tuck them under or use elastic to hold them.
This is the kind of project that calls for bits of fabric left over from other things! If you don’t have enough of one kind, choose another fabric to go with it. Making a fabric covered box with each section in a different fabric could be fun!
If you are using a directional print, when you sew the side pieces, the inside section will need to be the opposite way up to the outside piece.
If you’re looking for inspiration for sewing baskets and boxes, I have in Pinterest board full of them here!


