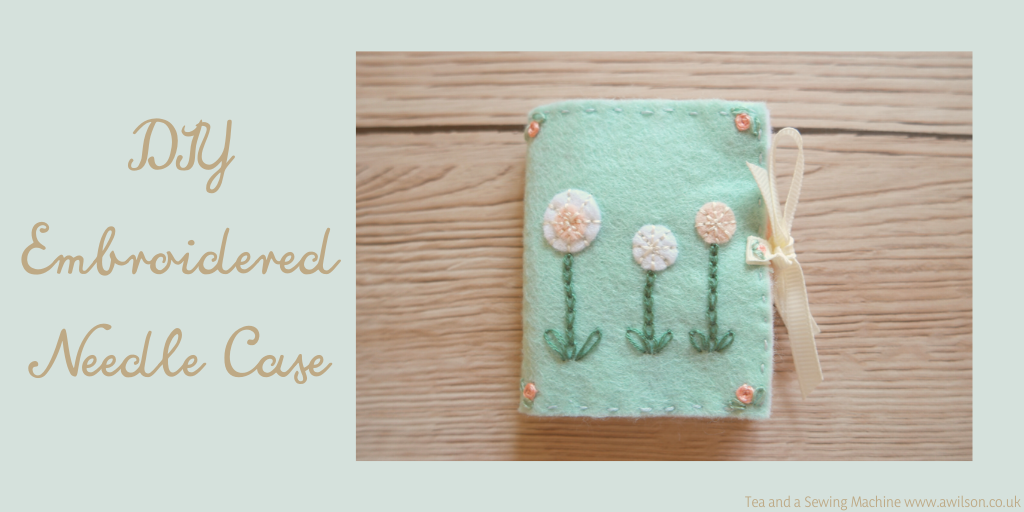
Needle cases might be seen as a little bit old fashioned, but I like them.
I’m the worst person in the world for losing needles, so having somewhere pretty to put them might stop me from losing so many!
This DIY embroidered needle case will eventually end up being part of a new craft kit I’m working on. I actually started it early on in lockdown, and I was going to call it the safe at home felt craft kit or something like that.
However, all the extra free time people kept saying I was going to have didn’t materialise, plus there’s been a dangerous virus to worry about, so I’ve only just got round to the second project (the kit will probably have 3-5 projects. The first one will be this mini bunting).
Whatever is going on, it’s always nice to have something to work on and craft kits make good gifts for crafty people. So I’m carrying on with it and I’ll just call it something else! Once the kit is ready (hopefully not too long!) it will be in my Etsy shop, and there’ll be a treat for the people on my email list as well.
UPDATE: The kits have finally be completed and you can find them here!
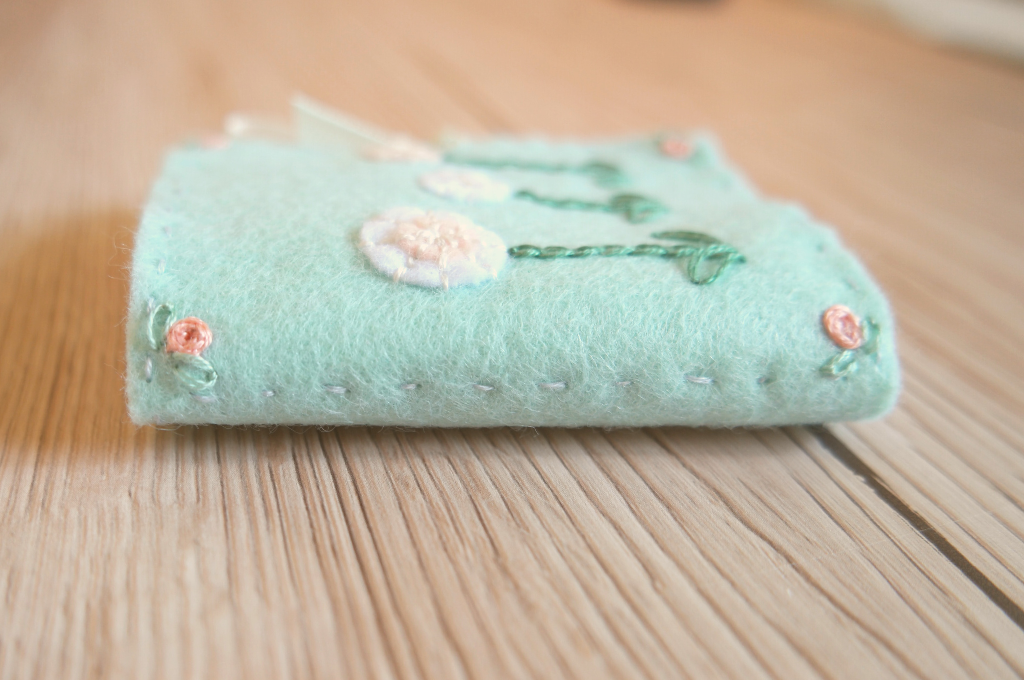
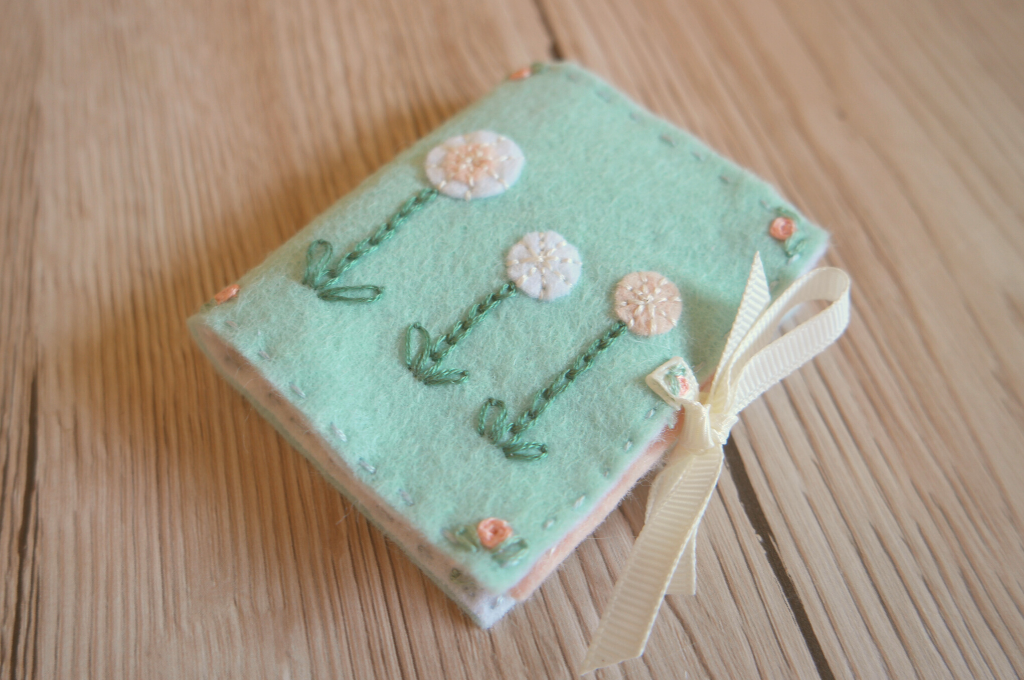
This needle case is made from felt, bits of ribbon and lace trim and embroidery.
If you have a die cutting machine that can handle felt, you could decorate it with felt flowers. I don’t have one, and anyway I’m a little bit addicted to sewing woven wheels!
I’ve decided to keep it simple and not too fussy, but needle cases are the kind of thing that are easy to personalise. So you could use this as a starting point for your own ideas!
For more inspiration I have a Pinterest board dedicated to needle cases here.
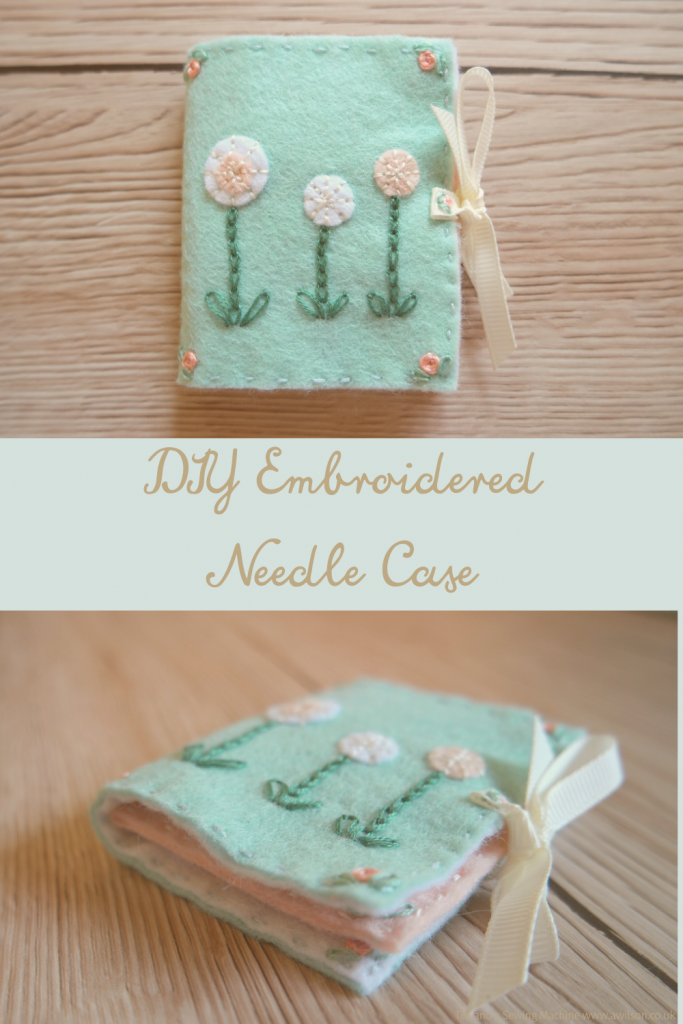
Instructions For Making a DIY Embroidered Needle Case
You Will Need
Small pieces of felt in complimentary colours.
Bits of ribbon, lace or other trim. I used cotton lace, grosgrain ribbon and some pink decorative bias binding.
Embroidery thread. I used pink, 2 shades of green, off white and pale grey.
Cutting Out
The pattern pieces for the embroidered needle case are free to download in exchange for an email address. Information about why I ask for an email can be found here. The form is at the bottom of the post.
I used green, pink and white felt for my embroidered needle case, but you can swap those for whatever colours you like!
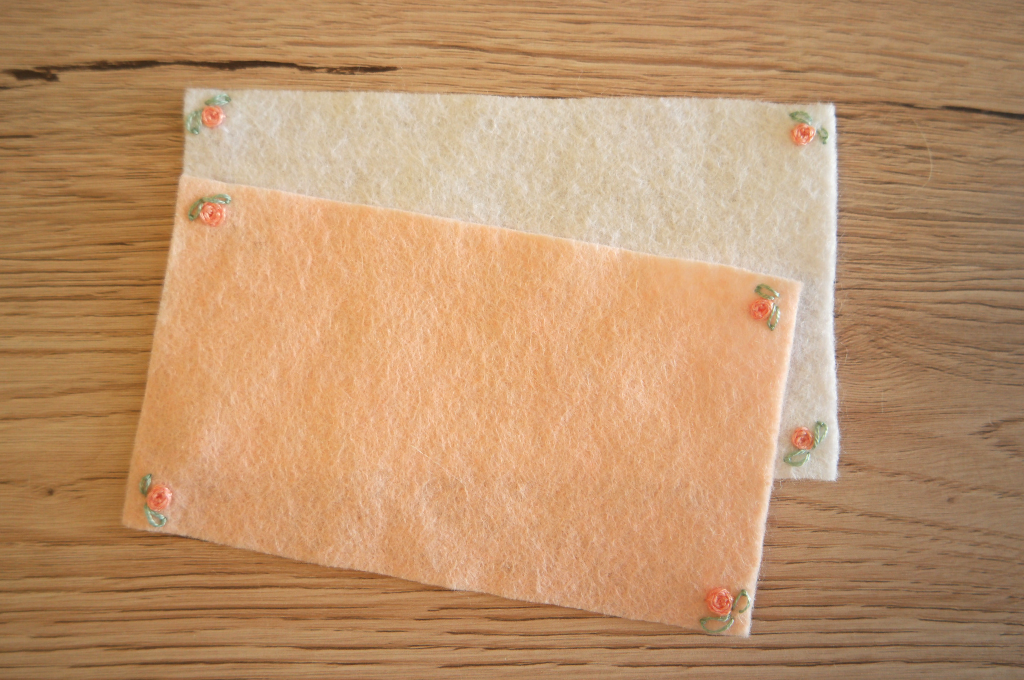
Cut a piece of green felt and one of white felt 7.5 cm x 12.5 cm.
You’ll also need a smaller pink piece 7 cm x 12 cm. The larger pieces will be the cover and the other will be the inside of the cover. The smaller one will make the 2 pages in the centre.
Cut a larger circle and a smaller circle both from the pink felt and from the white.
For the inside of of the cover, you’ll need a pink rectangle 4 cm x 4.5 cm, and a white rectangle 2.5 cm x 3.5 cm.
For the safety pin tag, you’ll need a rectangle of white felt 4.5 cm x 3 cm and a 4.5 cm length of pink trim.
Cut a 4.5 cm piece of lace trim cm long, plus a piece of white felt the same size.
Cut a piece of grosgrain ribbon 5 cm long, and two more pieces 13 cm long.
Embroidery Stitches
The stitches used in the embroidered needle case are:
Chain stitch
Running stitch
Back stitch
Lazy daisies
Woven wheels
I’ve included links to some of these if you’re not sure of them.
Embroidering the Cover
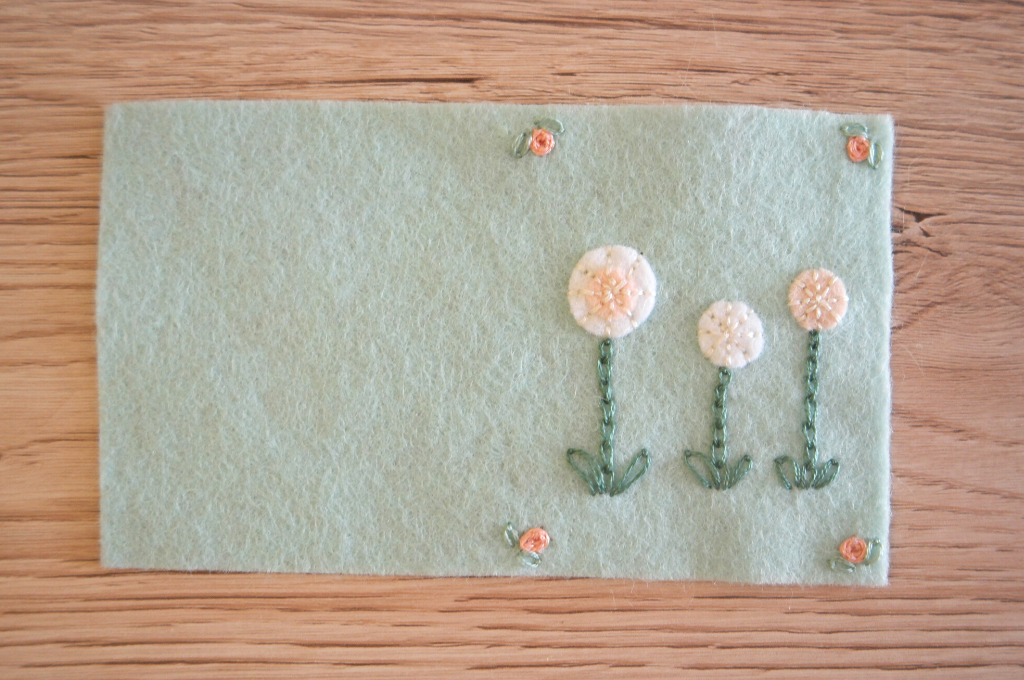
The cover will be folded in half, so you might like to mark the half way point with pins first.
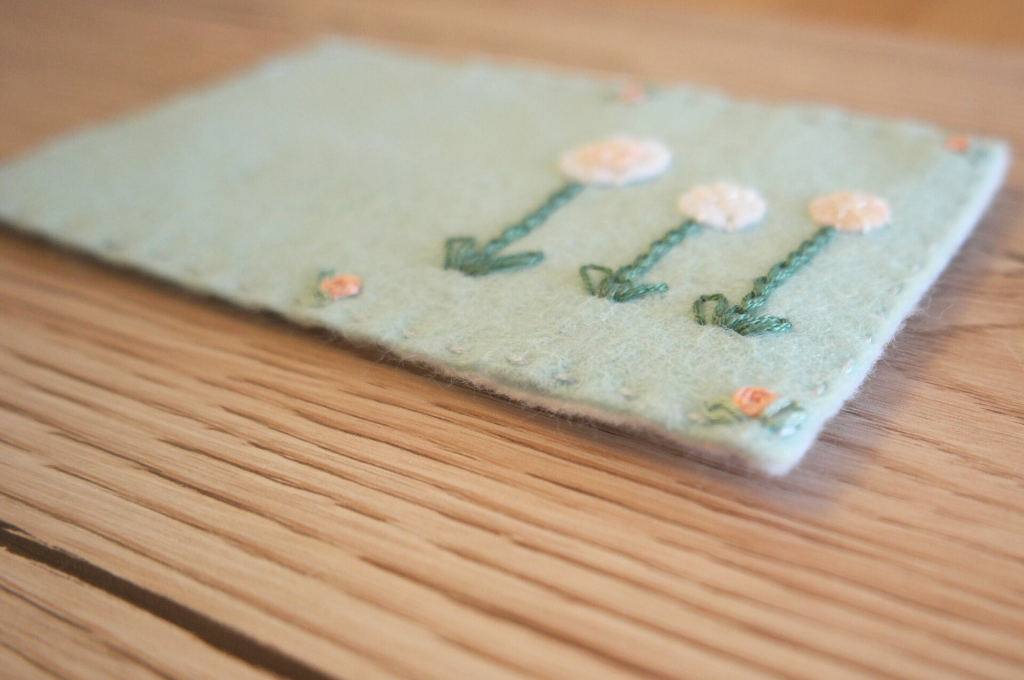
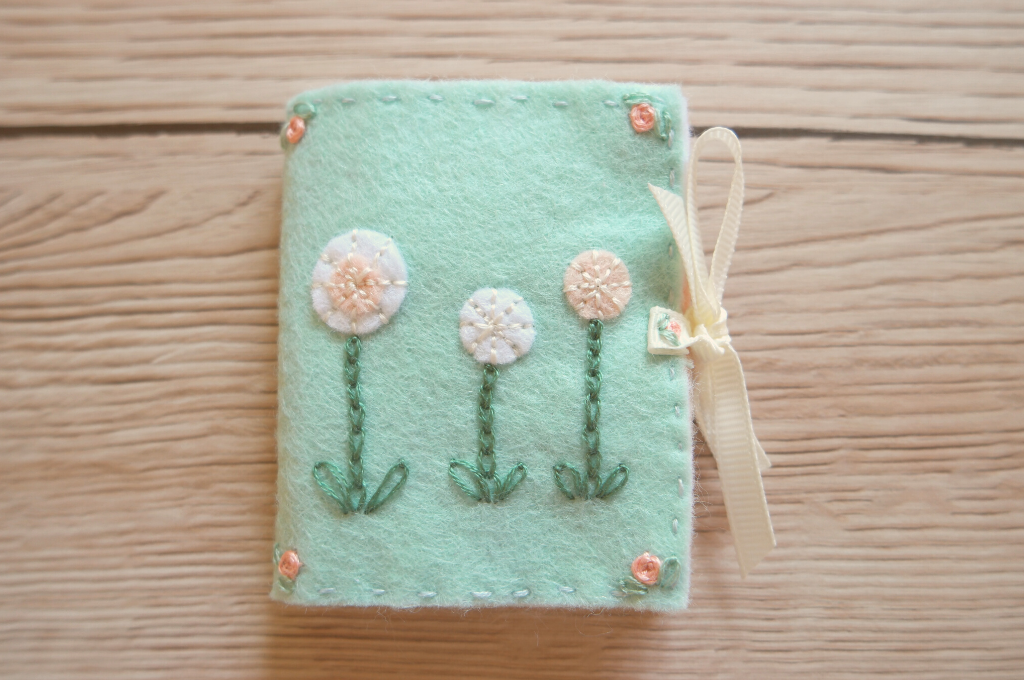
Position one of the larger circles onto the cover. Place a smaller circle on top of the larger one. Position the other circles on the cover and pin them in place.
Sew backstitch across the circles to divide them firstly in half, then into quarters, then into eights.
Sew stems in chain stitch.
Embroider lazy daisies for the leaves.
In each corner, sew a woven wheel for a flower. Then sew 2 lazy daisies on either side of the flower for leaves.
Making the Insides of the Needle Case
The white piece will be sewn to the wrong side of the cover to conceal the sewing, and the pink piece will be sewn to the centre, then folded in half and sewn together.
So for the moment, you can treat each rectangle as a whole.
Embroider woven wheels and lazy daisies in each corner on both pieces.
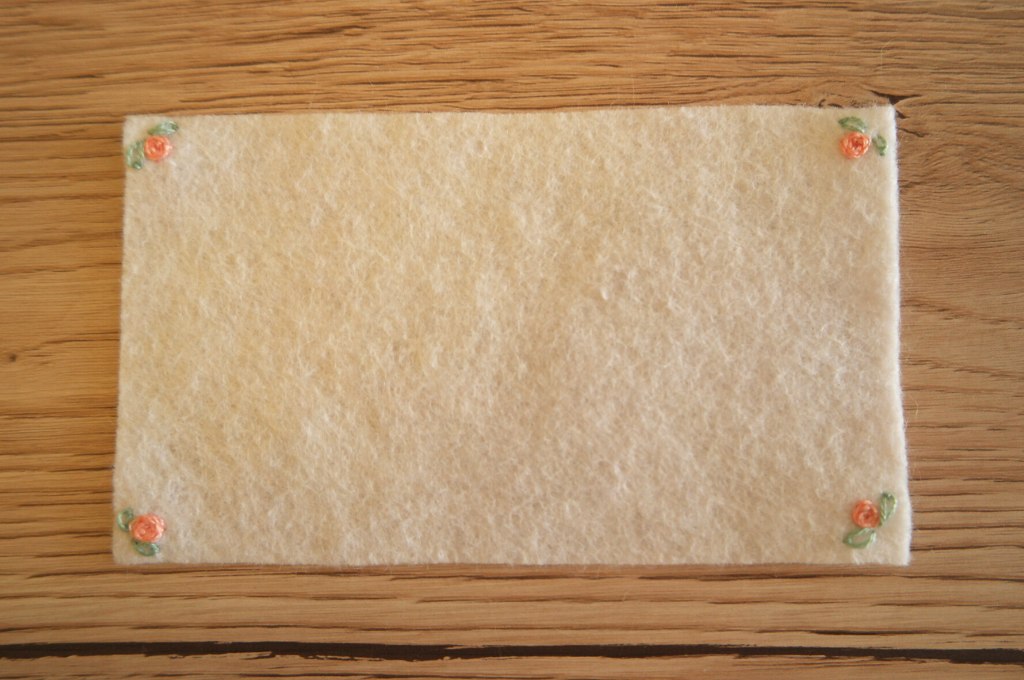
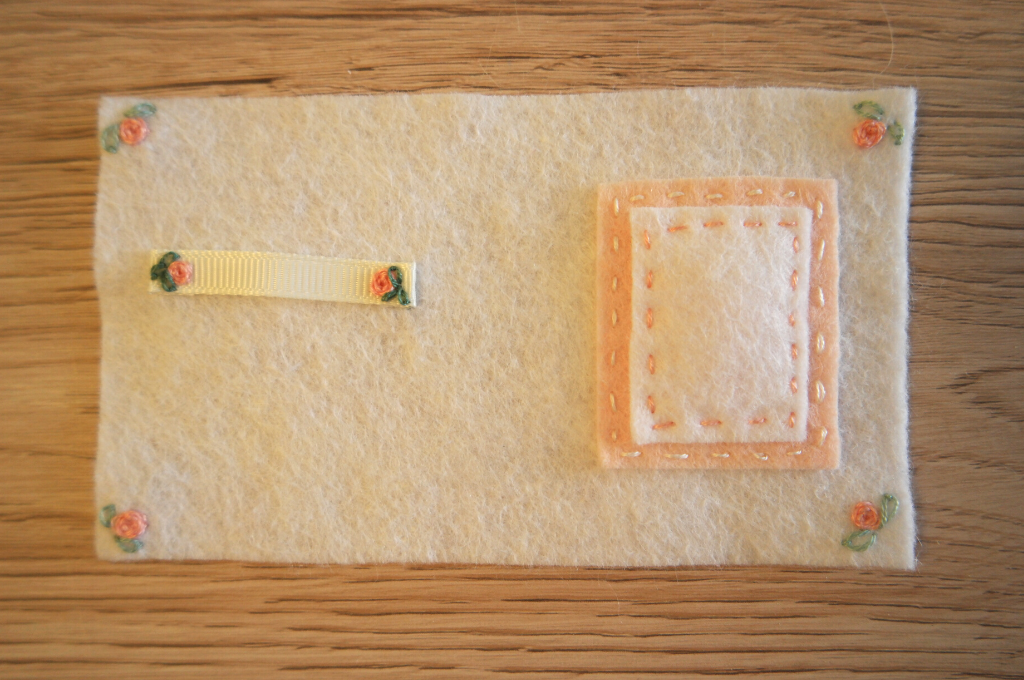
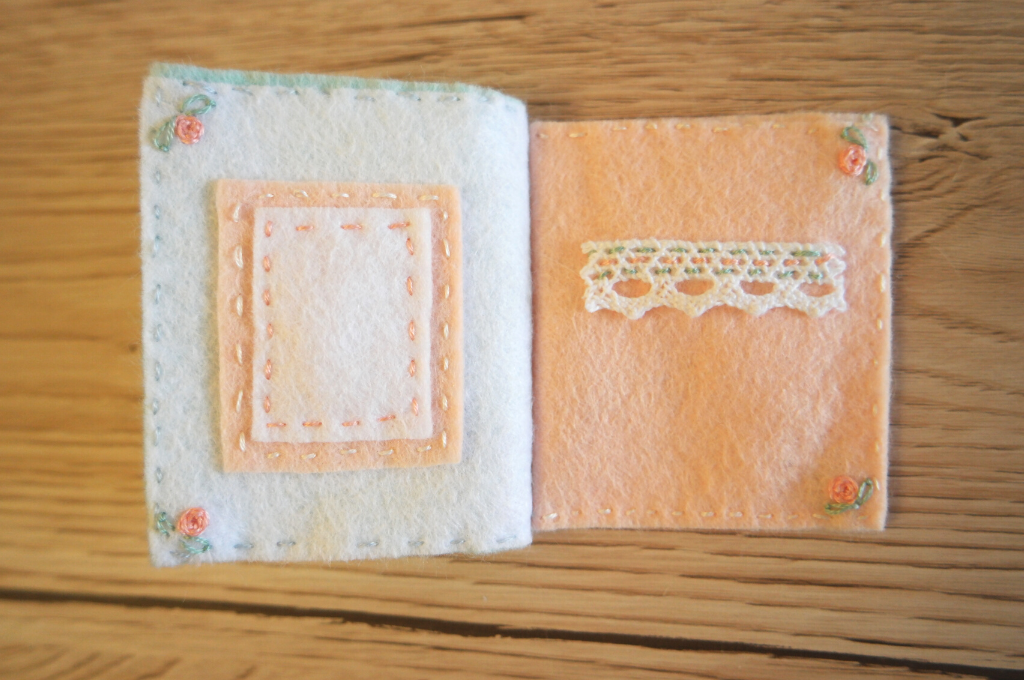
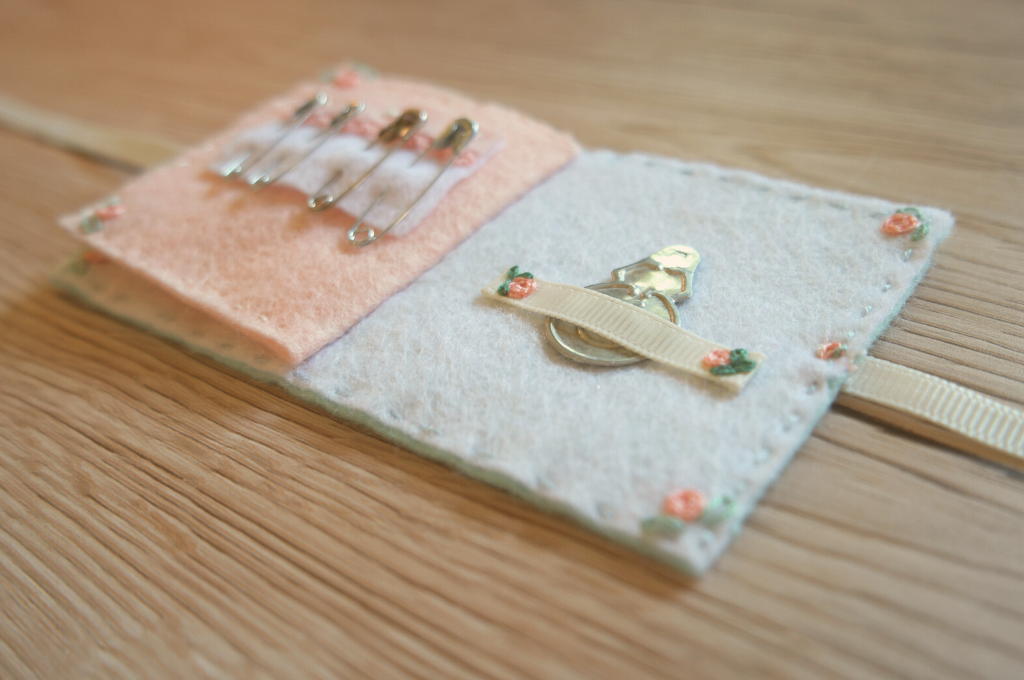
Take the white piece of felt first. On one half, attach the rectangles using running stitch.
On the other half, fold the ends of the shorter length of ribbon under, then attach the ribbon to the felt by embroidering woven wheels and lazy daisies at either end.
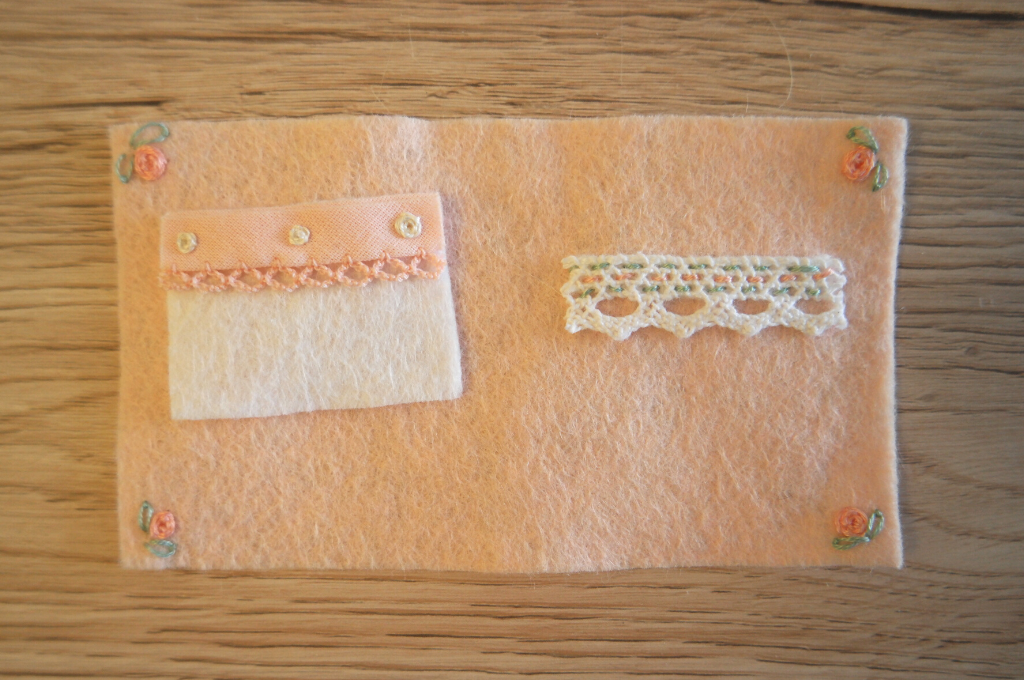
Take the pink piece of felt and pin the lace trim with the little bit of white underneath it. Using the holes in the lace, sew the trim and the white felt to the pink felt.
On the other half of the pink felt, pin the pink trim to the rectangle, then to the piece of pink felt. Sew woven wheels near the top edge to attach them.
Making Up the Embroidered Needle Case
With the wrong sides together, pin the white felt inside to the green lining. Using running stitch, sew the 2 pieces together. You could use a sewing machine for this if you prefer, or you might like to sew blanket stitch instead of running stitch.
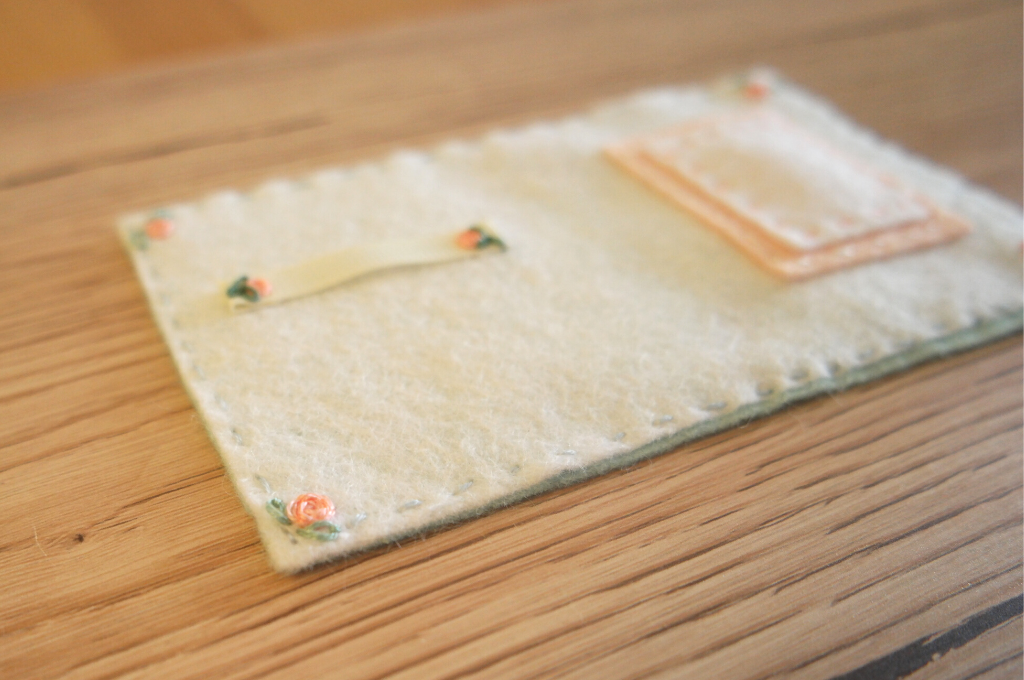
Now pin the pink centre piece to the white and green pieces. Mark the centre with pins. Sew down the centre of the pink piece.
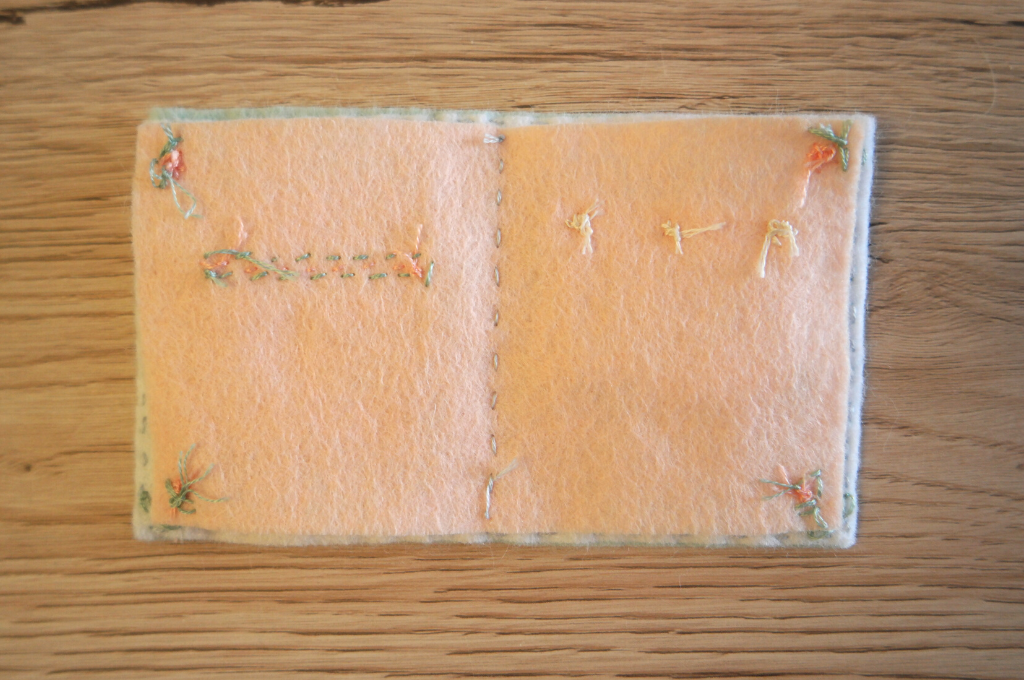
The sewing won’t be visible on the pink felt, but it will be on the cover, so think about what colour you would like the stitches to be! I did mine in pale grey. You could use the sewing machine for this too if you wanted to.
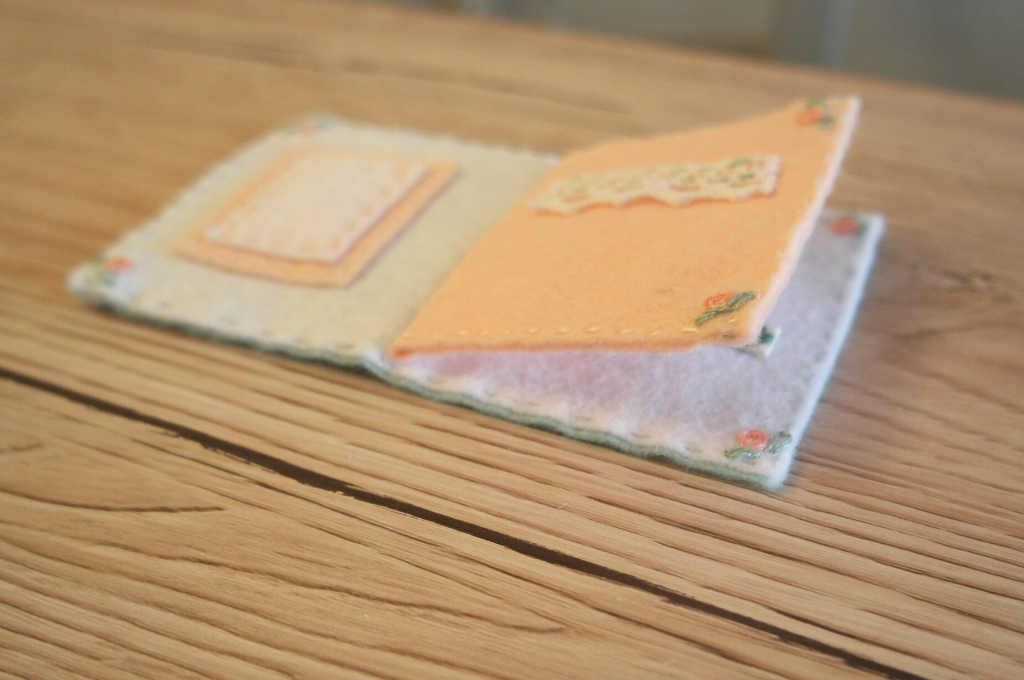
Fold the pink bit of felt in half and pin. Sew it together using a running stitch.
Attaching the Ties
Take one of the longer lengths of ribbon. Fold the end under, then sew a woven wheel and a couple of lazy daisies to attach it to the front of the cover.
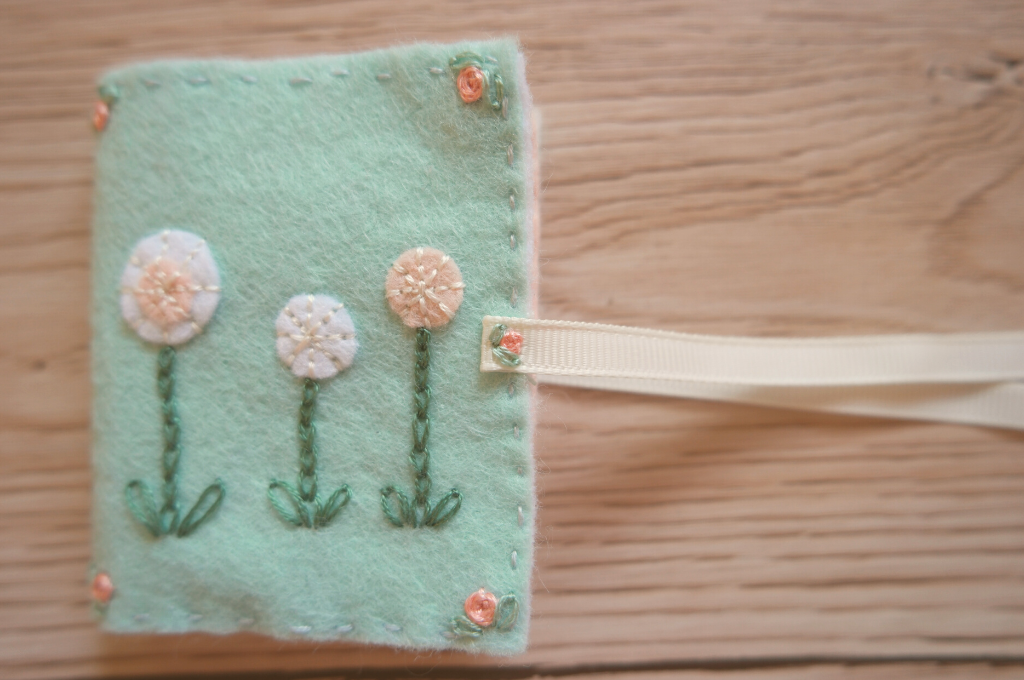
Do the same with the other piece of ribbon and the back of the cover.
Now your embroidered needle case is finished! You have somewhere to keep needles, pins, safety pins and a needle threader.
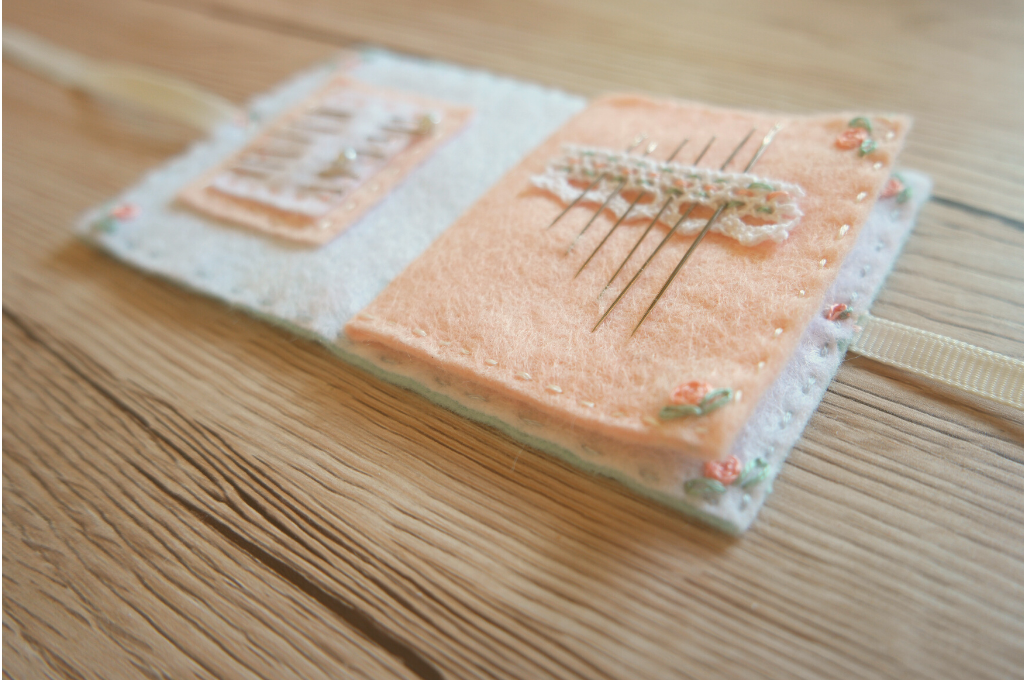
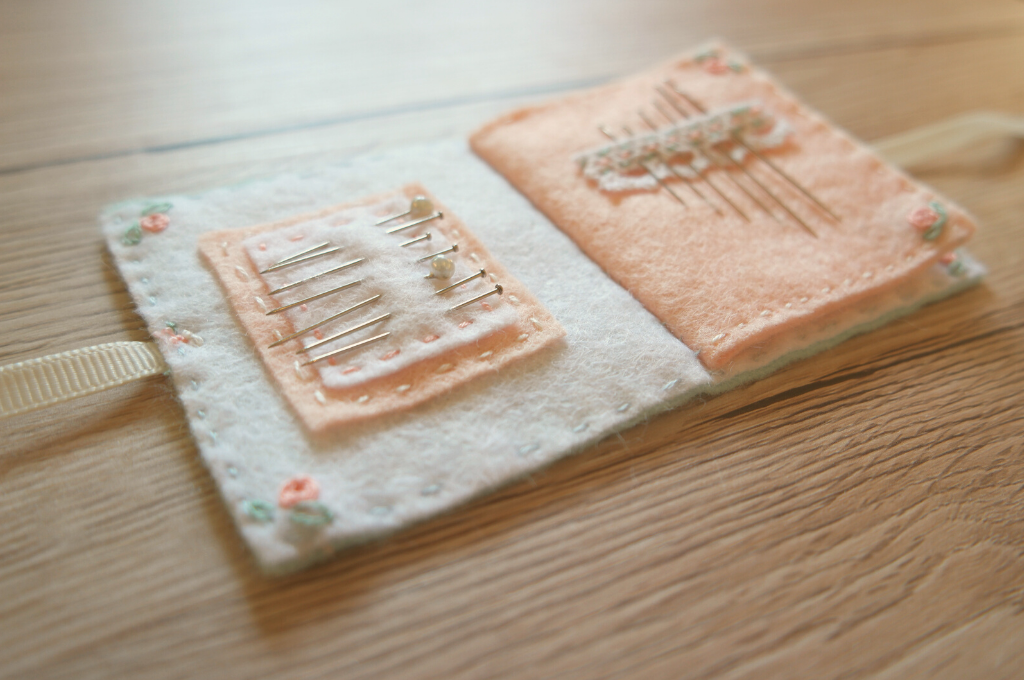
I actually can’t remember making anything quite this pretty before. There is a bit of a mistake though! Did you spot it? The white section was supposed to be the other way up, so the ribbon was nearer the top, not the bottom. This is what happens if you’re watching the Great British Sewing Bee at the same time!


This is a lovely creation and would be perfect for little gifts. Thank you for sharing.
Beautiful work thank you
Hi,
Live this needle case! The info says there are patterns for this available but I don’t seem to find them in ur site. Can u help me out please?
Thx
Hi Sharon, I’ve changed email providers and I’m still swapping everything over! The pattern is here: https://www.awilson.co.uk/wp-content/uploads/2020/05/Embroidered-Needle-Case-Pattern-Pieces.pdf
This is a beautiful little needle case…I plan on making several of this to give as little
just because gifts! They are quick and easy to make and can very readily be personalized
either with the recipents name or just initials.
Thank you again for such a wonderful idea.
Yvonne
Pleased you like it!