DIY Decorated Glass Jars
Making some diy decorated glass jars is something that I’ve wanted to try for a while. I’d previously done something similar using glass paints, but they were expensive, messy and difficult to clean up.
So when I was sent some Chalkola chalk markers to try out and review, this seemed like the perfect opportunity to dry doing this in a different way!
I also needed an activity that I could do with the boys to keep them out of Daddy’s way while he attended to a diy emergency. As chalk markers are totally non-toxic, this was something that they could join in with.
If you like the idea of making DIY decorated glass jars, keep reading because I’ve got a discount code for you that will give you 20 percent off!
Using the Chalkola Chalk Pens
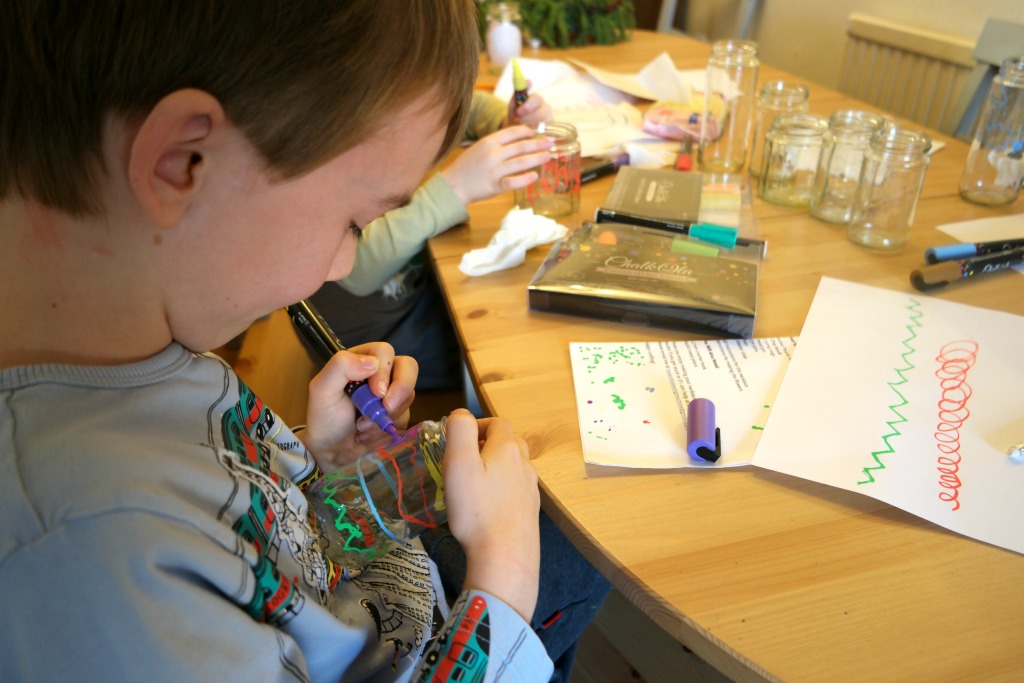
Before using the pens, to get the ink flowing, you have to give them a good shake, then repeatedly press the nips down. The advice I was given said that this might take a couple of minutes, but it was more like a few seconds. We did this on some bits of scrap paper.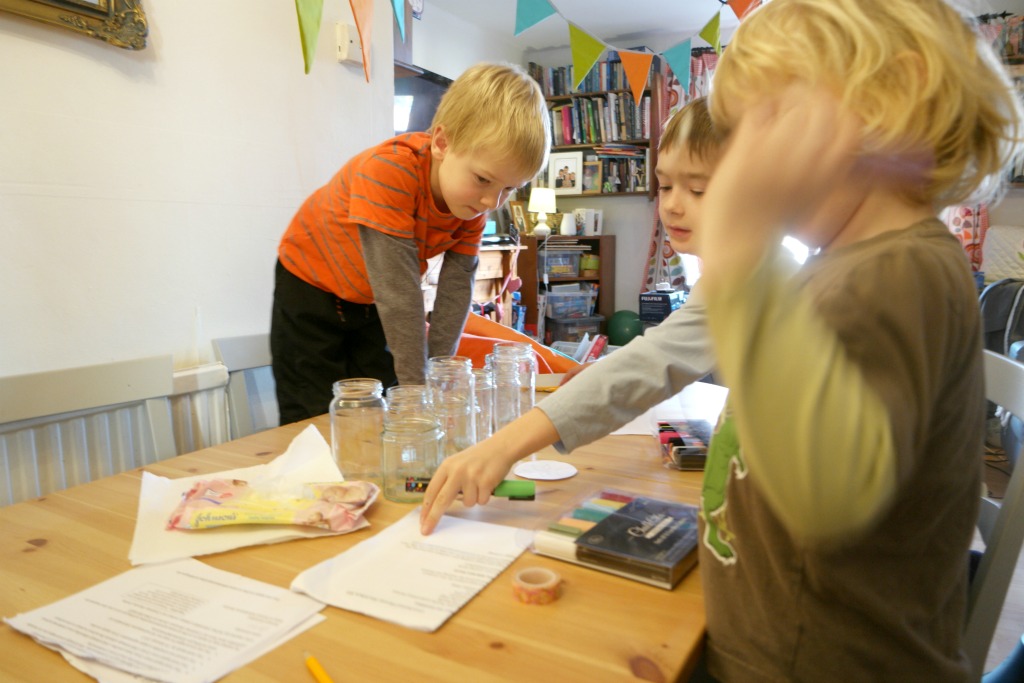
Once the ink starts flowing, it’s best to stop, otherwise you’ll end up with a puddle of chalk ink!
Then all you have to do is start drawing!
Any mistakes or chalk in places where you don’t want it can simply be wiped off with a baby wipe or a piece of damp kitchen towel.
Decorating the Jars
One of the things I really loved about doing this was that I could squeeze in a sneaky bit of craft time while simultaneously being a “good parent” by doing stuff with my kids ;).
When it comes to Christmas, I love everything vaguely Scandinavian. This has only increased since we went to Norway at half term. So I wanted my jars to have a Scandinavian theme.
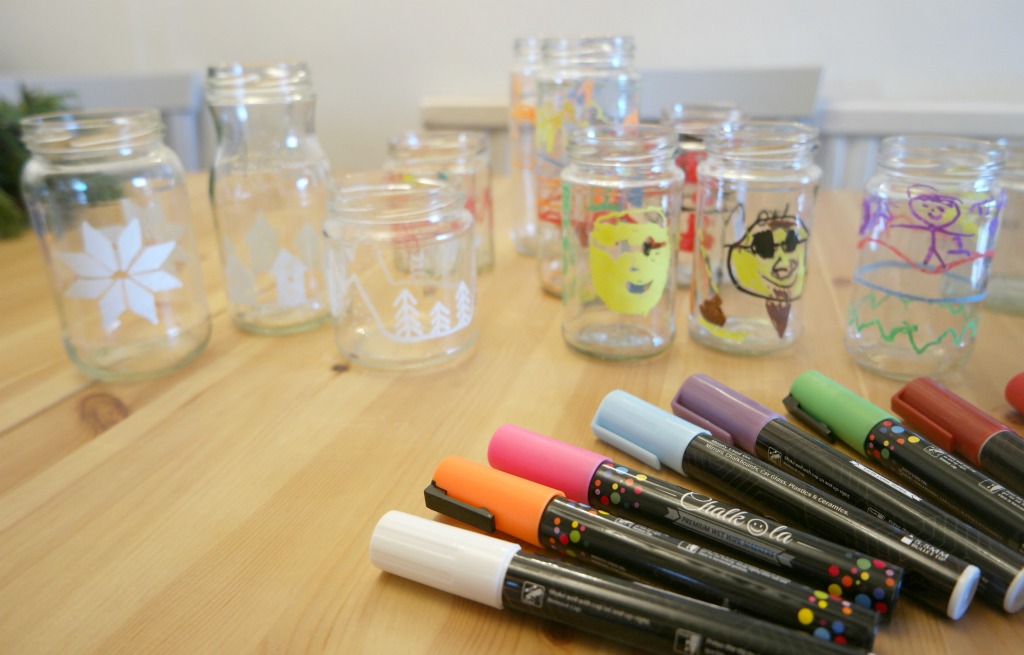
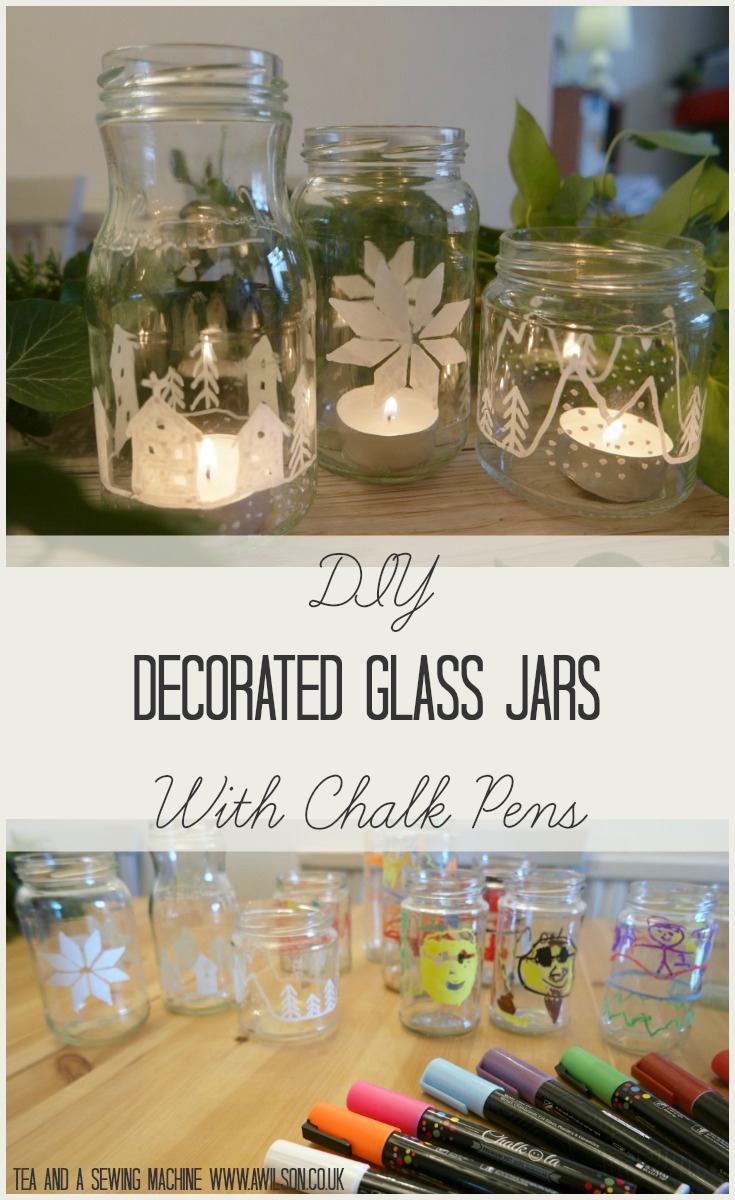
I did one with a star. 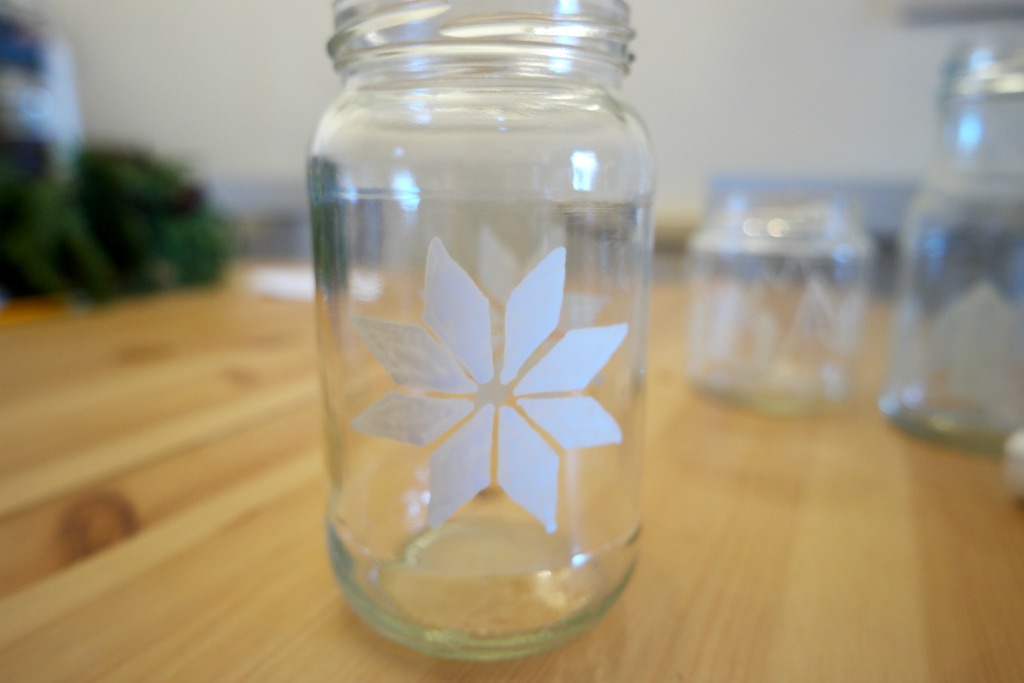 I actually used the drawing I made when I was designing my felt baubles as it was already the right size. Using washi tape, I stuck it to the inside of the jar.
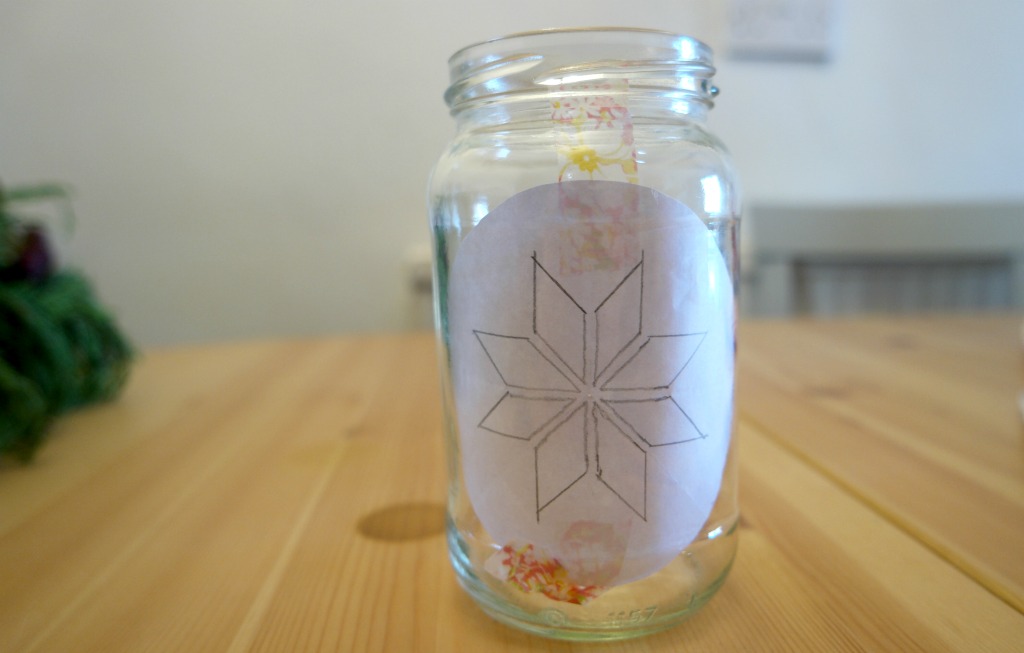
Then all I had to do was draw over it with the chalk pen.
I also did this one with mountains and trees. I drew the design on a piece of paper to get an idea of what I wanted to do, then I drew it straight onto the jar.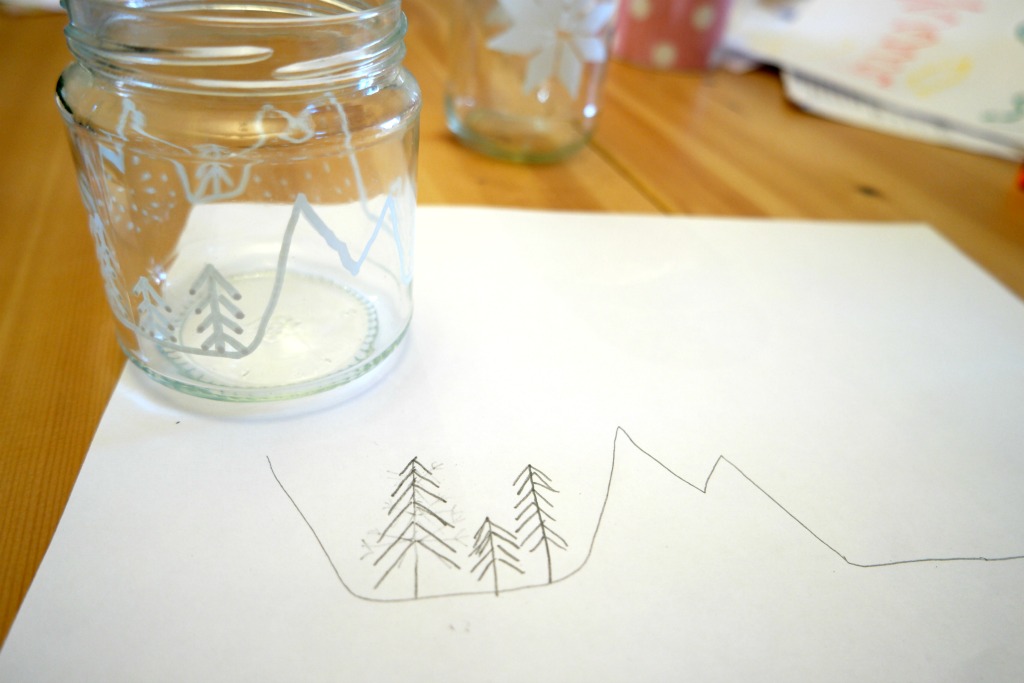
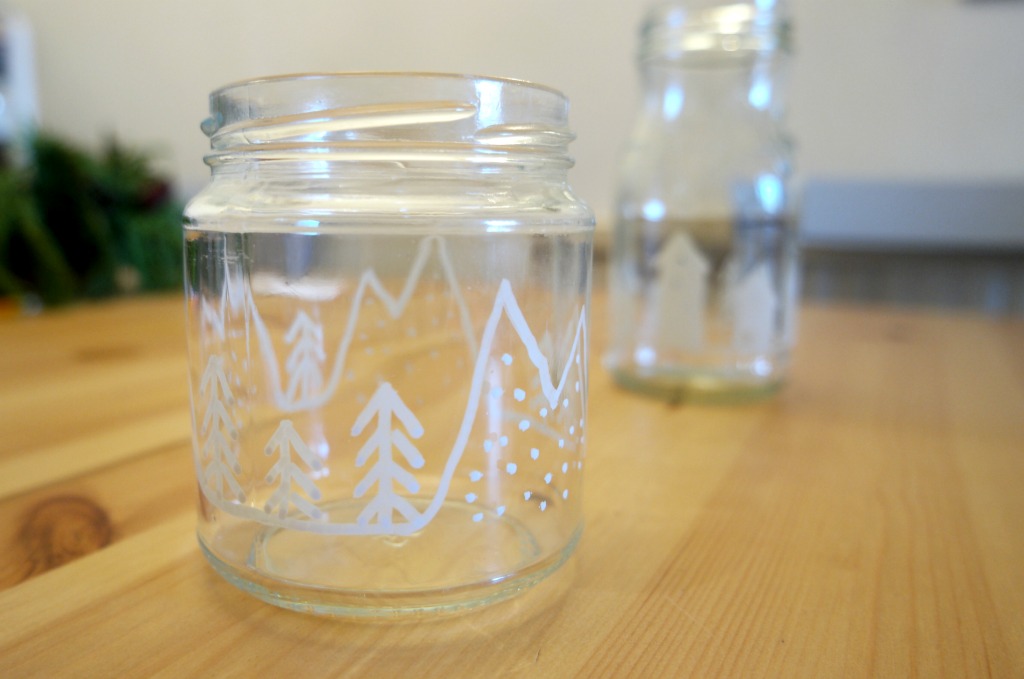
And I made this one with houses, which I did in the same way.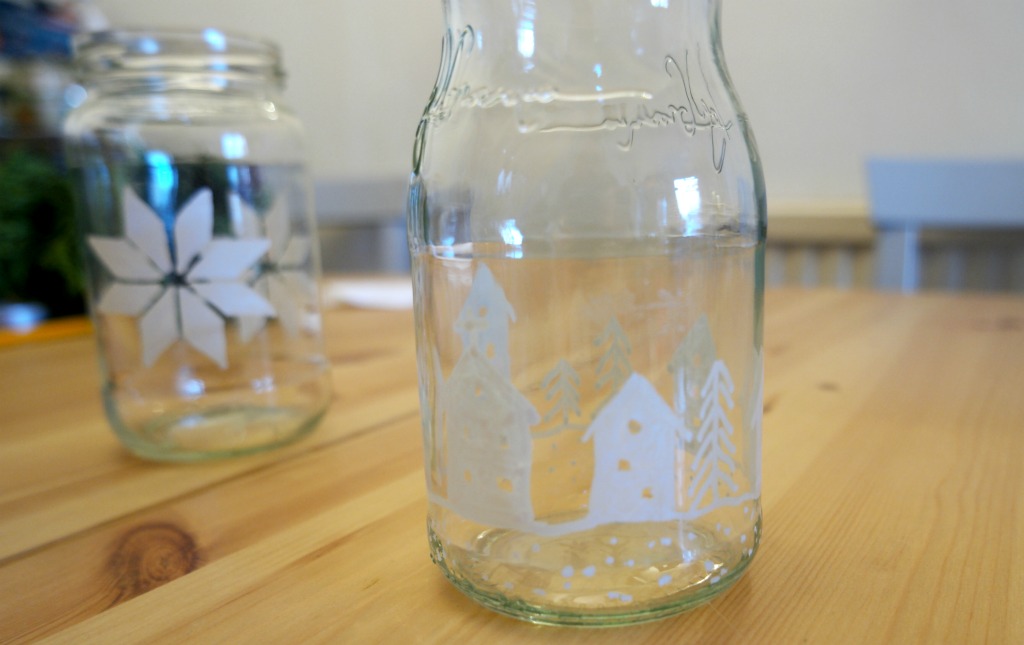
My boys were not bothered at all about doing their jars so that they would fit in with Mummy’s Nordic Christmas decor.
Barnabas, who’s 7, did this one featuring the Titanic and the infamous iceberg.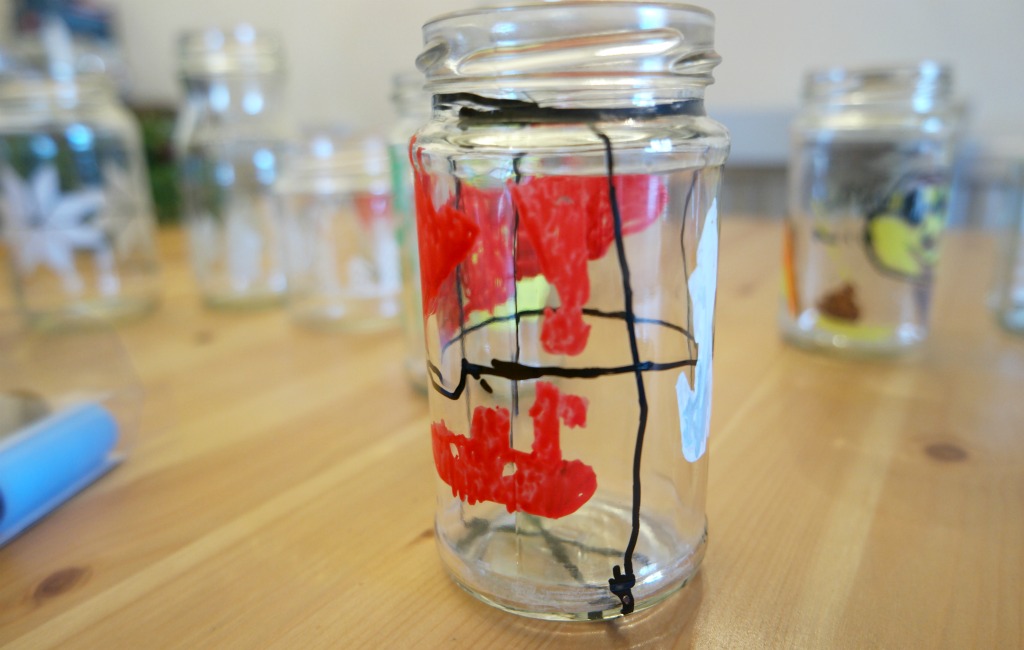
Aidan, who’s 9, did this one. I’ve no idea who this chap is.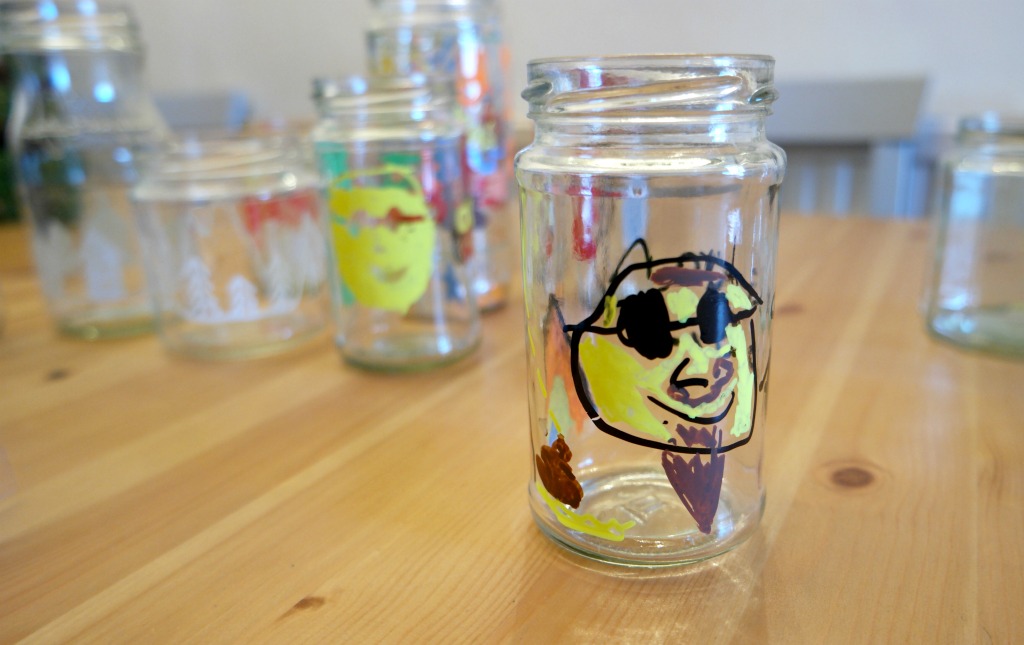
Cosmo (he’s 4) just had a happy time scribbling.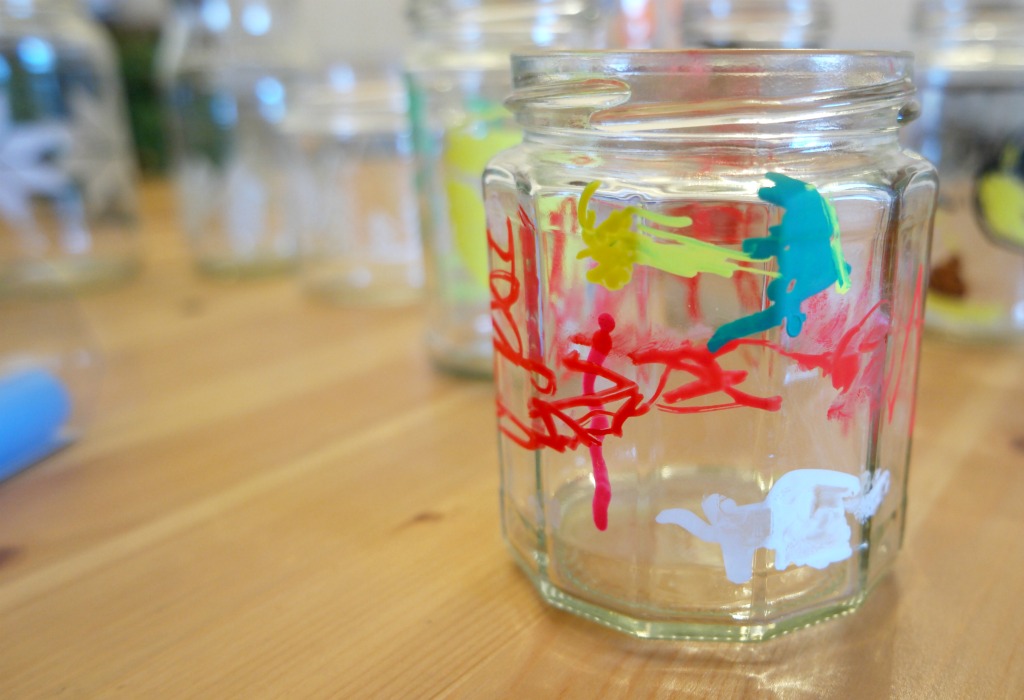
It was very easy and a lot of fun. I actually only scored a G in my GCSE Art, but despite not being able to draw at all, I was still able to produce something that I was happy with. And my boys had a lovely time! In fact, they had so much fun we ran out of jars and I had to have a rummage in the kitchen to find some more.
The Verdict on the Chalk Pens
Pros
Very easy to use
Not too messy
Non toxic
Lots of fun and you don’t have to be good at drawing
Easy to clean up
They don’t stain
Mistakes are easy to fix
They’re cheaper than glass paint
They are versatile and can be used on a range of non porous surfaces.
Cons
My younger ones had some issues with the caps. I found them fine to click back on, but they had a bit of trouble. We had caps flying about and I was worried about chalk ink going everywhere, although it didn’t.
The nips are quite thick so it would be difficult to do anything very detailed.
Even after the ink has dried, if you touch it with damp hands, or rub it, it will come off it.
On reflection, I was very happy with the Chalkola chalk markers. My boys and I all enjoyed using them and I’m looking forward to trying out some other ideas. I fancy decorating some stones to make paperweights!
If you want to try this and you need to buy the chalk markers, they’re here on Amazon (affiliate link) you can get 20 percent off with the code 20OFFSTR
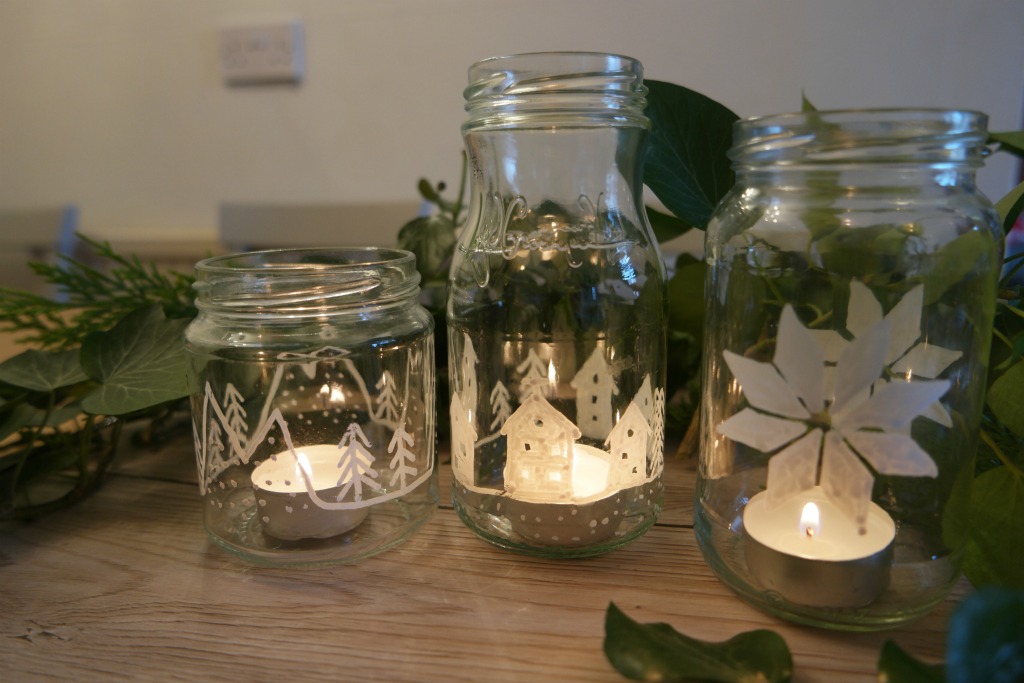


Looks like you all had lots of fun Anna! And those jars look so pretty with tea lights in them!