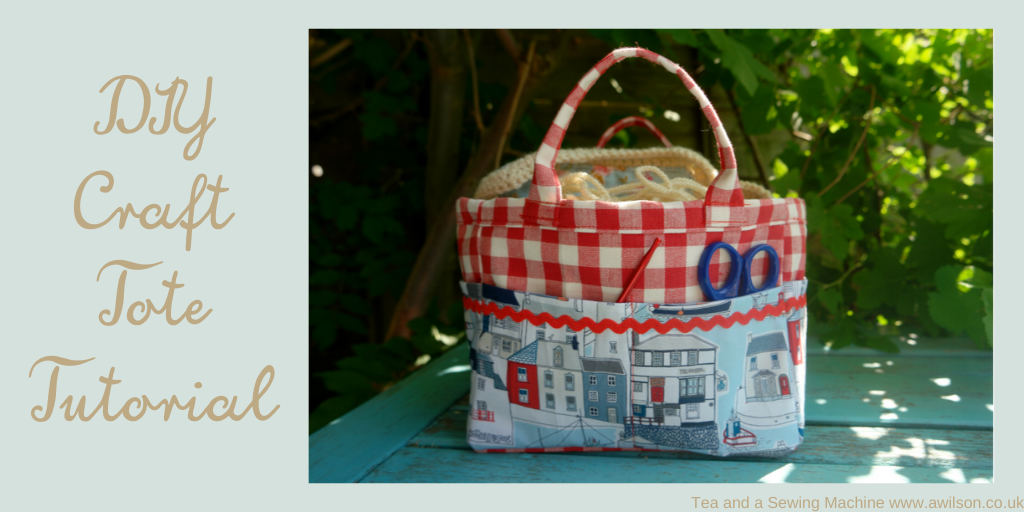
This DIY craft tote tutorial is a sponsored post in association with TNTEX, a family run textiles company based in Spain.
TNTEX sell every kind of interfacing. Woven and non woven, fusible, knitted, napped, all kinds of weights, plus buckram and interfacing for millinery projects. More information about their products can be found here in their online shop. They deliver internationally as well, so it doesn’t matter if you don’t live in Spain!
Their products are all made free from harmful substances and are certified for being so. You can read more about the company here.
I was sent a sample of their medium weight interfacing and I’ve used it in this project. It’s 100% viscose, and it’s very similar in weight and feel to Vlieseline M12, which is what I would normally use for this kind of project.
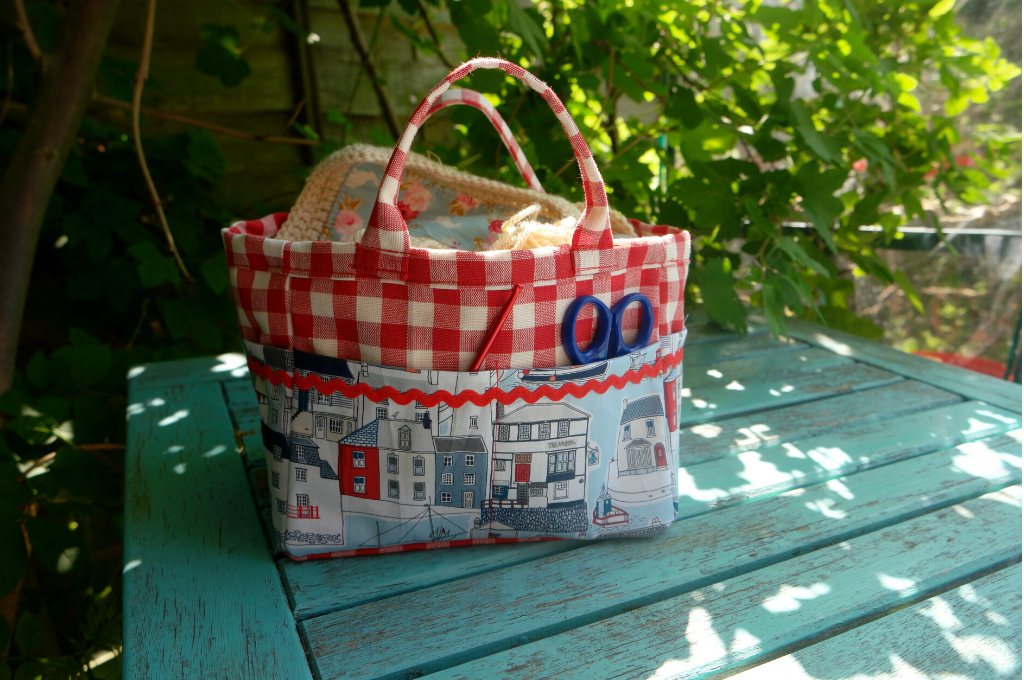
When you’re working on a project, it’s nice to have somewhere to keep it.
And if you’re anything like me, the number of projects you have on the go at any one time can start to feel a little bit out of control!
So when the blanket you are crocheting keeps getting tangled up with the other blanket you’re crocheting and the mittens you’re knitting, and you keep losing the zip and the buttons for the dress you’re making, one answer is to put things in bags.
At least then the crochet won’t get tangled up with the knitting and the stuff for your dress is all in one place!
In the past I have used all kinds of things, but what could be better than a little craft tote that you’ve made yourself, with pockets for scissors, thread, unpicker, crochet hook and anything else you might need?
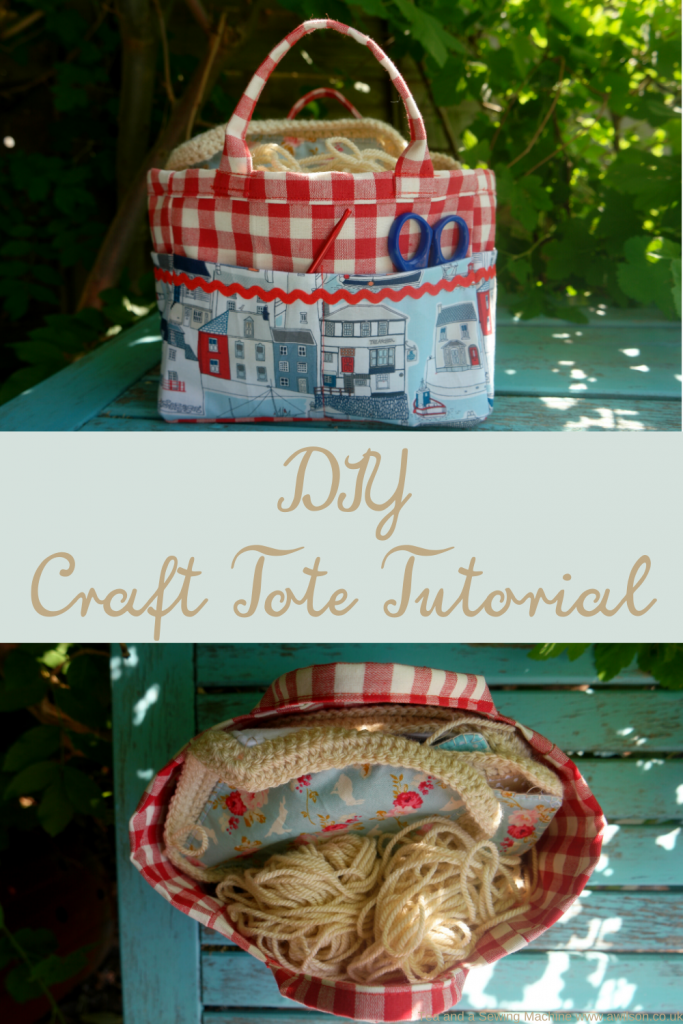
How To Sew a Craft Tote
You Will Need
Cotton fabric for the main part of the tote and the lining. I used the same medium weight cotton for both the outer and the lining.
Cotton fabric for the pockets and the pocket lining.
Cotton fabric for the handles.
Interfacing. I used this.
Ricrac (optional)
Cutting out
A 1 cm seam allowance is included.
Tote outer: from medium weight cotton, cut 1 base (22 cm x 15 cm), 2 front/ back pieces (22 cm x 16 cm) and 2 side pieces (15 cm x 16 cm).
Interfacing: cut 1 base (22 cm x 15 cm), 2 front/ back pieces (22 cm x 16 cm) and 2 sides (15 cm x 16 cm).
Tote Lining: cut 1 base (22 cm x 15 cm), 2 front back pieces (22 cm x 19 cm) and 2 side pieces (15 cm x 19 cm).
Pocket Outer: cut 2 pieces 22 cm x 12 cm and 2 pieces 15 cm x 12 cm.
Pocket lining: cut 2 pieces 22 cm x 12 cm and 2 pieces 15 cm x 12 cm.
Handles: Cut 2 pieces 24 cm x 5 cm.
Sewing the Pockets
Take one of the larger pocket outer pieces and the corresponding lining piece. With the right sides together, pin along the top edge. Sew, trim the seam and turn the right way out. Press the seam.
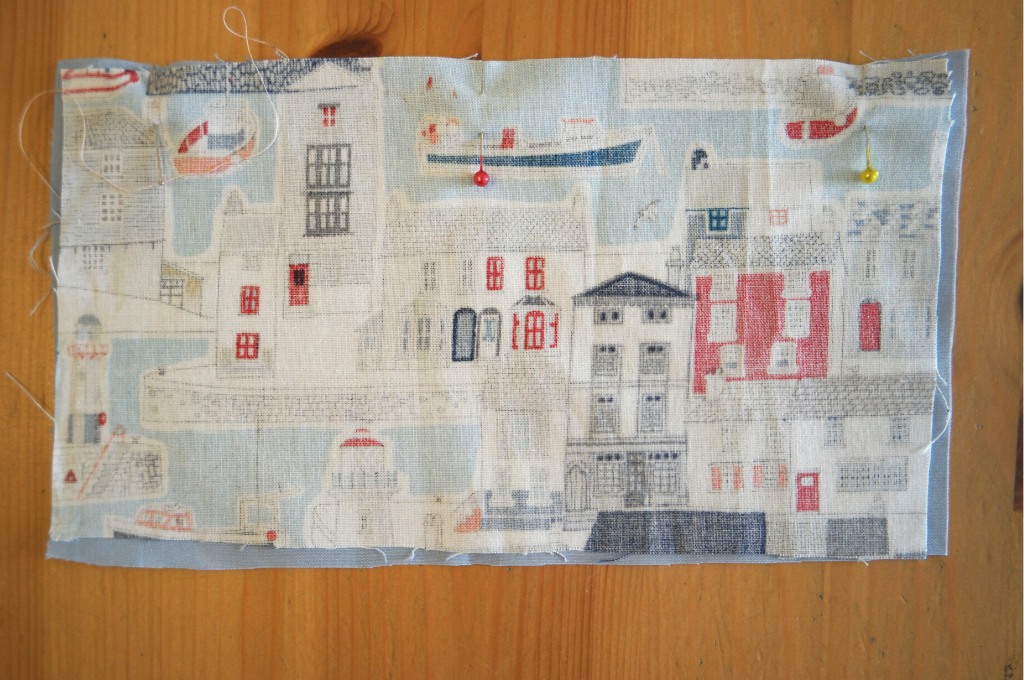
If you are using ricrac, cut a piece the same width as the pocket. Pin the ricrac about a cm down from the top. Sew the ricrac to the pocket.
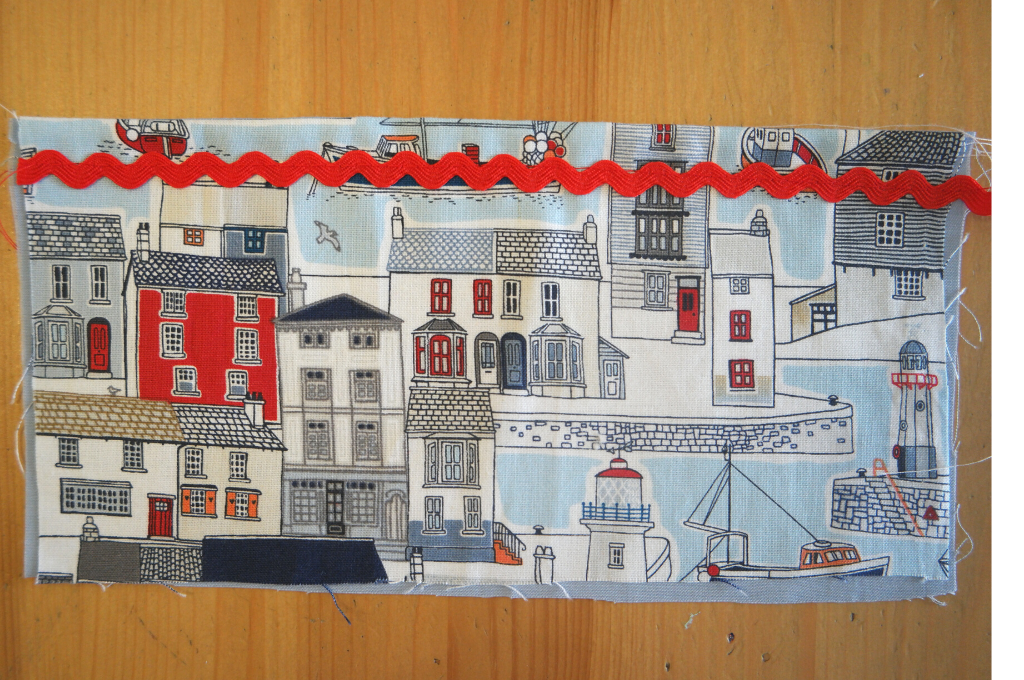
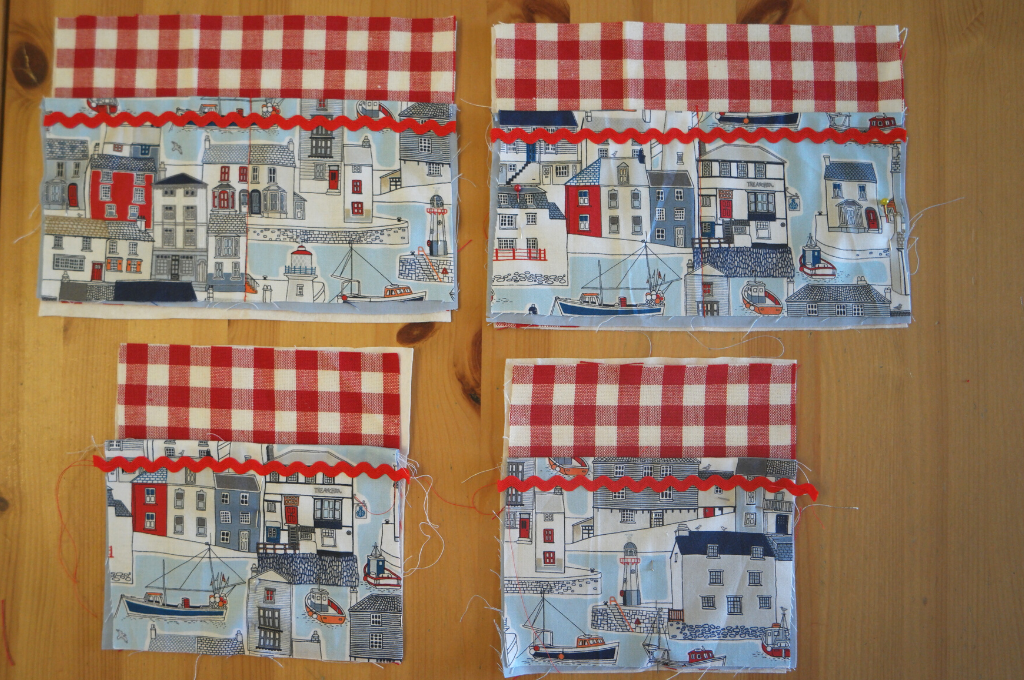
Do the same with the other pocket pieces, so that you have 2 smallish pockets and 2 wider ones.
Sewing The Outer
The first thing to do is to pin the pockets to the side and front/ back pieces. Pin them right side up to the right side of the outer panels. Make sure that the bottom of the pockets are lined up with the bottom of the panels.
On the front/ back sections, measure half way along and sew vertically down the pocket do divide it into 2. You might want to backstitch at the top a couple of times to reinforce it.
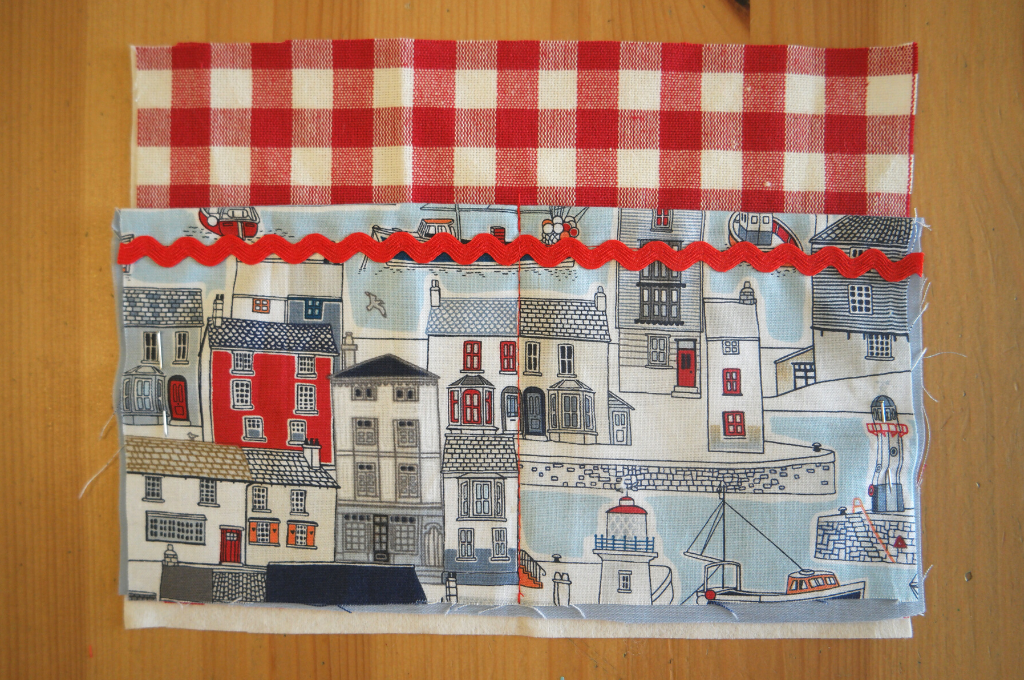
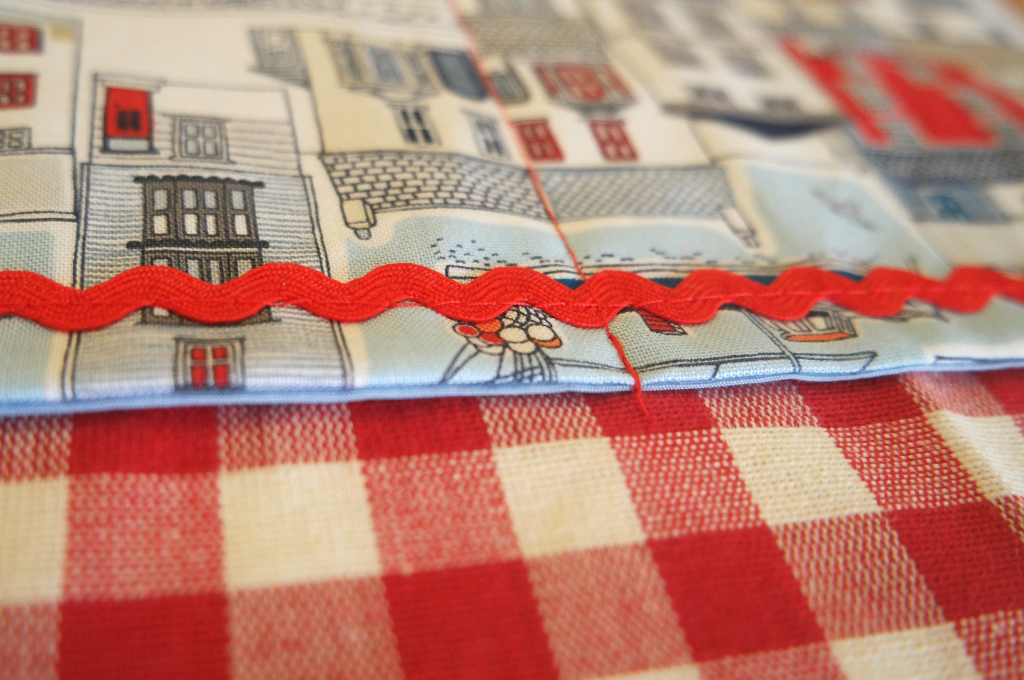
Now take one of the side pieces and one of the front/ back pieces with the pockets pinned, and the corresponding pieces of interfacing.
This is where you will be making a weird kind of sandwich. Firstly take the front/ back piece of interfacing. On that place the front/ back piece of tote outer with the pockets pinned.
On top of that and face down, place one of the side pieces, matching up the side edges. Place a piece of interfacing on top of that, then pin the side seam. Sew, then trim the seam.
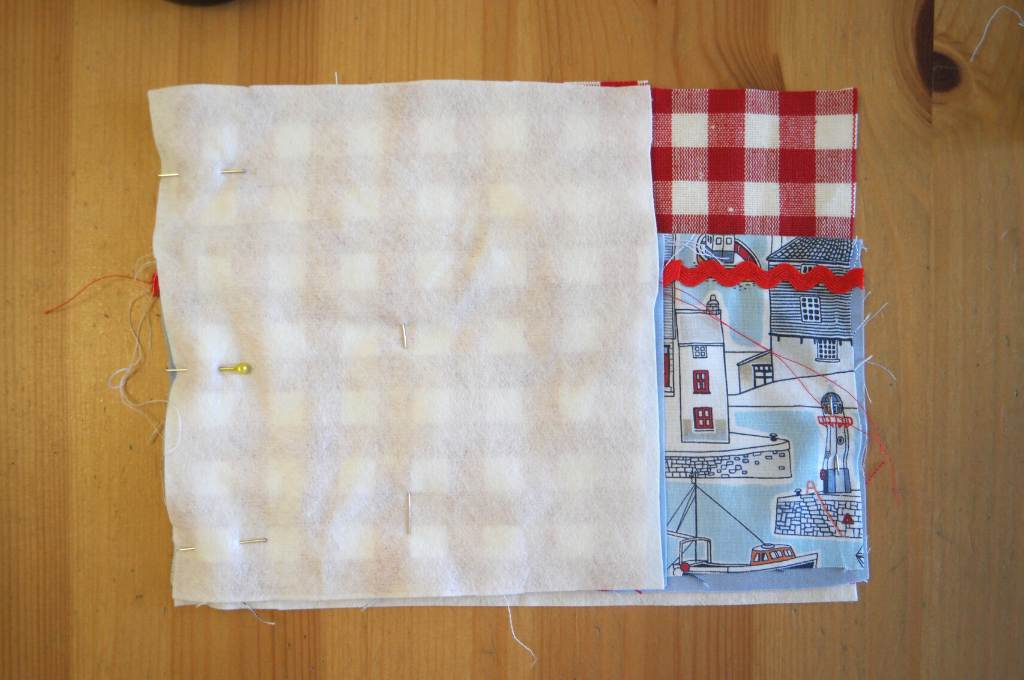
Attach the other side and front/ back piece in the same way. You’ll end up with a kind of bottomless box. Trim the seams and press.
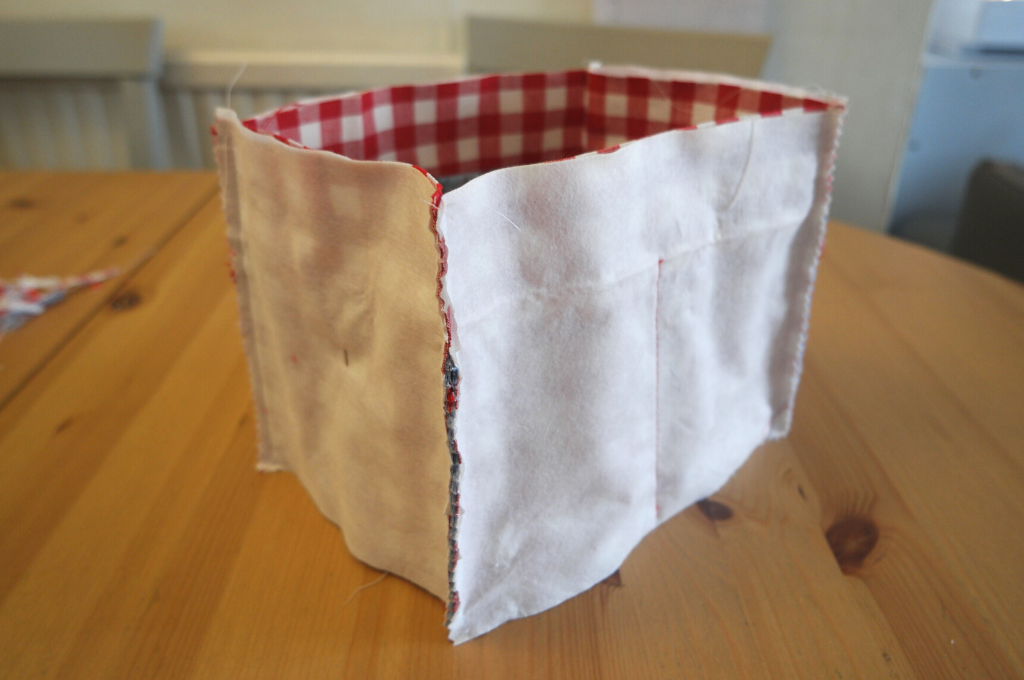
Sewing the base is a little bit fiddly! The trick here is to pin one edge, sew it, then pin the next and sew that until you have attached the base to all four sides.
Sewing the Lining
Take one of the front back pieces and one of the side pieces. Pin the sides with the right sides of the fabric together. Sew the side seam.
Attach the other side and front/ back pieces in the same way. Trim the seams and press them.
Pin the base to the sides and front in the same way you did with the outer. Sew. Trim the seams.
Making The Handles
Take one of the handle pieces. Fold the long edge inwards towards the centre and pin, then fold the other long edge inwards so that they meet. Press it where you have folded (your finger will do), then fold it in half lengthways. Pin it, then press it with the iron.
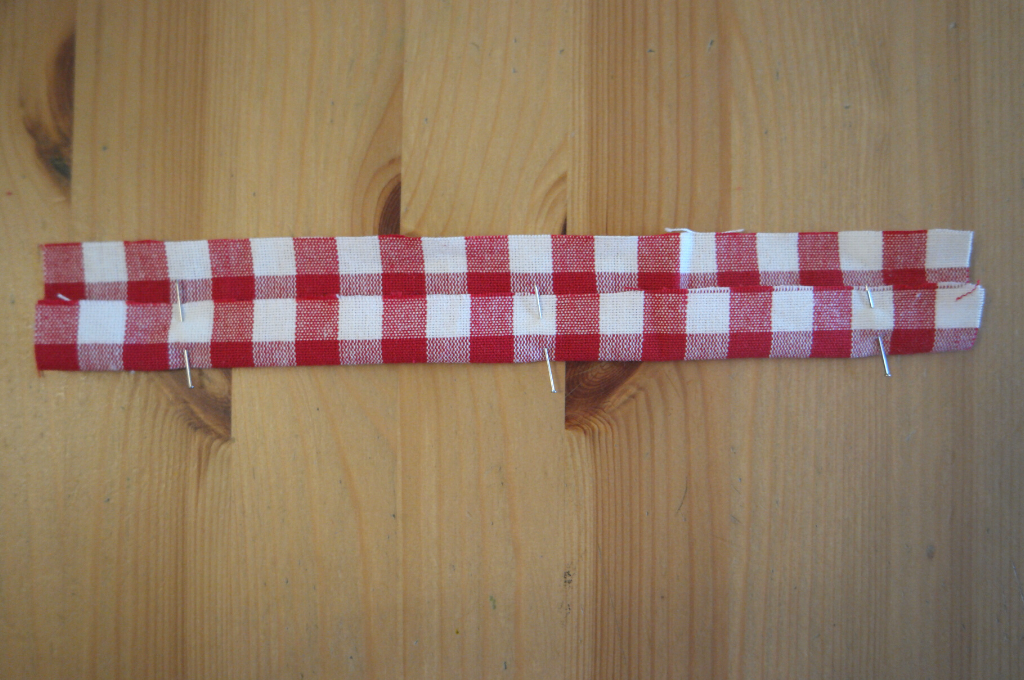
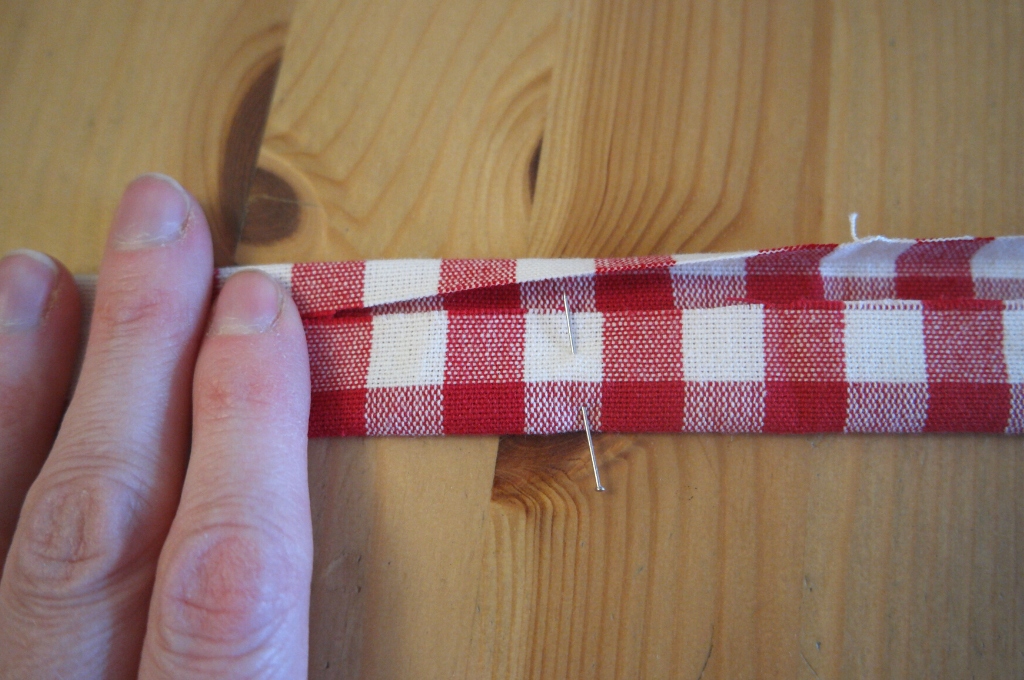
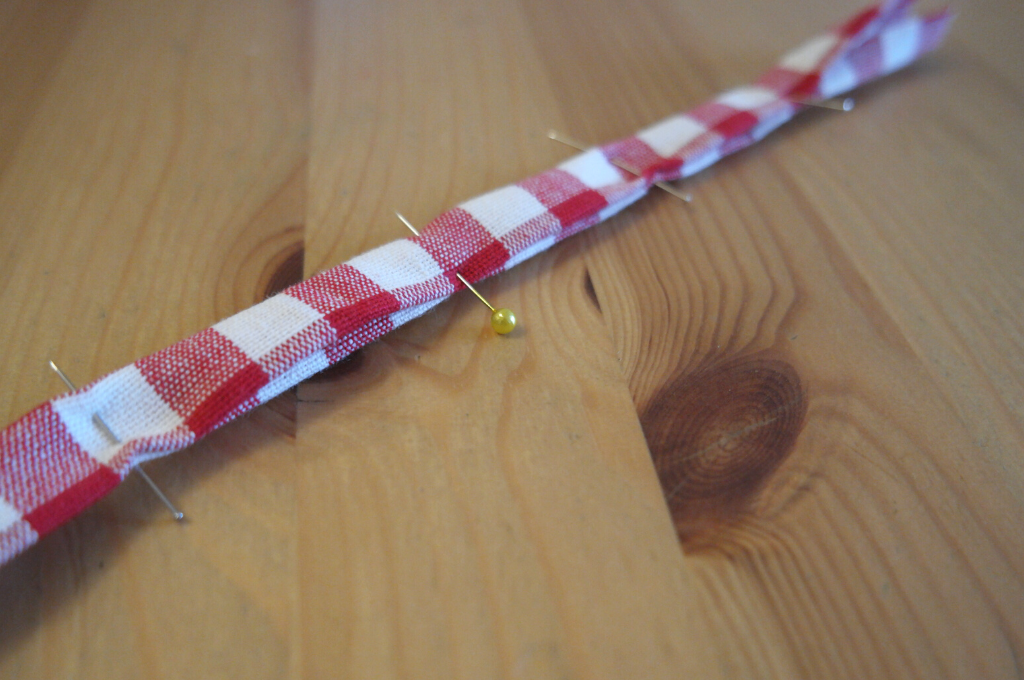
Use pins to mark 4 cm in from each end of the handle. Now sew the folded edges together.
Repeat with the other handle.
Finishing The Bag
Turn the outer the right way out. Now pop the lining inside so that the wrong sides are together. Pinning the base and the sides of the lining to the outer will make the next bit easier!
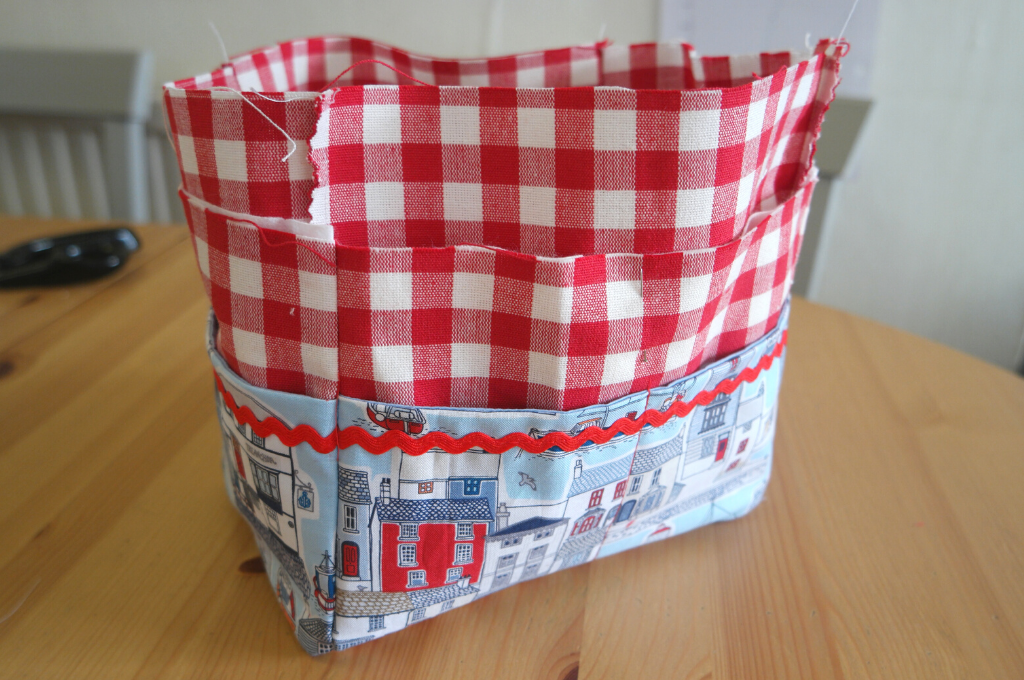
Fold the top of the lining over the outer, then fold the raw edges underneath. Pin, then sew all the way round, keeping close to the lower edge.
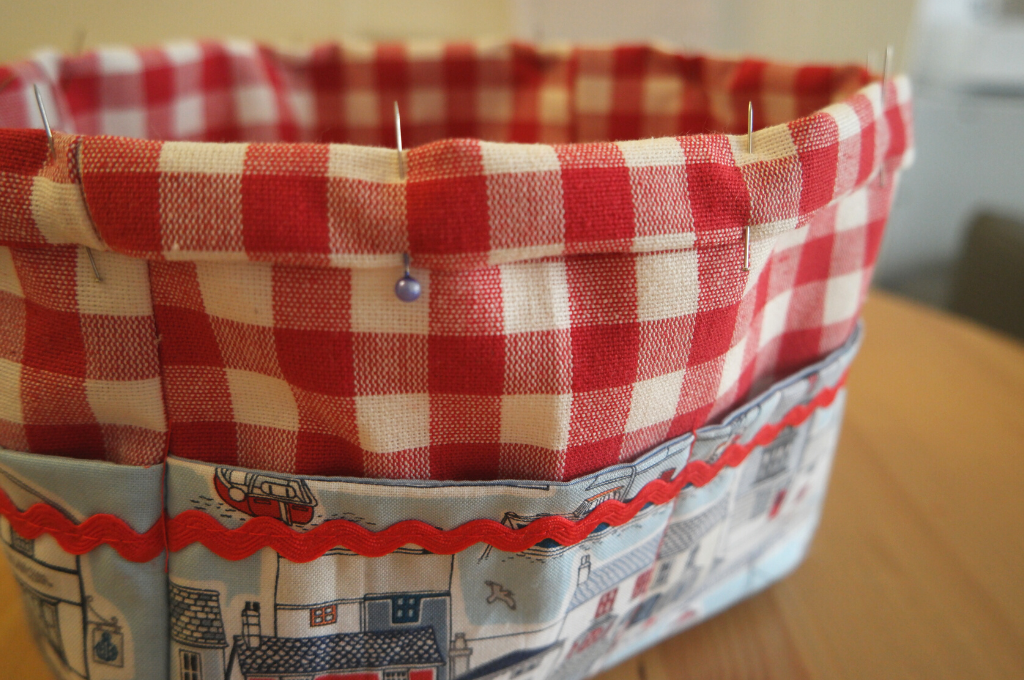
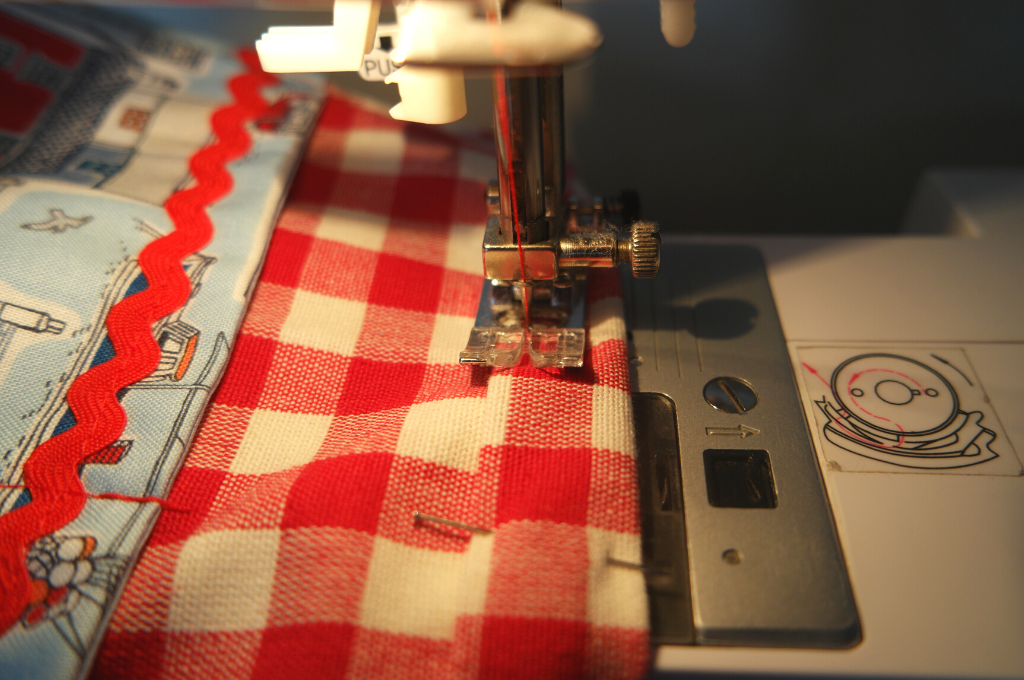
To attach the handles, measure 3 cm in from the edge of one of the long sides.
Fold the raw edge of the handle end underneath, then pin the handle to the tote bag. Do the same with the other end of the handle.
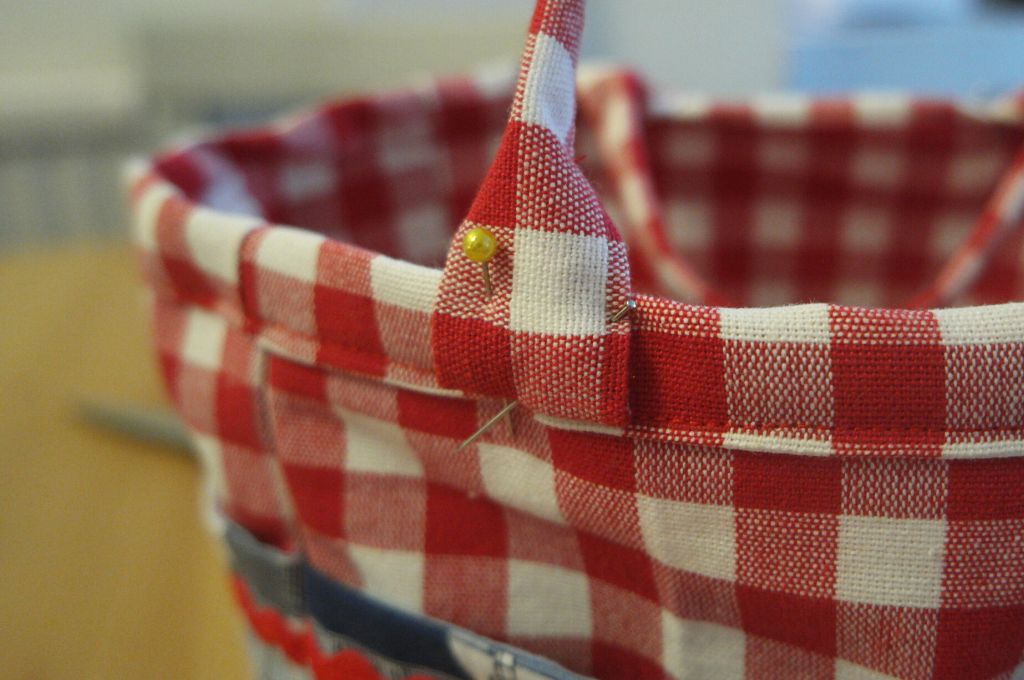
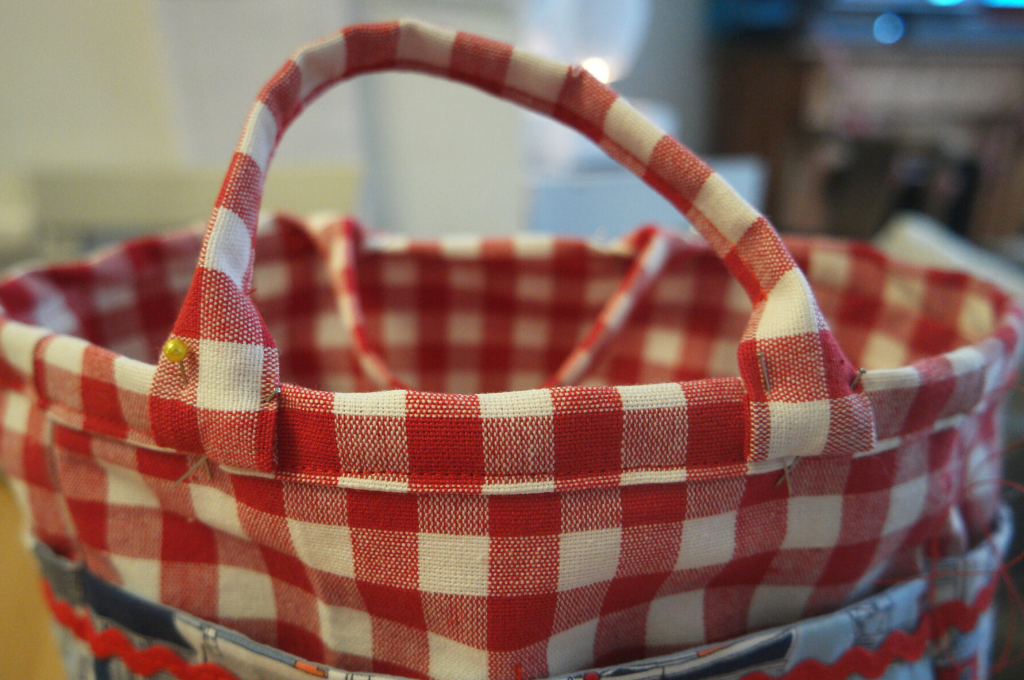
Sew the handle to the tote bag. It’s a good idea to backstitch over where you’ve sewn so that the handles won’t fall off!
Repeat with the other handle.
Now you have a nice little craft tote to keep one of the projects you are working on!
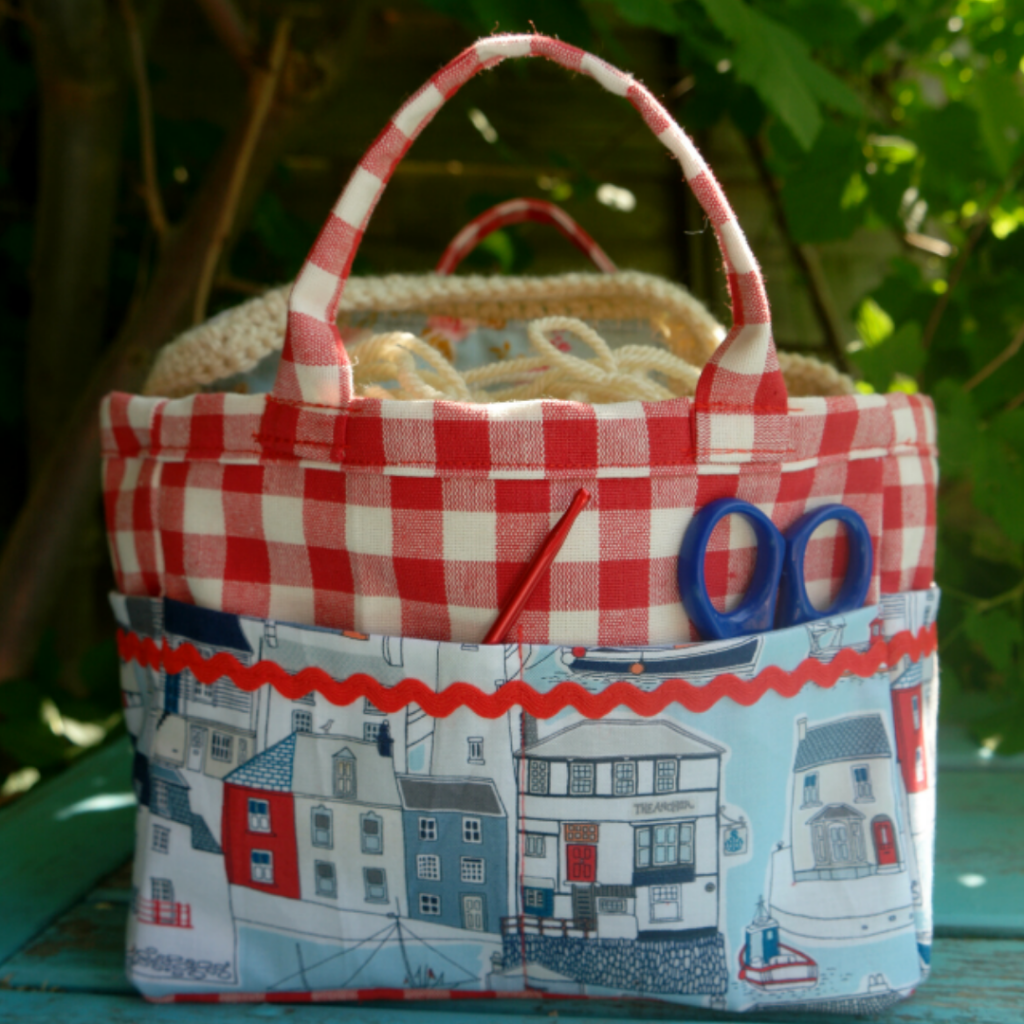
Or you could make a few and give them to people as presents.
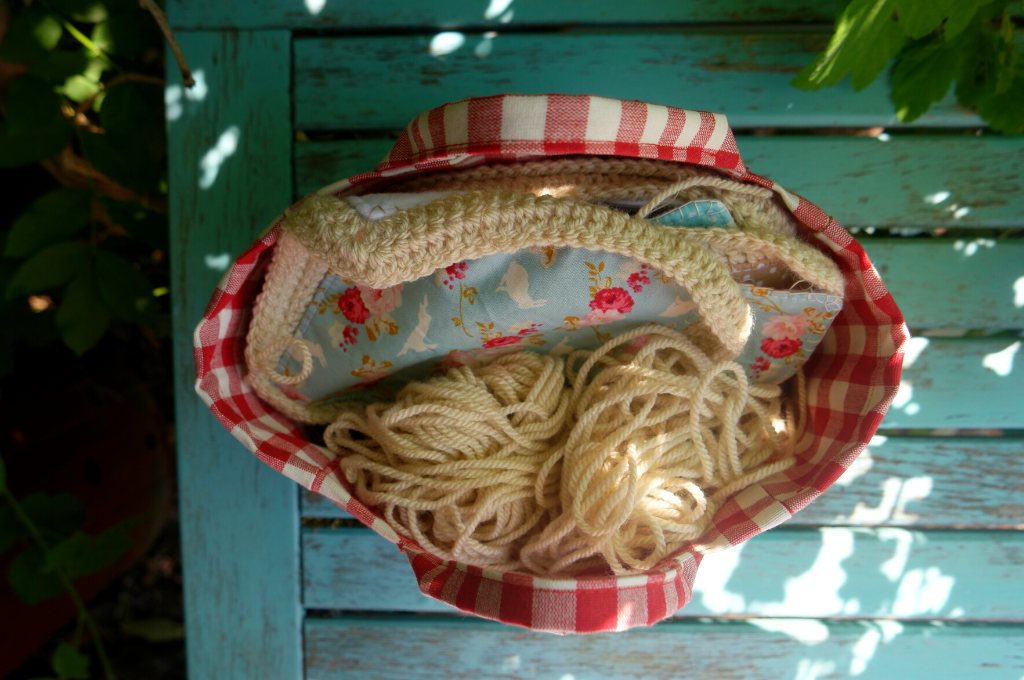
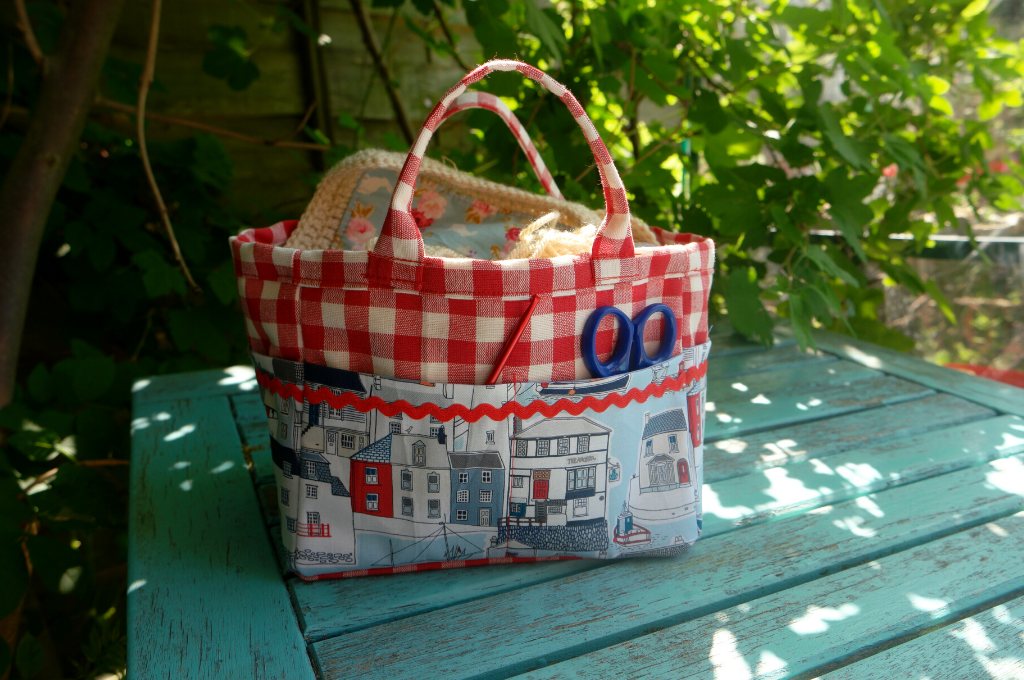
Now for the verdict on the interfacing! It compared very favourably with the Vlieseline I would normally use. It was nice to work with and I’m pleased with the results!
If you like this DIY craft tote tutorial, you might also like this fat quarter basket tutorial.


Such a functional tote. I really like it. Your choice of fabrics are so cute. The only thing, you had all the measurements in centimeters! Now I gave to convert this.