DIY Bunting Card
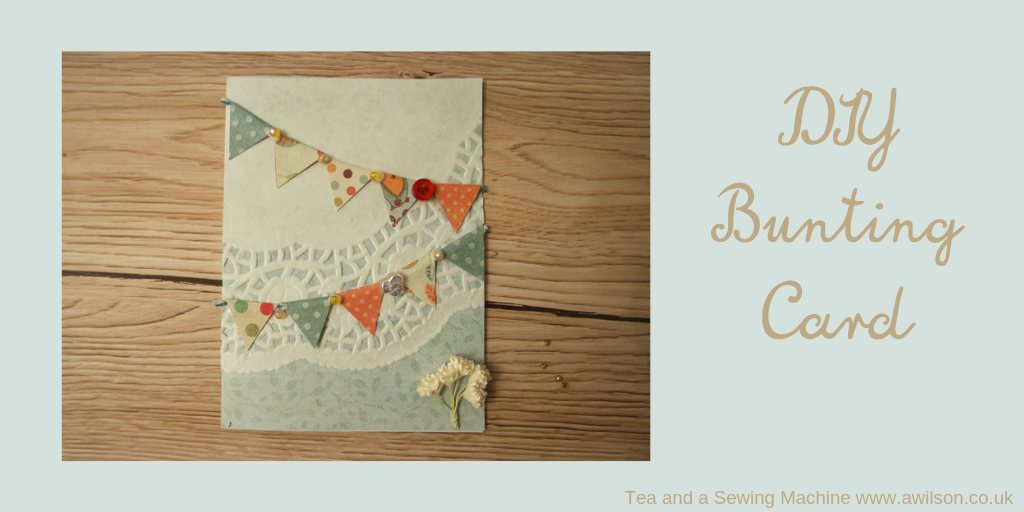
DIY Bunting Card
Having concentrated mostly on sewing for the last few years, I’ve decided with one thing and another to change direction a little bit and include more of other crafts.
This is actually what I did when I started Tea and a Sewing Machine. It was called something else then, can’t remember what, and it was awful! The website was impossible to navigate, the design was eye-poppingly bad and the photos were blurry.
I promise we’ll not go back to that! But somewhere along the way, sewing took over and the other crafts were more or less abandoned.
So I’m bringing them back. I’m already feeling a lot more inspired than I have over the last few months, so we’ll try this for a bit and see how it goes.
If you’re mostly here for the sewing, don’t worry! There will still be sewing, just some other bits and pieces too.
So here’s the first non sewing project that I’ve written about in a while!
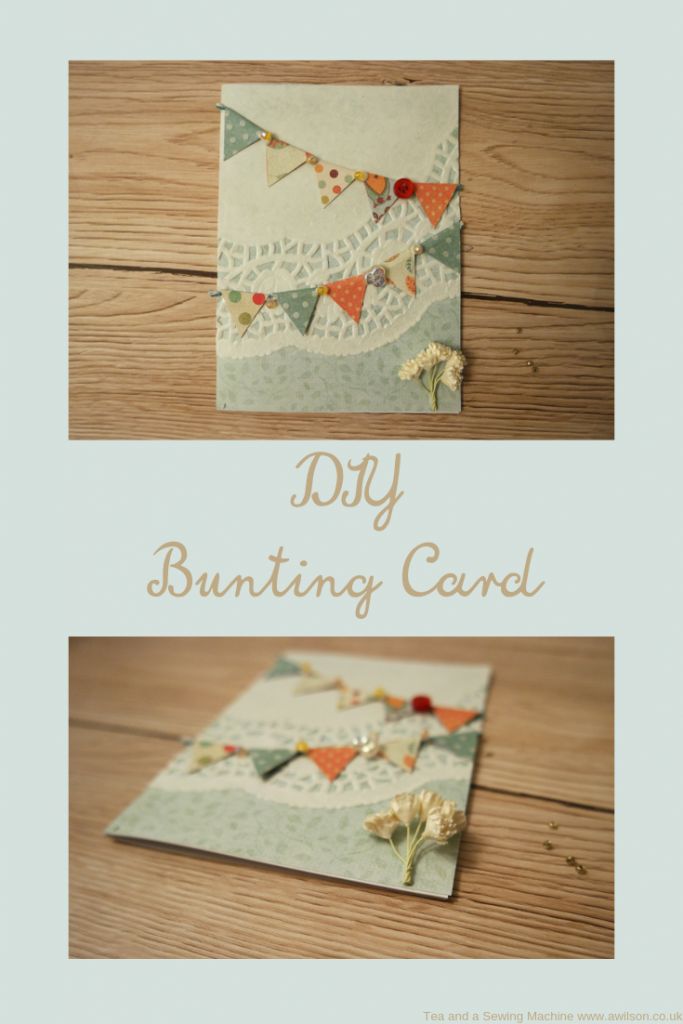
I was inspired to make a bunting card when I saw one that Julie from Sum of Their Stories had made.
She’d made a lovely card for the May challenge for The Year of Bunting.
When I saw it, after thinking how pretty it was, I remembered how I used to make cards and how much fun it was.
So I had a rummage, found some pretty paper, and had a go myself!
How To Make a DIY Bunting Card
You Will Need
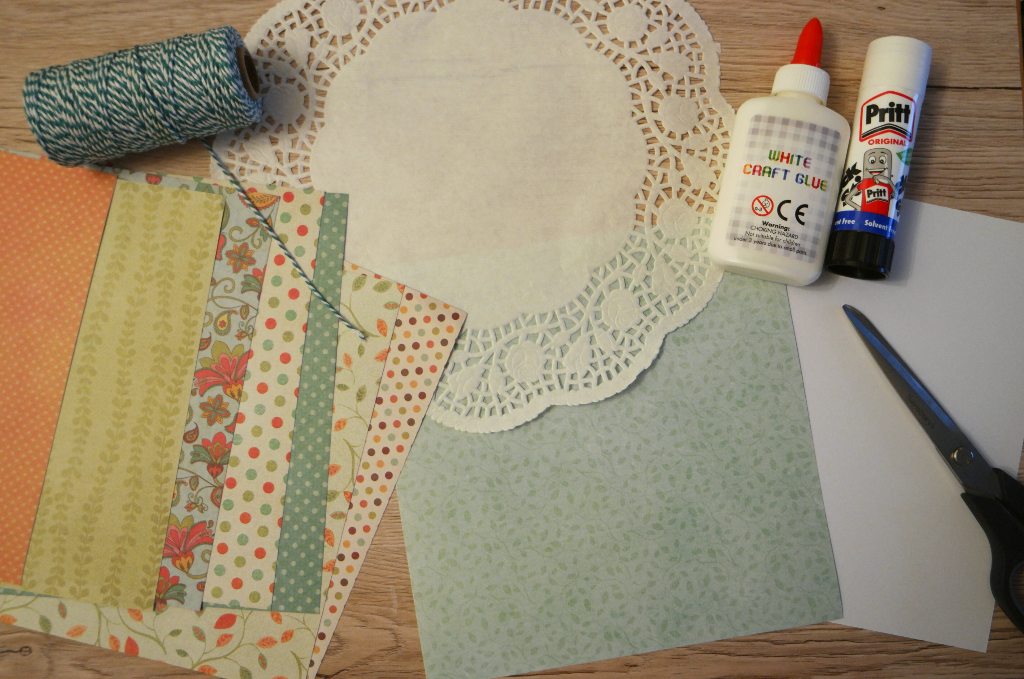
A5 card or a card blank
Scraps of pretty paper or washi tape
A larger piece of pretty paper (to cover the front of the card)
A paper doily (I got mine from Poundland)
Bakers’ twine
Buttons and beads (optional)
Paper flowers (optional)
Glue (PVA and a glue stick)
A ruler and a pencil
Instructions
If you’re not using a card blank, take your piece of card and fold it half.
Trim your paper so that it’s the same size as the front of the card.
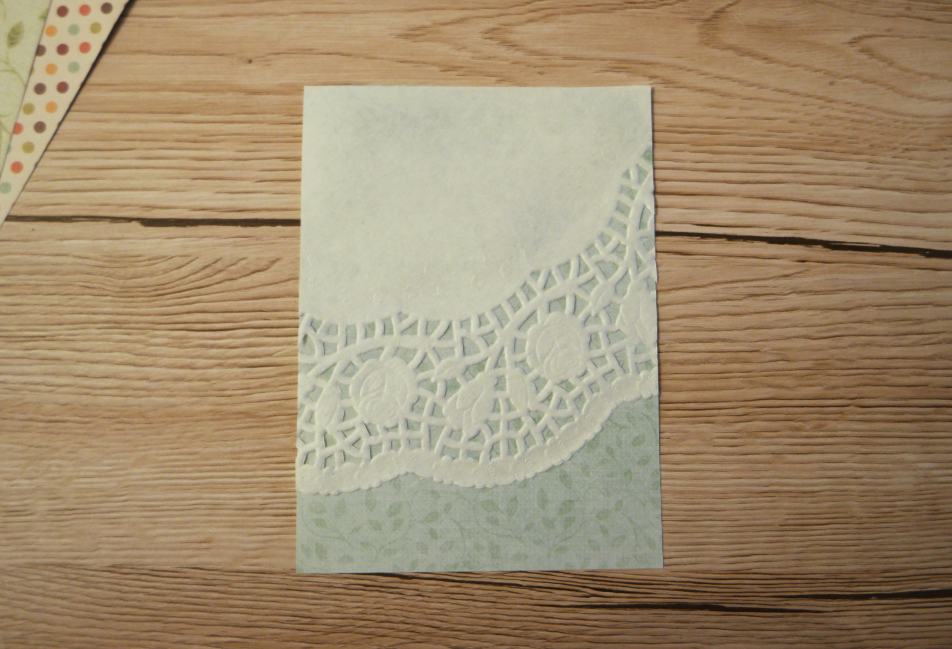
Lay the doily over the top of the paper and move it about until you like where it is. Holding the card and the doily together, turn it over and draw round the paper. Cut out the doily.
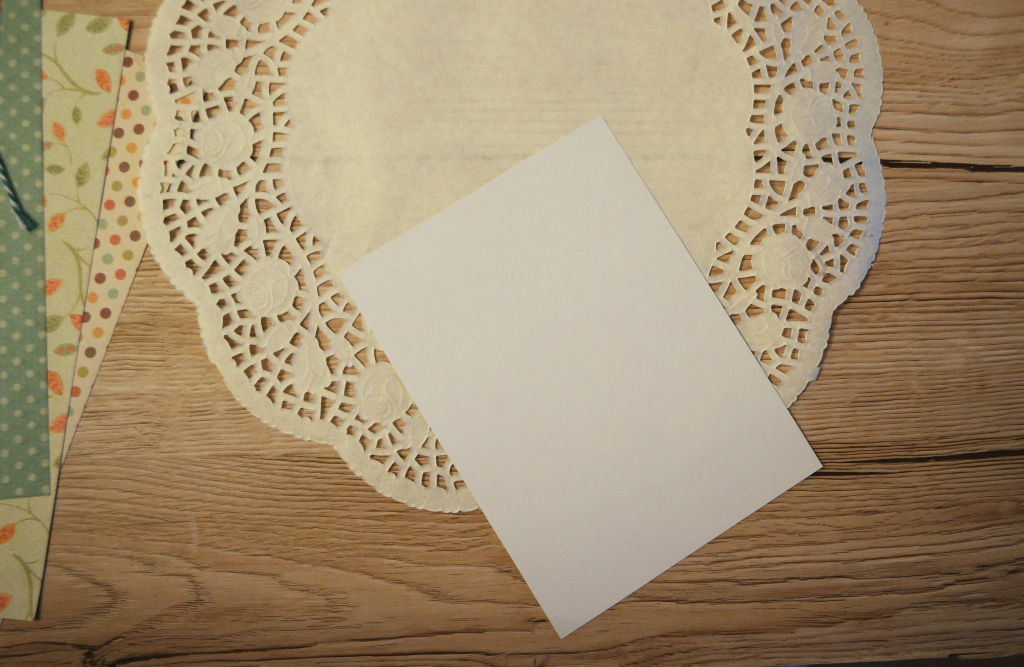
Stick the paper to the card, and the doily to the paper.
Making the Bunting
To make the bunting, cut diamonds from the paper scraps. The easiest way to do this is to cut a rectangle and fold it half. Find the halfway point along the open edge and mark with a pencil. Join this point to the corners of the folded edge. Cut along the lines.
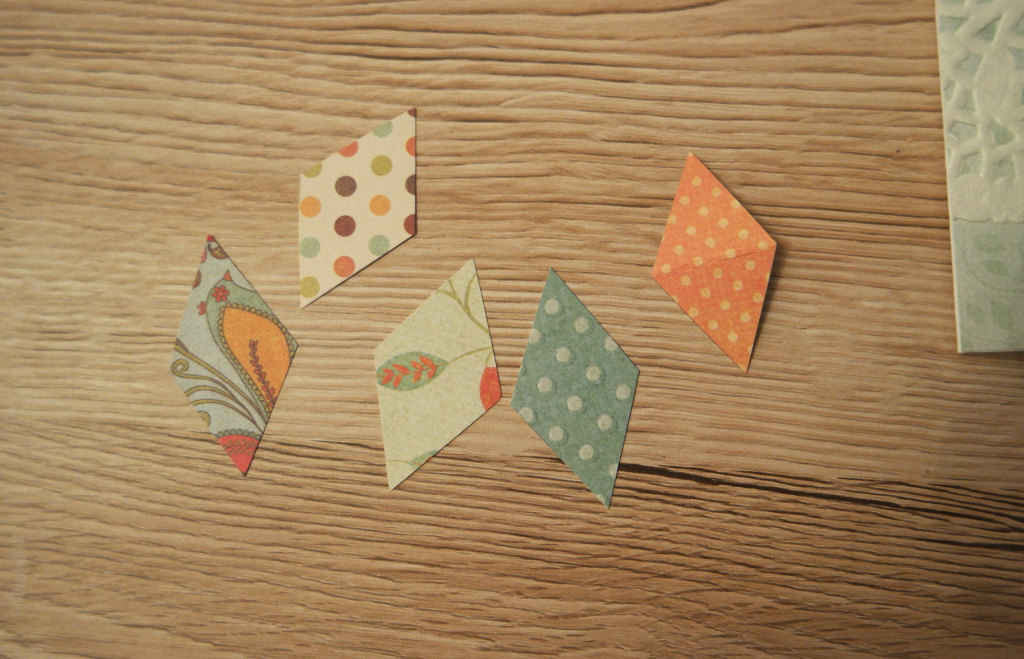
Cut a piece of bakers’ twine. Cover the wrong side of one of the bunting diamonds with glue. Fold it over the bakers’ twine and stick both halves together.
If you’re making your bunting from washi tape, you can make it in the same kind of way. Cut a piece of washi tape and fold it over the bakers’ twine. Cut the corners off the rectangle to make it into a triangle.
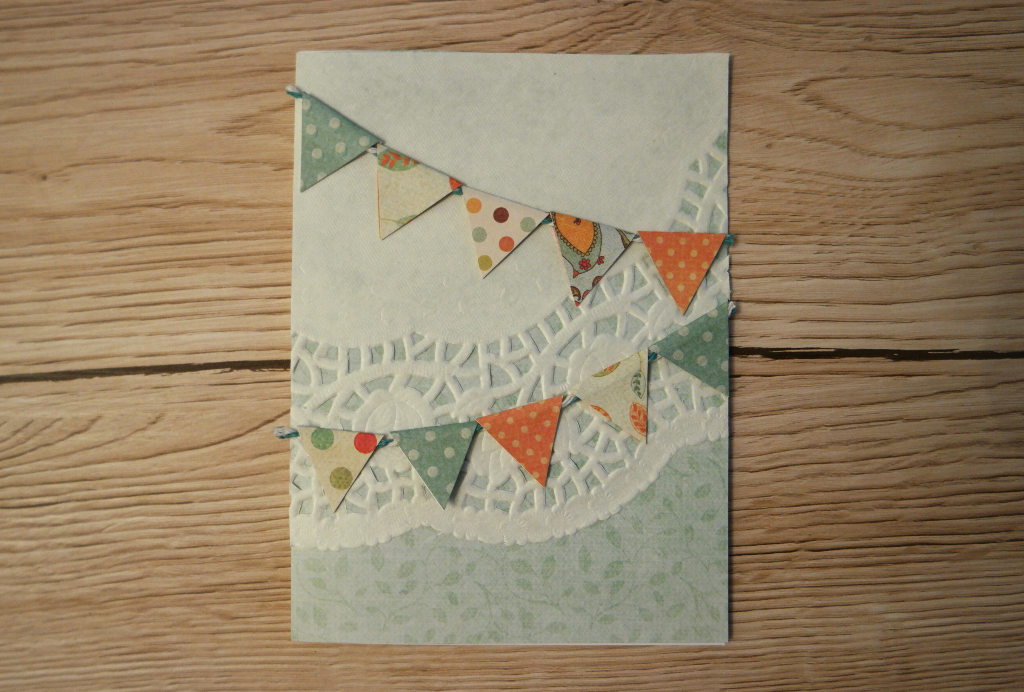
My strings of bunting each had five flags on them, but yours can have as many as you like! A handy thing to remember is that for some weird reason, odd numbers of things look better.
Decide where to put your bunting on the card, and trim the ends of the bakers’ twine.
Stick the ends of the bakers’ twine to the card with PVA glue. You might like to use a little bit of glue stick glue to stick some of the flags down too.
If you’re using buttons or beads, stick them between the flags with PVA glue.
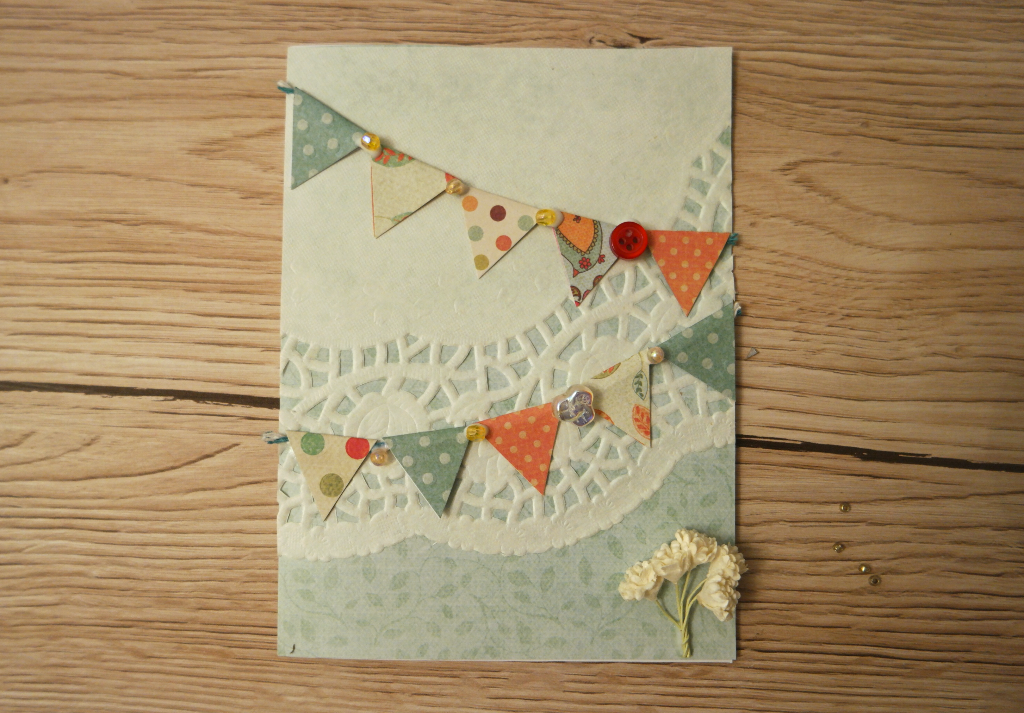
I added some paper flowers to the bottom right corner. You could use a button if you don’t have any flowers.
Another option would be to write something like Julie did on hers. If you want to get into hand lettering, I can recommend this book (affiliate link).

One Comment