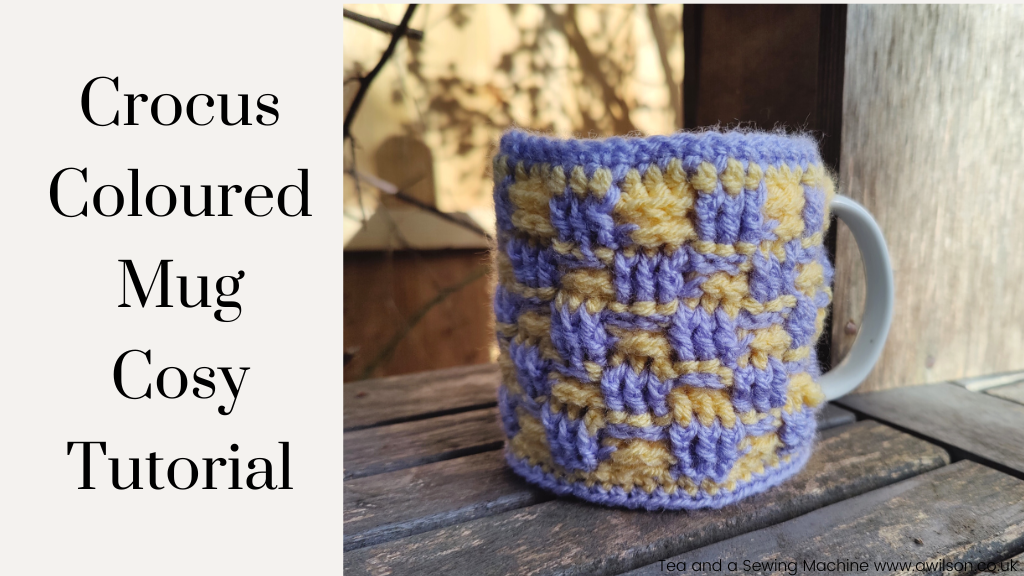
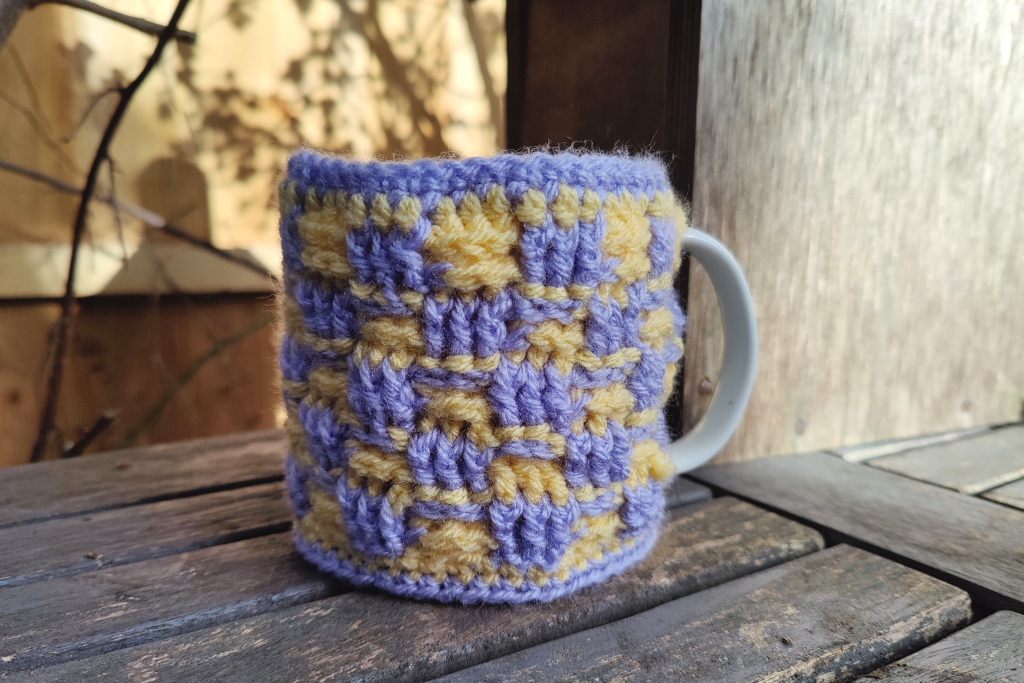
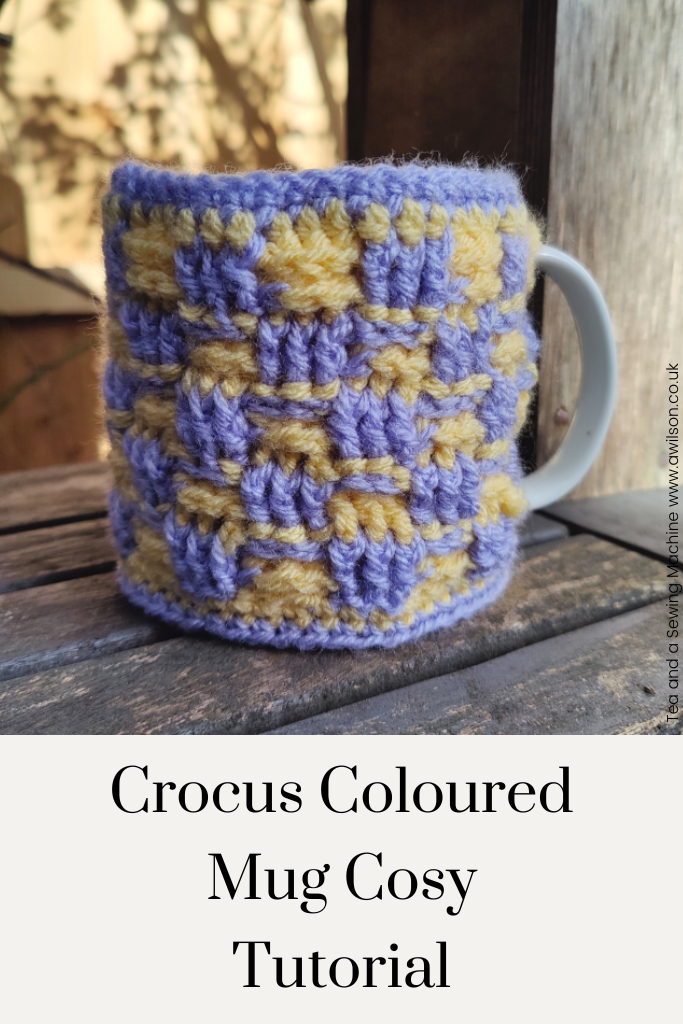
Carrying on with the theme of spring, I decided to remake a mug cosy that I designed back in 2015 in crocus colours.
I love cabling, and getting different textures that look like weaving, and at the time, I only knew cabling and things as a knitting technique. I didn’t realise that it was possible to achieve the same kind of thing with crochet.
This time I decided to redo the mug cosy tutorial with 2 colours. The colour that is not being used is carried across the back, in the same way that you might knit with 2 colours.
Mug Cosy Tutorial
The mug cosy is made by starting of with a circle of chains and crocheting in the round, then switches to rows to accommodate the handle of the mug.
I used DK yarn and a 4 mm hook. The cosy fits a standard sized mug.
Please be aware that I have used British crocheting terms!
A text only pdf version is available in exchange for an email address. If you’d like it, please fill in the form below.
Crocheting the Mug Cosy
1. With the first colour (I used purple) 45 ch then join with ss.
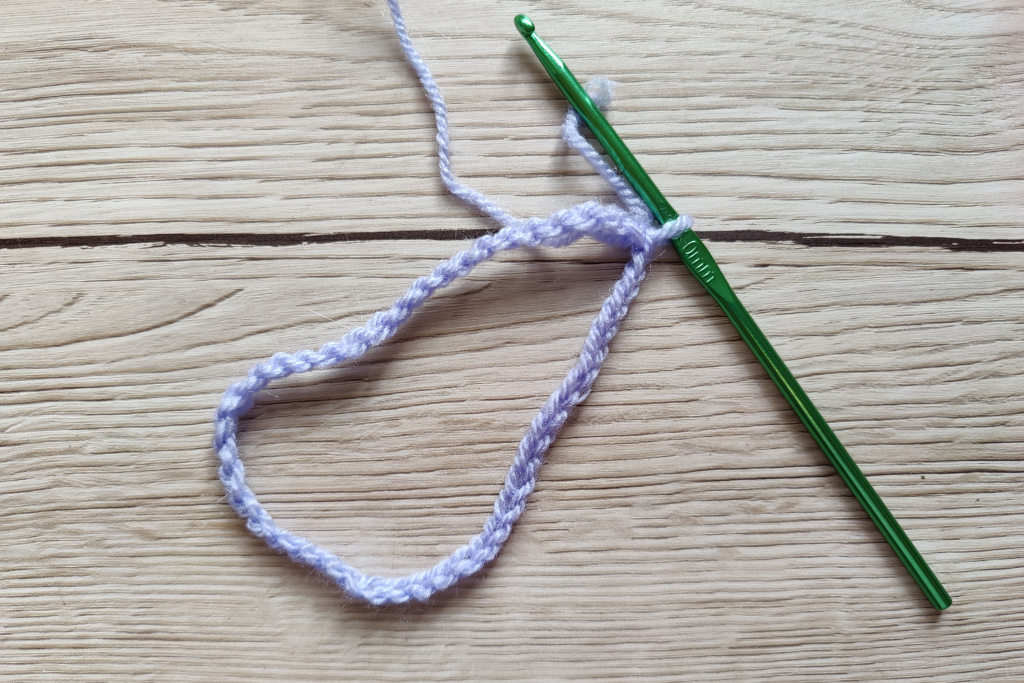
2. 1 ch, dc into each stitch. Join with ss.
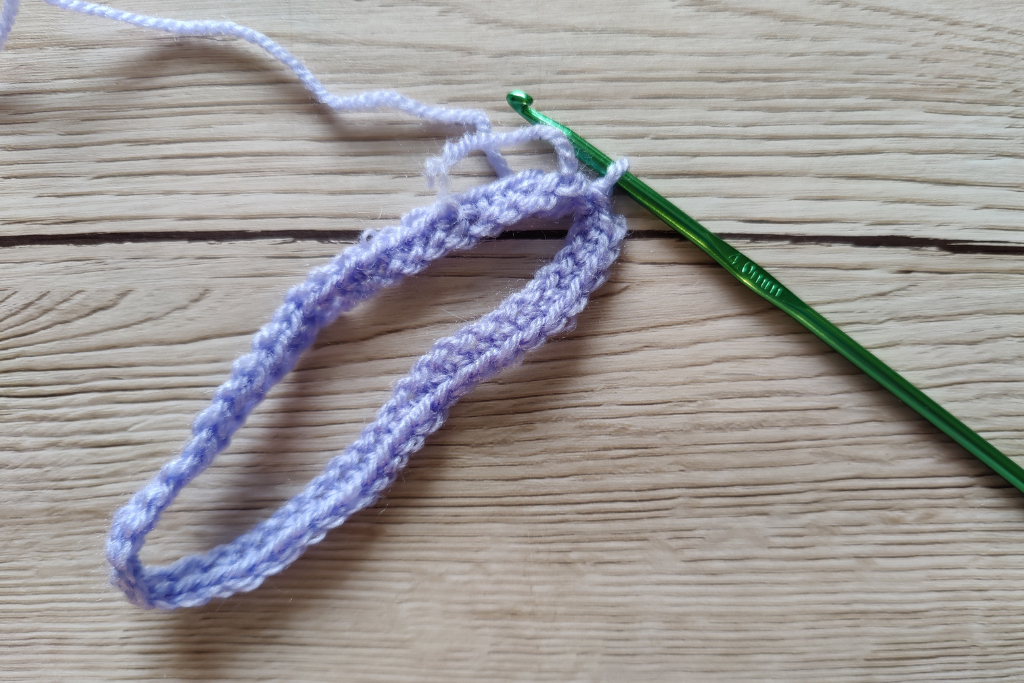
3. Switch to the second colour (yellow) but don’t cut the yarn. 1 ch, tr into each stitch. Join with ss.
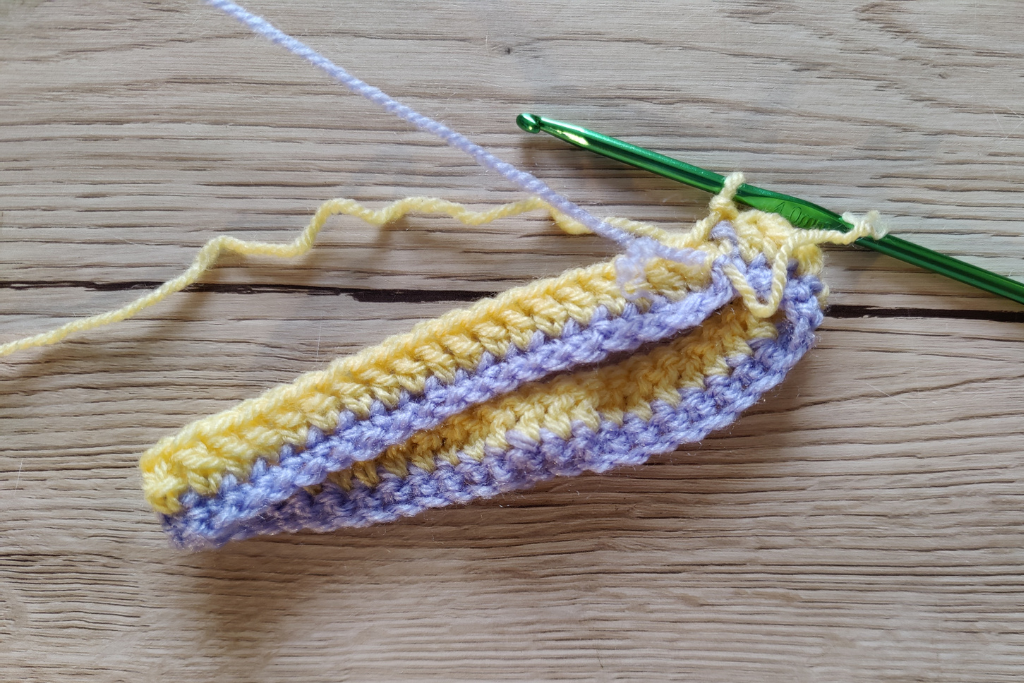
To make the mug cosy look like it has been woven in two colours, on the even number rows the stitches that go around the front of the previous stitches are worked in purple (1st colour), and the ones that go round the back are worked in yellow (2nd colour).
On the odd numbered rows, the first colour is used when the stitches worked round the back of the previous stitch, and the the second colour when it is worked into the front.
So each little square is made up of 2 rows of the same colour, then you swap them round so that the next little square is in the other colour.
The yarn that isn’t being used carried across the back. Be careful not to pull it too tight or you won’t get the mug cosy on over the mug!
4. Using the first colour, 1 ch, 1 tr, *1 tr round front of stitch* twice.
In the second colour *1 tr round back of each of next 3 stitches, then in the first colour 1 tr round front of each of next 3 stitches*. Repeat all the way round. Do not join!
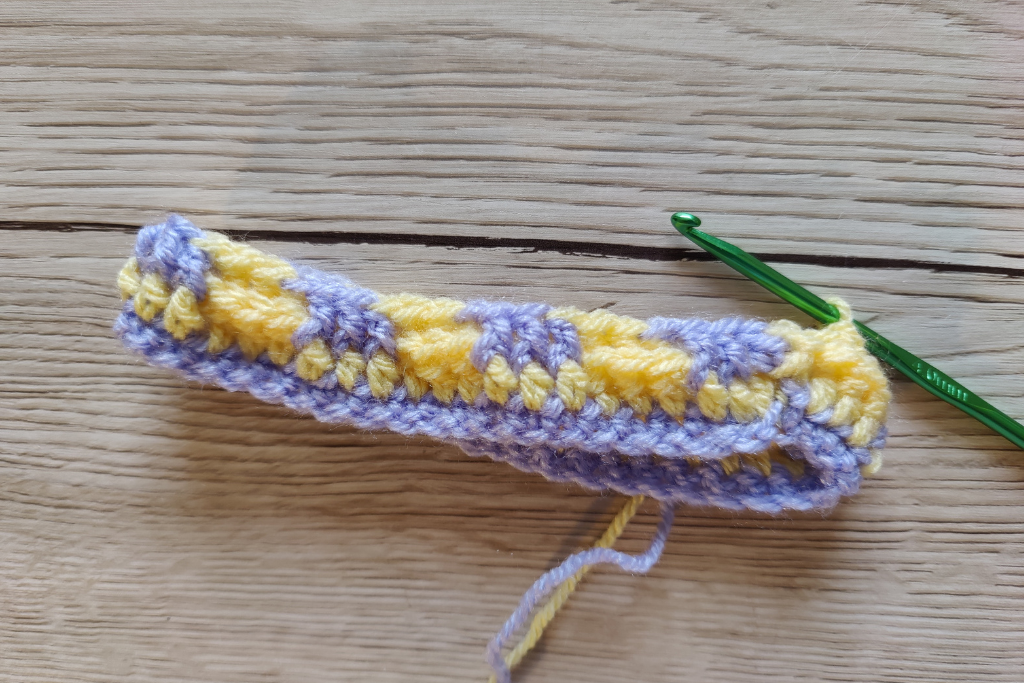
5. With the second colour, 1 ch, 1 tr, *1 tr round front of stitch* twice. The colour of the yarn ought to match the colour you used for the previous stitches.
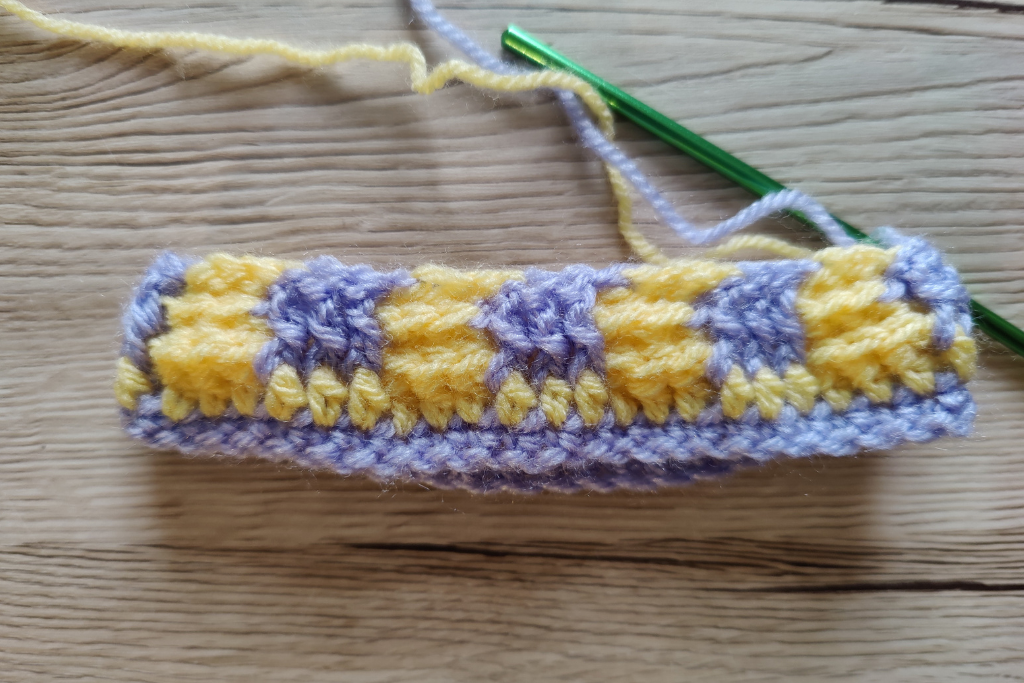
Switch to first colour. *1 tr round back of each of next 3 stitches, then in the second colour, 1 tr round back of each of next 3 stitches* to the end of the row. Keep alternating colours like you did in the previous row.
The next 2 rows will form little squares in the other colour to the squares you’ve just made, so alternate the colours.
6. 1 ch, 1 tr, *1 tr round back of stitch* twice.
*1 tr round front of each of next 3 stitches, 1 tr round back of each of next 3 stitches* to the end of the row.
7. 1 ch, 1 tr, *1 tr round back of stitch* twice.
*1 tr round front of each of next 3 stitches, 1 tr round back of each of next 3 stitches* to the end of the row.
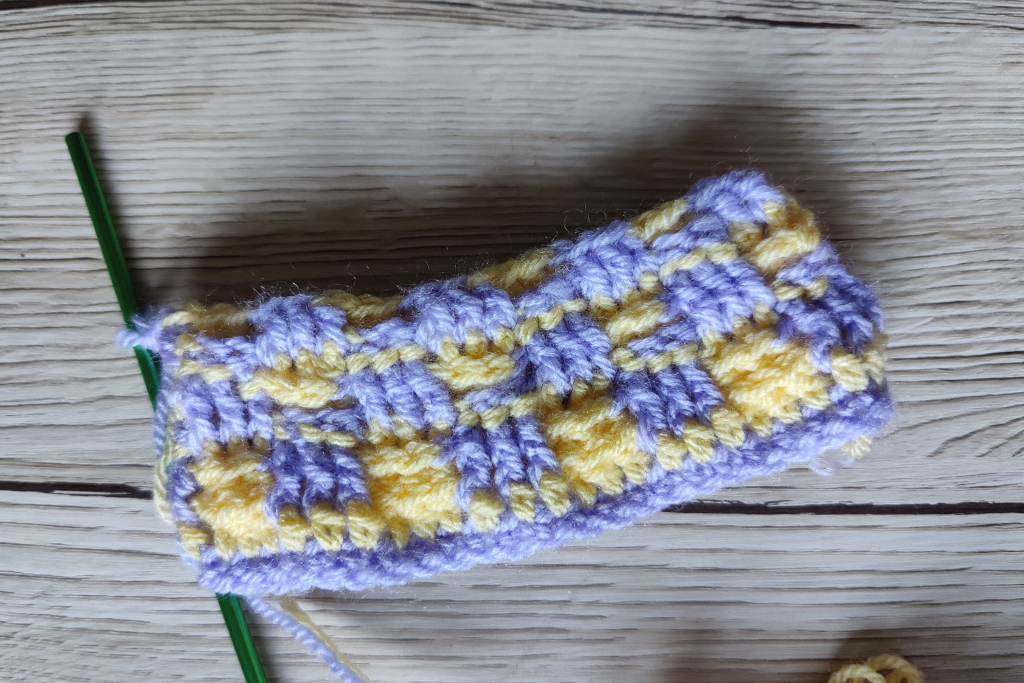
8. 1 ch, 1 tr, *1 tr round front of stitch* twice.
*1 tr round back of each of next 3 stitches, 1 tr round back of each of next 3 stitches* to the end of the row.
9. Repeat steps 5 – 8 once. Join the last row with a ss.
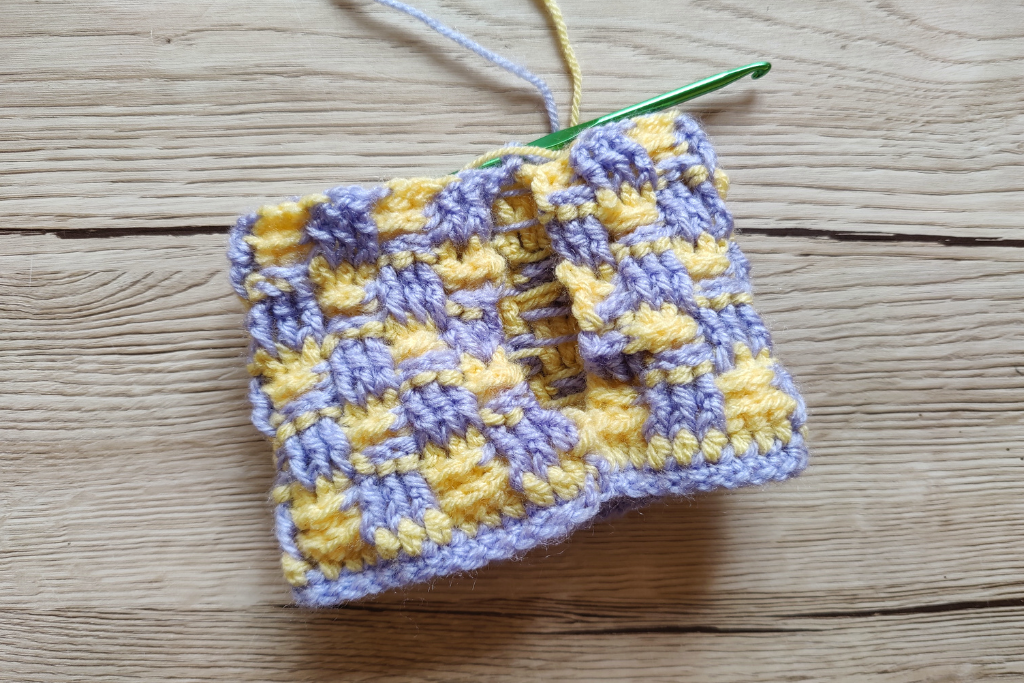
10. 1 ch, then 1 dc into each stitch. Join with ss.
11. Go round again! 1 ch, then 1 dc into each stitch. Join with ss. Fasten off and weave in ends.
If you want to try this mug cosy tutorial using other colours but you don’t know which colours to choose, you might like to take a look at this post here.


Leave a Reply