Crocheted Cushion Cover Pattern
Having spent a little while not feeling very inspired, it’s so nice to actually have ideas again of things I want to make!
A few weeks ago I made the decision to go back to what I used to do when I started Tea and a Sewing Machine. So now it’s not just sewing. There will still be sewing but there’ll be other crafts as well.
So here’s a crochet project. It’s been a few years since I wrote a crochet tutorial of any kind and it’s been fun to do this again!
I was inspired to make this cushion while I was out with my friend Helen. Getting some time to myself is difficult with having the kids with me all the time. However, hubby has every other Friday off and since Christmas has been helping me out by doing some stuff with the boys so that I get a break.
Anyway, a couple of weeks ago Helen and I went to a new garden centre a few miles away to see what the cafe was like. While we having a wander around, one of the things that offered inspiration were the crocheted cushions on some of the chairs in the cafe.
So I decided to make my own.
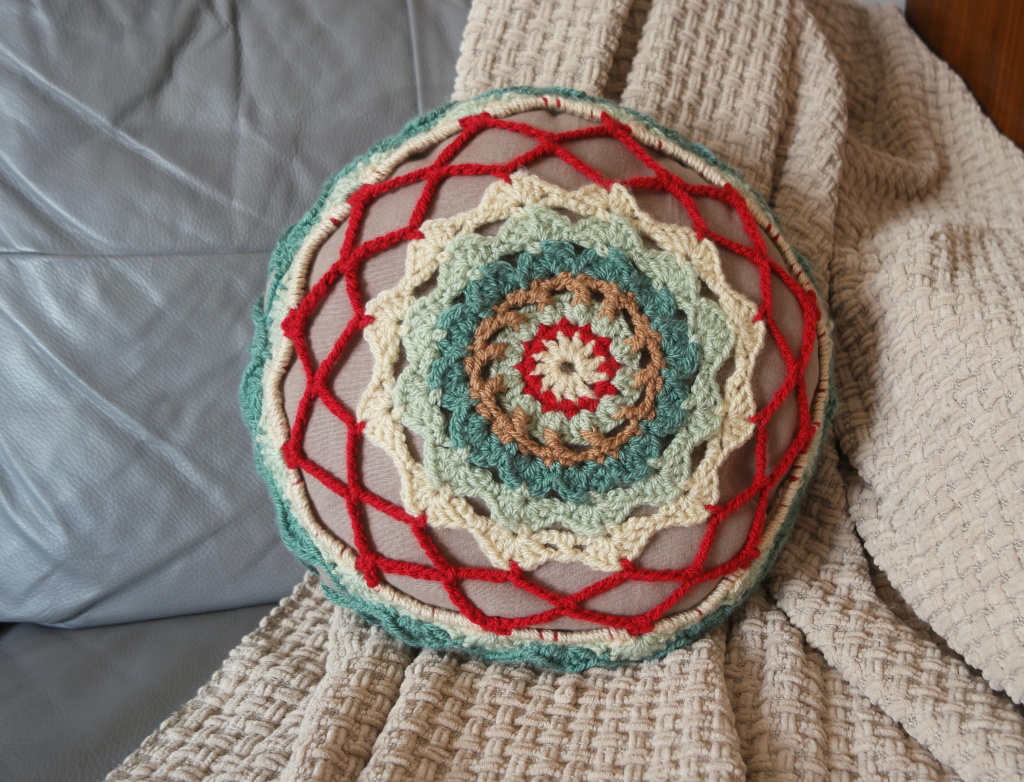
This is the yarn I used. I deliberately chose acrylic because it should wash quite well when my boys and the cat get dirt on it!
And if you’re interested, the garden centre place was this one and the cafe was very nice!
Crocheted Cushion Cover Instructions
To make the crocheted cushion cover, I used aran yarn in 5 colours and a 5mm hook. Unless indicated, each round starts with a new colour.
Please be aware that as I’m English, I’ve used English crocheting terms!
Cushion Cover Front
(Colour 1) 4 ch, join with ss.
(Colour 1) 12 tr into ring. Join with ss.
(Colour 2) Into one of the spaces between the trebles, 2 ch then 1 dc. 2 dc into the next space, then into each space until you’ve gone all the way round. Join with a ss.
(Colour 3) Into one of the spaces between the dc, 3 ch, then 2 tr. 3 tr into next space, then 3 tr into each space all the way round. Join with a ss.
(Colour 4) Find the middle tr in one of the groups of 3. Join the thread with a ss in the space on one side of the middle treble. 2 ch, then *yarn over hook. Insert the hook underneath the post of the middle treble. Yarn over hook again and pull the hook through. Yarn over hook and pull through 2 loops on the hook. Yarn over hook again and pull through last 2 remaining loops. 3 ch.* Repeat the starred section until you’ve gone all the way round. Join with a ss.
(Colour 4) ss into next ch, *dc into space, ss into next ch, the top of the post from the previous round and the next ch.* Repeat all the way round, then join with ss.
(Colour 5) Join yarn with a ss into a dc. 2 ch. *Into the little knobble made by the 2 ch in the previous round, 6 tr, then dc into the dc at the top of the post.* Repeat all the way round, then join with a ss.
(Colour 3) Join yarn at the top of a shell, 2 ch. 6 ch, *dc into the top of the next shell, 6 ch.* Repeat starred section. Join with a ss.
(Colour 3) *dc into ch space, 6 tr into dc at top of shell.* Repeat all the way round. Join with a ss.
(Colour 1) Join at the top of a shell with a ss. *8 ch, then dc into the top of the next shell.* Repeat all the way round. Break yarn.
(Colour 1) Rejoin yarn in ch sp. *1 ch, then 6 tr into dc at top of shell. 1 ch, then dc into ch sp.* Repeat until you get back to where you started.
(Colour 2) Join yarn at the top of a shell. *Dc into the top of the shell. 10 ch, then dc into the top of the next shell.* Join with ss. Break yarn.
(Colour 2) Rejoin yarn halfway along one of the ch sp. Dc, *11 ch, dc halfway along next ch sp.* Repeat all round the circle. Join with ss. Break yarn.
(Colour 2) Rejoin yarn halfway along a ch sp. Dc, *10 ch, dc into next ch sp.* Repeat until you get back to where you started. Join with ss.
(Colour 1) Join yarn in a ch sp. 12 dc into ch sp, *1 ch, 12 dc into next ch sp.*Repeat all the way round, then join with ss.
(Colour 3) Find a chain space. Count back 3 dc. Join yarn, then dc into the stitch. *6 tr into 1 ch sp. Skip 2 dc, then dc into next st. Ss into next 6 stitches, then dc into the next one.* Repeat until you get back to the start. Join with ss.
(Colour 5) Find a shell. Rejoin yarn in the space between the last treble and the dc. Dc into this space. Into 3rd dc, 6 tr. *Into space between the dc and the first treble of the next shell, 1 dc. 1 dc into spaces between the trebles twice, then 3 tr into the space at the top of the shell. Dc into next 3 spaces.* Work all the way round, then join with a ss.
Cushion Cover Back
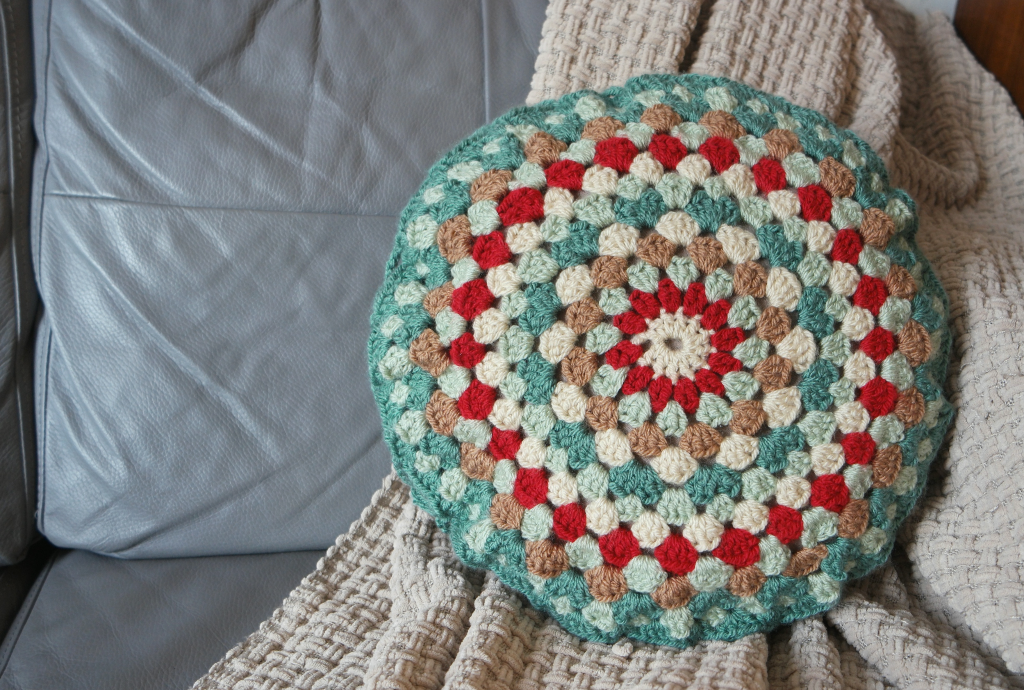
(Colour 1) 4 ch. Join with ss.
(Colour 1) 12 tr into ring. Join with ss.
(Colour 2) Join yarn in one of the spaces. 3 ch, 1 tr. *Into the next sp, 2 tr* 11 times. Join with ss.
(Colour 3) Join yarn in a space. 3 ch, then 2 tr into the space. *Into the next sp, 3 tr* 11 times. Join with ss.
(Colour 4) Join yarn, then 3 ch. 3 tr into sp. *4 tr into next sp* 11 times.
Join with ss.
(Colour 1) Join yarn. 3 ch, 4 tr into sp. *5 ch into next sp* 11 times.
Join with ss.
(Colour 5) Join yarn. 3 ch, 5 tr into sp. *6 tr into next sp* 11 times.
Join with ss.
(Colour 3) Join yarn in a space. 3 ch, then 3 tr into sp. In between the 3rd and 4th tr of the next cluster, 3 tr. *4 tr into next space, then 3 tr in between 3rd and 4th tr of next cluster* 11 times. Join with ss.
The rest of the bag continues in the same kind of way. Each round is increased by 1 extra treble in every other cluster.
So the rest of the back goes as follows:
(Colour 1) 4 trebles into each space
(Colour 2) 5 trebles into the first space, then 4 into the next.
(Colour 3) 5 trebles into each space.
(Colour 4) 6 trebles into the first space, then 5 into the next.
(Colour 5) 6 trebles into each space.
(Colour 3) 4 trebles into a space, then 3 trebles in between the 3rd and 4th treble of the next cluster.
(Colour 5) 4 trebles into each space.
Making the Cushion Pad
You could buy a pad if you wanted to, but it’s easy to make your own and you’ll end up with something the right size for your crocheted cushion cover.
Cut 2 circles from fabric a couple of cm larger than your crocheted circles.
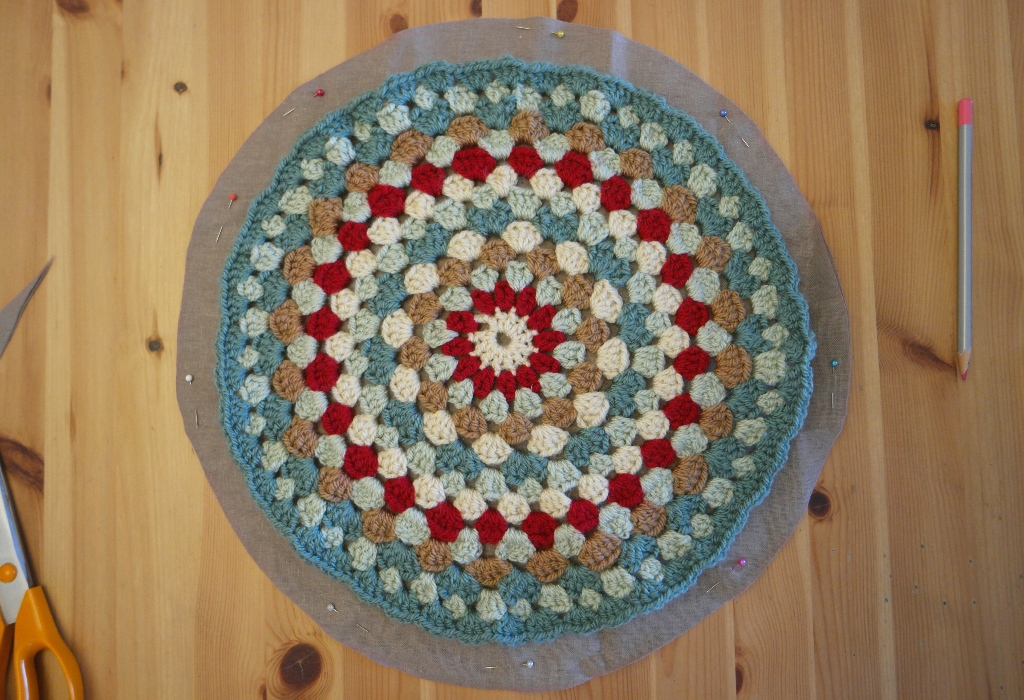
With the right sides together, sew the 2 circles together leaving an opening.
Trim the seam and turn it the correct way out.
Fill it with polyester stuffing. You could reuse an old cushion that’s gone flat. Instructions for doing this can be found here.
Slip stitch the opening.
Finishing the Cushion
Pin the crocheted front of the cushion cover to one side of the pad, and the back to the other.
I joined the front to the back by slip stitching into the top of a cluster on the cushion front, then 6 chains, then a slip stitch into the next cluster of the back. Then I did 6 more chains and a slip stitch into the next cluster on the front.
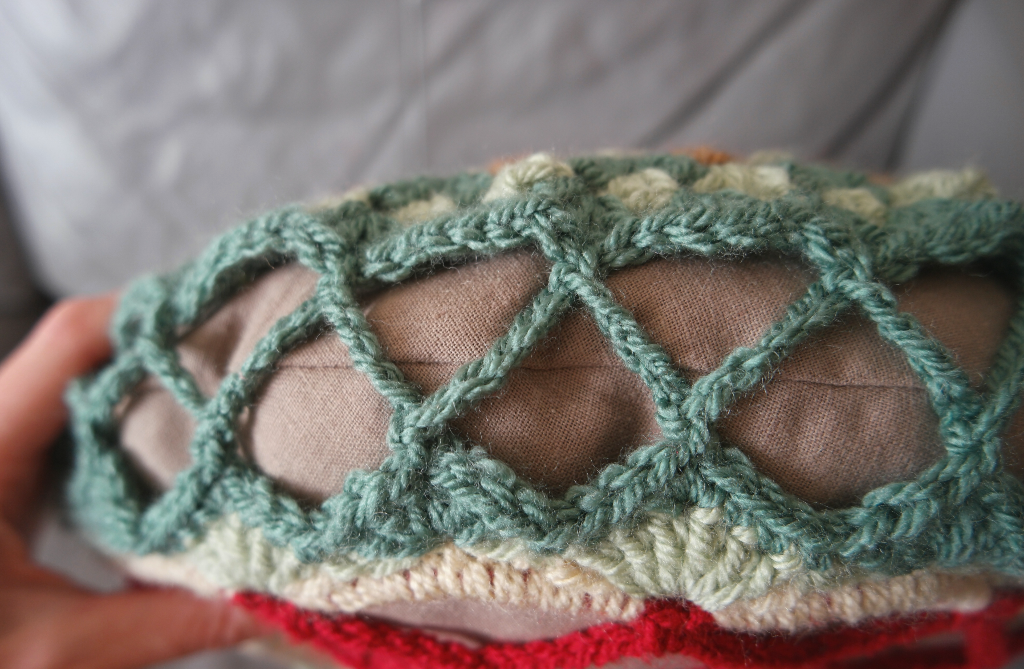
Because the back has 48 clusters and the front only has 24, you have to miss out every other cluster on the back.
Depending on the size of your pad in relation to the crocheted pieces, you might need more or less than 6 chains.
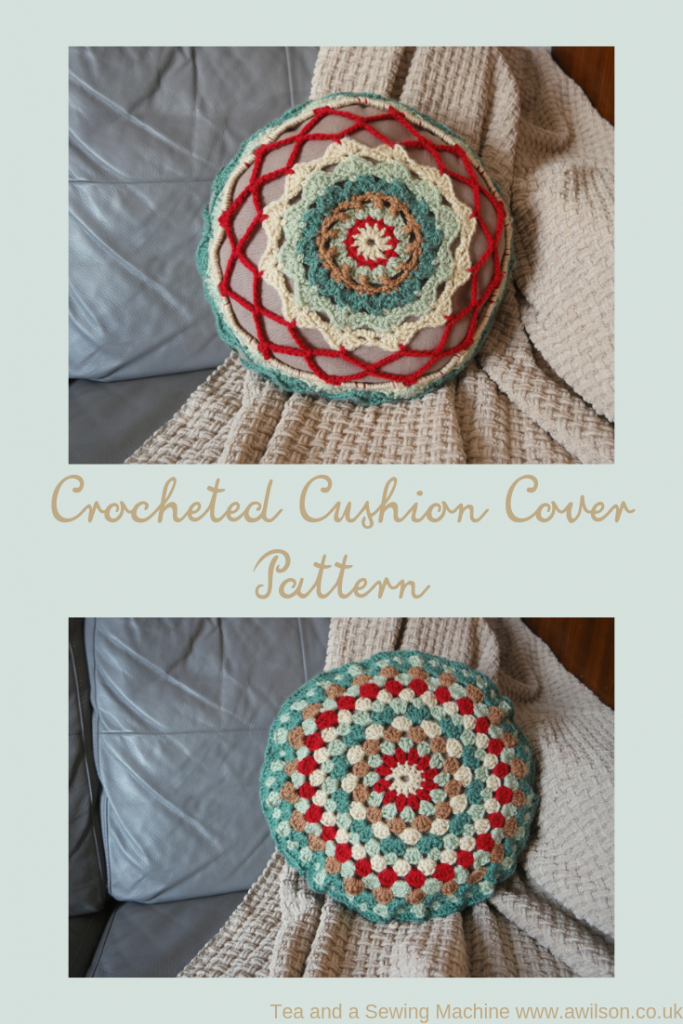
Since making the cushion, I’ve decided that I like the back as much as I do the front, so I’m going to make another with 2 backs!


I like this return/ new direction and love the cushion cover. You’ve triggered a vague sense memory of twining my chubby fingers in one as a tiny girl, so some relative must have had a similar one almost 50 years ago!
That’s lovely! It’s funny the things we remember xx