How to Crochet Bobble Edging is the 3rd in a little series of posts about different crocheted edgings. If you missed the others, you can find them here.
Bobble edging is trickier than the others. It involves an unusual little manoeuvre where you have to take your hook out then put it through from the other side.
It’s well worth it though, as it looks great and it is fun to do once you get the hang of it. It would look great decorating a blanket or a scarf.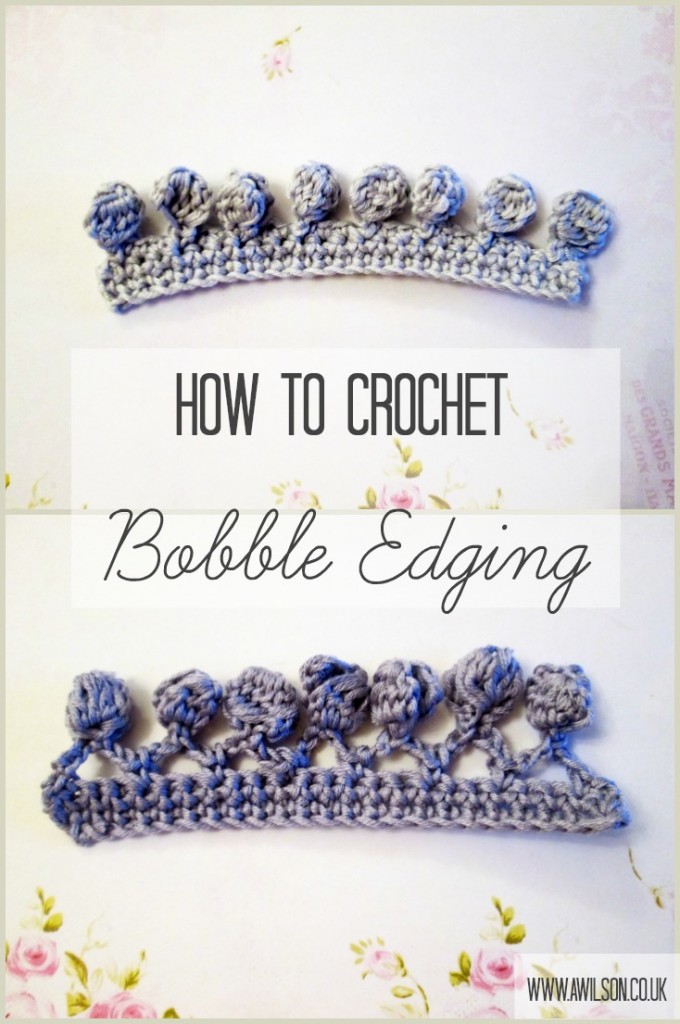
How to Crochet Bobble Edging
Please be aware that I have used British crocheting terms!
Bobble edging looks neatest if the number of stitches you have is a multiple of 3. Don’t worry though if you haven’t, it will still work. You might have a bit of a gap at one end though.
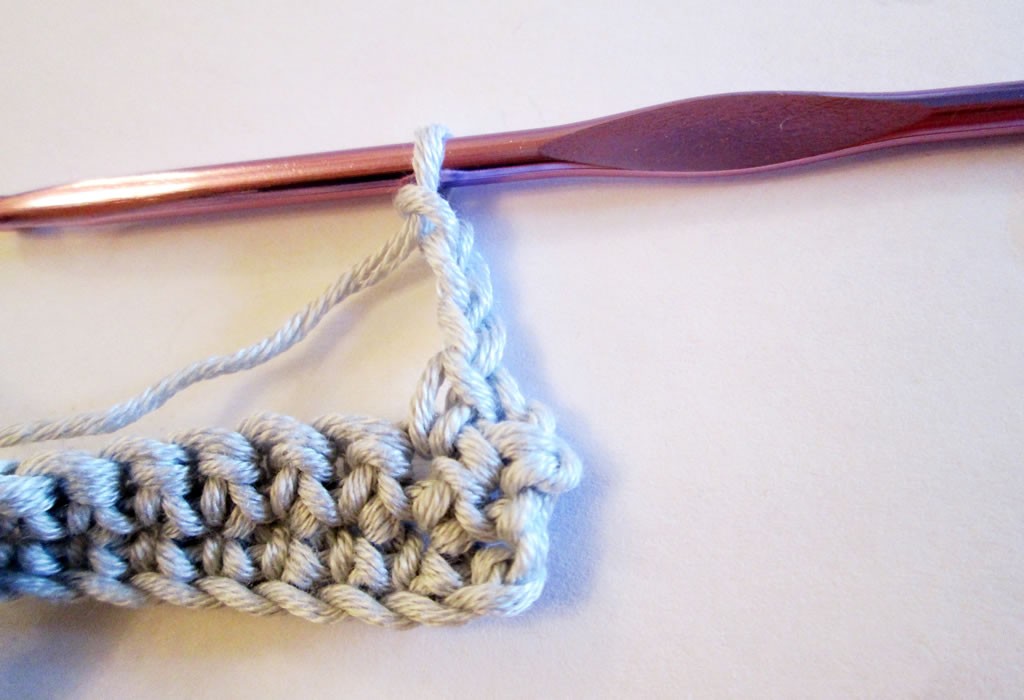
At the start of the row 1 ch, miss 1 stitch, dc into next stitch.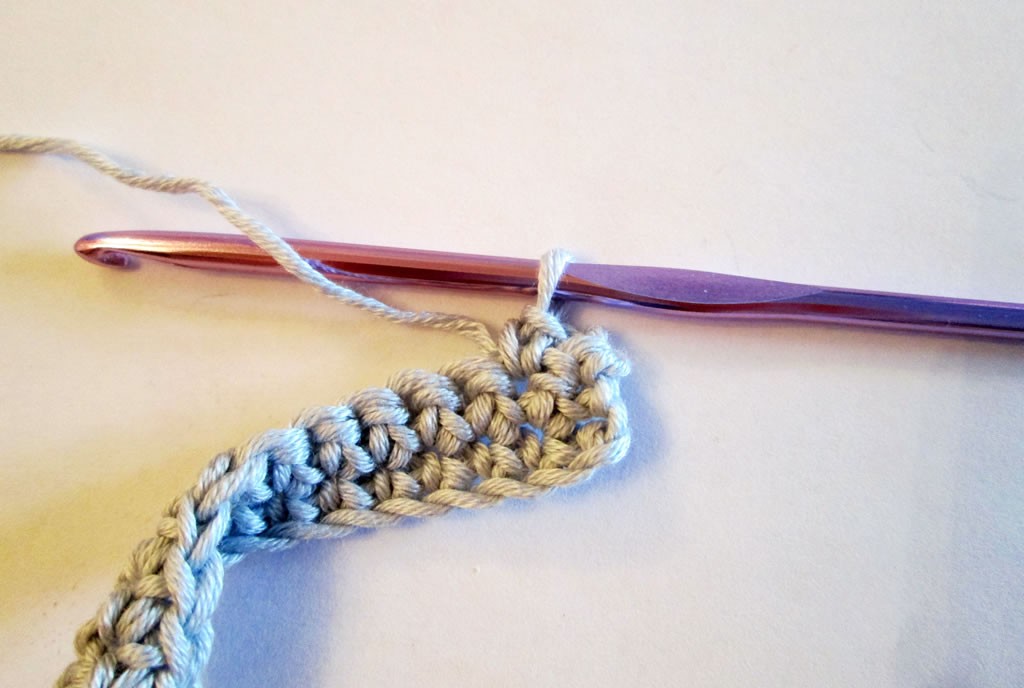
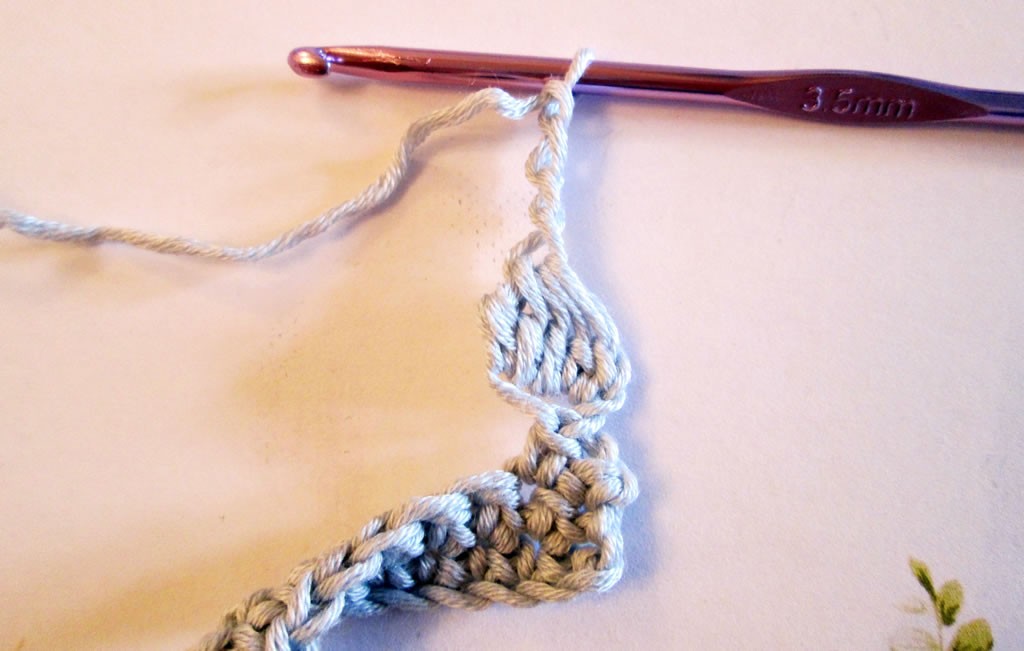
Into 3rd chain from hook, start making a tr and stop half way!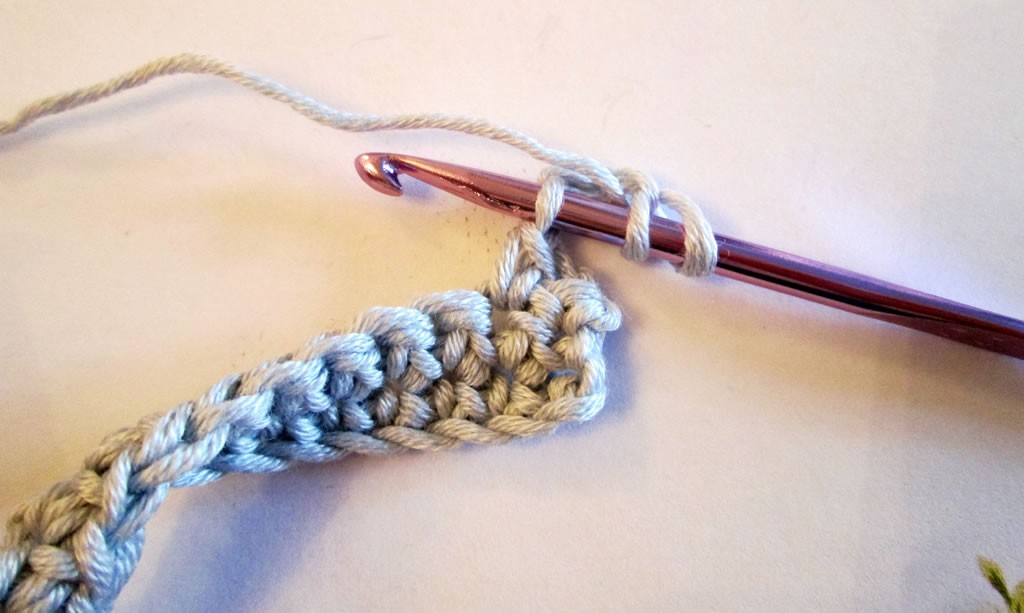
So: put the yarn over the hook, slip crochet hook into 3rd chain from hook, yarn round hook, pull it through. Yarn over hook again. Pull newest loop through 2 nearest loops on hook. Stop! Don’t finish the stitch! You will have 2 loops on your hook.
Now make 3 more trebles in the same way. You will end up with 5 loops on your hook.
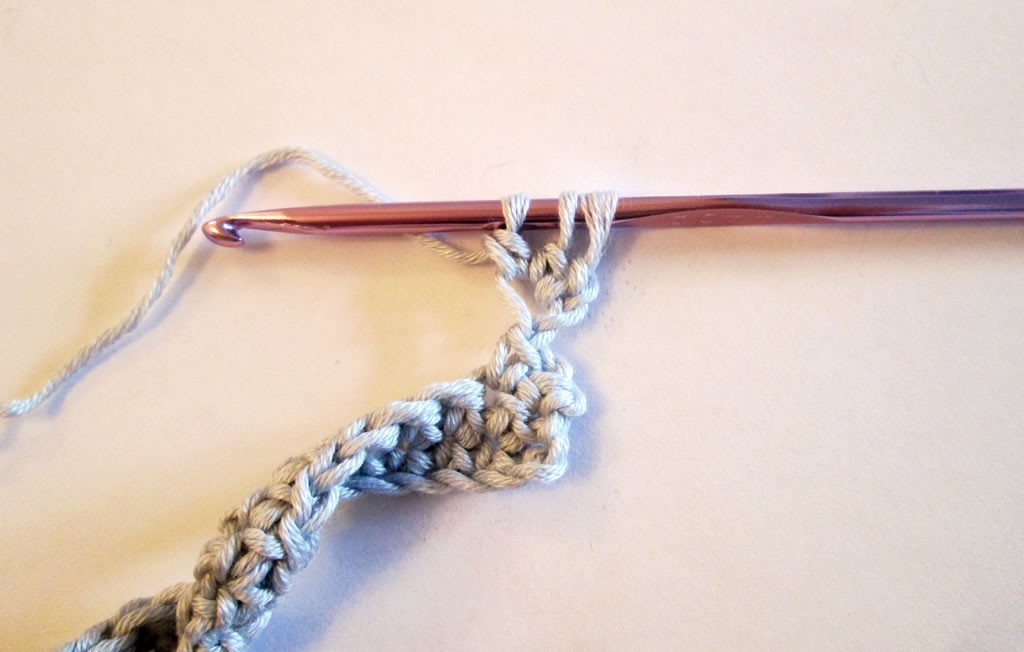
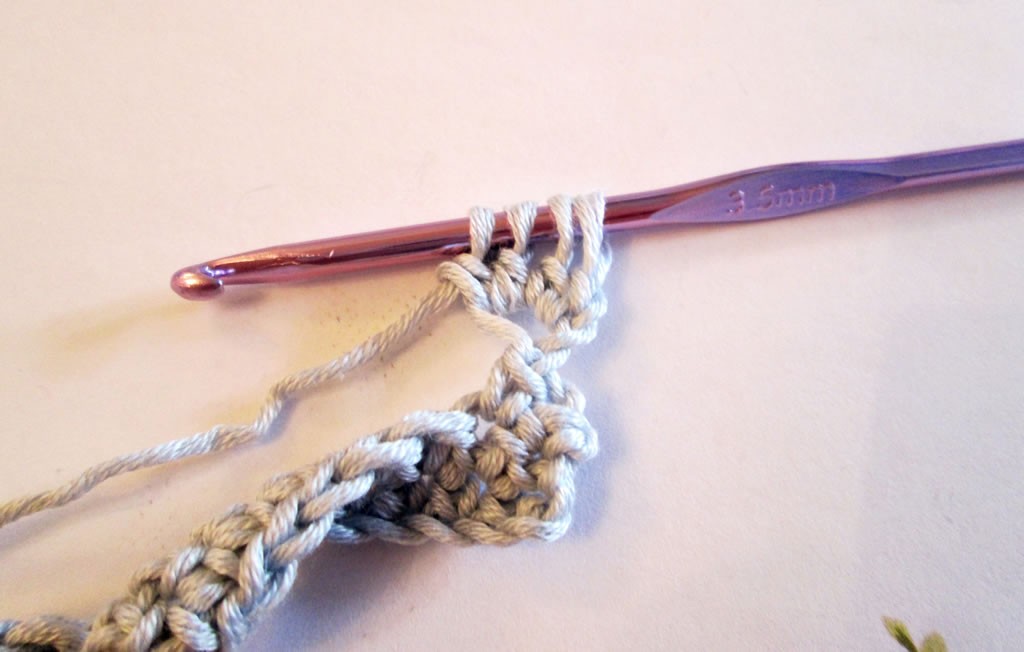
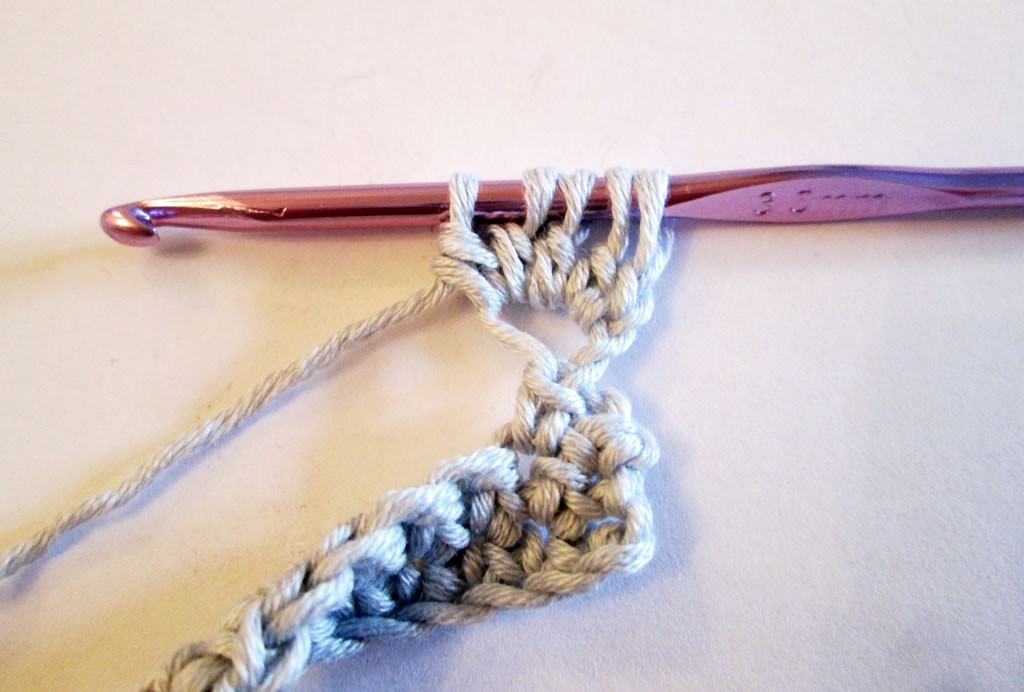
Yarn over hook again and pull it through all the loops.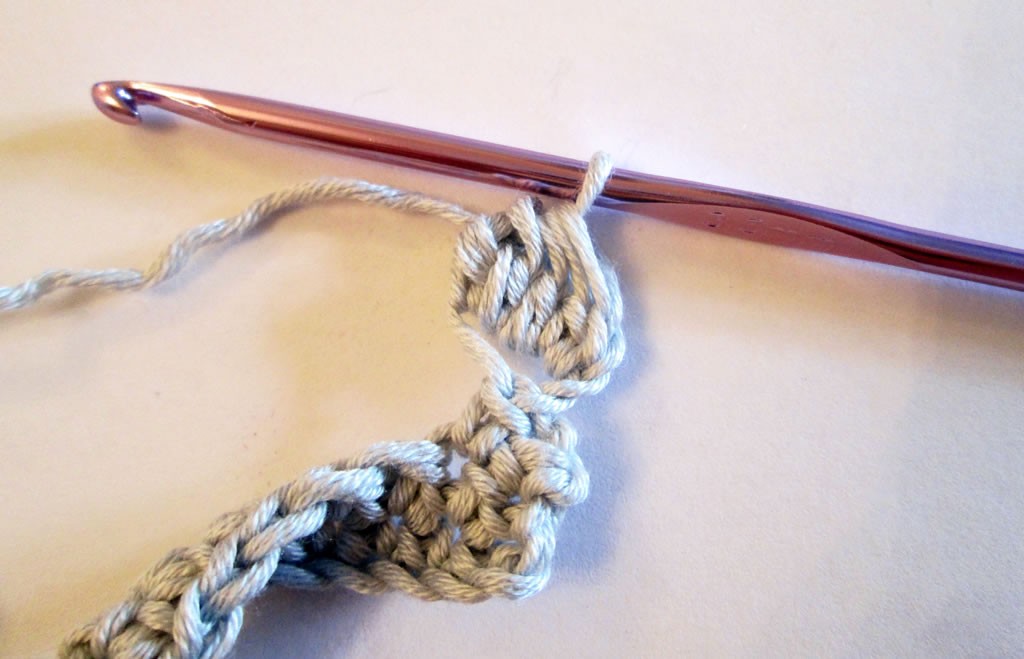
Into 3rd ch from hook, make 4 tr in the same way. Put the yarn over the hook and pull through all 5 loops on the hook.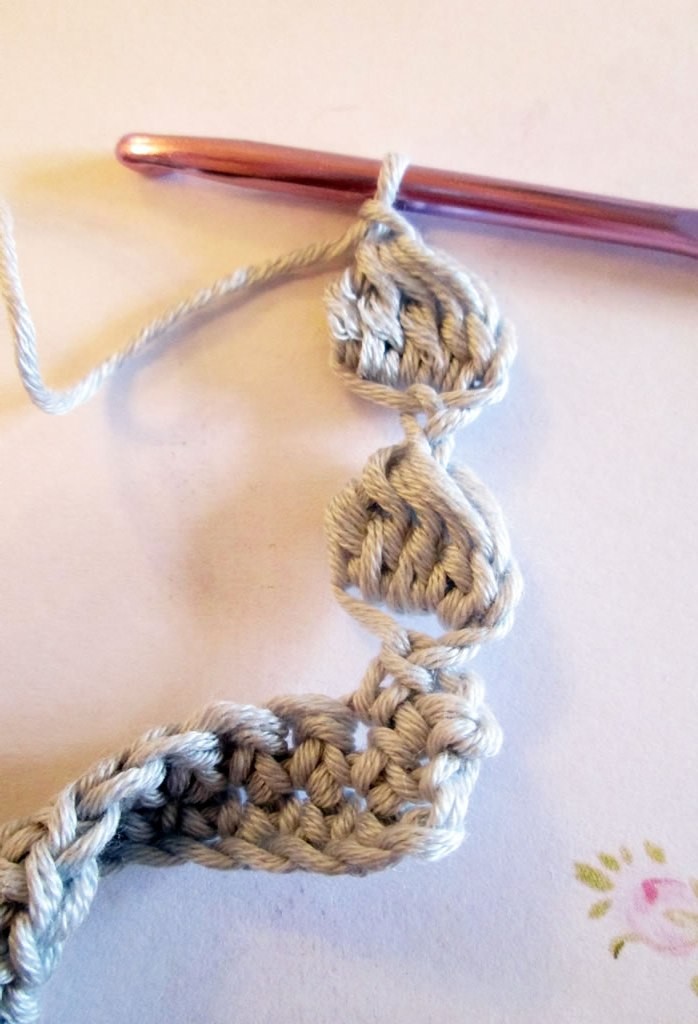
1 ch*
These are the 2 sections of the bobble.
Now remove your hook from the loop. Put the hook through from the other side and slip the loop back on.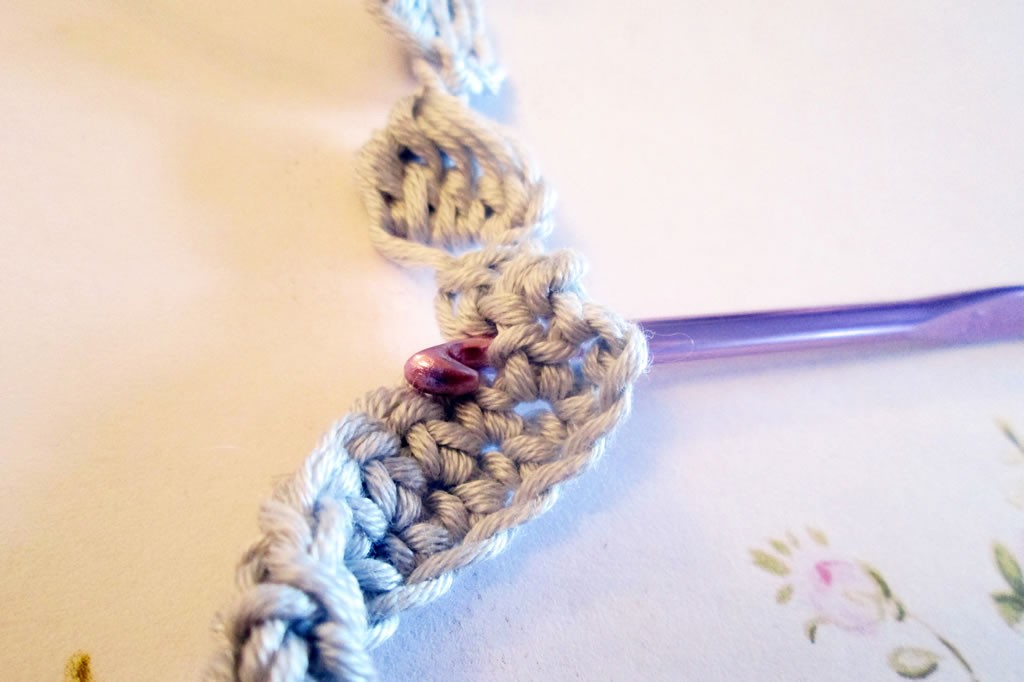
Yarn over hook and pull it through.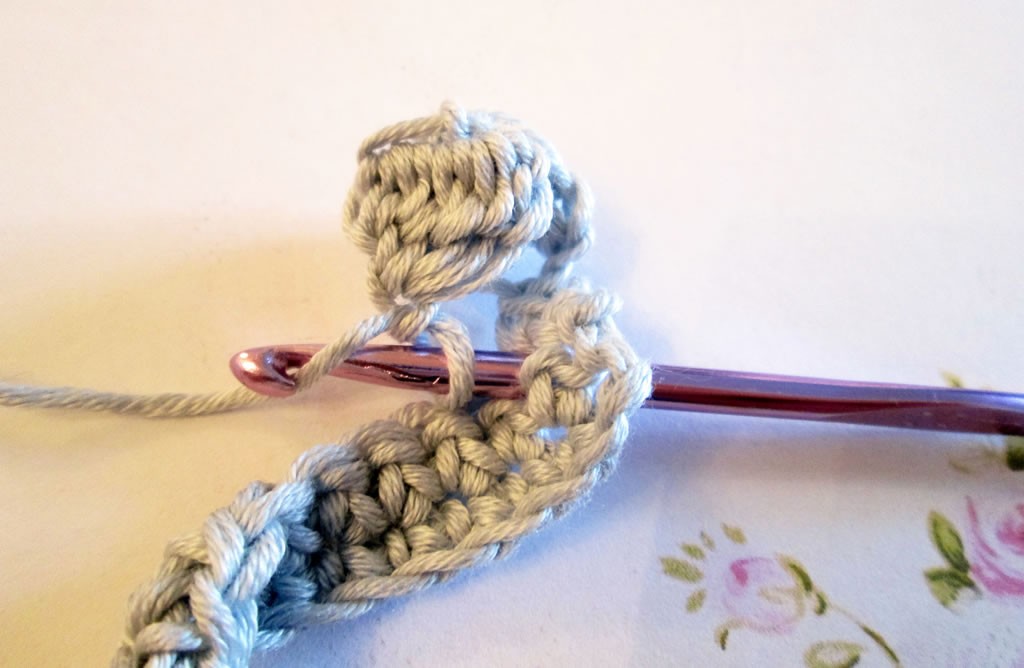
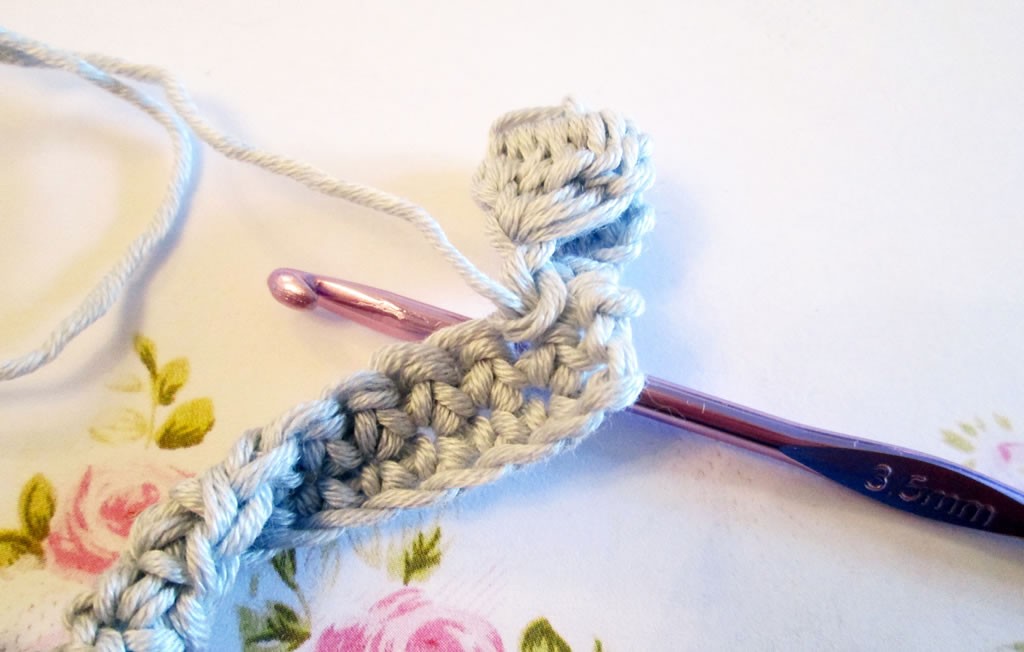
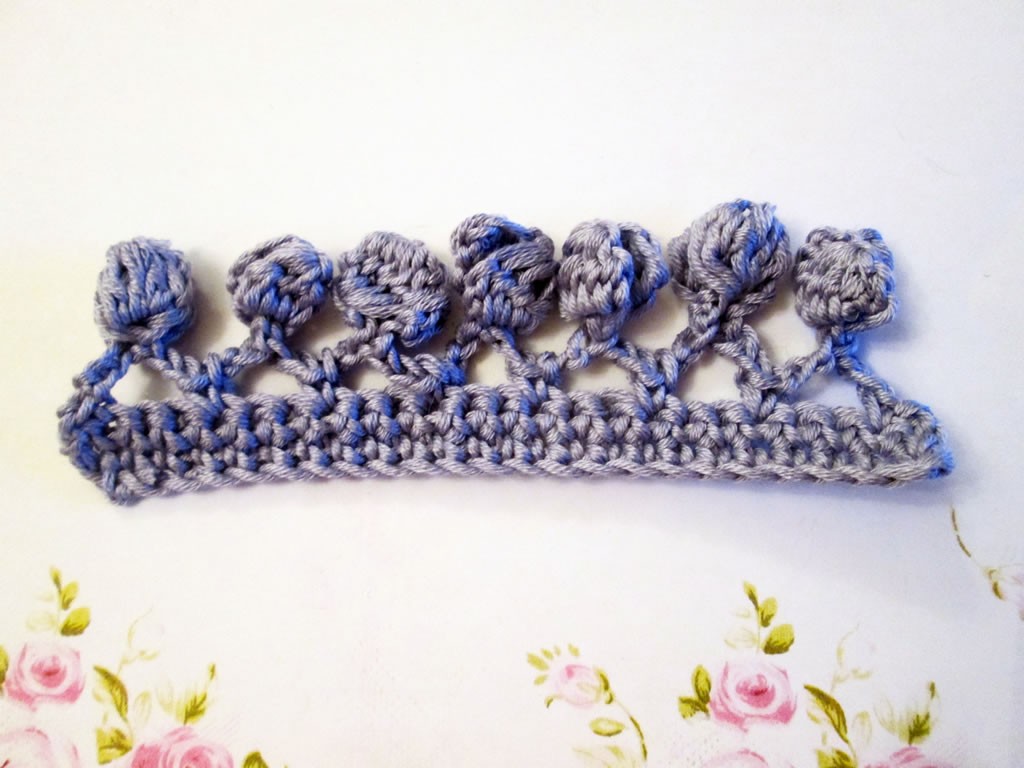
You have completed one bobble!
Now dc into each of the next 3 stitches, from the right side.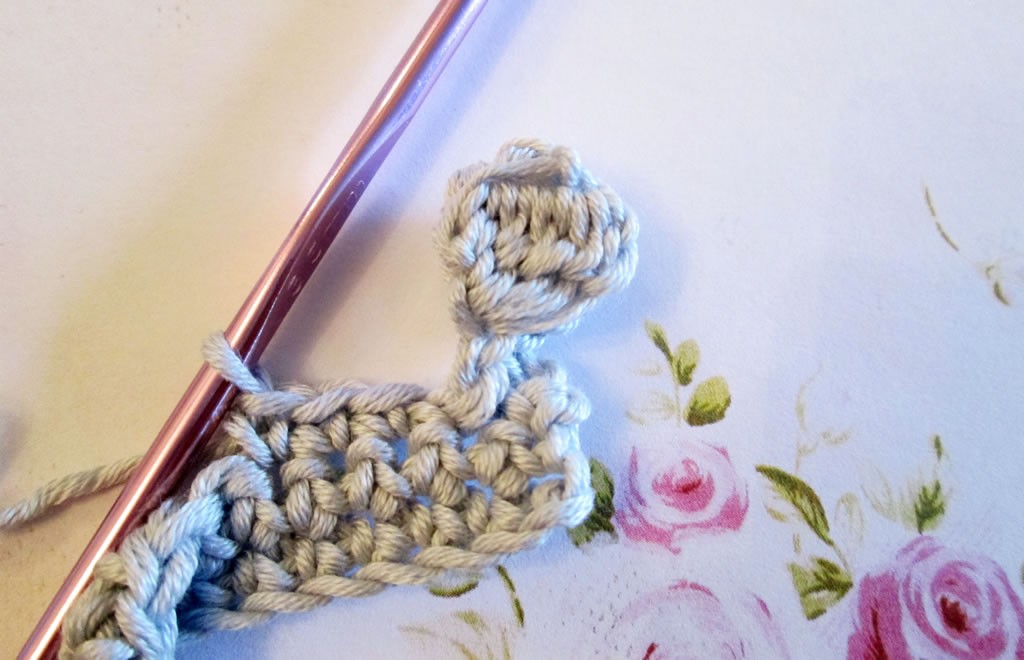
Make another bobble in the same way as the previous one. Keep going in this way until you reach the end of the row.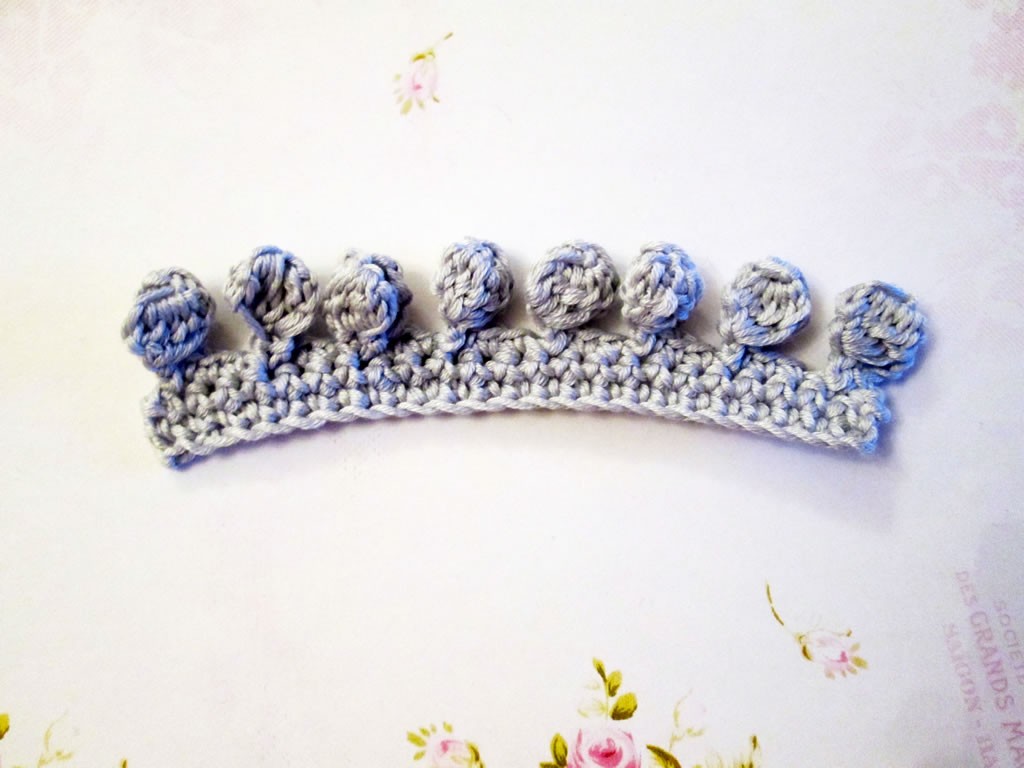
You can achieve different results by increasing the amount of chains at the start of each bobble.
The bobble is always worked into the 3rd chain from the hook.
Happy crafting!


Thank you so much for this edging! I’m making what was supposed to be a bobble stitch kerchief – but liked it so much am making it larger – and may be a shawlette instead….but this bobble edging is PERFECT for this project!
Now, if only the extra yarn ordered would come so I could finish!
I can’t wait!
Thank you so much for this and for your picot edgings as well!
Glad you found them useful :). I love it when the postman brings me stuff!
A little advance for me at the moment, but one day I will get their! Great pictures and instructions:)
Thank you 🙂 Some of the others are a bit easier.
I’m not a crocheter but this looks so pretty, it’s like a little crown x
It does look like a crown doesn’t it? 🙂
Thank you for the tutorial! I love to crochet, but I’m lousy at following patterns, so I love these more visual tutorials! Thank you for sharing at The Really Crafty Link Party this week! Pinned!
I think it makes it a lot easier to follow if there are pictures as well 🙂
Great tutorial I could never figure that one out. Thank you
Thank you xx
I love tutorials like this with super clear photos. Thanks so much. Pinning ‘cos I never know when i’m going to want to make a bobble edging!
Thank you!
A brilliant tutorial as always, love the bobble edging. Brought back a memory of a handknitted skating dress made by my Mum and she had crocheted bobbles to go round the hem.
That’s sweet 🙂
I’ve made this trim several times and just love it! Thanks for sharing on craft schooling Sunday!
I love it too 🙂
Thanks for sharing how to do the bobble edge. I haven’t tried that one before – it looks like a fun one to crochet.
It is fun one to do 🙂