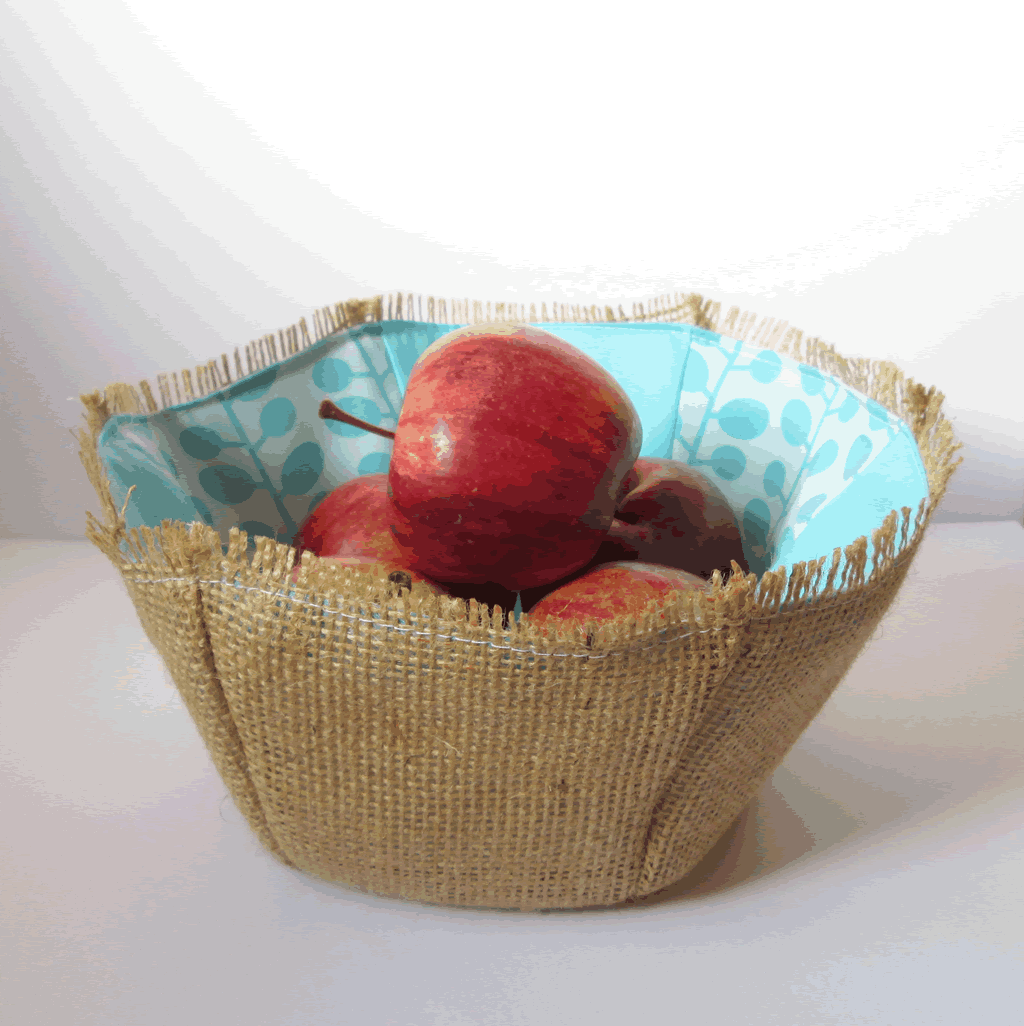
How to Make a Crayon Roll
Ok, so first things first! Some of you may have noticed that things have changed around here again and before you ask, yes, this is the third time I have renamed my blog. Anna’s craft corner was not really cutting it, so I’m trying out a new name! I’m liking it so far, so maybe this one will stay!
This week I have been busy making stuff for Boy 3’s preschool’s Easter Fair thing. I currently have two finished crayon rolls, two not quite finished crayon rolls and half a hair bobble. And the house is a tip. Hey ho.
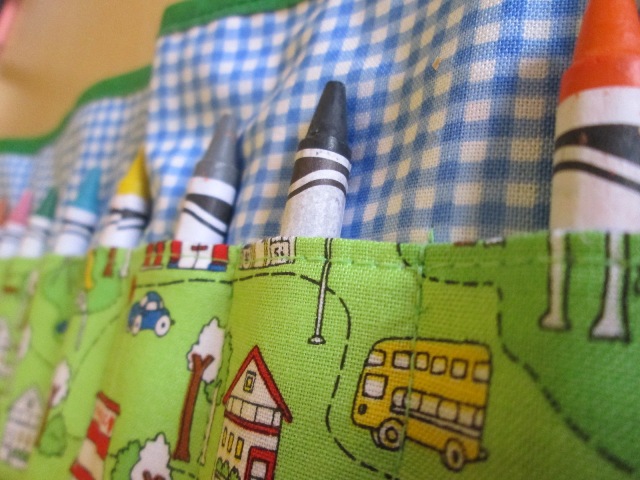
I’m very happy with how the finished crayon rolls have turned out, so I’m going to share how to make these with you.
How to Make a Crayon Roll
For those of you who have not encountered these yet, a crayon roll is basically a thingy (technical term 😉 ) with little pockets in for crayons. It can be rolled up and taken anywhere, Grandma’s house, church, on holiday, and along with a pad of paper, should keep the children entertained at least for a little while. It also has the advantage that unlike a plastic box, it is not in itself a source of noisy entertainment, which is fine of course unless you actually need them to be quiet as well as occupied.
So here we go!
You will need:
Either one fat quarter or two fat quarters cut in half length ways or two rectangles 21cm x 54cm of cotton fabric.
Bias binding
Crayons
Sewing supplies
As I was making two I used two fat quarters cut in half (ish) and joined each half to a different half so that the inside would be different. If you do not want to do this, it will work perfectly well with one fat quarter and you will not need to cut it half and resew and it will be quicker to make. Yay!
Instructions
1. 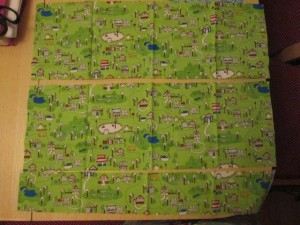 Cut a strip about 8cm high off the bottom, If your crayons are longer or you’re not that bothered, or if you are in a hurry you don’t have to do with this.
If you are using two fat quarters to make a crayon roll with a contrasting lining then cut the remaining fabric in half length ways. If you are using one fat quarter to make the crayon roll, don’t cut it half and skip to Step 3.
Do the same for your other piece of fabric.
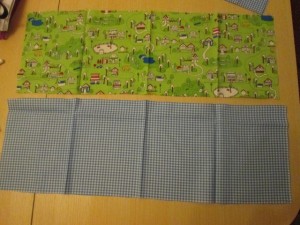
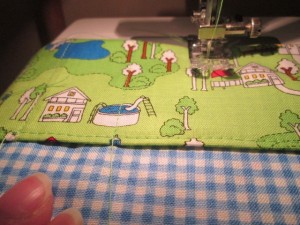
You should have this, see? Two rectangles. Now sew them together, trim the seams and press open.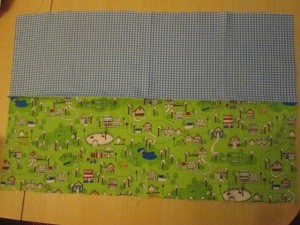
So now you have a piece of fabric more or less the same size that you started with.
3. Fold it in half and topstitch.
With the folded edge at the bottom and the lining facing upwards, fold up 6cm and pin in place. Check that this will be deep enough for your crayons.
Now you need to put in pins for where you will sew to make the pockets. The easiest way to do this is to find the middle and put a pin at right angles to the folded edge, then find the half way point between the pin and the edge. Repeat until you have sixteen pockets pinned out. Sew the pockets, backstitching over the folded edge to make it a bit stronger.
Or if you would rather measure, the pockets are about 2.5 cm wide, but you will still need to check that they are all about the same size and you don’t have one tiny skinny little pocket at one end.
4. Now it’s time to attach the bias binding. Check that the raw edges match up. If they do not, trim them. This is to ensure that all the edges are caught in the bias binding when you sew it on.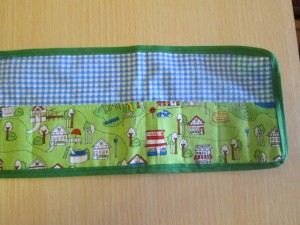
Fold the bias binding in half and press. Pin one edge of the binding all the way around the outside edges, then sew. Fold the bias binding over then sew again to attach the second edge.
This will result in the corners being rounded. If you prefer square corners, attach the bias binding to each edge separately.
5. You’ve almost finished! Take a length of bias binding, 30cm will be enough. Fold in half lengthways, press and sew. Fold in half to find the middle. With the outside of the crayon roll facing upwards and the pockets at the bottom, attach the bias strip to the edge of the crayon roll.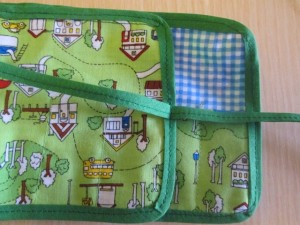
Fill the crayon roll with crayons and roll it up! Tie the bias strip in a bow and you are ready to go!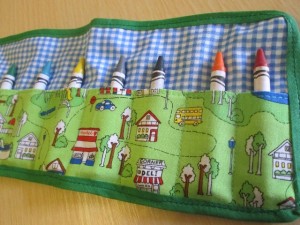
If your children are older and past the crayon phase, you could make a roll to keep pencils, or one for yourself to store crochet hooks or… umm… other stuff!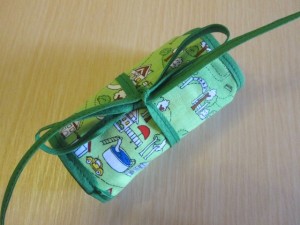
Have you made one? Let me know! I’d love to see it!

