Comet Star Quilt Block
I love quilt blocks but I’ve never made a quilt.
Usually I stick to quicker projects because I have a tendency to not finish things if they take too long. I currently have three unfinished crocheted blankets for this reason!
Quilt blocks don’t have to be used in tiny squares to make a quilt large enough to cover a double bed. They can be used in all kinds of other ways too. And if you did want to make a big quilt, you could just use bigger blocks!
My favourite way to use quilt blocks is on cushions. I actually used this quilt block, plus the pinwheel and the 8 pointed star to make these cushions.
For other quick projects (quicker than a quilt anyway!), they can be used on bags and purses. Or you could make a little quilt for a child. I have a Pinterest board devoted to this kind of thing!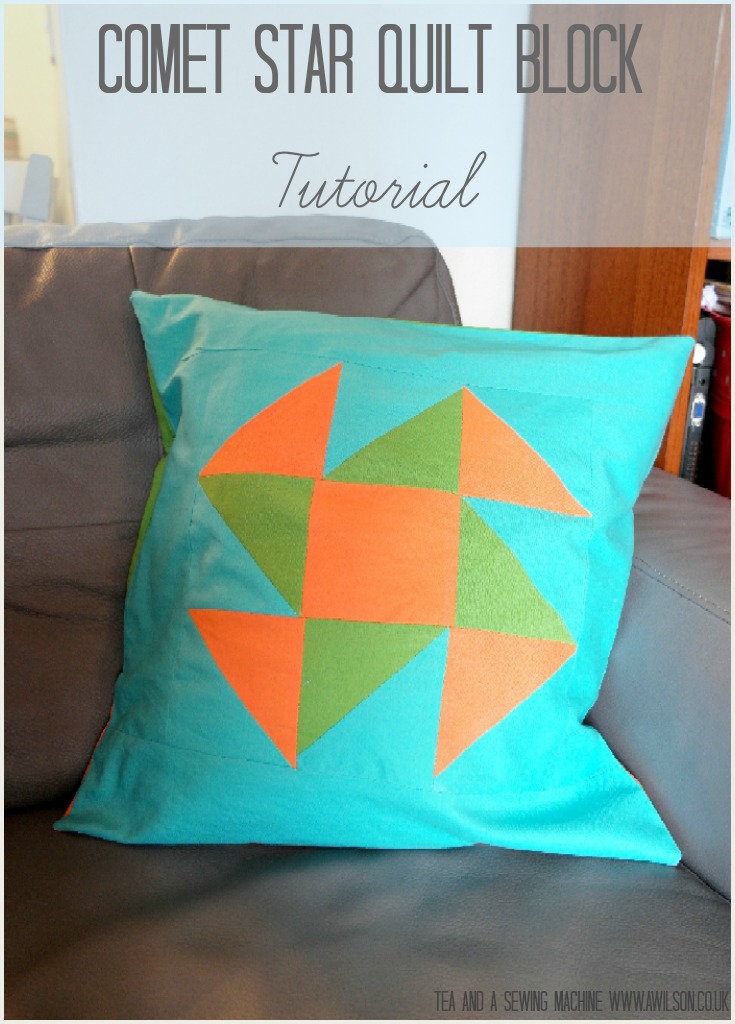
How to Make a Comet Star Quilt Block
Although they sometimes look complicated, most quilt blocks are actually quite simple.
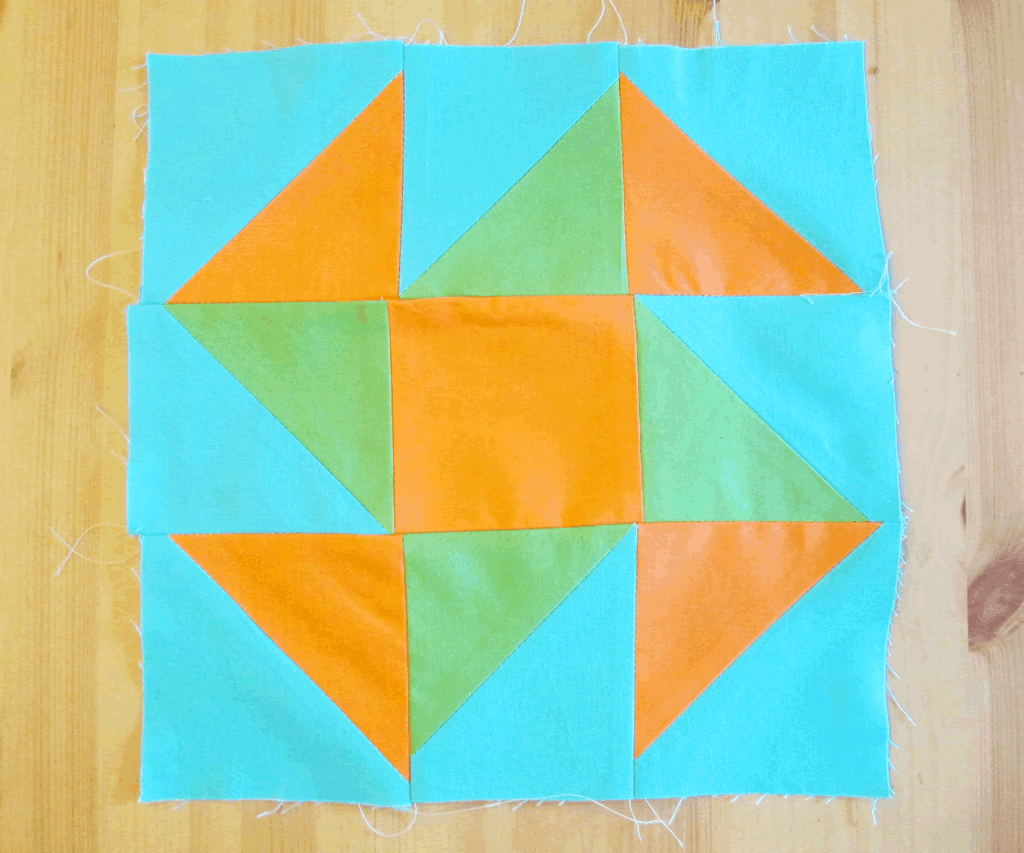
They are usually squares divided up into other squares and triangles. The comet star quilt block is made up of 1 square and 16 triangles, all the same size, in 3 different colours.
When you have drawn the template, you will only need to cut out 1 square and 1 triangle, although you might prefer to have 3 triangles so that you have 1 for cutting out each colour.
Making the Template
The first thing to do is to decide how big you need your square block to be. The template will not include seam allowances, so the finished template will be the actual size of the finished block.
When you have drawn a square, divide it into 9 equal squares. You could either fold it or measure it. Measuring will be much easier if the dimensions of your square are divisible by 3!
The centre square stays a square. The other squares will need to be halved to make 2 triangles each.
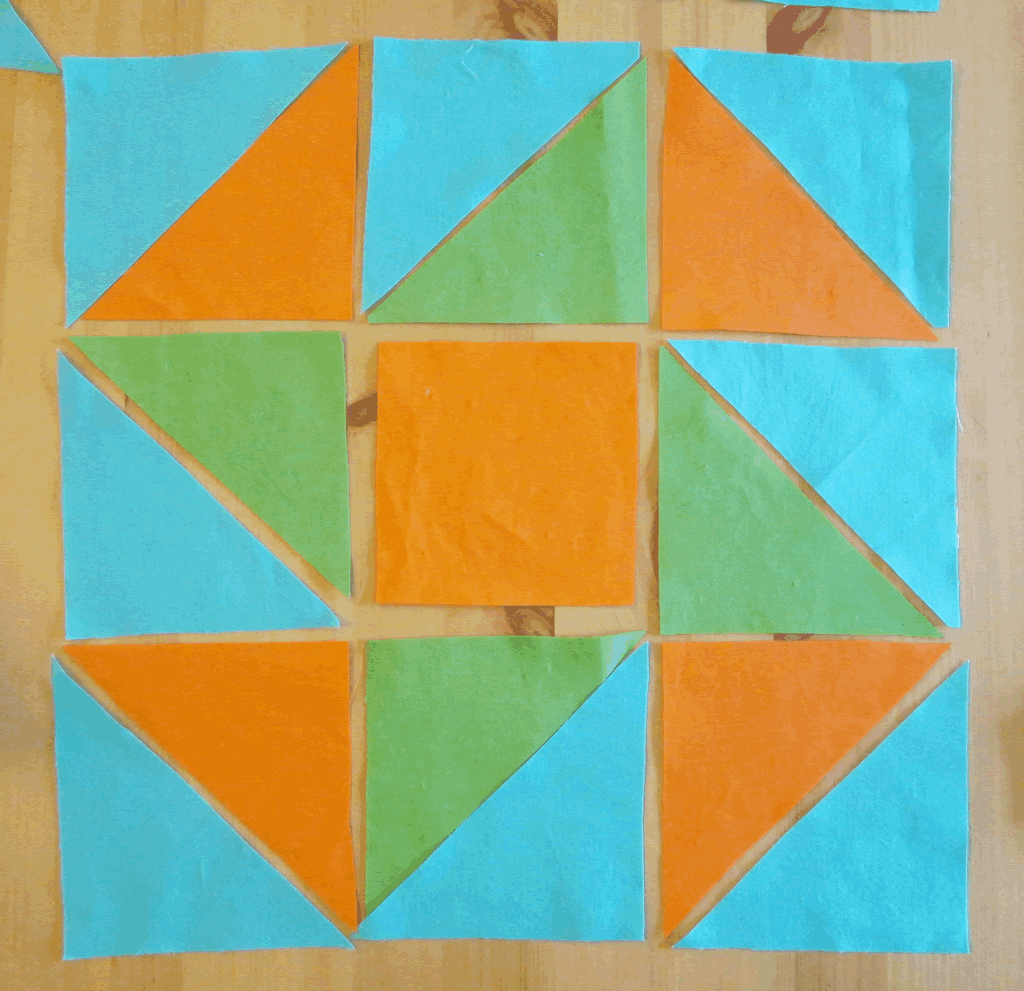
Starting in 1 corner and working around the outside of the central square, divide 2 squares one way, then the next 2 the opposite way. 
 Keep going like this until you have gone all the way round.

At this point you might like to decide which colours to use if you haven’t already.
Cutting Out the Pieces
You will need to cut out the central square and 1 of the triangles. You might prefer to cut out 3 of the triangles so that you have 1 for each colour.
When you are cutting, remember to add a seam allowance!
Cut 1 square and 4 triangles from Colour A.
Cut 4 triangles from Colour B.
Cut 8 triangles from Colour C. This will be the background.
Sewing Up the Quilt Block
Sew each pair of triangles together so that you have 9 squares.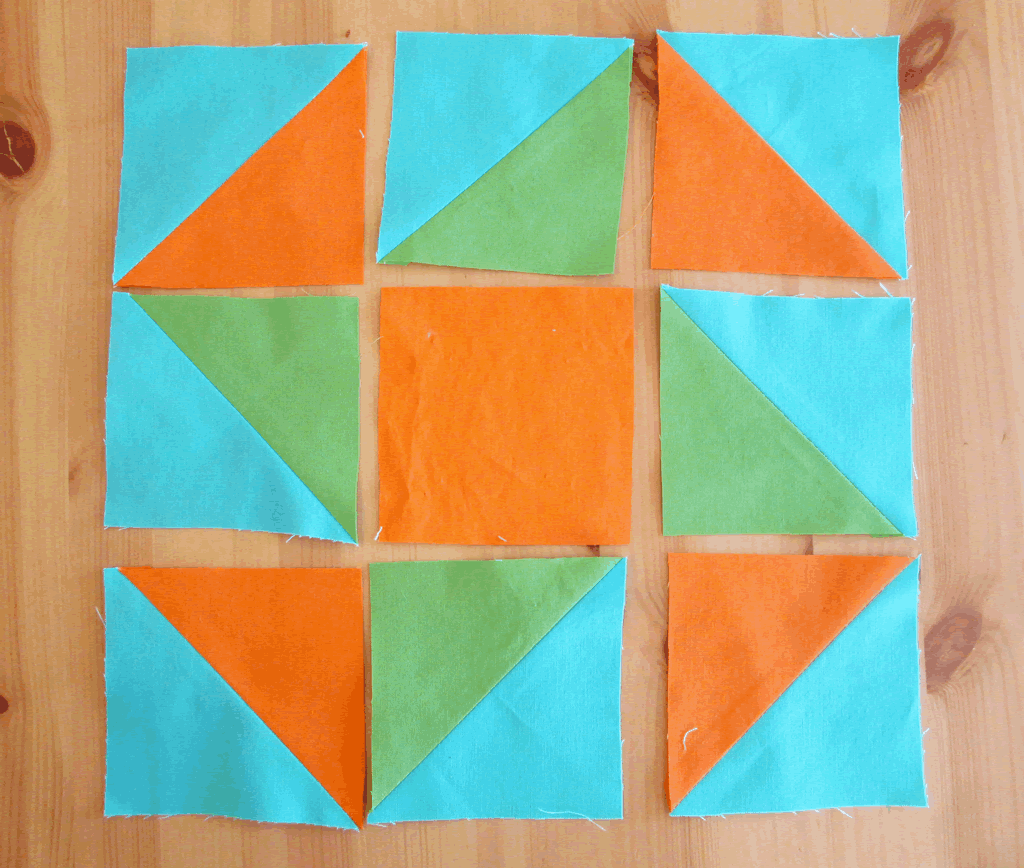
Then sew the squares in each row together so that you have three rows, each with 3 squares in.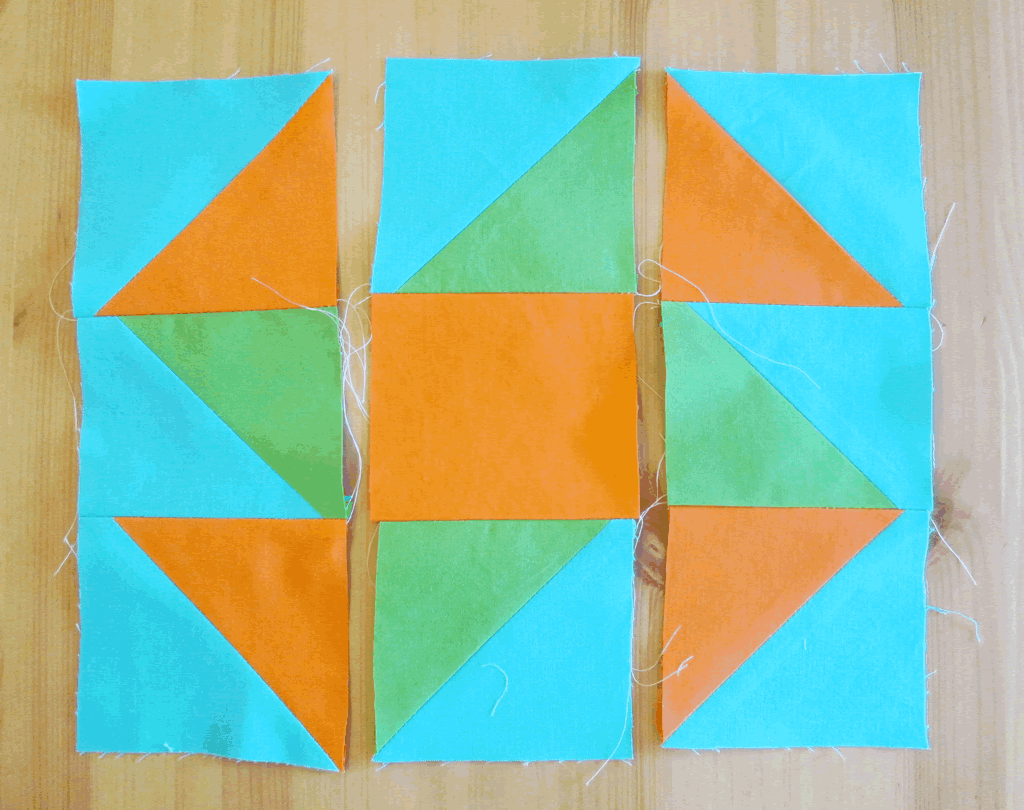
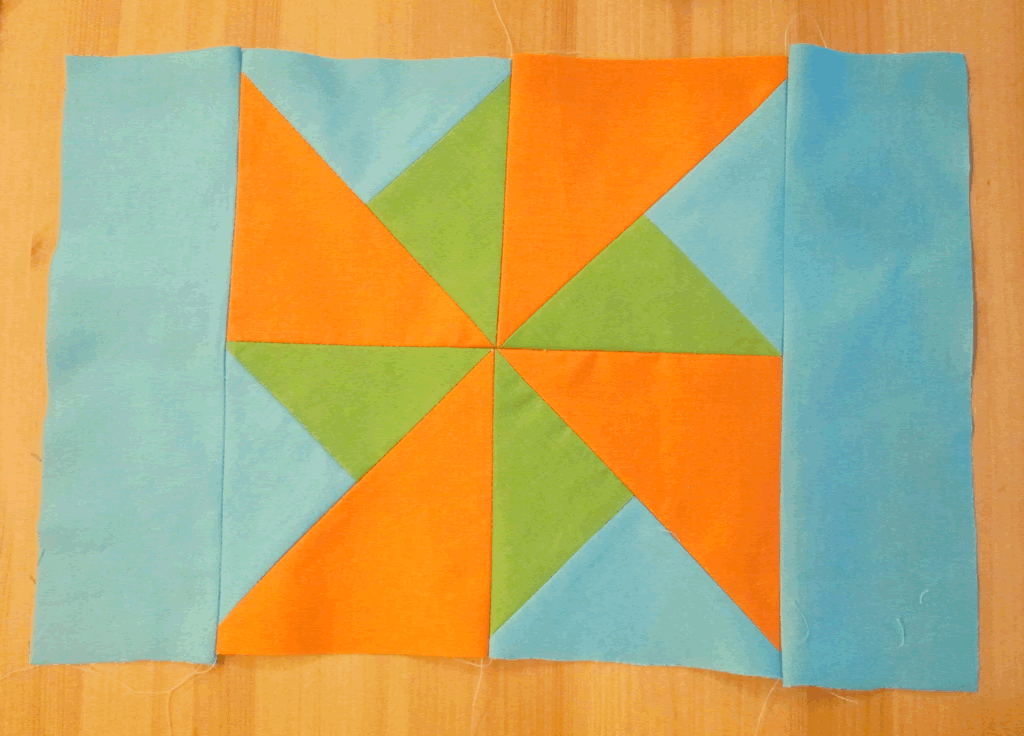
You might want to add a border. The way I did this on my quilt clock cushions was to sew 2 pieces of fabric the same length as the side of the square, one on each side. Then I sewed 2 more pieces on the other side that included the border pieces.
This is for a different quilt block, but you get the idea!
If you need more inspiration, then please take a look at my Quilts and Quilting Pinterest board!


Leave a Reply