
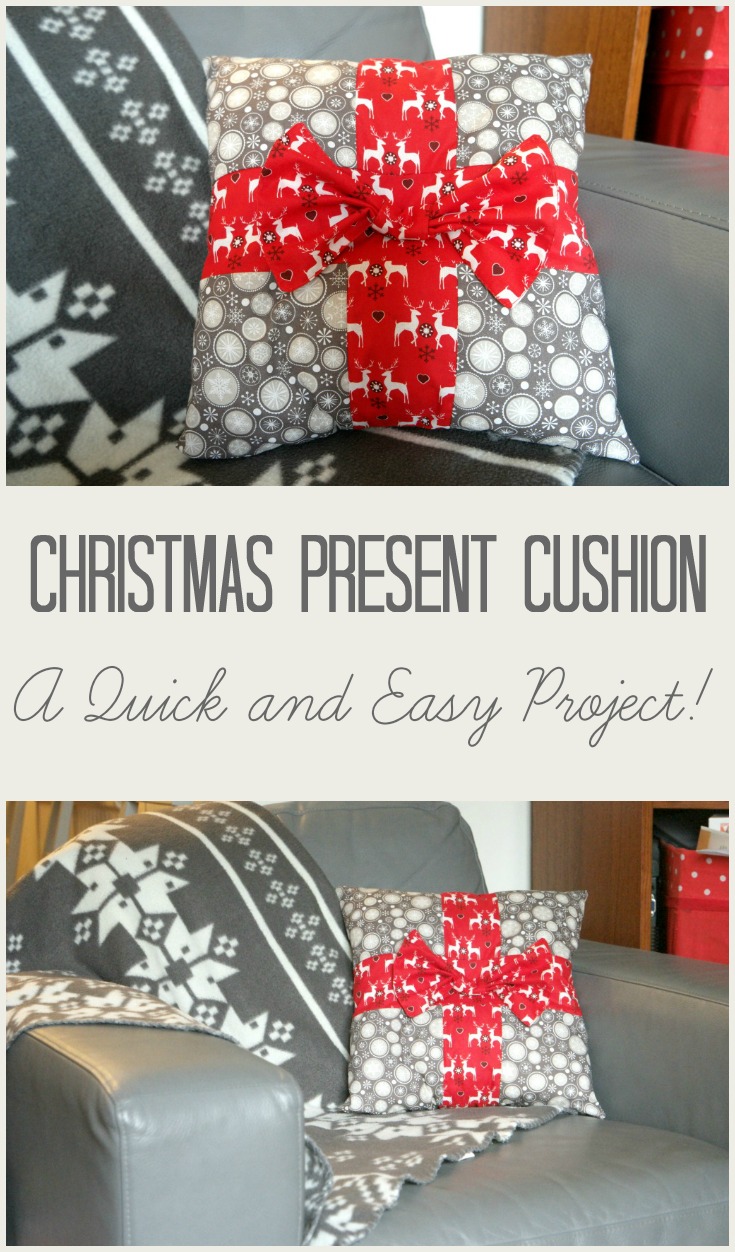
Christmas Cushion Tutorial
A Christmas Cushion Tutorial: How to Make a Cushion That Looks Like a Present
Making new cushions is an easy and inexpensive way to mark changing seasons at home, and Christmas is no exception!
It’s very easy to make a simple envelope cushion cover from Christmassy fabric, or even non Christmassy fabric in Christmassy colours.
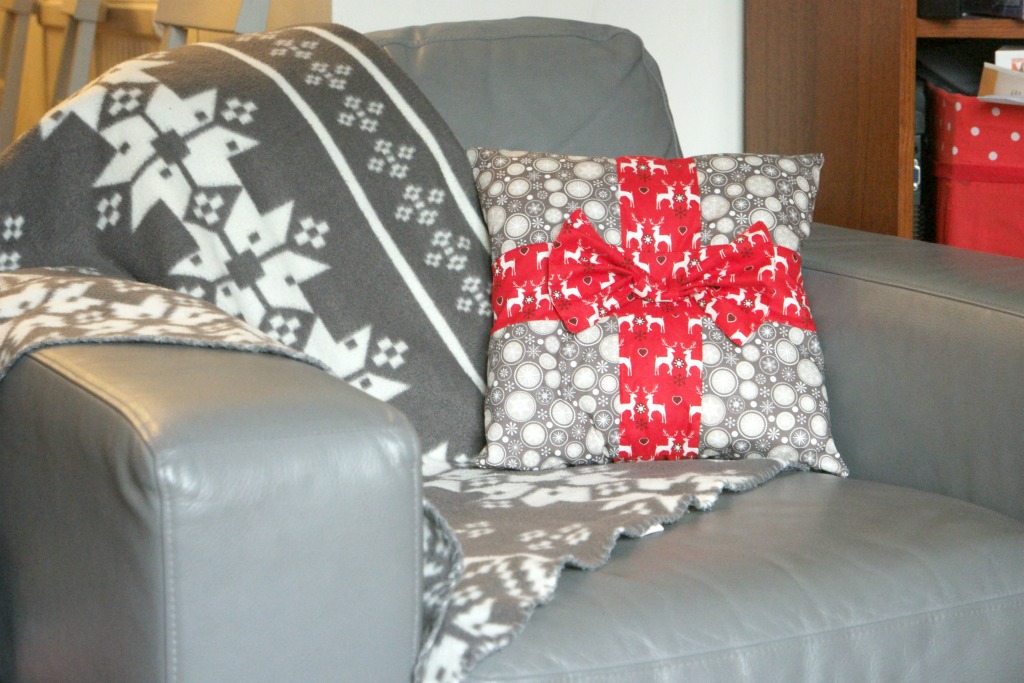
For this cushion I wanted to do something slightly different. So this Christmas cushion tutorial is a patchwork cushion that looks like a present!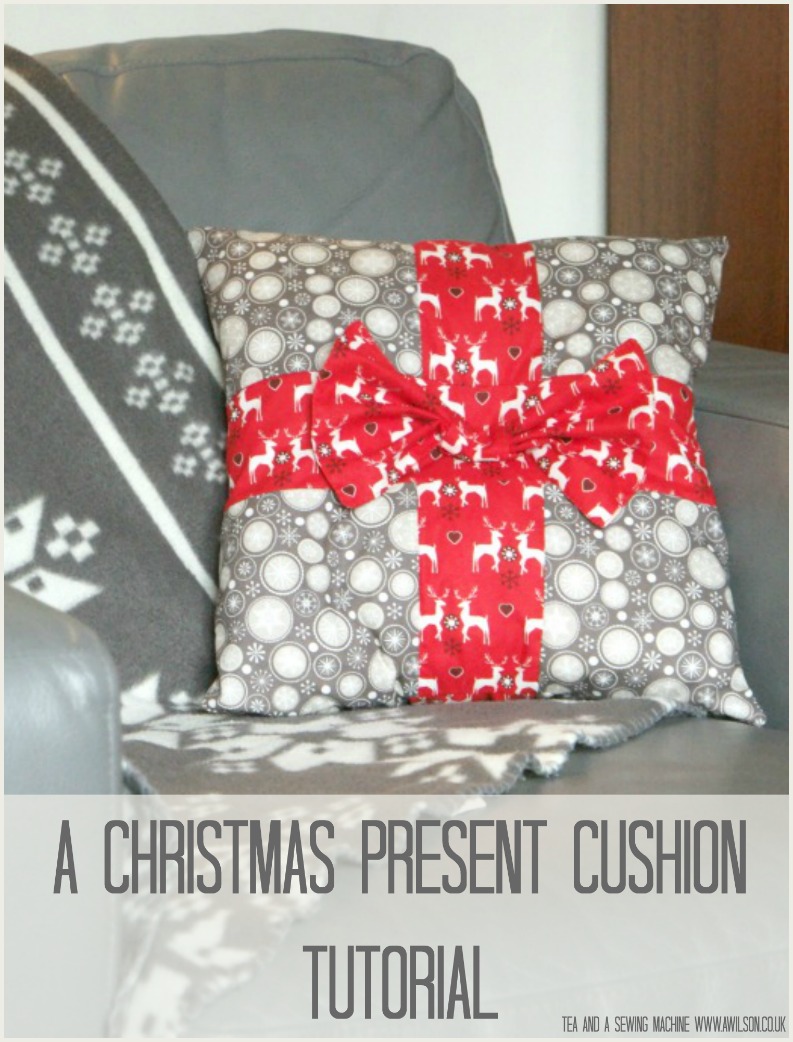
I was sent the fabric for this project by Overdale Fabrics. It’s a fat quarter pack called Scandi Woodland Christmas. I used 2 of the 4 pieces to make 1 cushion.
Because the finished cushion cover is rather smaller than a standard sized cushion pad, it’s a great way to find a new life for a cushion pad that has seen better days. The pad I used was actually the one from my Autumn Patchwork Cushion. It was very lumpy and flat. Stuffing it into a smaller cushion cover has given it a new burst of life!
The cushion cover has a simple envelope back, so no fiddly zips! This is a project that you could easily complete in an evening.
How to Make a Christmas Present Cushion
You Will Need:
2 fat quarters of cotton fabric, 1 old and saggy cushion pad, usual sewing supplies.
Cutting Out
From the grey fabric, cut 8 squares 15 cm by 15 cm.
From the red fabric, cut 4 rectangles 9 cm by 15 cm, and 3 rectangles 35 cm by 9 cm.
For the bow, cut 2 rectangles 23 cm x 15 cm and 2 rectangles 6 cm x 10 cm.
When cutting out the red pieces, if you are using a directional print, check that the print is running the correct way.
Sewing the Front
1. Take 2 of the grey squares and 1 of the shorter red pieces. Join the squares to either side of the red piece along the long edges. Trim the seams and press.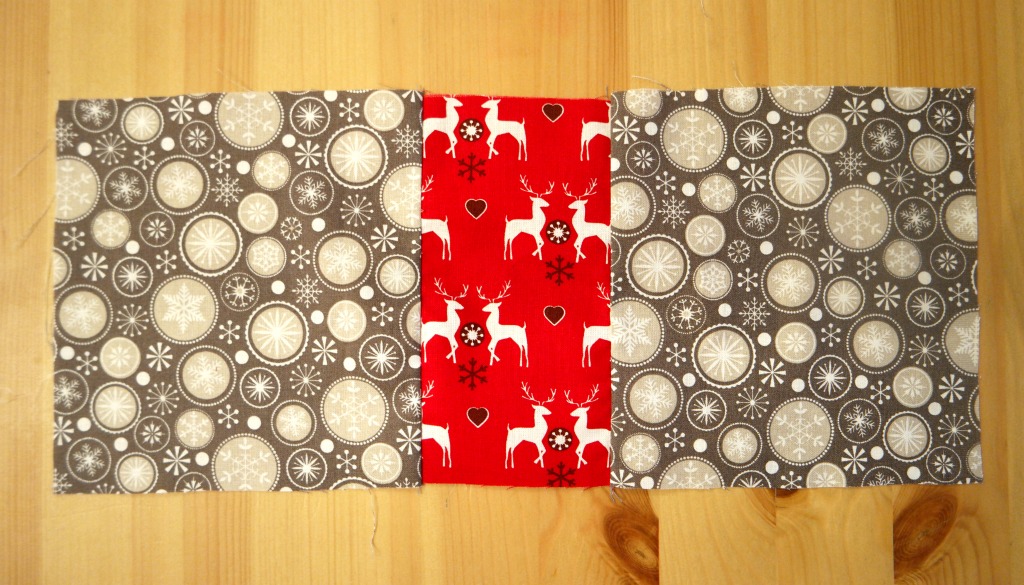
2. Repeat with 2 more grey squares and 1 red piece.
3. Take the 2 sections you make in the previous steps and 1 of the longer red rectangles. Sew the red and grey sections to the longer red rectangle, along the longer edges.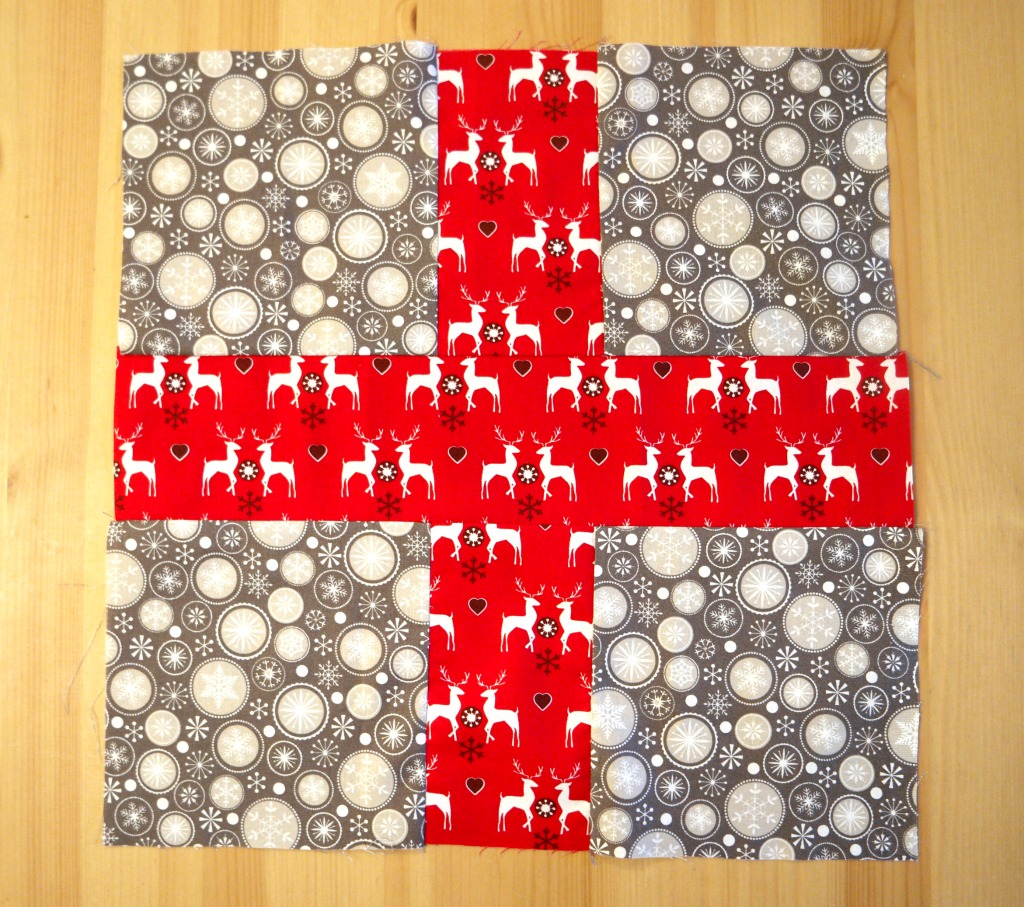
Try to ensure that the red bits are aligned before sewing so that it looks neat. And before you sew, check that the reindeer are all the right way up!
Sewing the Back
1. Sew the remaining grey squares and smaller red pieces together as you did for the front.
2. Take one of these sections and one of the longer red pieces. Sew the longer red piece to the bottom.
3. Repeat step 2, but this time sew the longer red piece to the top.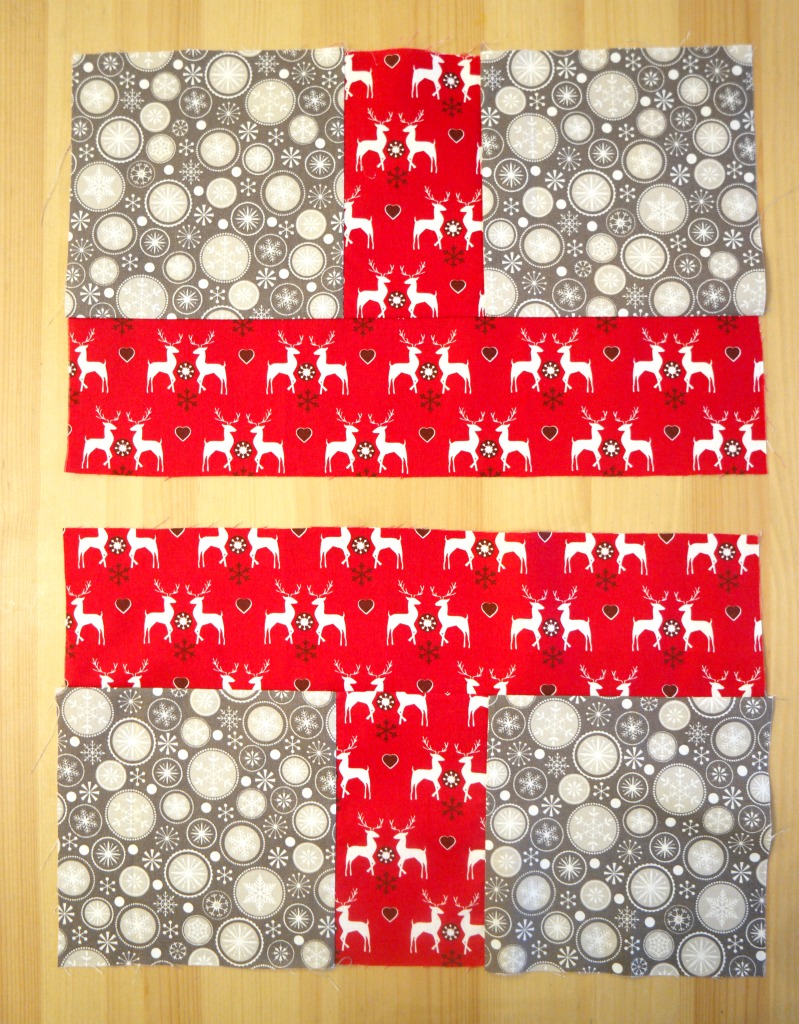
4. Hem both pieces along the red section. Press, then trim away any stray threads.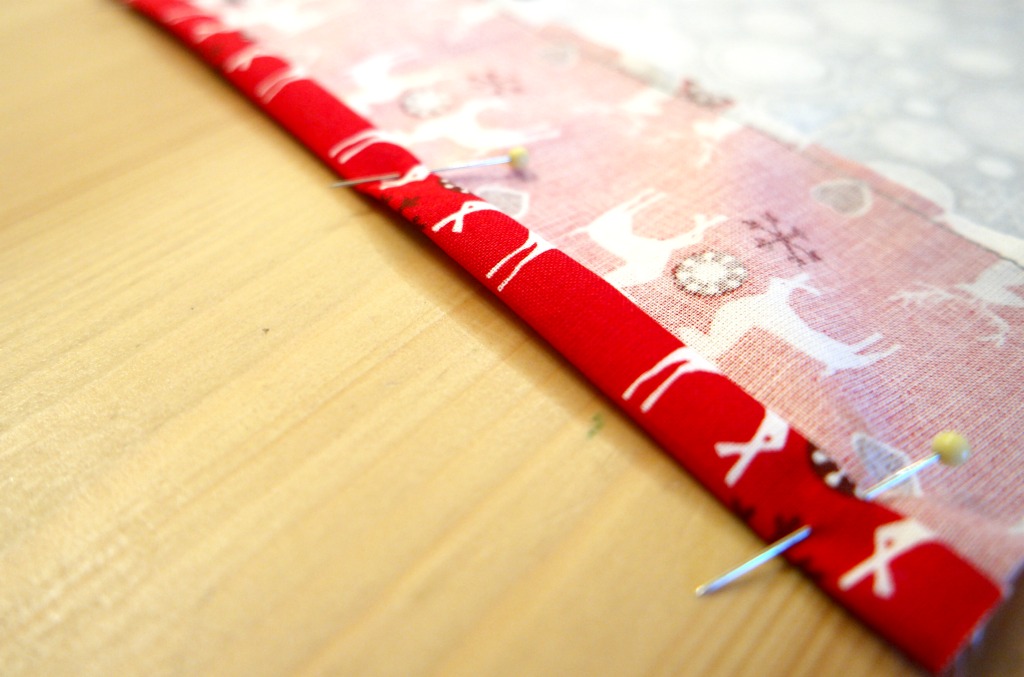
Making Up the Cushion
1. With the wrong sides together, place the top back section onto the front section. Make sure that the top and sides are aligned, and that the hemmed edge is in the middle of the cushion.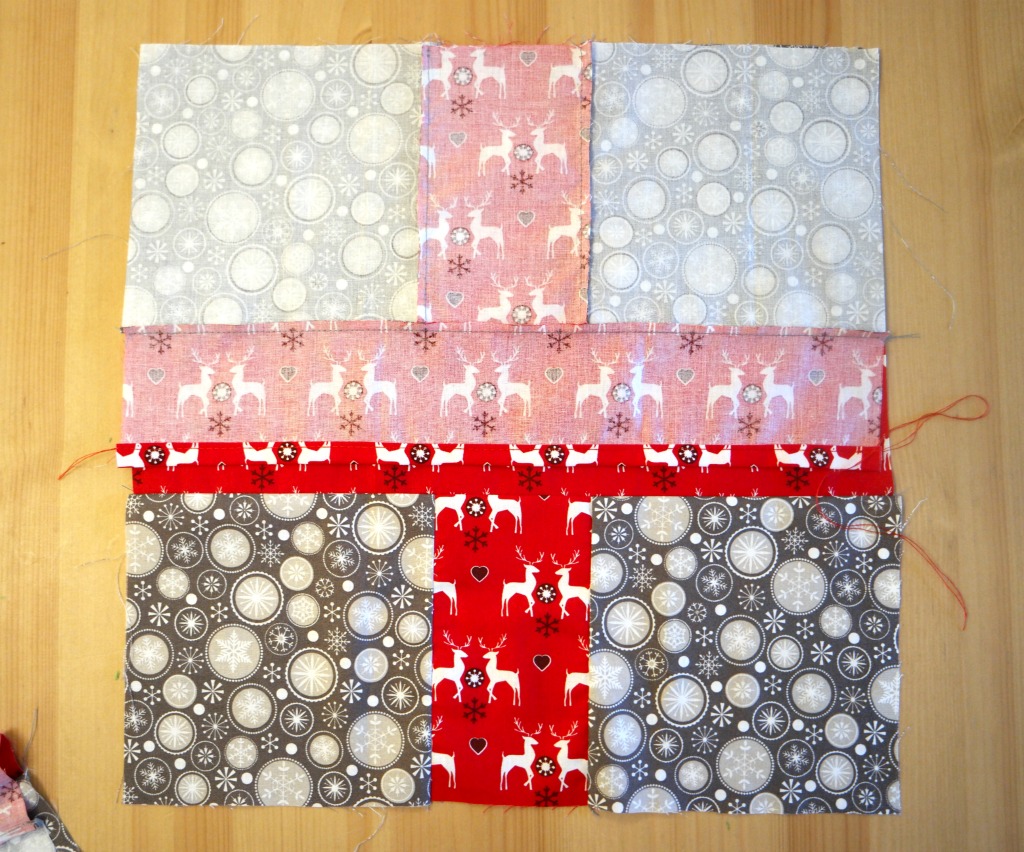
2. Place the back bottom piece over the top, this time aligning the bottom edges and the sides, again with the hemmed edge in the middle.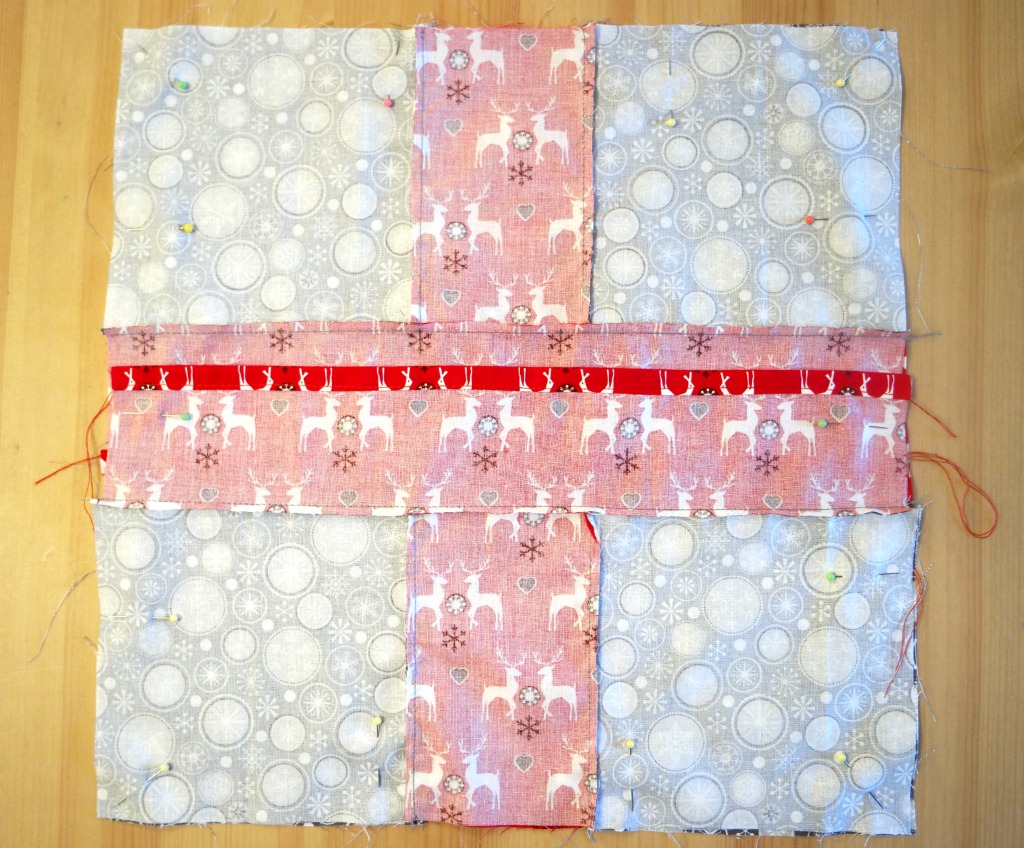
3. Pin it all in place, then sew all around the outside edge of the cushion cover. Trim the seams and cut across the corners. Turn the cushion cover the right way out.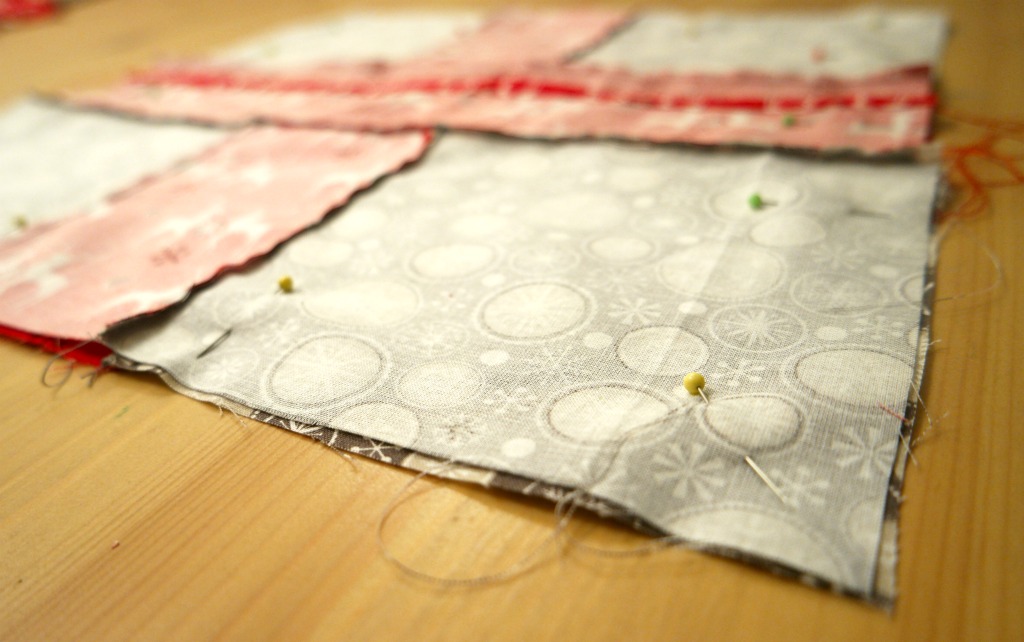
Making the Bow
1. Take the 2 larger rectangles and pin them with the right sides together. Sew around the outside, but leave a gap in one edge. Trim the seam and turn it the right way out.
2. Tuck the raw edges of the opening inside and top stitch all the way round.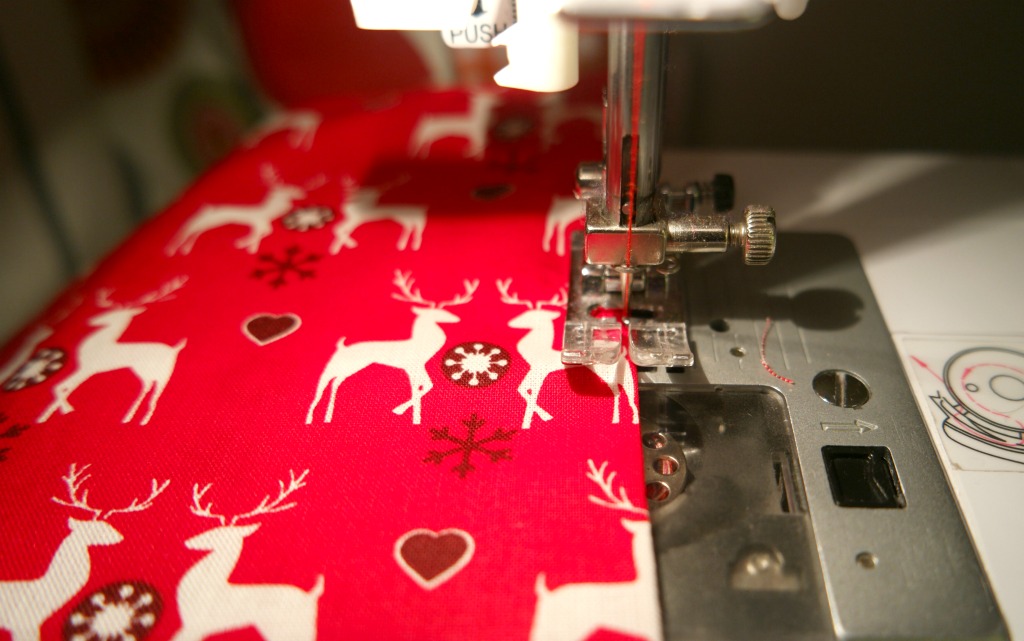
3. Repeat for the 2 smaller rectangles.
4. Take the larger rectangle and pleat it so that it looks like a bow. Wrap some thread around to hold it.
5. Take the smaller rectangle and put it over the middle of the bow, where you wrapped the thread. Pin it at the back, then hand sew where you pinned to hold the small rectangle in place.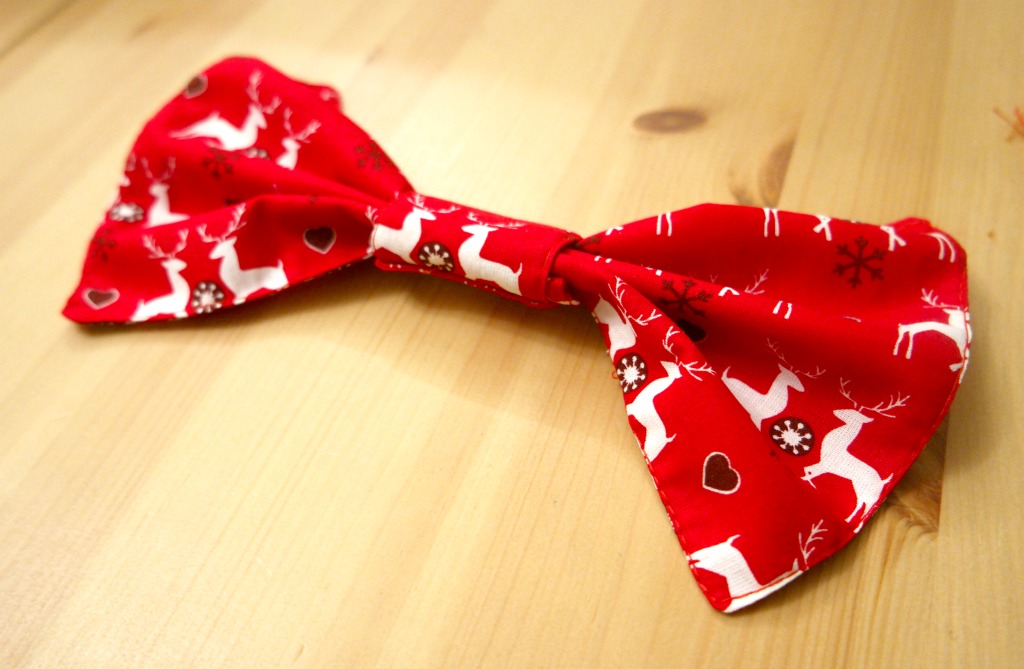
Attaching the Bow to the Cushion
1. Stuff your lumpy old cushion pad into the cover. You’ll notice immediately how much happier it looks! Pin the back sections together where they overlap.
2. Using doubled thread, sew a few stitches into the middle of the bow at the back. Insert the needle into the middle of the cushion and pull the thread right through to the back. Bring the thread back up through the cushion and into the bow. Pull it tight and tie off the thread.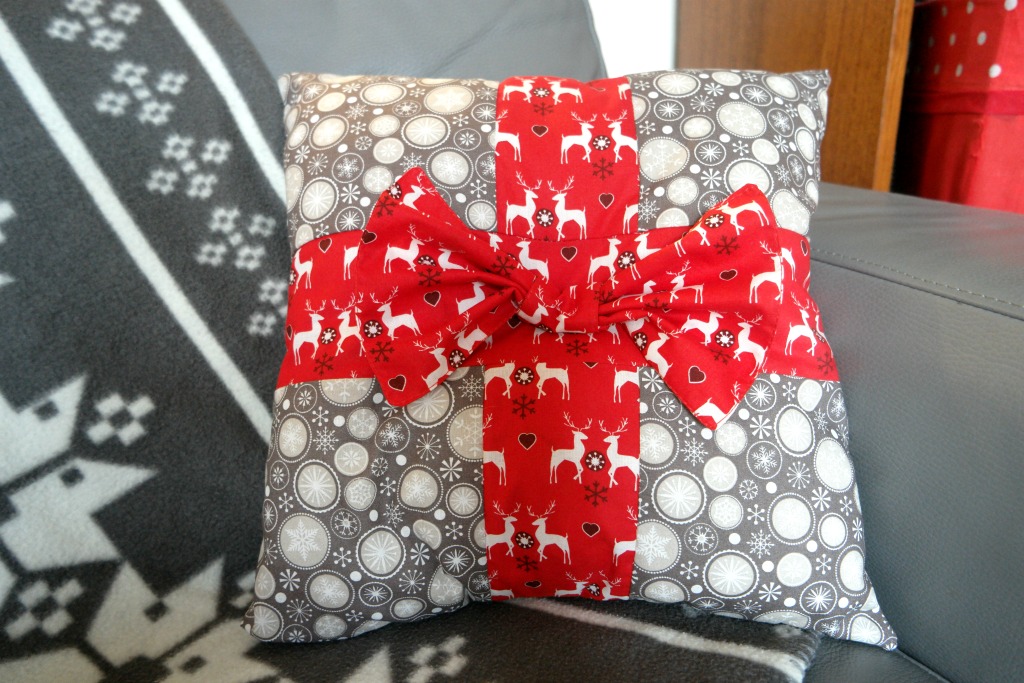
Your cushion is finished! You could use just one or two to Christmas up a cosy armchair, or you could make lots!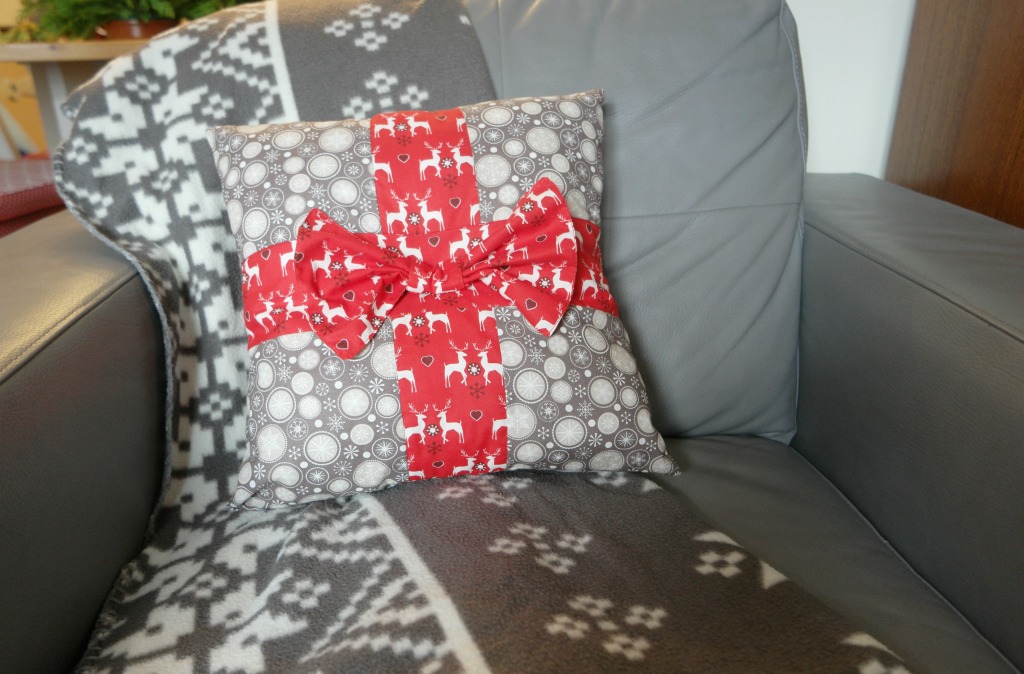


WAS 1/4 inch seam used?
Hi Joanne, sorry, yes, the seam allowance is a cm which I think is about 1/4 inch.
Anna, your present cushion cover is darling and your instructions so simple – I thank you. And you chose the perfect fabric for it! Like you, I prefer the envelope closure for my covers.
Kate recently posted…rained for a week ….
Thank you! I never use zips on cushion covers, it’s too much of a faff 🙂
Wow, your cushion looks fantastic. I love the present design, such a great idea.
Thank you 🙂
Such cute fabric Anna! Makes for a great cushion!
Jill recently posted…Challenge 4 – 12 Days of Christmas DIY Challenges
The fabric’s lovely isn’t it?
What a clever idea, Anna! I love your present cushion.
Pam @Threading My Way recently posted…12 Days of Christmas DIY Challenges ~ Cards from Boxes
Thank you xx