Cherry Blossom Embroidery Tutorial
Who doesn’t love cherry blossom?
Although I love winter, I’m looking forward to spring now. I spotted a daffodil last week, and I’ll be keeping a close eye on the cherry trees round the corner from my house!
For a few weeks every year, those trees are the most beautiful thing ever, and I’ll be finding lots of excuses to walk past them!
To remind me of those beautiful trees and that spring isn’t too far off, I’ve had a little go at some cherry blossom embroidery.
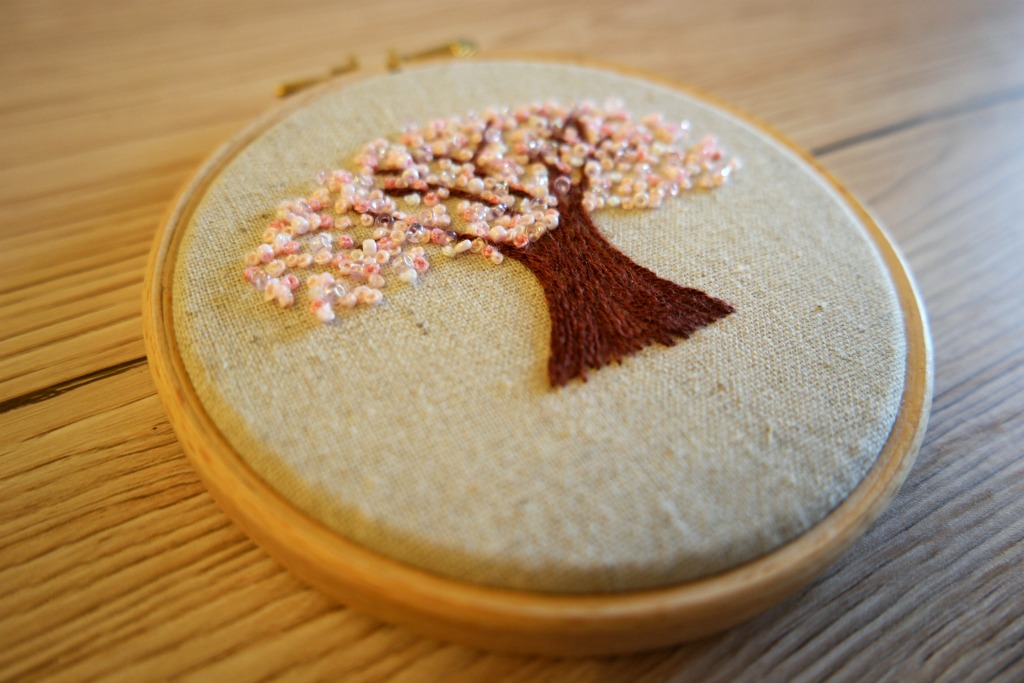
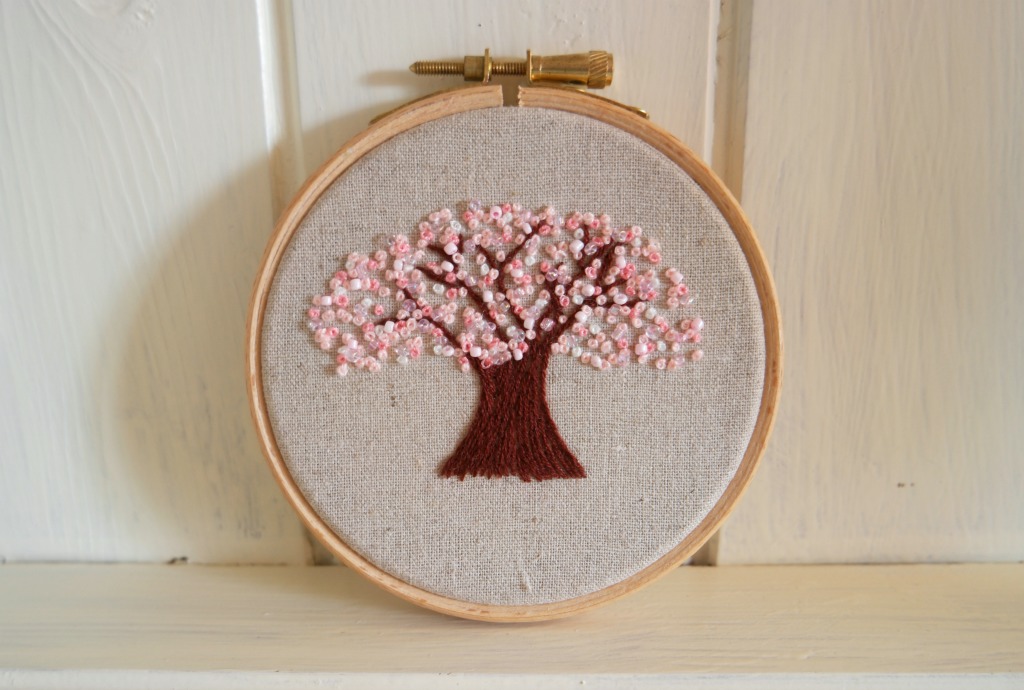
I used stem stitch for the trunk and branches, and French knots and seed beads for the blossom.
If you don’t want to draw your own tree, you can download the one I used here.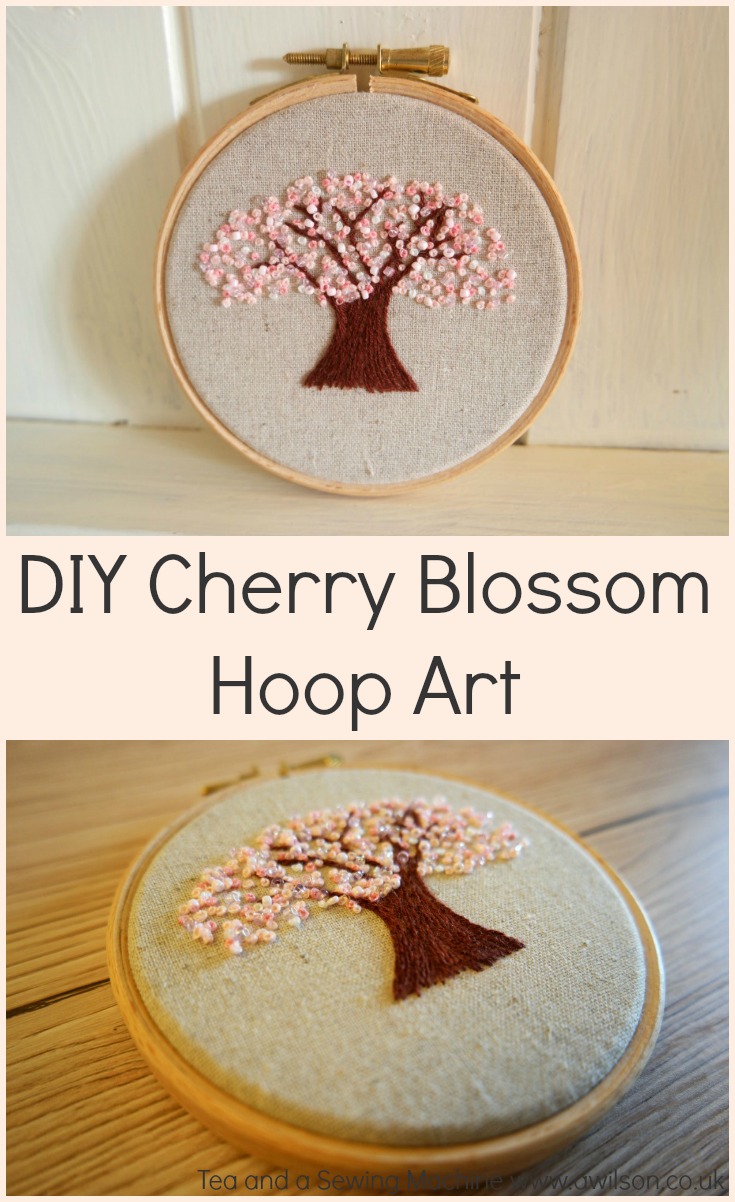
Cherry Blossom Embroidery
You Will Need
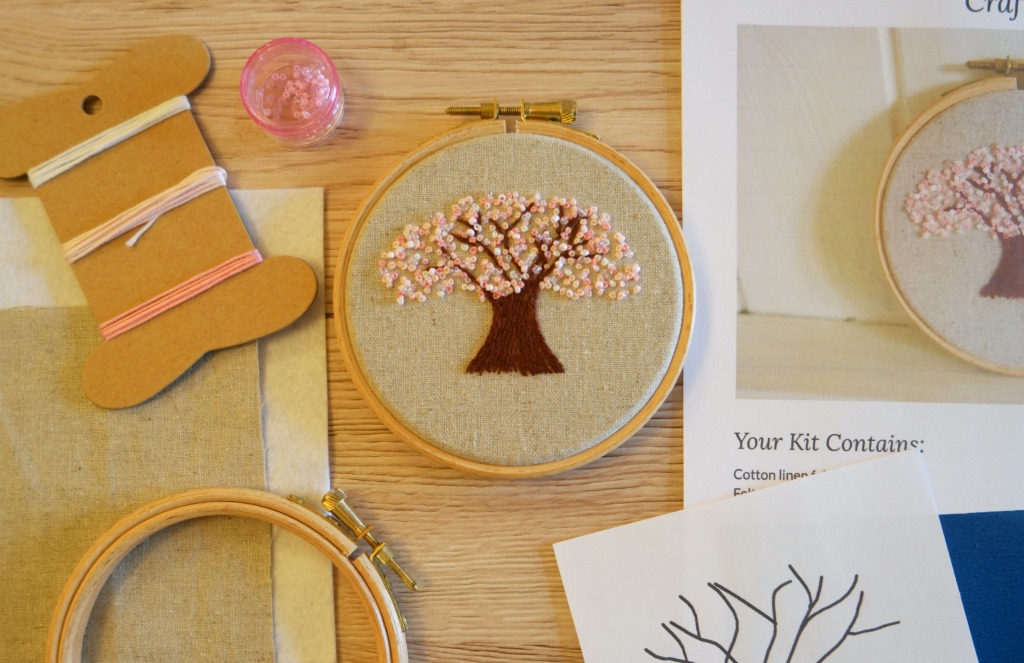
Fabric for the embroidery (I used a cotton linen blend), embroidery thread in pink and white, pink seed beads, a hoop for framing (you could also use this for the embroidering, although I found it easier with a larger hoop), felt for backing, sewing thread, needle, scissors, pencil.
I have some kits for sale for this project here on Etsy if you don’t fancy hunting down the stuff yourself.
Before You Start
I drew the trunk and the branches, but not the blossom. To make it easier to sew, I drew lines on the trunk that extended into branches.
If you are confident at drawing, you could draw the tree directly onto the fabric. Otherwise, have a practice on a piece of paper first, or download the one I used, then transfer the design to the fabric.
To do this, you could either use dressmakers’ carbon paper or a light box.
Embroidering the Cherry Tree
1. Using stem stitch and 2 strands of embroidery thread, start embroidering the trunk. Where you can, extend the lines of the trunk into branches. There’s a tutorial for stem stitch here if you need one.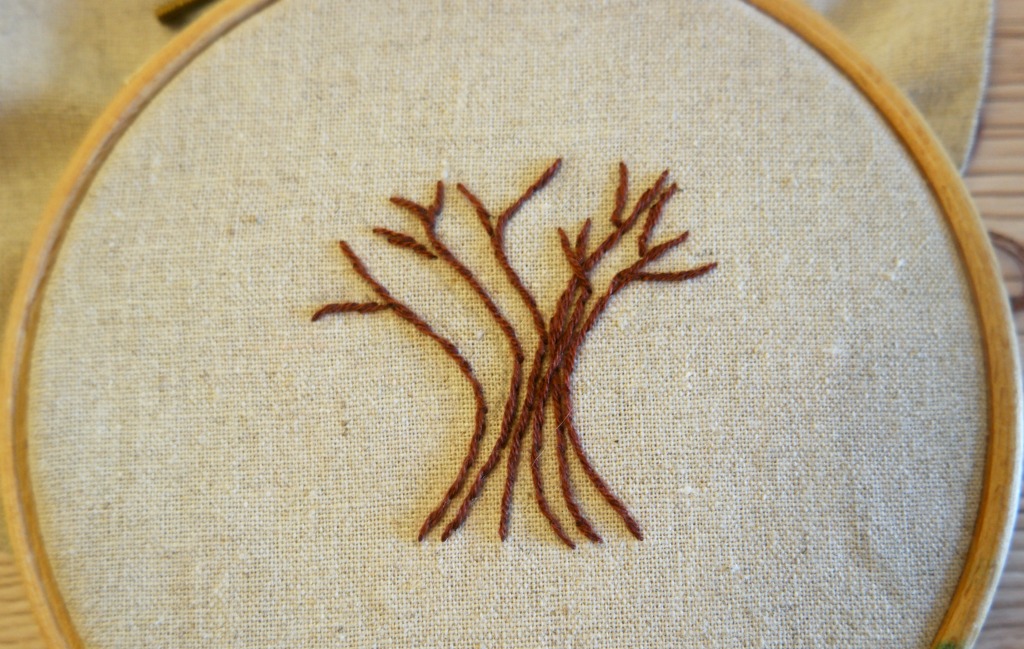
2. Where there are gaps in the trunk, fill them with stem stitch.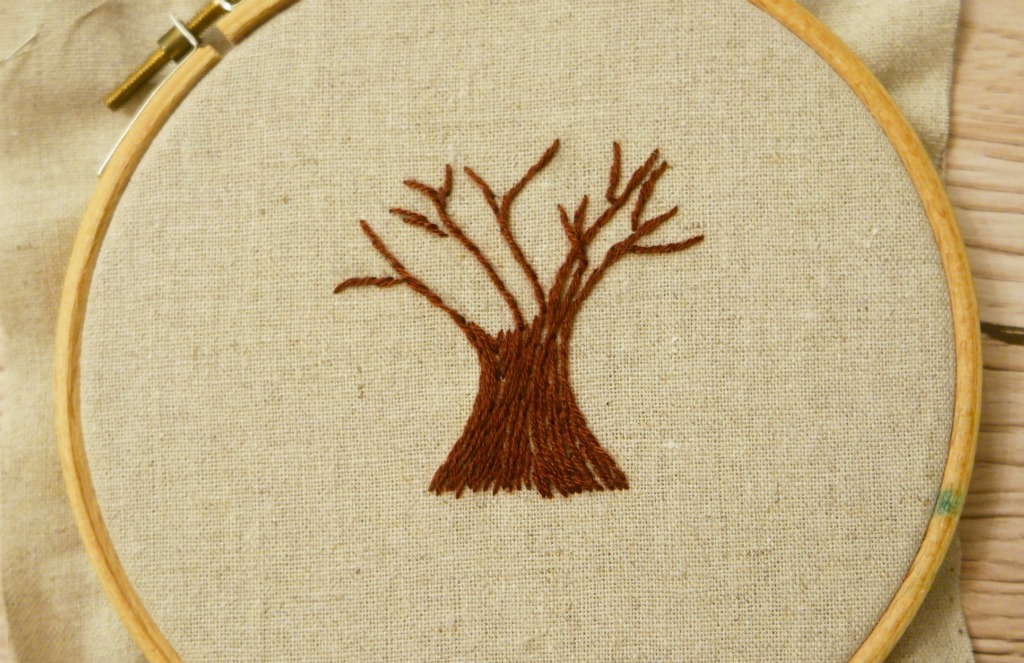
3. Using 2 strands in a darker shade of pink, embroider some French knots. Sew some near the trunk and branches, and others in the space around them.
If you need a tutorial for French knots, there’s one here.
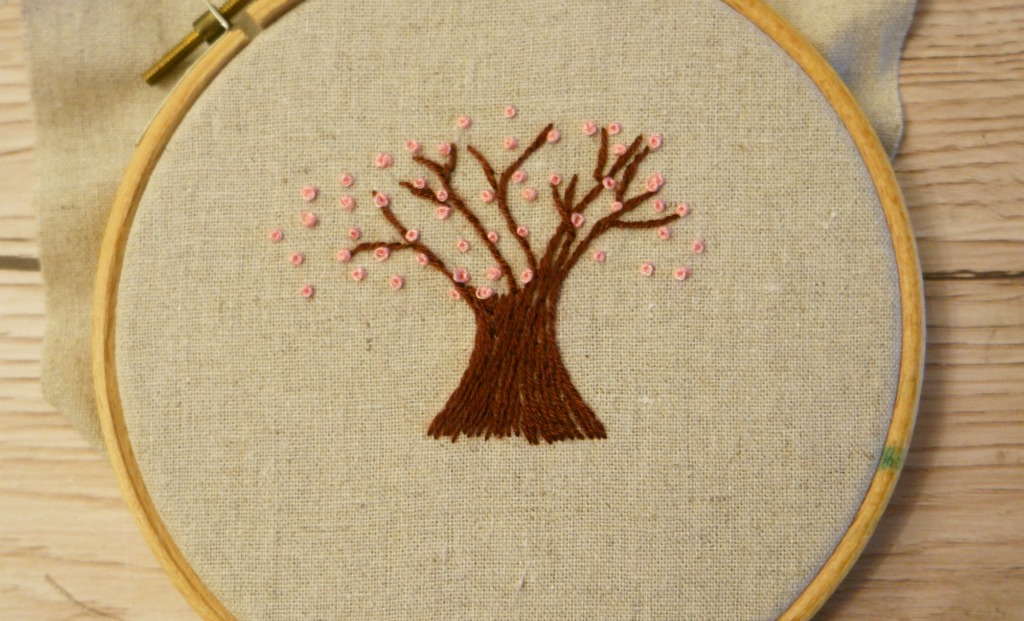
4. Take the lighter shade of pink and sew more French knots near the branches and in the spaces. Try to keep a tree shape. Unless you want to make a tree with not much blossom, you will need to sew French knots past the ends of the branches.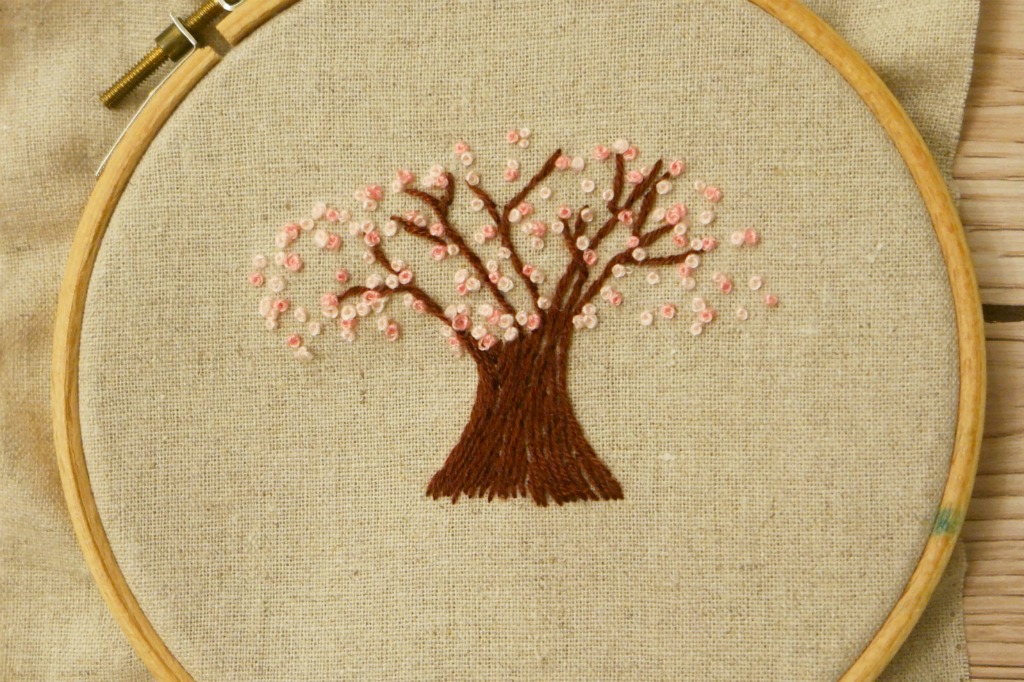
5. Add some French knots in white.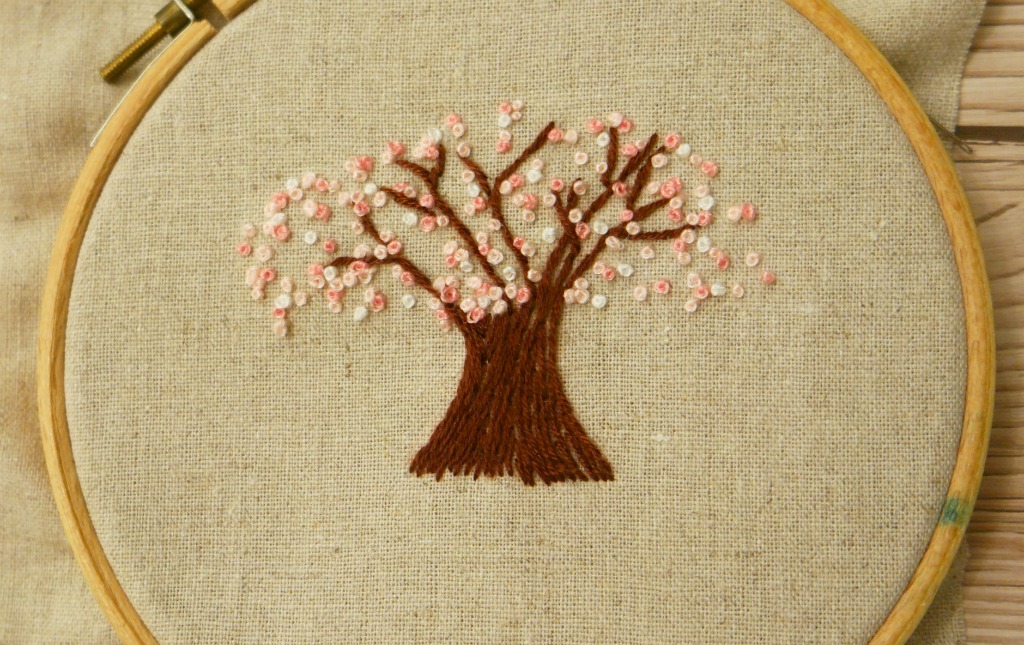
6. Fill in the spaces some more with more pink, until you’re happy with how it looks.
7. Sew some seed beads in between the French knots. I used about 20 opaque beads and about 30 translucent ones.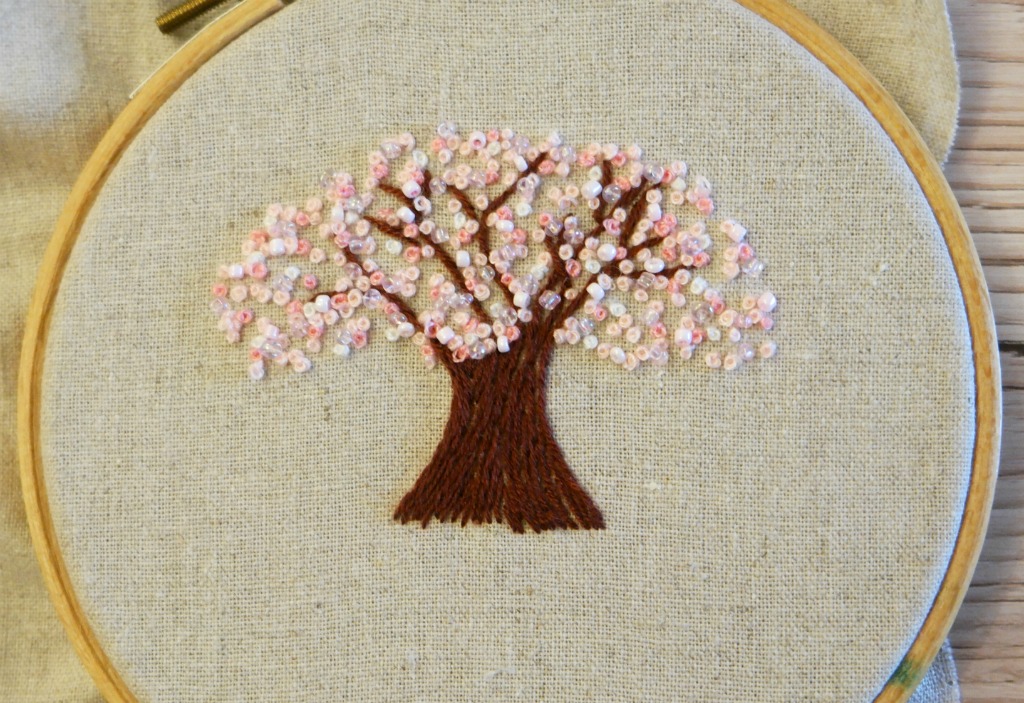
Finishing the Embroidery
1. Take the hoop you’re planning to use for displaying your embroidery. Remove the inside ring of the hoop and place it over the embroidery. Draw round it.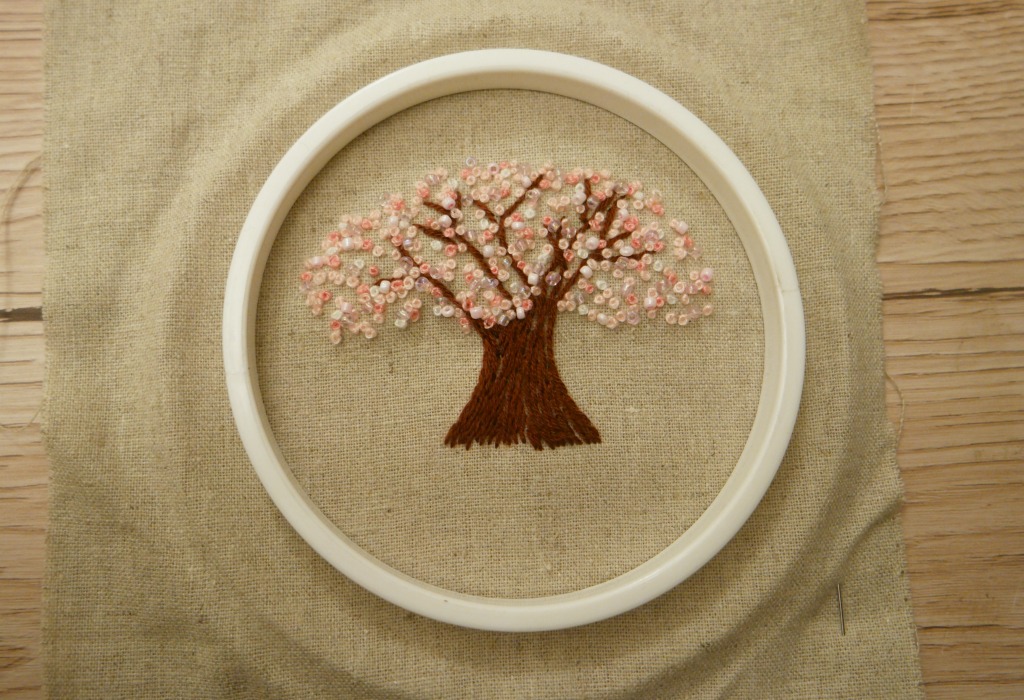
I’d recommend doing this on the wrong side, which I didn’t do and immediately regretted it!
2. Using the same part of the hoop, draw round a piece of felt. Cut it out.
3. Trim the embroidery down to 2 – 3 cm away from where you drew.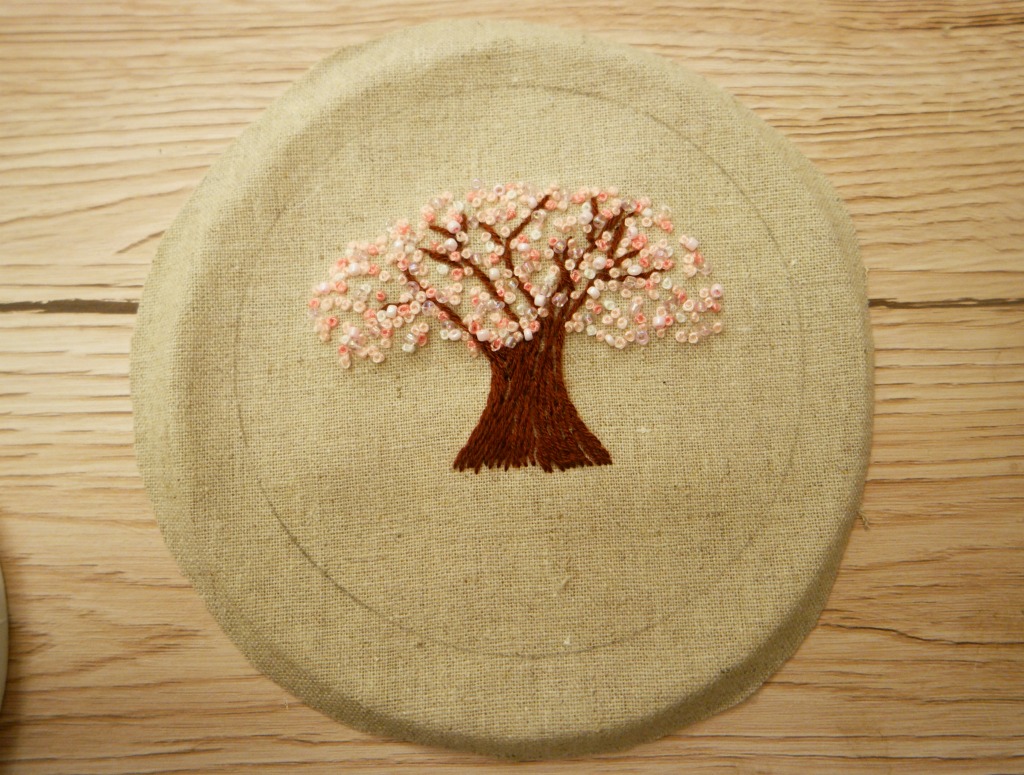
4. Put the embroidery into the hoop. Sew a running stitch around the excess fabric at the back and pull it tight.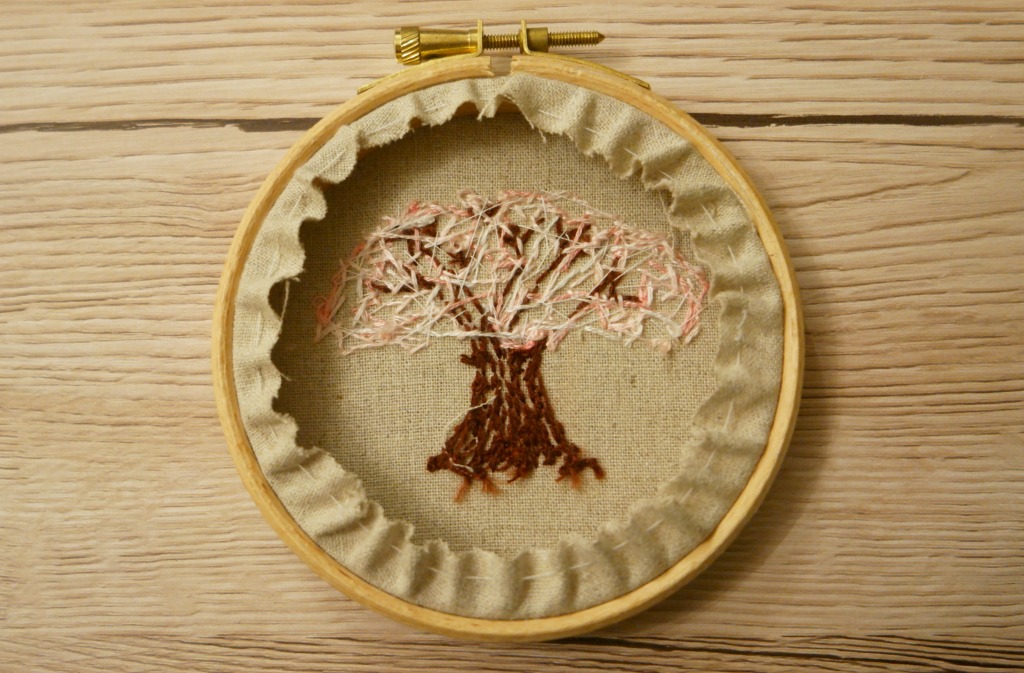
5. Sew the felt to the back of the embroidery.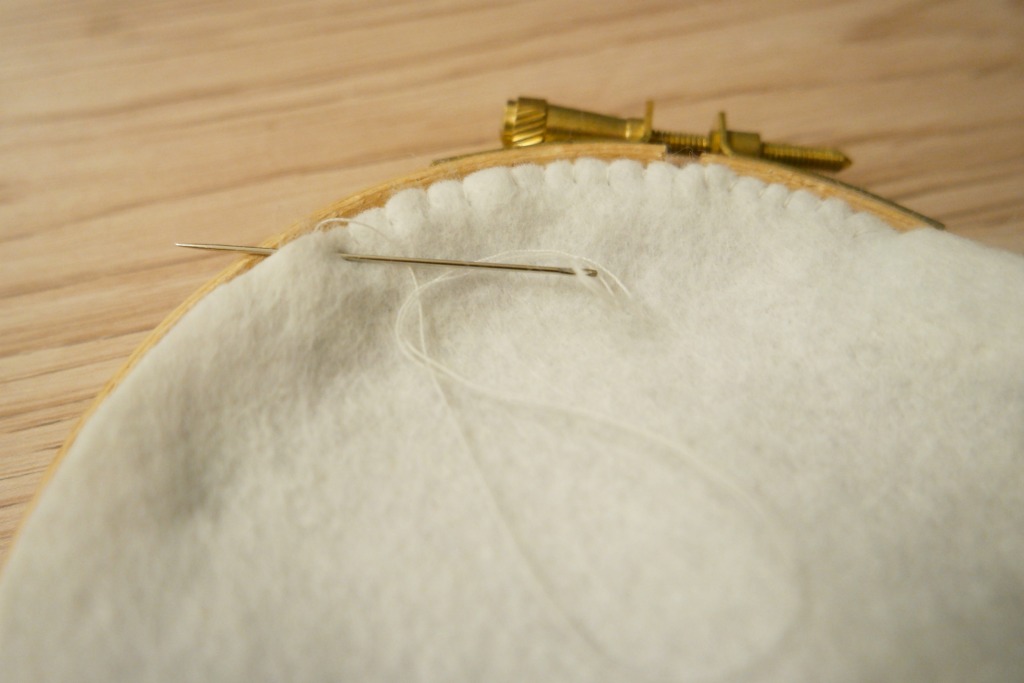
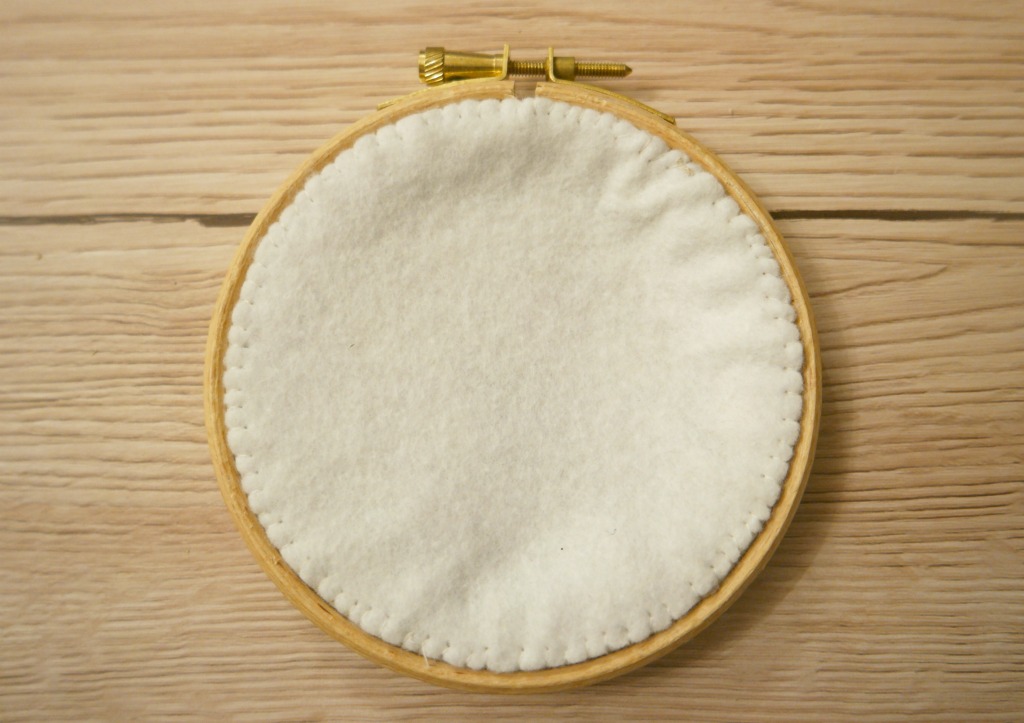
Now you have a little bit of spring to enjoy all year round!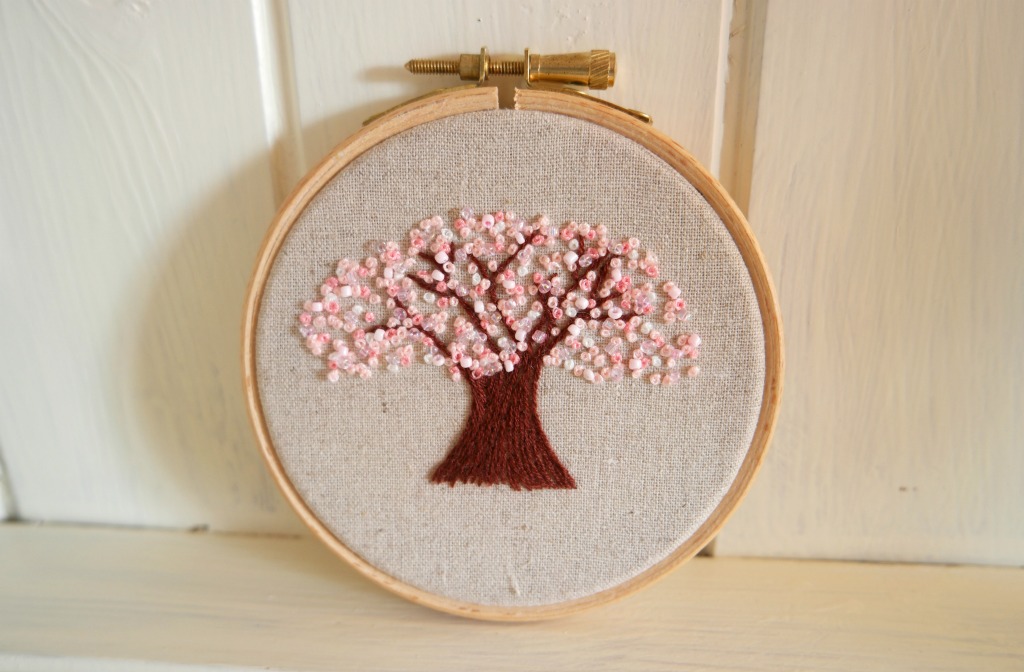
 If you’d like to buy a kit with all the materials included, I have some for sale on Etsy here.


Very pretty thanks for this freebie!
You’re welcome 🙂