Cherry Blossom Dress Sewalong Stage 8: Finishing the Raw Edges With Bias Binding
It’s the last stage ladies!
Today we’re finishing all the raw edges with bias binding.
The advantage of using bias binding is because it stretches a little bit, it makes it much easier dealing with the curve of the circle skirt than it would if you hemmed it normally. Binding the armholes and the neckline remove any need to sew facings, which to be honest normally cause me a bit of headache!
There are 2 ways to finish a raw edge with bias binding. For this dress, I did a bound hem, and this is what I’m going to show you how to do here. If you’d prefer to do them in such a way that they’re hidden, here’s a tutorial I wrote last year showing how to this.
Before You Start
You will need:
Your dress
Bias binding
Pins
Scissors
Sewing machine
Sewing a Bound Hem With Bias Binding
For the arm holes and the neck, cut a piece that is slightly longer than you need to go all the way round. For the hem it is easiest to leave it on the roll.
Fold the bias tape in half lengthways. When sewing the hem, it’s best to do this as you go. Then open it out.
Starting at a seam and with the bias tape open, fold the end of the bias tape over, then pin it to the raw edge of the fabric on the wrong side.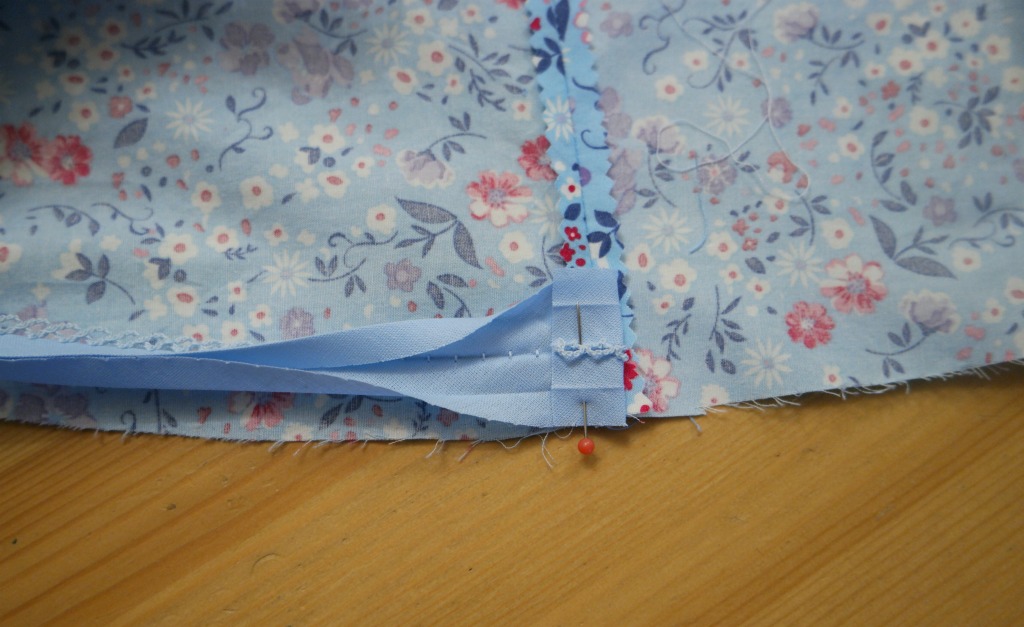
Sew the tape to the fabric, keeping close to the fold. When you get back to where you started, keep on going a little bit so that the ends overlap.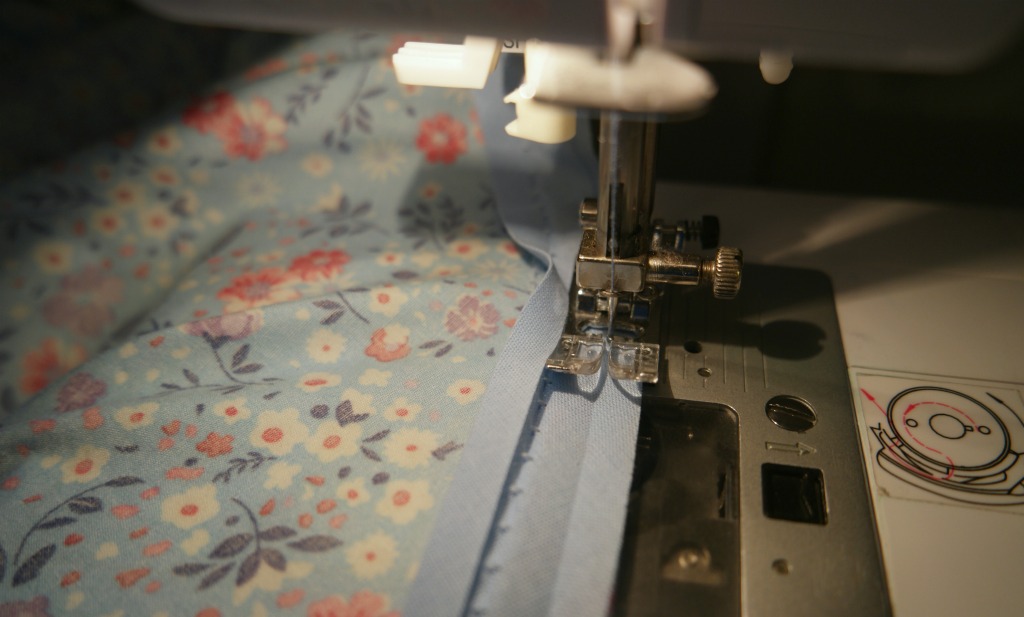
Fold the bias binding over the raw edge so that the edge of the bias binding is enclosed. Start in the same place as before and top stitch all the way round.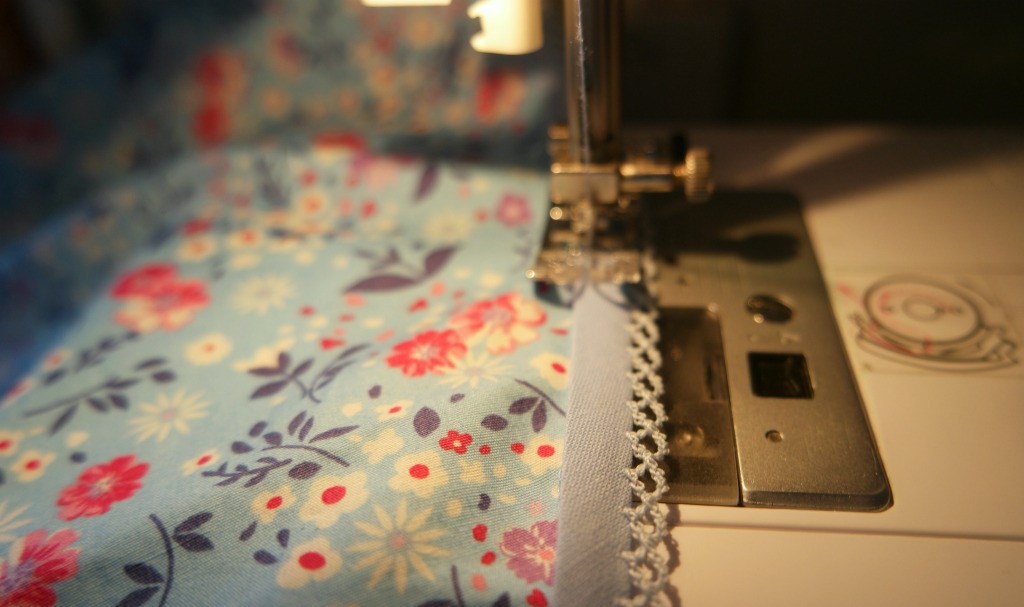
All that’s left to do now is to trim away any loose threads and run the iron over it.
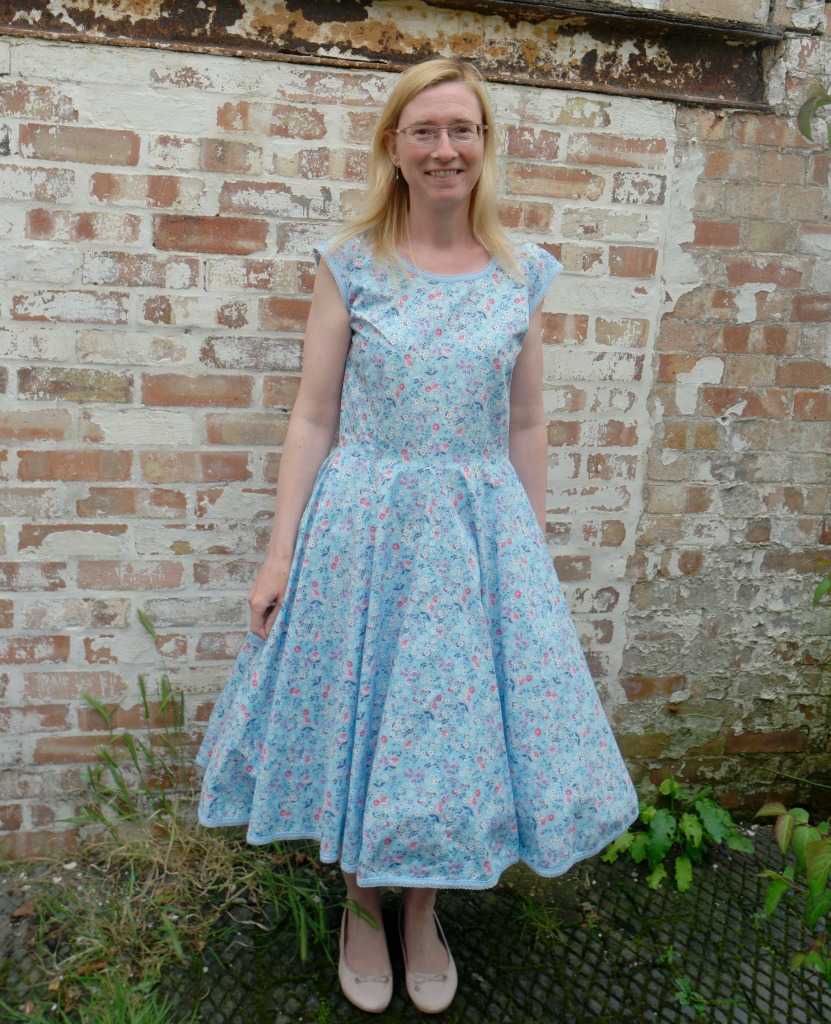
Here’s my finished dress. The foofiness is achieved by a petticoat I bought from Amazon (this is an affiliate link).
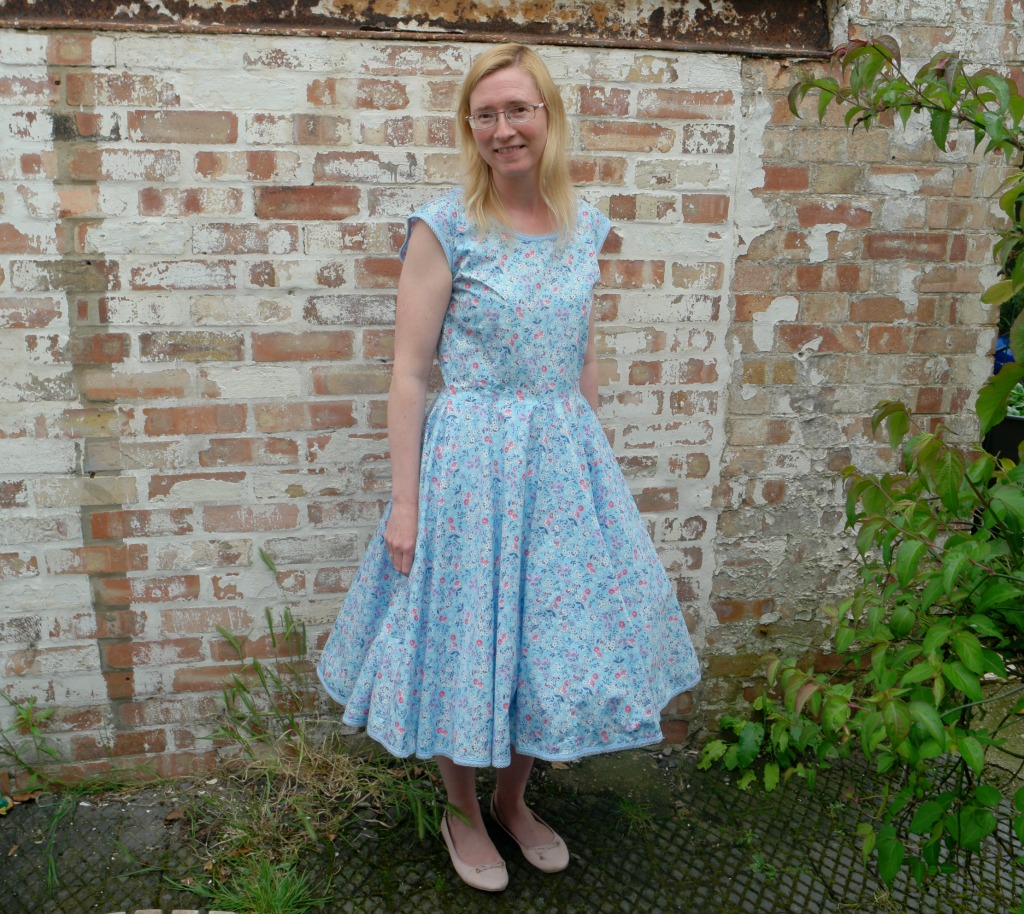 I hope you’ve enjoyed the sewalong! I’d love to see your dresses when you’ve finished them, so feel free to share them on the Tea and a Sewing Machine Facebook page, or on Instagram with the hashtag cherryblossomdresssewalong.


Leave a Reply