Cherry Blossom Dress Sewalong Stage 5: Sewing the Skirt Front and Back and Attaching Them to the Bodice
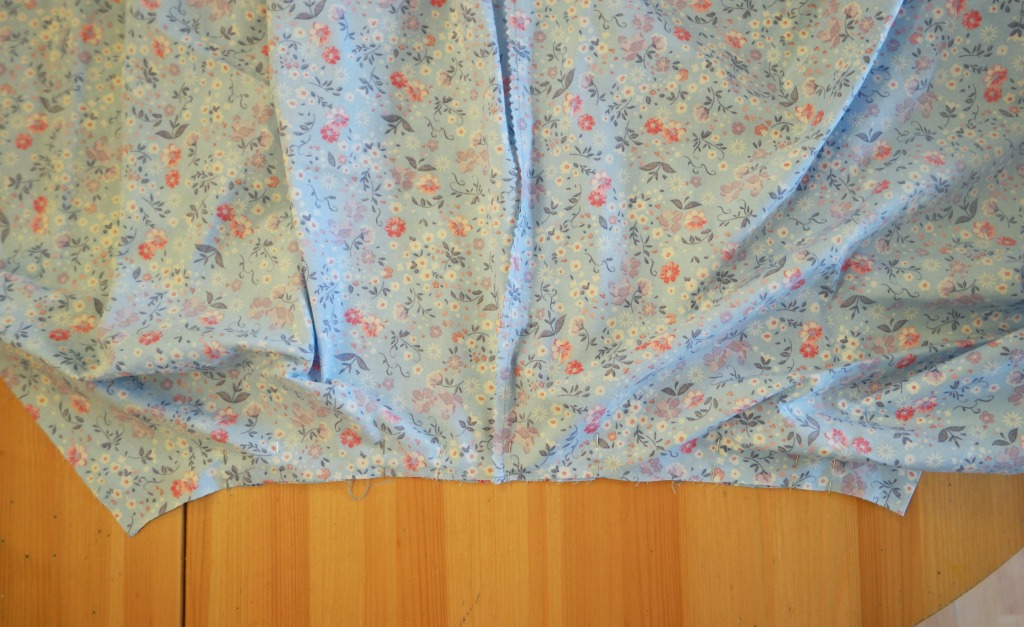
Today we’re going to be making the skirt front and back and attaching these to the bodice sections.
Before You Start
You’ll need:
Dress pieces you’ve cut out
Pins
Scissors
Sewing machine.
Sewing the Skirt Pieces
Take 2 of your quarter circle skirt pieces and pin them together along one of the straight edges.
Ideally the grain needs to run up and down the centre seam so that the skirt hangs nicely.
If you remembered to cut 2 pieces face up and 2 face down, take one of each.
If you can’t remember where the grain is, gently pull the fabric one way, then the other. The way with the least give is the grain.
When you’ve sewn the centre seam, trim the seam and press it open (or to the side if you prefer).
Repeat for the other 2 skirt pieces.
Sewing the Skirt to the Bodice
Take one skirt section and one bodice piece.
Find the centre of the waist edge of the bodice by folding it in half. You might want to mark it with a pin, or you could just press it with your finger.
Match the centre seam of the skirt to the centre of the bodice and pin. Then working outwards, pin the skirt to the bodice.
Sew the waist seam, taking care that the waist darts in the bodice are facing the right way, then trim it. Press the seam downwards.
You might find yourself with a little bit more skirt than bodice. Don’t worry because you can trim this down later if you need to.
The next stage will be sewing the shoulder and side seams, then it will start to look like a wearable dress!


Leave a Reply