Cherry Blossom Dress Sewalong Stage 4: Sewing the Darts in the Bodice
This step’s a nice quick one!
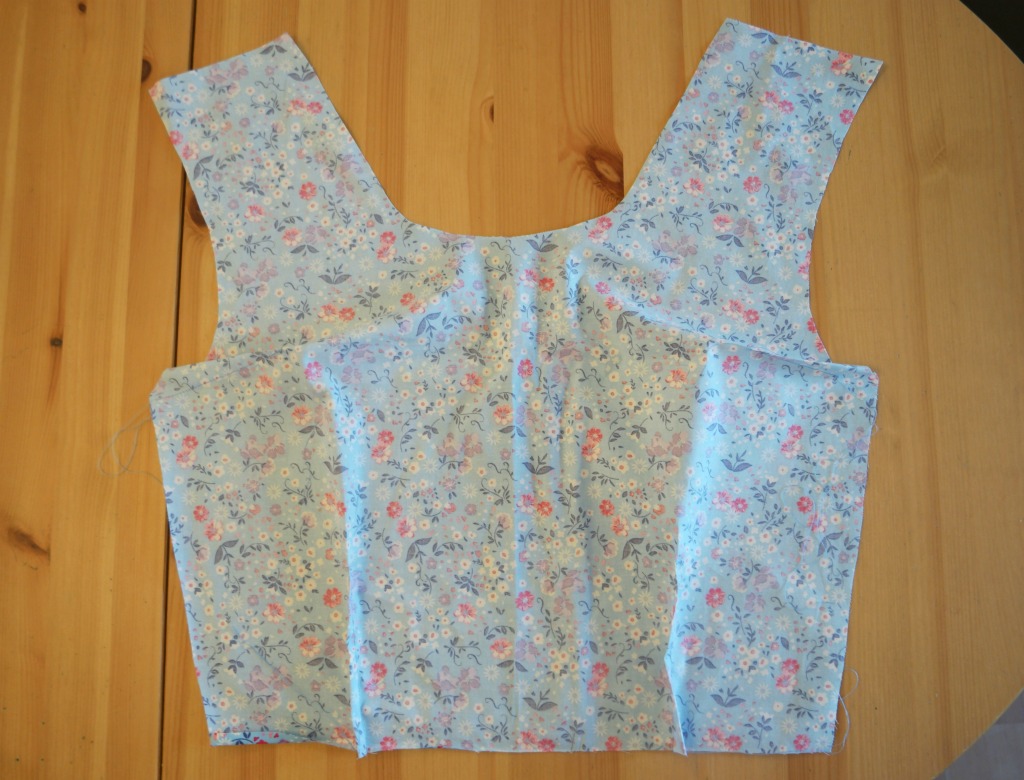
Today we’re going to be adding darts to the bodice. There are 4 darts in total, 2 at the sides and 2 at the bottom.
If you haven’t sewn darts before, a dart is a small, triangular shaped tuck usually found in tops, bodices and the tops of skirts.
Their purpose is to give the garment some shape. It enables you to turn a flat piece of fabric into a 3D thing that also allows for curves and that fact that women’s bodies are not cuboid.
Before You Start
You’ll need your bodice front and the pattern piece, and:
Pins
A ruler or a tape measure
A pencil or a fabric pen, or tailors’ chalk
Sewing machine
Iron and ironing board
Pinning the Darts
Transfer the dart from the pattern to the fabric. The easiest way to do this is to mark the point, then the legs, then join them up.
To mark the point of the dart, pin the pattern piece to the fabric. Make a hole in the pattern with a pin, wiggle it about a bit to make the hole bigger, then rub tailors’ chalk or a pencil over the hole to leave a mark on the fabric.
Mark the open end of the dart (often referred to as the dart legs), with chalk or pins.
Join the legs to the point, with chalk again or a pencil.
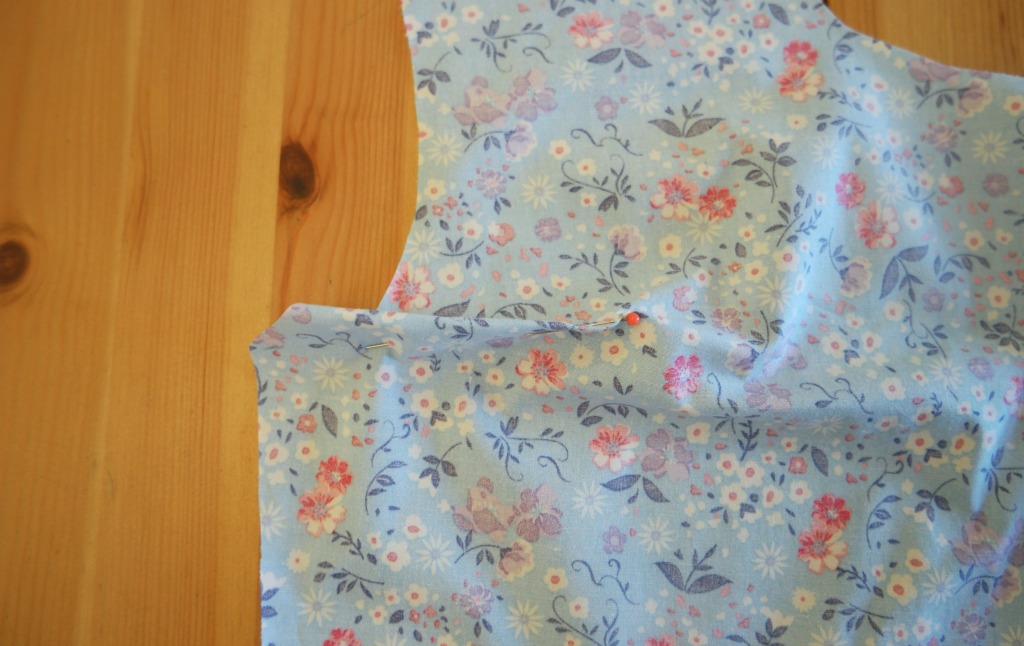
Fold the dart in half so that the legs are together and pin.
Sewing the Darts
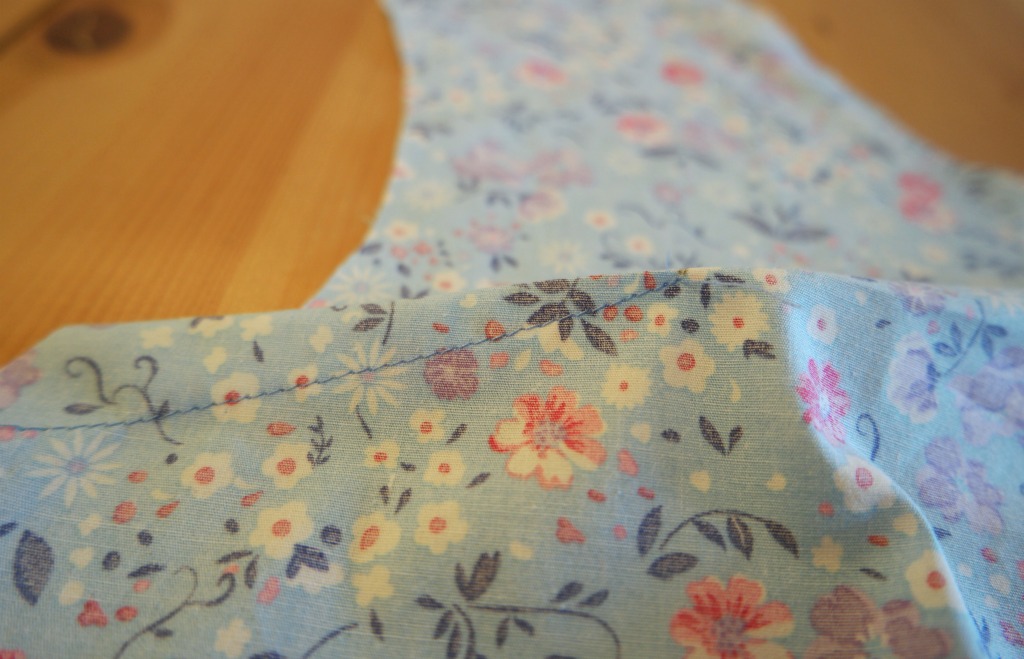
Starting at the open end of the dart, sew along the legs.
Don’t sew right to the point of the dart as you might get some puckering and bumpiness. Instead, stop sewing a couple of mm before you get to the point.
It’s a good idea to avoid backstitching too for the same reason. You can pull the threads through to the wrong side instead, just take care not to pull too tightly.
Press the side darts downwards, and the waist darts outwards towards the sides.


Leave a Reply