Now that Boy 4 is 2 1/2, he’s at that stage where not taking the buggy seams like a good idea. A few hours into the day though, and I’m wishing that I had it! That boy weighs a ton. I have well developed arm muscles from carrying him around, but they still get tired!
I don’t especially like pushing the pushchair with nobody in it because I need my hands to grab Boy 4! Carrying a folded pushchair even more of a pain because it is not designed to be carried around folded up.
So I’ve made a carry strap! I’ll be able to take the buggy with me and still have my hands free!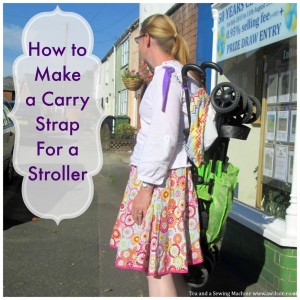
The strap itself is quilted so that it is comfortable and the slide buckles make it adjustable.
The strap attaches to 2 separate sections that are tied onto the buggy. I considered a number of options here that included buttons and velcro, and decided that knots were probably safer!
How to Make a Carry Strap For a Stroller
You Will Need: fabric (I used ripstop), wadding, 4 D rings, 2 lobster clasps, 2 sliding buckles.
To Make the Tied On Sections
1. Cut 4 pieces of fabric about 3 cm wide and 12 cm long. Fold in half lengthways then open out. Fold the raw edges inwards, then fold in half again. 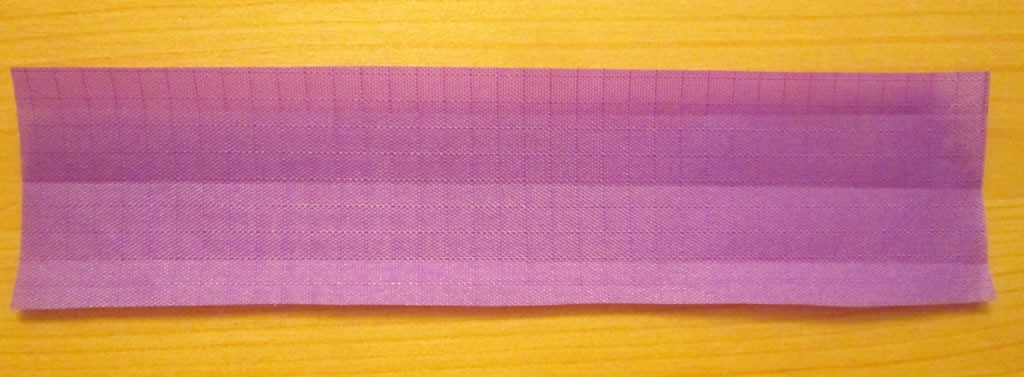 Sew the edges together.
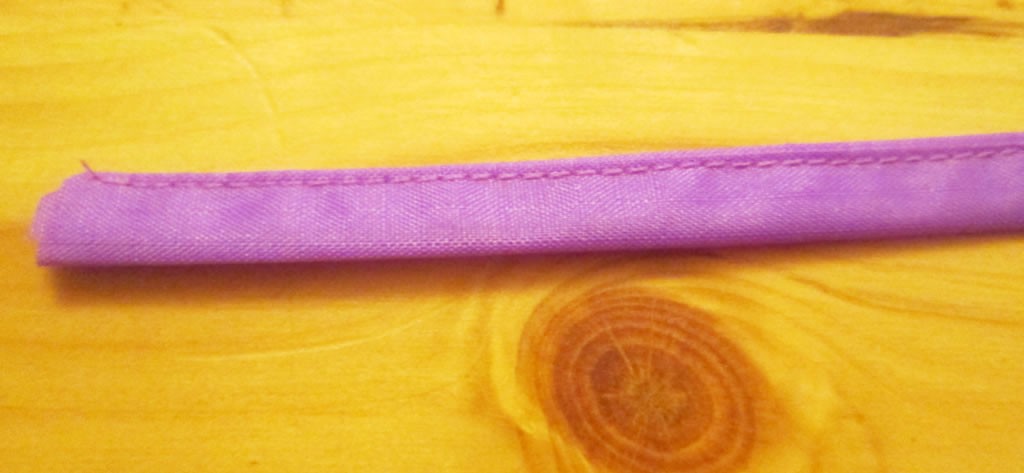
2. To attach the D rings, you will need to cut 4 pieces of fabric that are the same width as the D rings in the middle and the same width as the ties at the ends. I thinks technically this shape is an octagon as it has 8 sides,but a normal octagon shape wouldn’t work here!
3. Take two of the weird octagons and, with the right sides together, sew the sides together leaving the ends open. 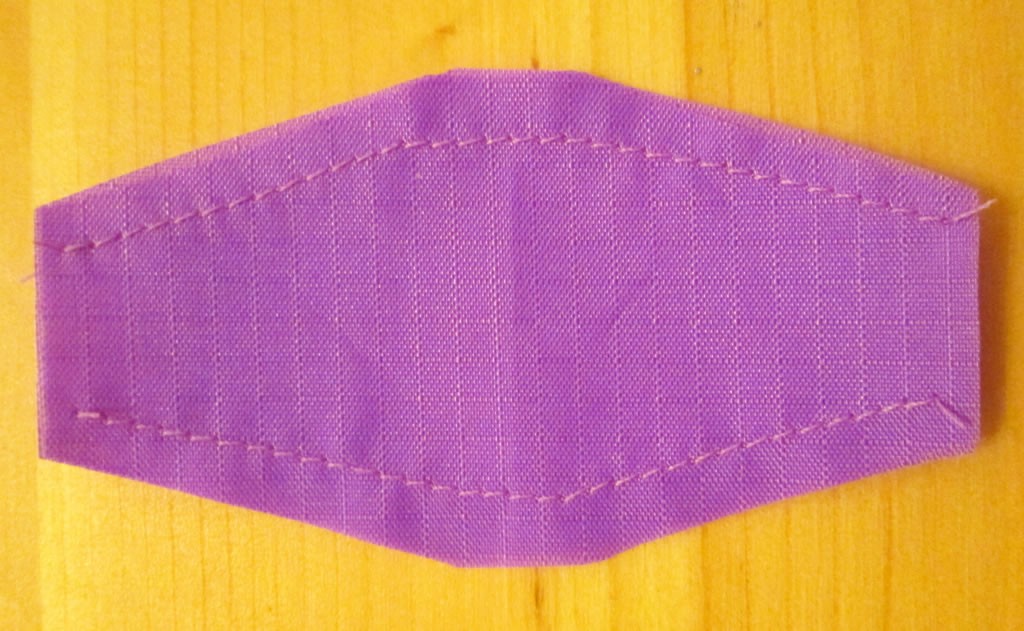 Repeat for the other weird octagons. Turn them the right way out. It’s tricky doing this; I used a safety pin.
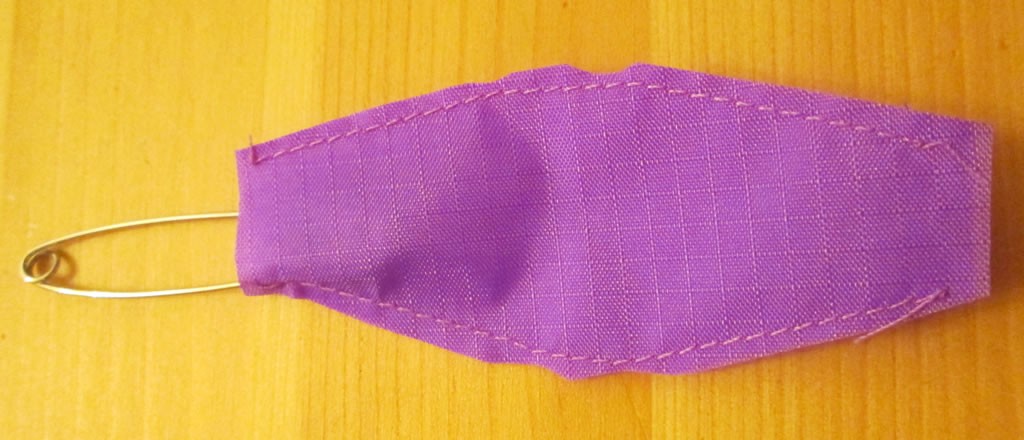
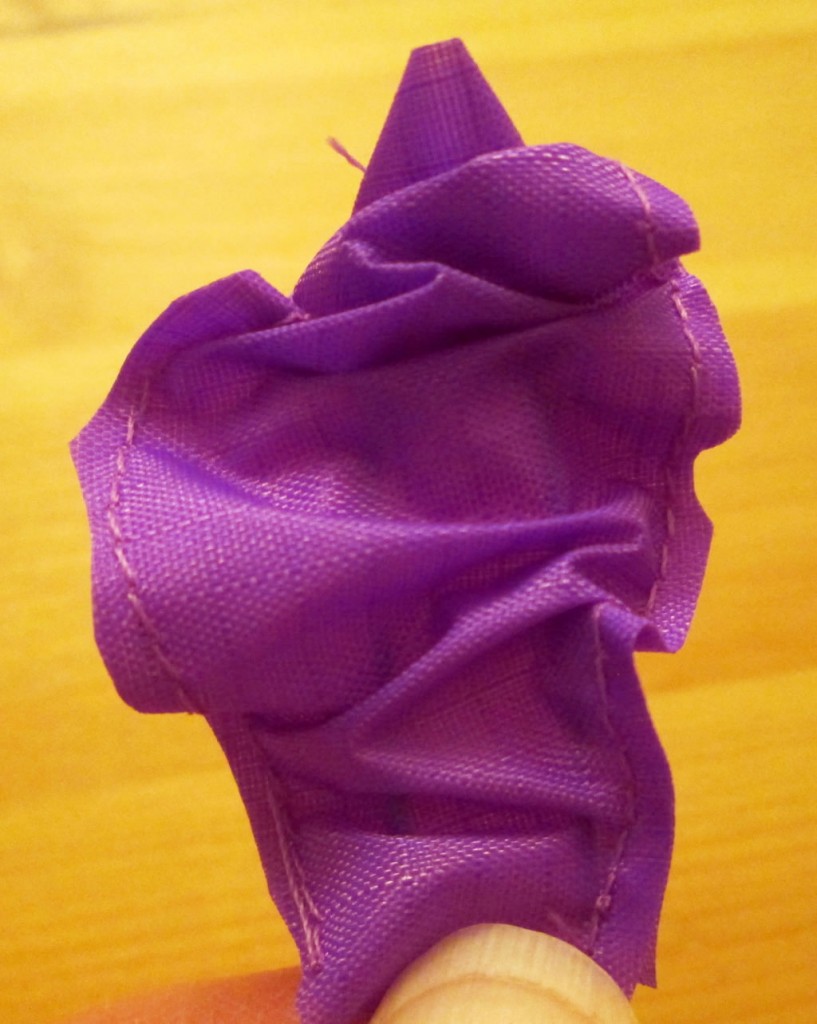

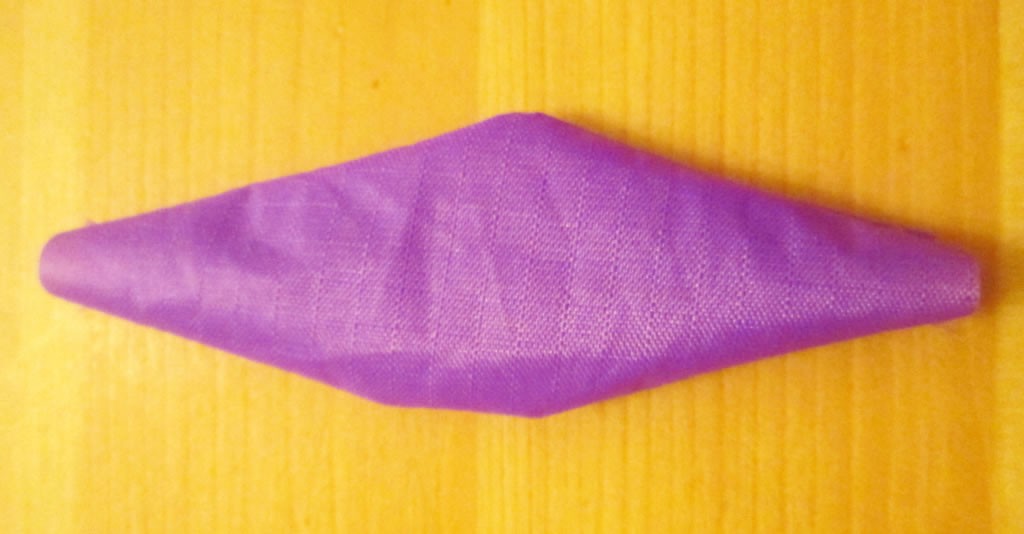 I was very worried about the fabric tearing, then I remembered that it must be called ripstop for a reason!
4. Tuck one of the ties into one of the open ends and sew in place. Repeat for the others.
5. Slip a D ring onto one of the sections. Fold it in half with the D ring enclosed, then sew, keeping close to the D ring. I used the zip foot here so that I could get nice and close. 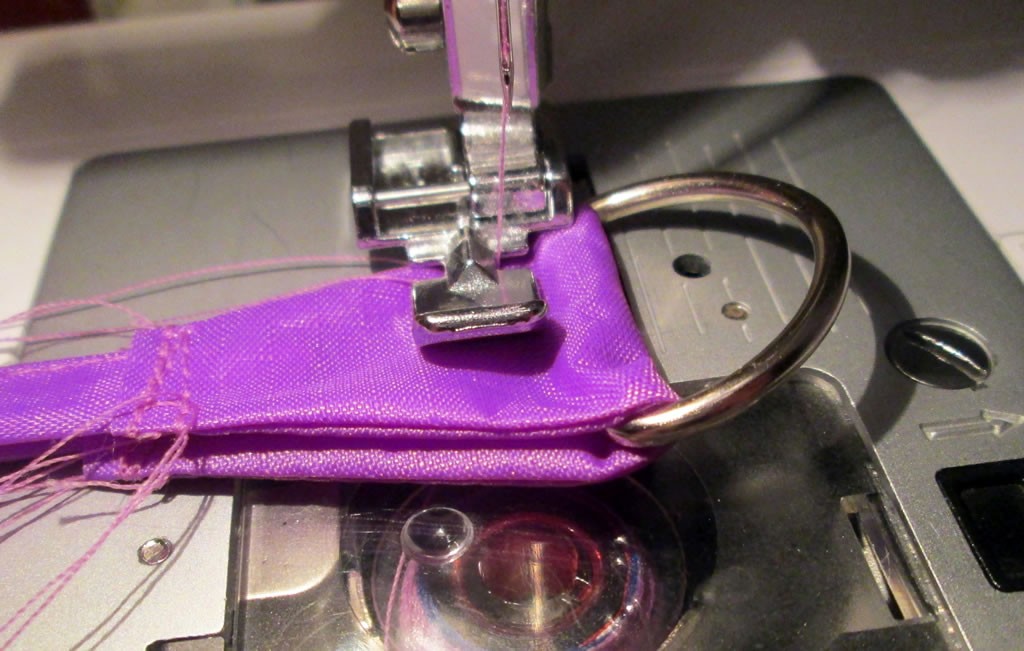 Repeat for the other section.
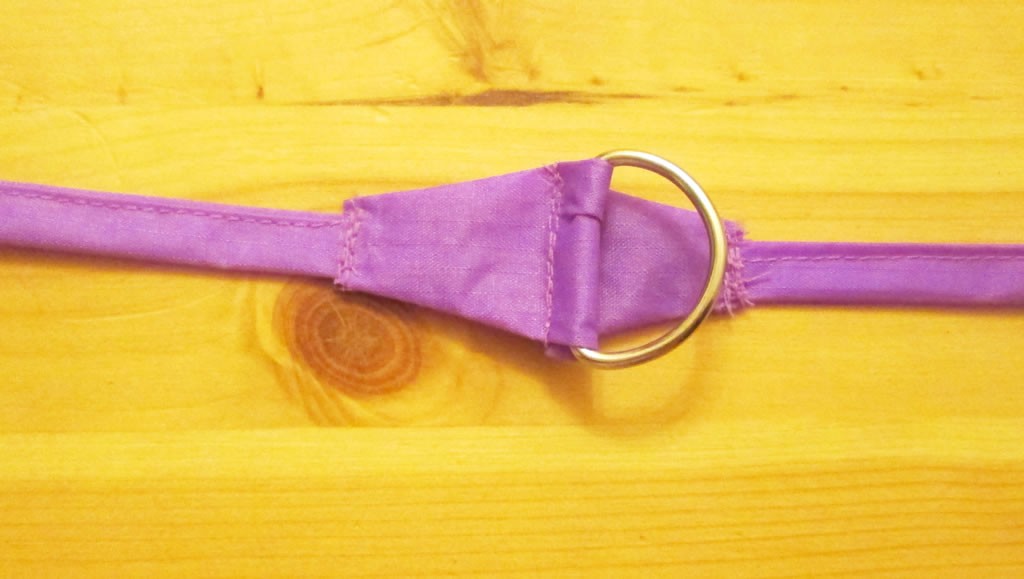
To Make the Strap
1. Measure yourself from your shoulder to your opposite hip and add 15 cm. You will need to cut a piece of fabric this length and 16 cm wide. Cut a piece of wadding the same length and 7 cm wide.
2.Fold the fabric in half lengthways and press with your finger to crease it. Open it out, then fold the edges inwards about a cm.
3. Pop the wadding on top of the fabric on one side. 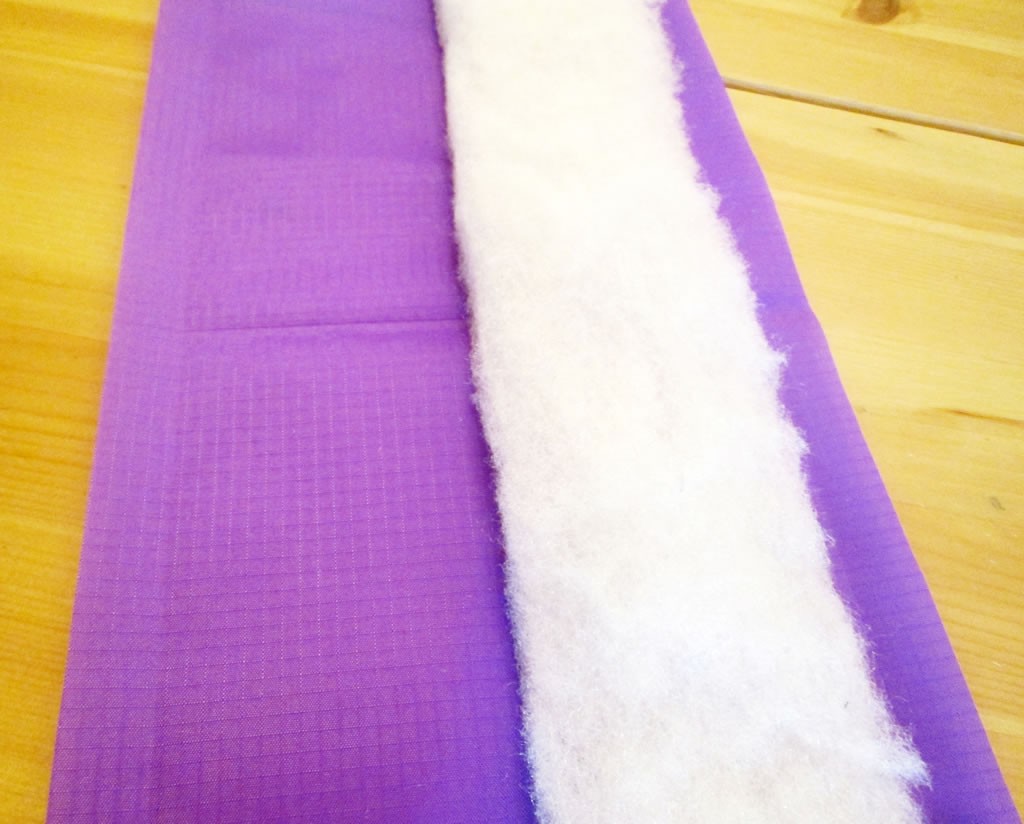 Fold the fabric over and tuck the edge underneath the wadding. Fold the other edge inwards as well. As pin marks would show on the ripstop, I used hair grips to hold it instead. Paper clips would probably also work.
 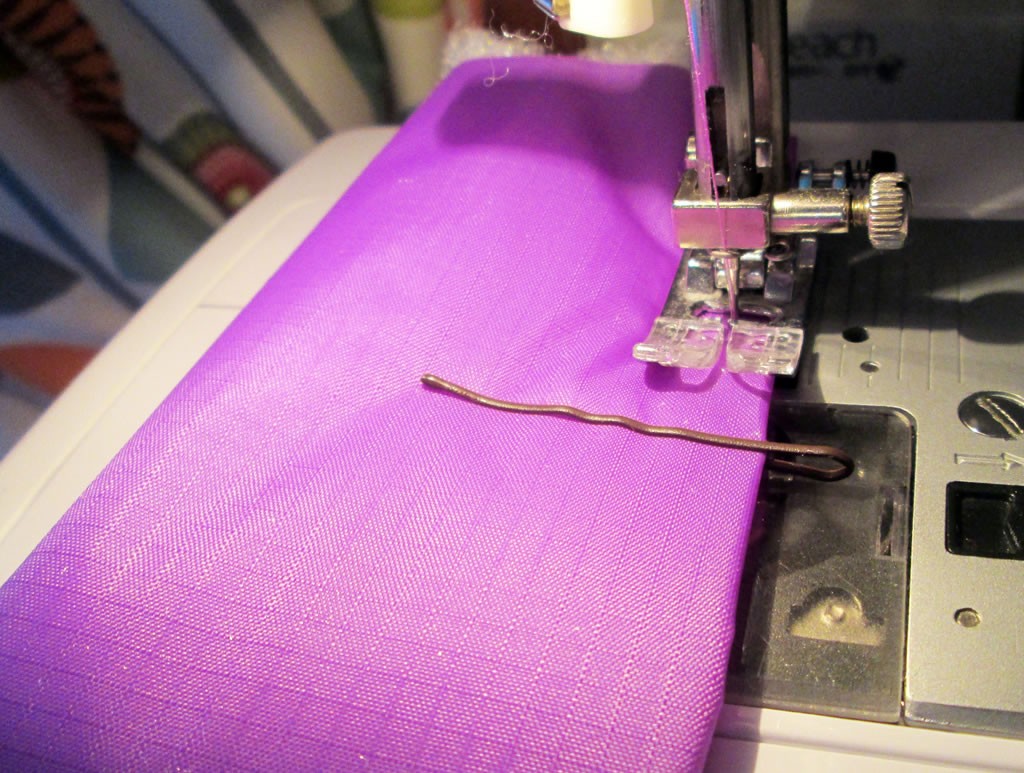 Sew along both the long edges.
4. Now you can start quilting! I just did up and down for easiness, using the edge of the presser foot as a guide.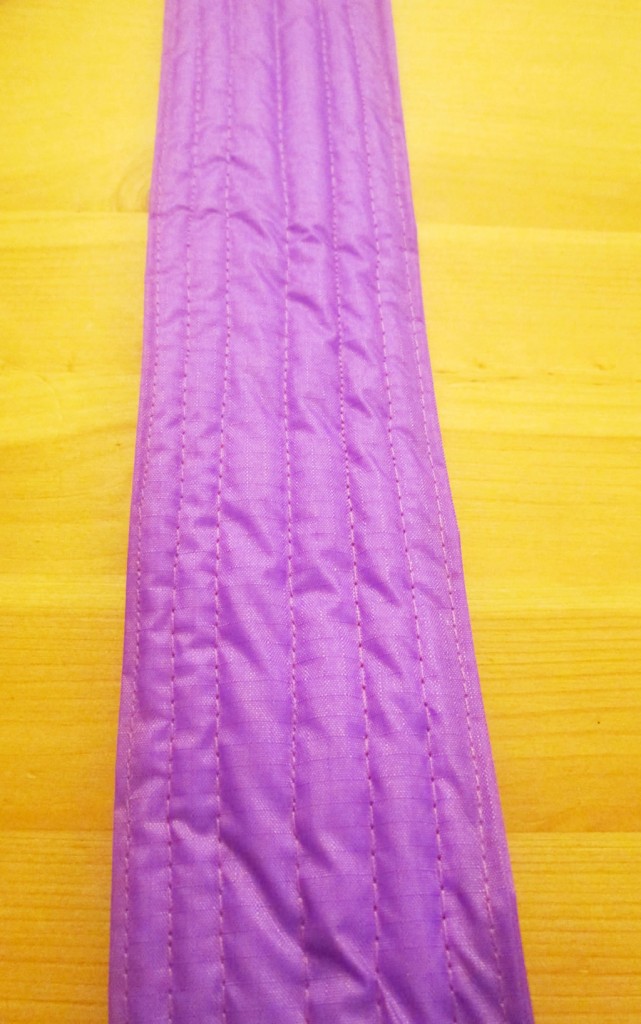
5. Cut 2 strips of fabric 5 cm wide and 20 cm long. Take one of the strips and fold in half lengthways. Open it out, fold the edges inwards, fold in half and sew as in the steps above. I sewed both the long edges to make it symmetrical. Fold one of the ends over twice and sew. Repeat for the other strip.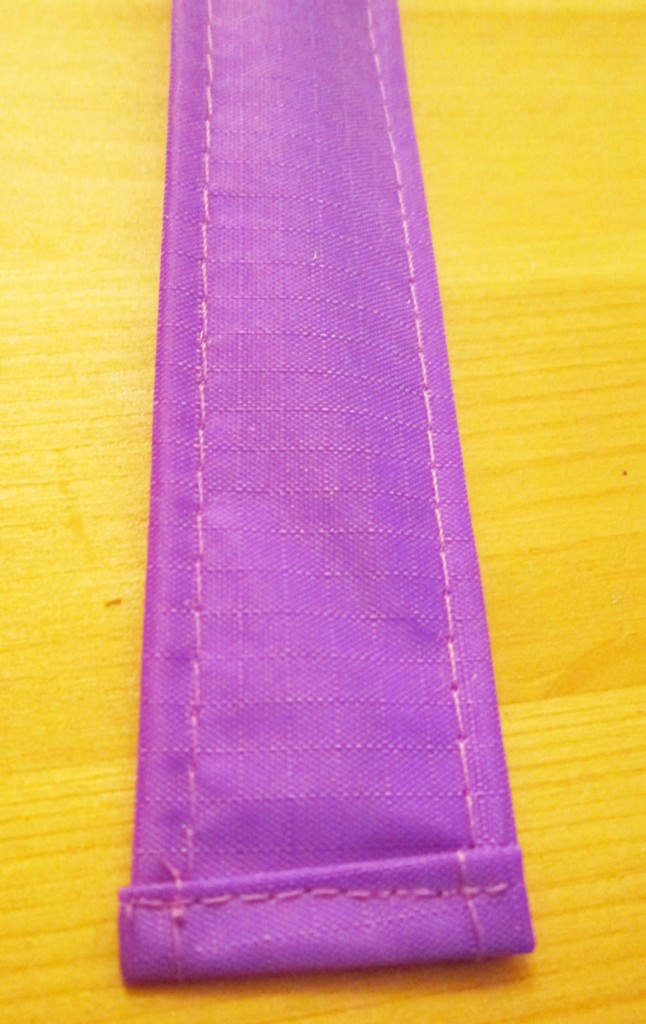
6. To attach the strips to the quilted section, you will need to cut 4 flowerpot shaped bits of fabric. This shape probably has a proper, mathematical name. I have no idea what it is though!
The bottom of the flowerpot will need to be the same width as the strips, plus seam allowance and the top of the flowerpot the same width as the quilted section. Sandwich the unfolded end of one of the strips between 2 flowerpots. Sew along the sides of the flowerpots and the bottom, securing the end of the strip.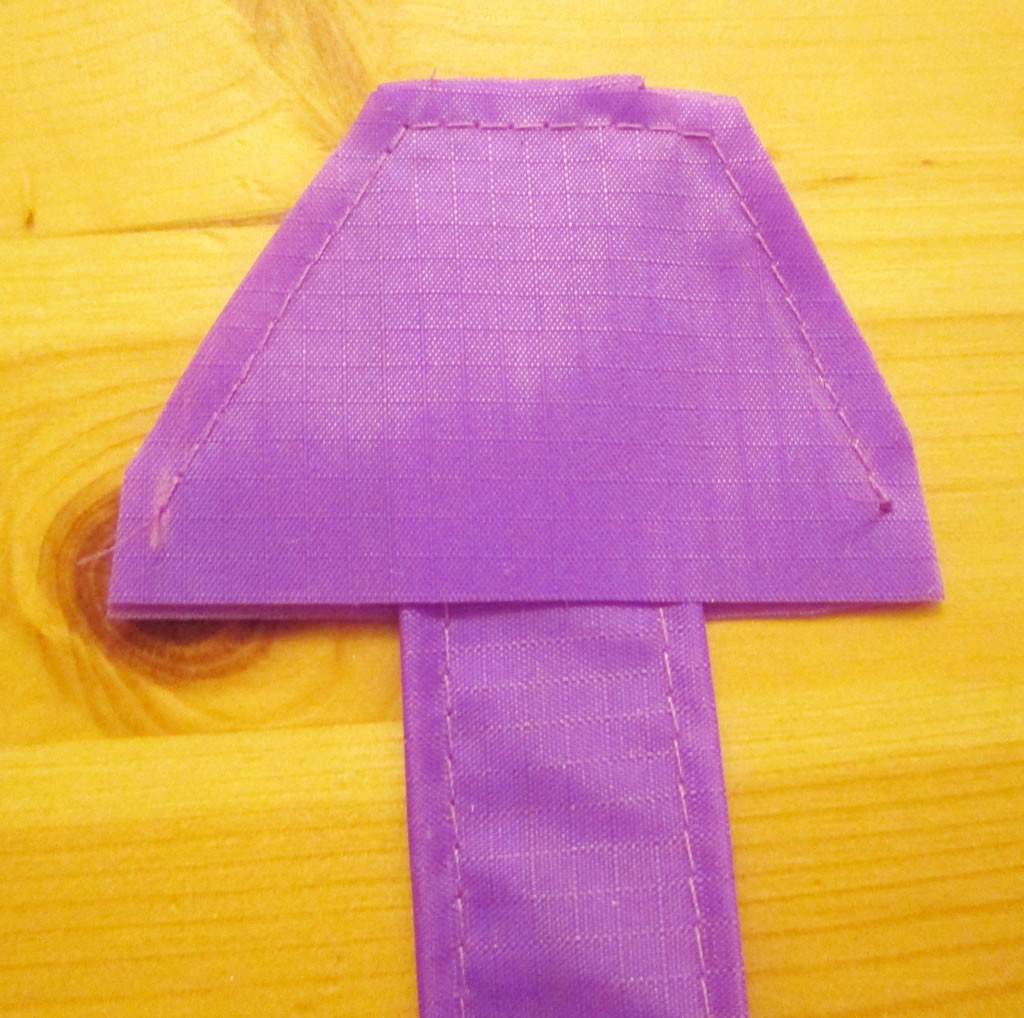
7. Turn out the flowerpot. You might want to add some top stitching to secure it to the strip.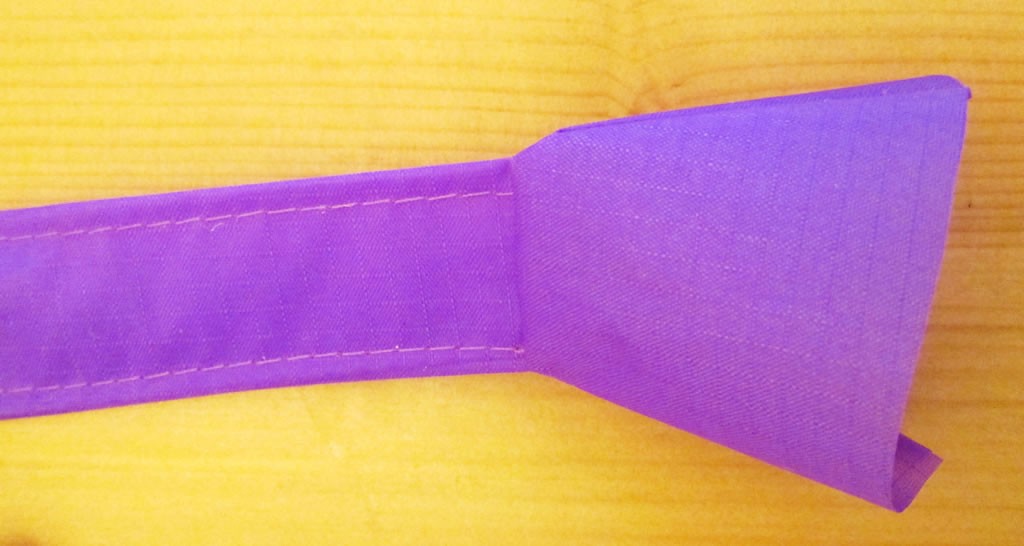 Slip the quilted section into the open end of the flowerpot and fold the edges underneath. Sew in place.
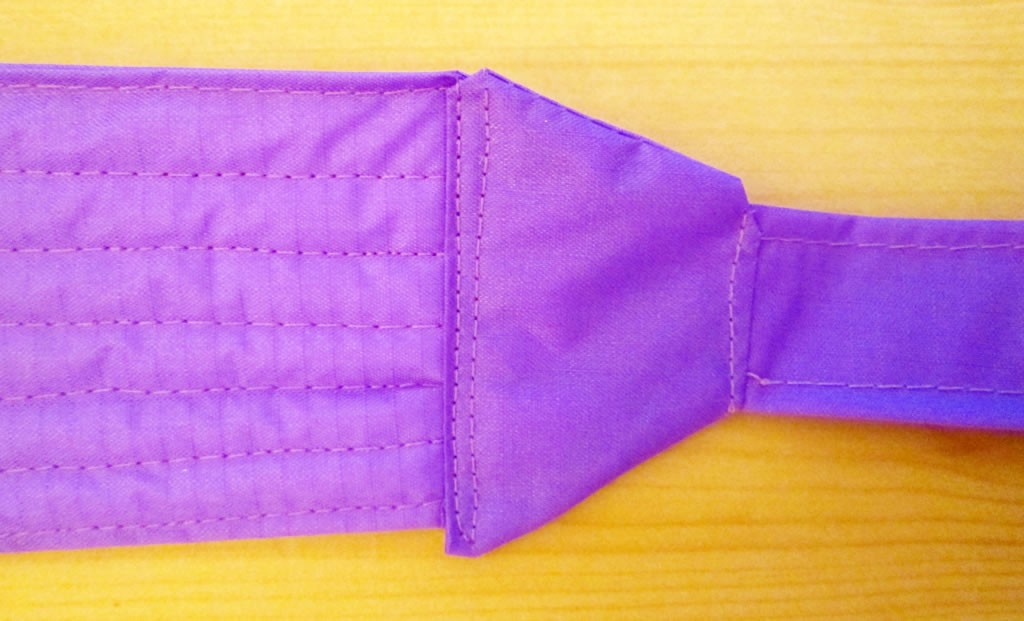
8. Open the D rings up a little bit and slip the lobster clasps on. I had to have help with this! It is a job for 3 hands unless you are the bionic woman! 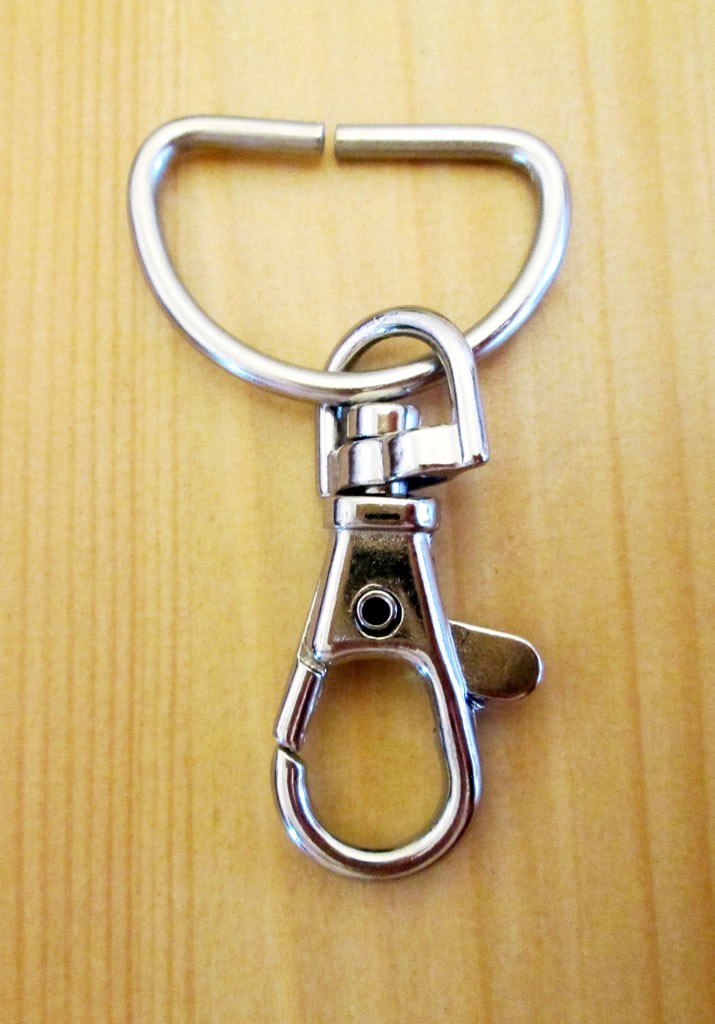 Thread one of the sliding buckles onto one end, then thread a D ring with a lobster clasp on.
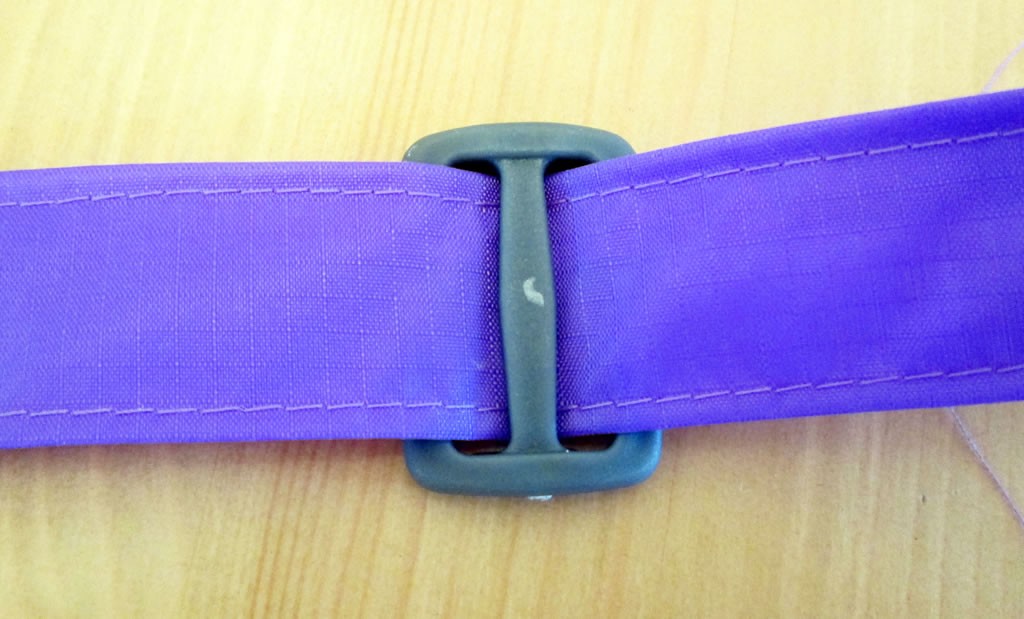
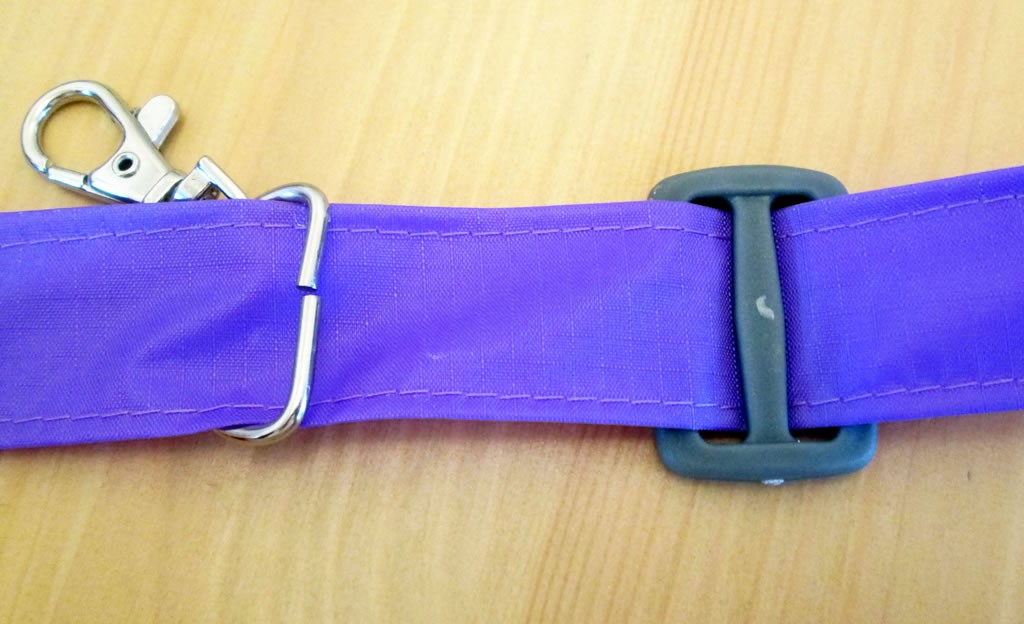 Thread the end back through the sliding buckle.
 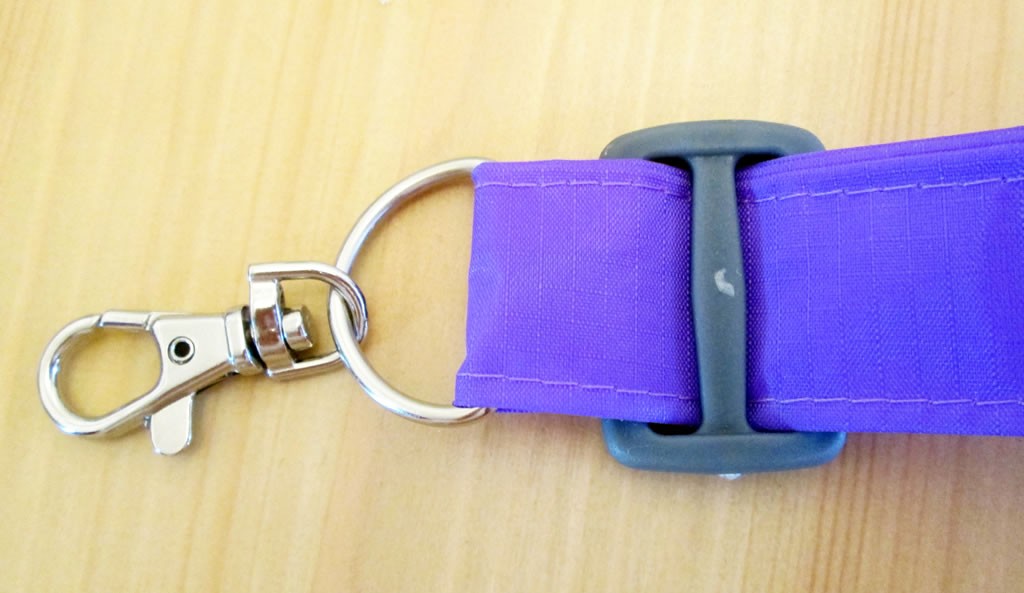 Repeat for the other end of the strap.
9. Now you are ready to attach your strap to your stroller! Tie one section to the top of the pushchair near the handle and the other just above the back wheel on the opposite side. 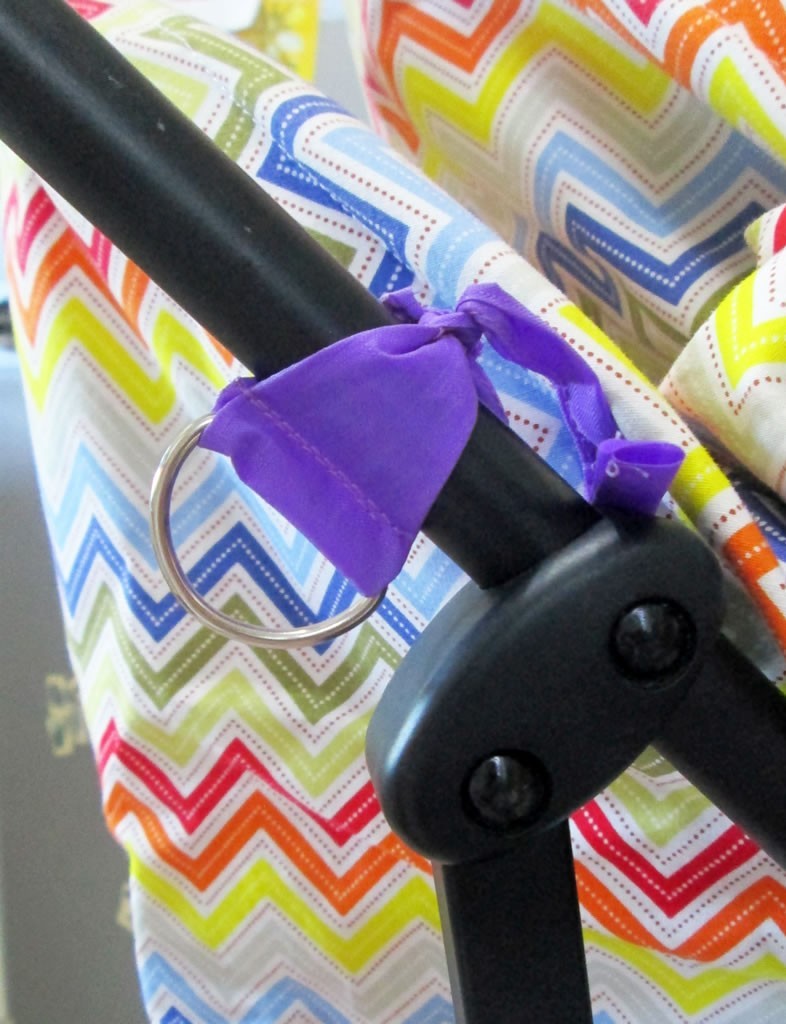 Check that your knots are tight and that they won’t interfere with the folding mechanism of the buggy. Next, attach the strap using the lobster claps. Hoik the buggy onto your back and you are good to go!
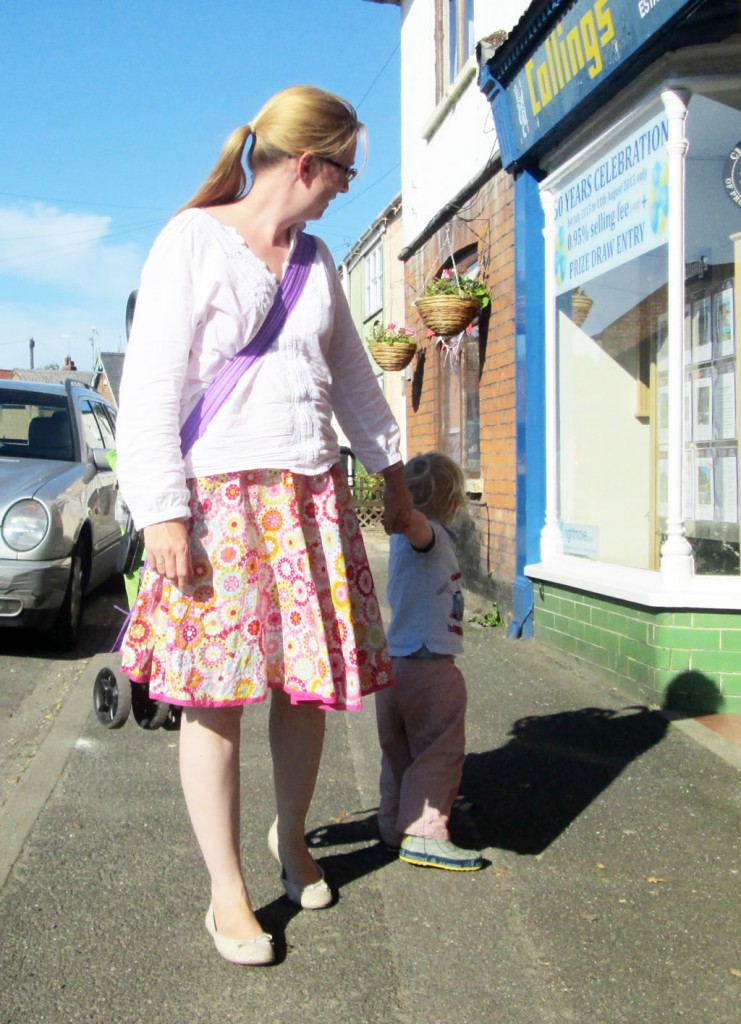
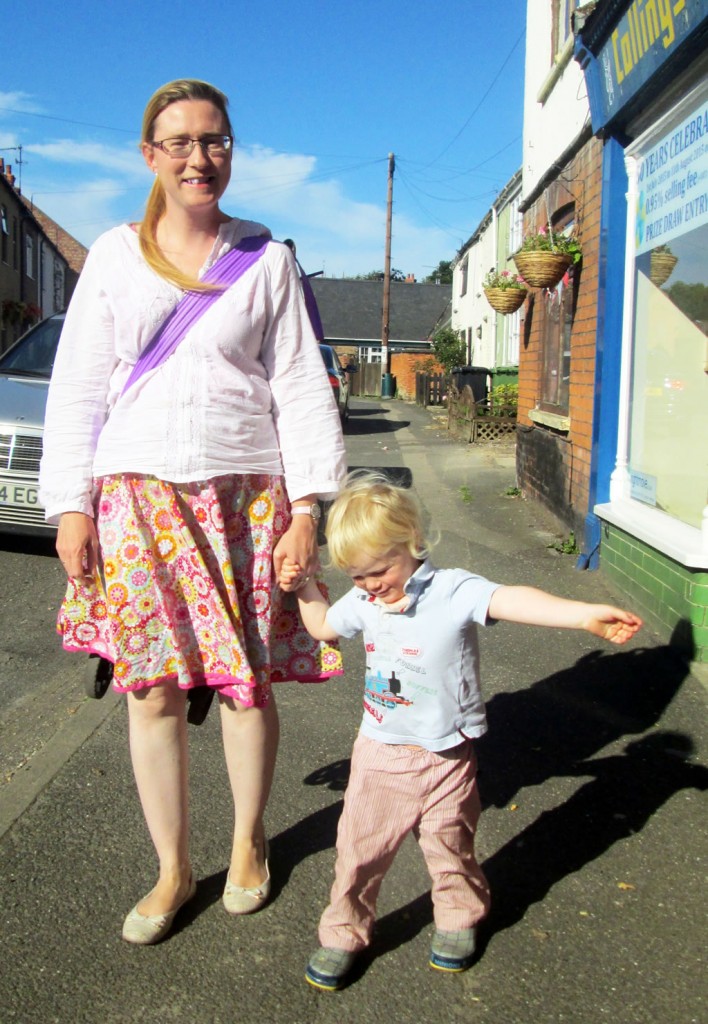
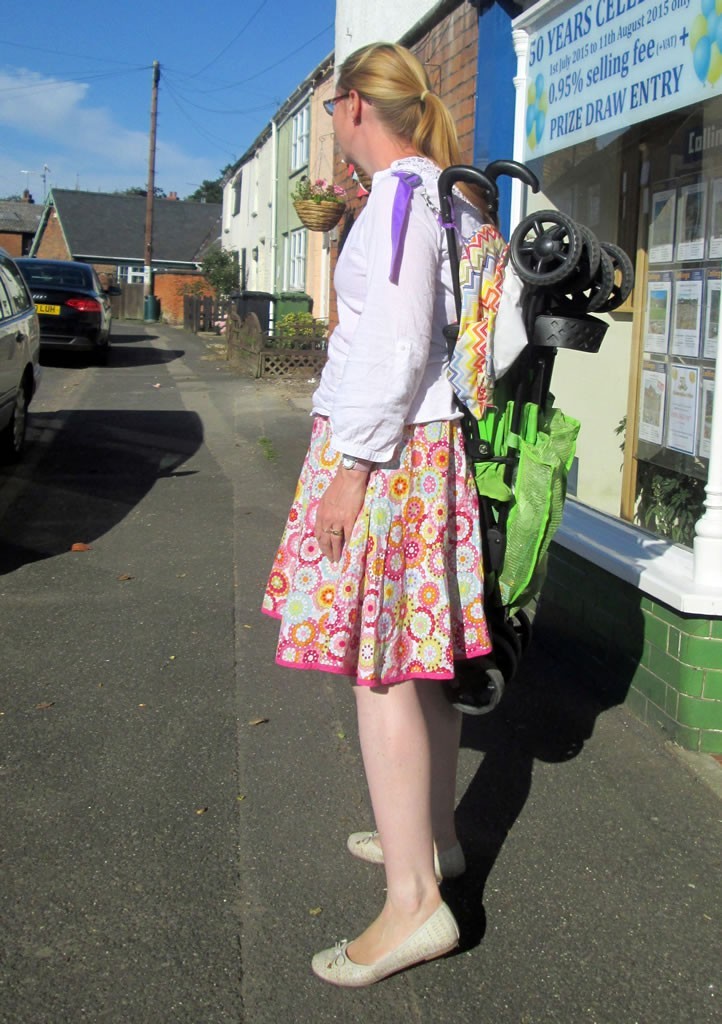 Having tried this out, I’m pretty pleased with it! The quilting makes a difference to how comfortable it is to carry the stroller about and it all feels strong and sturdy. Ripstop was definitely a good choice! Boy 4 seems to be developing bolter tendencies so this carry strap is going to come in very useful!
If you liked this post, you might also like to read this one about making a hood for a stroller, and this one about making a waterproof hood.




Your being featured tomorrow at the Inspiration Spotlight Party! Hope to see you there! Feel free to join in with any of your posts again.
Hooray!Thank you!
I wish I would of had one of these when mine were younger too. But, I have a daughter who lives in the city. This could be super handy! Thanks for sharing at the Inspiration Spotlight Party! Pinned & shared. Hope to see you again soon! PS have a great weekend!!
Thanks Theresa!
Fab idea, this would have been really useful when mine were younger!
Thank you! I’m hoping it will prove very useful!