 I haven’t posted for ever again, this time it’s because I’ve had so many projects on the go I’ve been waiting to actually complete something so that I can write about it. First of all there were the little outfits I made for Boys 3 and 4 for their dedication. I finished them last week and they wore them on Sunday. More about these another time! I was making a dress to wear for their dedication too, but I didn’t manage to finish it. There’s another dress I’m making from a pattern that came with a magazine. The bits are cut out but that’s as far as I’ve got. I’m making a hood for Boy 4’s buggy and another dress for Dress a Girl Around the World. I’ve also got the stuff to make some cushions for the boys’s room and I needed to make some bunting, also for last weekend, for a party to celebrate our tenth wedding anniversary.
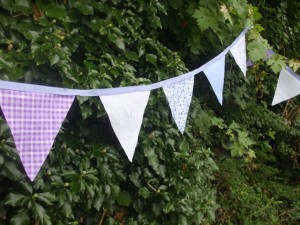
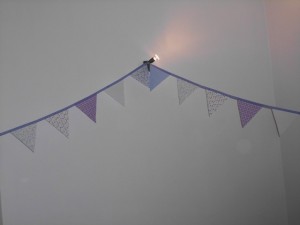
Most of these projects I have not finished and some of them I have not even started. But the bunting I did manage to complete, and it was very easy and quick (especially as I had help cutting out the triangles 🙂 ) so I’m going to show you how in this little bunting tutorial!

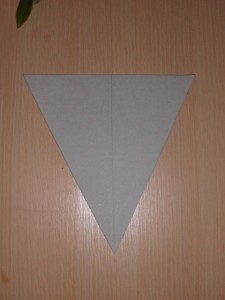
First of all make a template. Draw a line 20cm long onto a piece of card. I used an old cereal box. Find the middle and draw another line at right angles to the first line. Join the ends of the first line to the end of the second line and hey! One triangle! Probably an isoceles triangle but I’m not sure :).
Secondly choose your fabric. I used six different designs of polycotton.
Thirdly iron on some interfacing to stop the fabric from fraying. Some people don’t bother with this and use pinking shears instead. My pinking shears however are of the “safety” variety, i.e. very blunt, and although they would probably leave lovely zigzags in butter, they would not cut fabric.
Next, using your template,
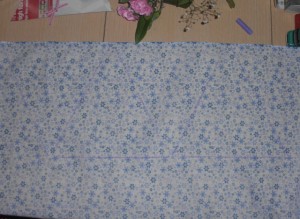
draw some triangles onto the fabric. They should tessellate, so they fit together
nicely reducing wastage. If you have a lot to make, cut strips 20cm wide and then draw on the triangles, like a zigzag, see?
- One pointy end down, one pointy end up. Geddit?
Now cut them out! When you have cut them out you may want to decide on an order for your triangles or you might want to attach them randomly. If you decide on a particular order, remember that when you are sewing them on, you will be starting at the right hand end of the finished bunting, so the flags will need to be in right to left order as opposed to left to right.
Now you’re ready to sew! Take a piece of bias binding and a triangle. Leave some tape free at each end so you have enough to tie your bunting to something. If you are an inexperienced sewist or a perfectionist, you may wish to pin your triangles on first. Attach the triangles right side to wrong side of the bias tape, so that both wrong sides are face up. I allowed about 5cm between each triangle and about 15cm of spare tape at each end.
That’s pretty much it! Easy peasy!! The possibilities are almost endless, colours, themes, personalised with applique letters or pictures… I have plans to make some for the kitchen when I get around to decorating it, some for my sons’ bedroom, some personalised bunting for Boy 4 and some for Christmas. Also one of our guests said she had been thinking about making some for her daughters’ bedroom and felt inspired to have a go!
If you make some bunting, please tell me! I’d love to see it!
Ps if you don’t want to make your own, I’d be happy to make some for you :). Message me with your requirements and I’ll see what I can do! Prices start at £2 a metre 😉


Leave a Reply