Booster Gold Style Superhero Costume
Do you remember the part in Superman where Superman’s mum makes his superhero costume?
A couple of weeks ago I was Superman’s mum.
It was Children in Need Day and the boys were required to go to school dressed up as superheroes.
Typical of my boys, they wanted to go as superheroes that nobody has ever heard of. It’s just as well that Mummy likes to sew! So, just like Superman’s mum, I ran up some little superhero outfits.
Boy 1 wanted to go as Green Arrow. This wasn’t too challenging as it was just a jacket and I made a jacket recently for Boy 4, so I set about it in the same way.
Boy 3 wanted to go as Green Lantern. Husband found a picture that Boy 3 liked, thinking it would be easy to make. It had no sleeves, but it did have a collar and lapels! I have never before sewn lapels and my one attempt at sewing a collar did not go well. The jacket turned out ok but Boy 3 had an ear infection and he didn’t go to school.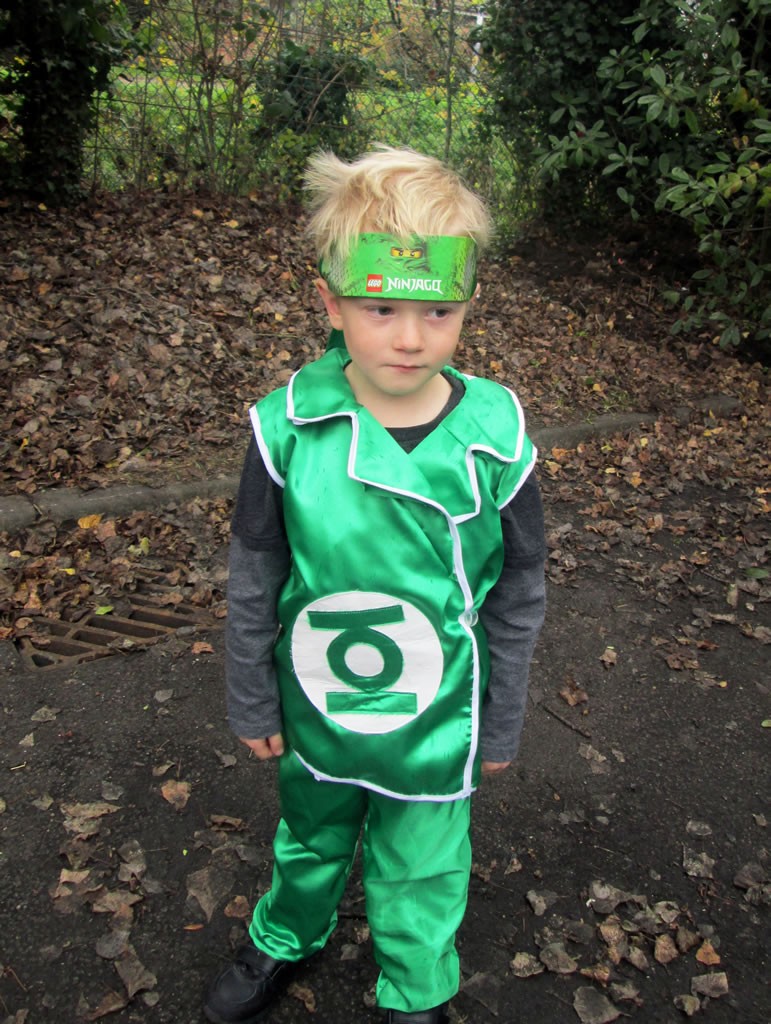
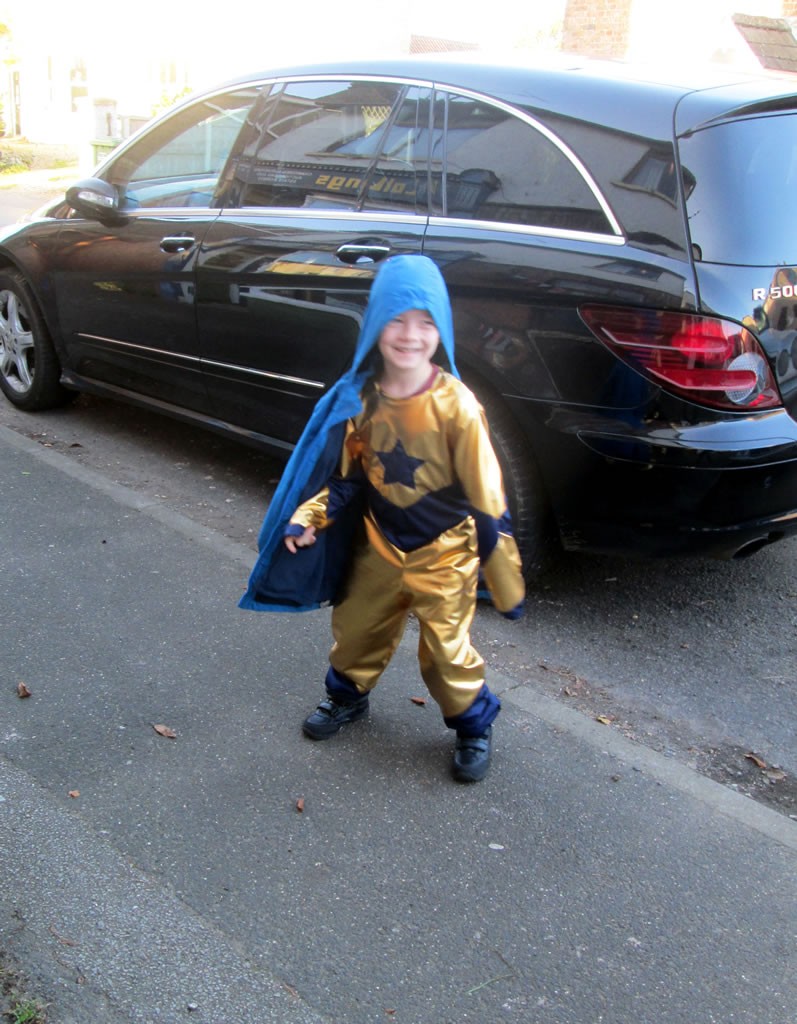
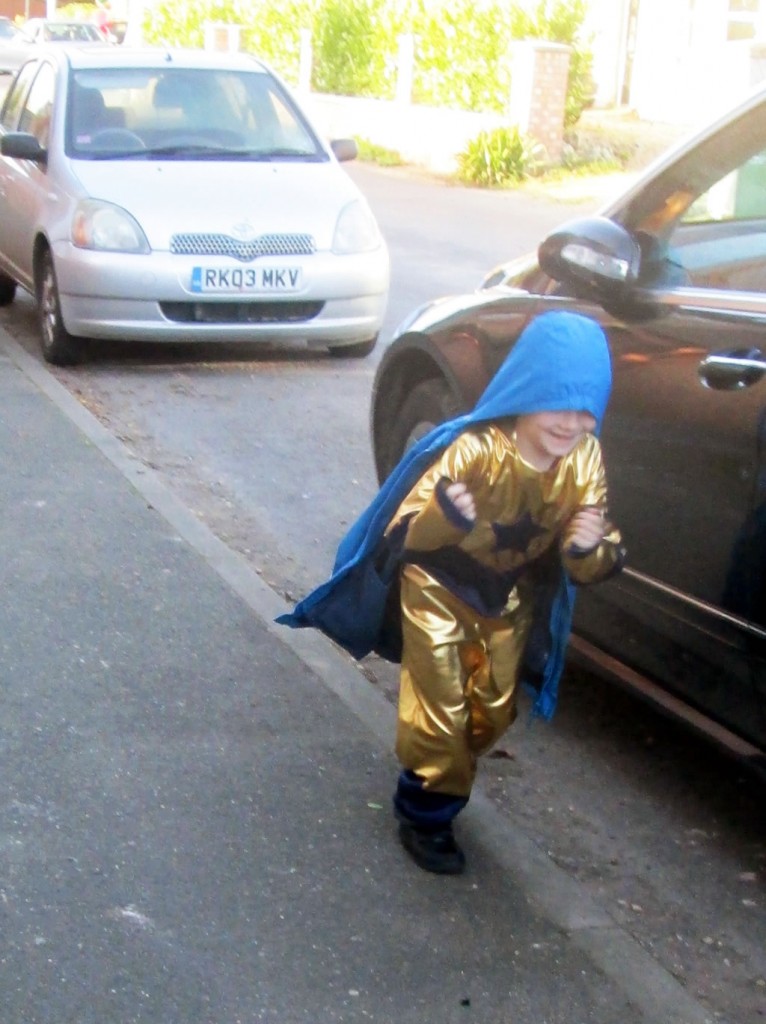
Boy 2 wanted to go as Booster Gold (Who? Exactly!). I offered to make a top and a pair of trousers, thinking this would make it easier for him to go to the loo, but he wanted a onesie style of thing. He did have a slight problem when he needed the loo because he couldn’t get out of the suit, but what are big brothers for? 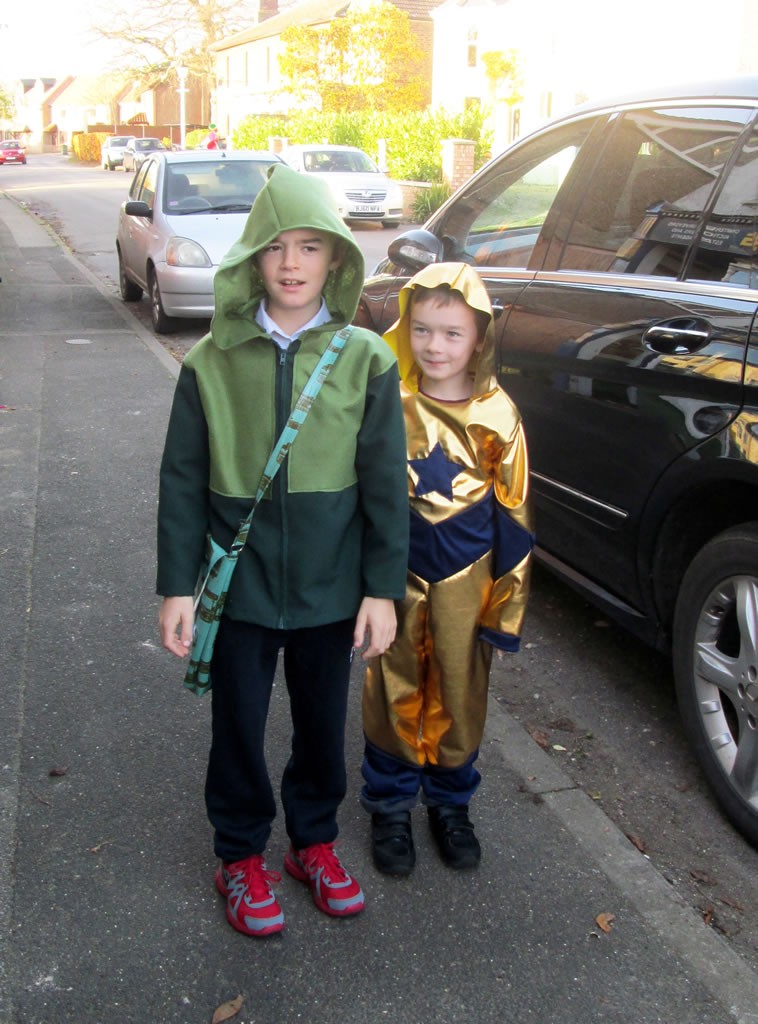
Here is the tutorial for making the Booster Gold style superhero costume. If you’ve never heard of Booster Gold either, it could be easily adapted for a different superhero. Just change the colours and the logo on the front.

How to Make a Booster Gold Style Superhero Costume
If you don’t want to make your own pattern, you can buy the pattern I made here. It will fit a 7-8 year old. If you want to make a different superhero, just change the colours and applique a different logo to the front.
1. Google your chosen superhero and make a quick sketch of the suit. While you are doing this, start to think of it in terms as shapes and pieces that you will need to cut out, so keep it as simple as possible.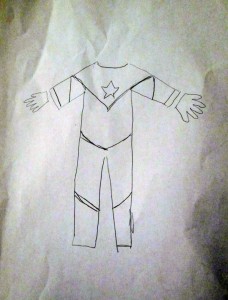

2. Starting with 1 section, sketch each pattern piece.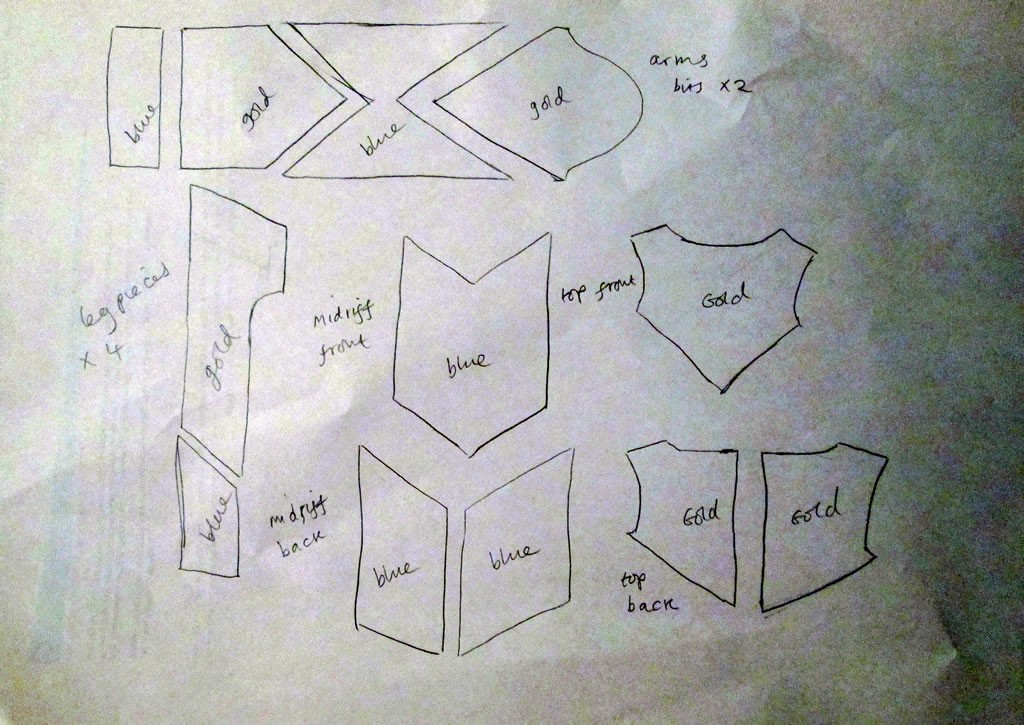

I started with the legs. Usually if I am making a pair of trousers, I have 4 leg pieces, a back and front piece for each leg. For the superhero suit, each leg needed a gold bit at the top and a blue bit lower down.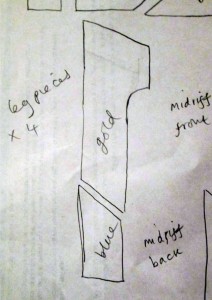

For the arms, each arm is usually one piece cut on the fold. So take a look at the sketch you made of the suit and draw the shape of the pieces, remembering that you can cut the pieces on the fold.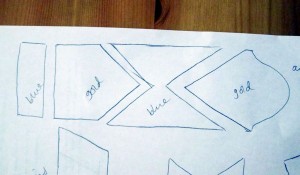

Next draw the pieces for the front and the back. Remember that your little superhero will need to be able to get in and out of the suit!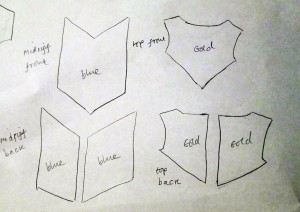

3. To make the pattern, the easiest thing to do is to start with something similar that they already have that fits them well. So in this case, a onesie or a dressing up suit that is in one piece.
Using this as a guide. draw pieces for legs, arms, back and front.
Then divide the pieces up according to the sketches you have made.
Now you can either cut them out as they are, or you can trace them onto greaseproof or pattern paper. If you choose to cut them out as they are, don’t forget to write on what each piece is and a reminder to add a seam allowance when you are cutting out the fabric. I also wrote on what colour fabric each piece needed to be because there were a lot of bits and I was getting onto a muddle!
If you trace it onto greaseproof paper first, you can add the seam allowance to the pattern.
If you don’t want to do this, you can buy the pattern here.
4. Cut out the pieces.
For the arms, you will need 2 of each piece, cut on the fold.
For the legs, you will need 4 of each piece. Cut out on a folded piece of fabric so that you only have to cut out twice and you have 2 bits that are the mirror of the other 2 bits.
For the front pieces, cut one of each, on the fold.
For the back, cut 2 of each on folded fabric so you only have to cut once.
Remember that for a suit that hangs well, the grain needs to be running up and down. An easy way to remember is that if you need it to stretch a bit, you usually need it to stretch sideways. I find this helps especially if I’m using up bits of fabric that don’t have the selvedge on.
5. Take one blue leg section and one gold leg section. Line them up to check that you have the right pieces and that they’re the right way round. Pin, then sew. Repeat 3 times so that you have 4 completed leg sections.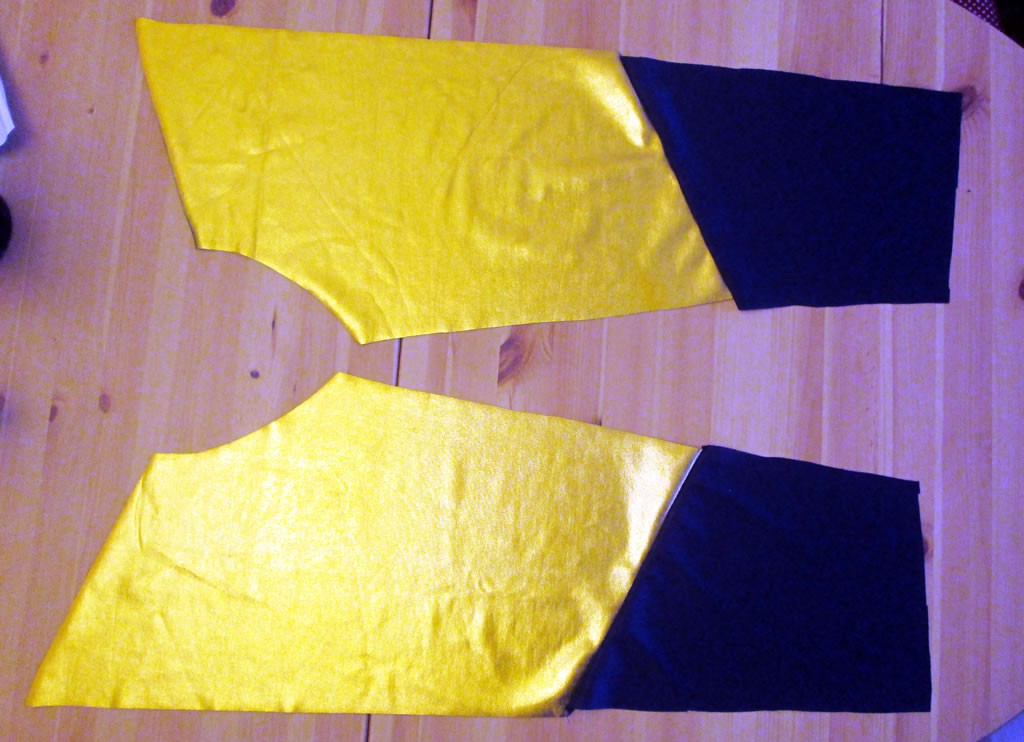

6. Take 2 of your completed leg sections and join the front seam. Repeat for the other 2 leg pieces.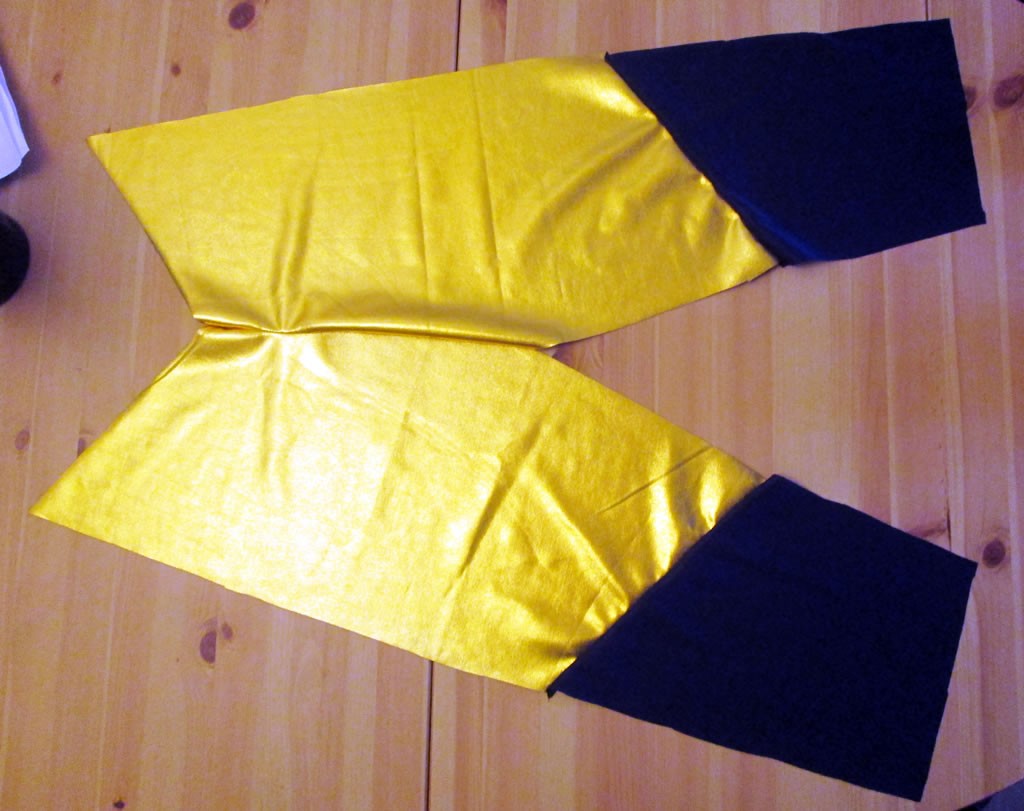

7. Join the top front section to the lower front section.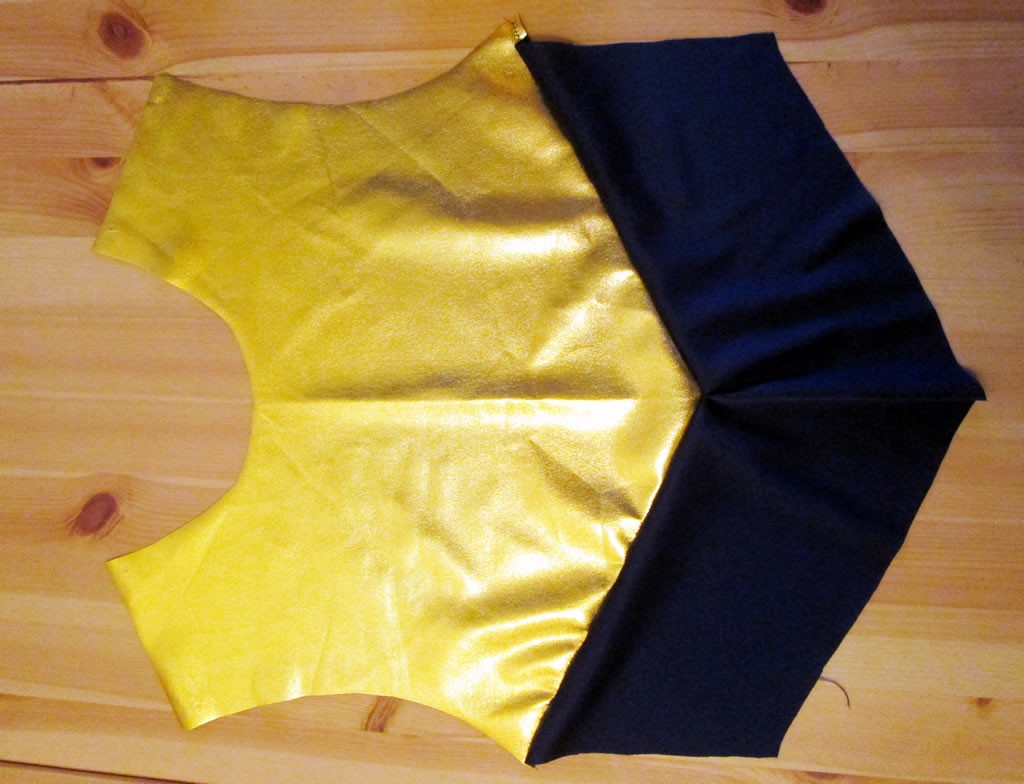

8. Applique the star to the centre of the front. I used some fusible interfacing on the star to make it thicker. 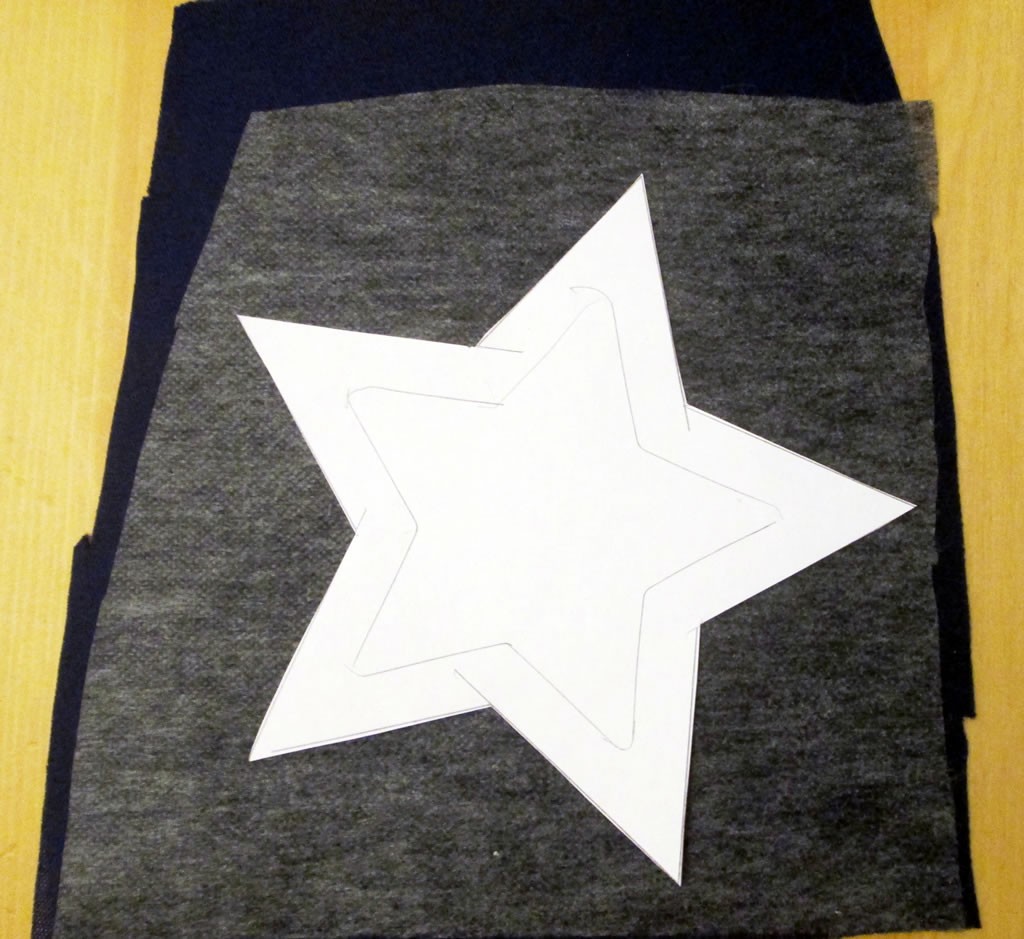



9. Take the back pieces and join one of the gold pieces to the one of the blue pieces, checking that everything is going the right way. Hem the centre edge. 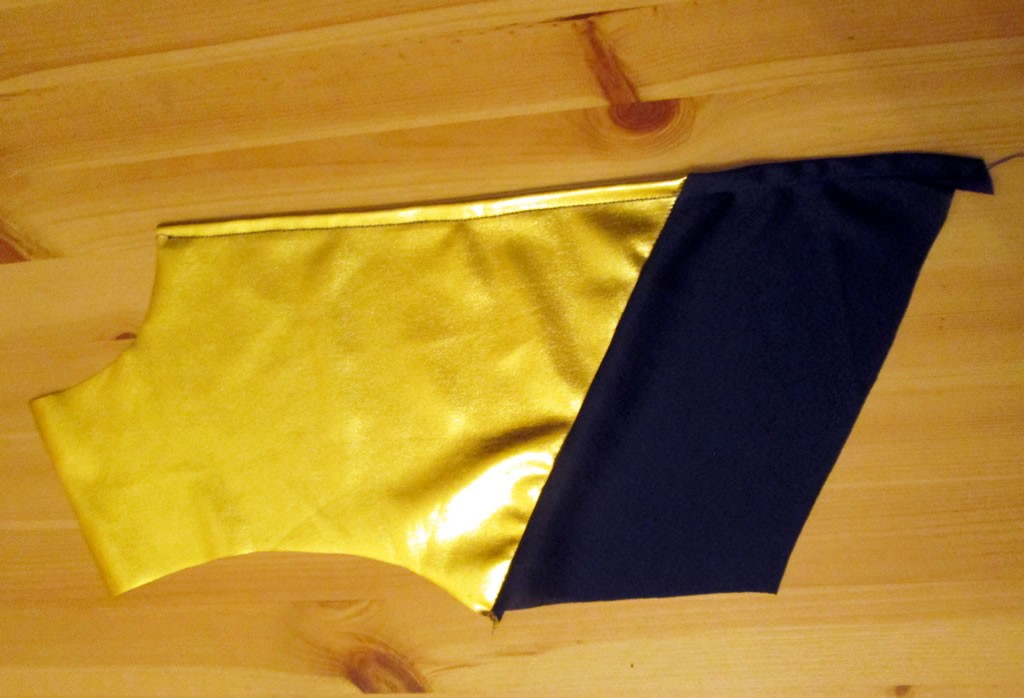

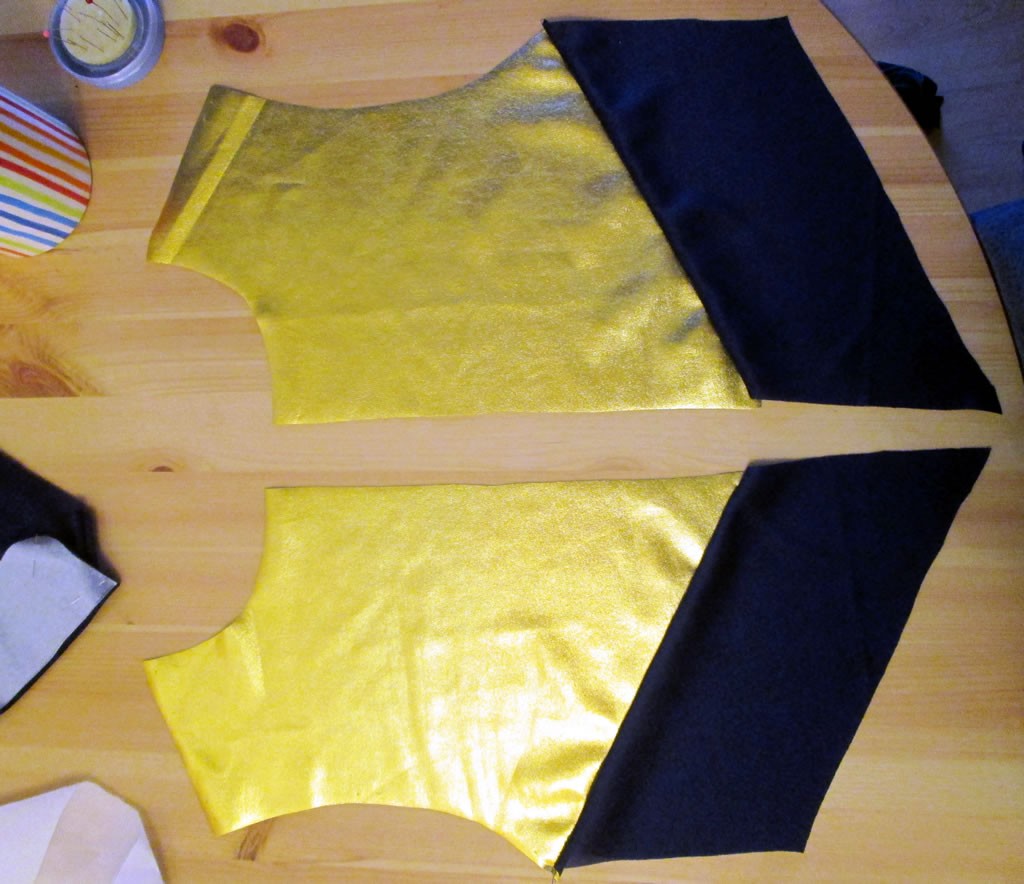

10. Join the front of the suit to one of the trouser sections completed in step 5. It should be starting to look like a superhero suit!
Don’t worry if it looks huge at this stage, that’s ok. Boy 2’s suit looked enormous but it was fine when it was finished. Kids usually wear superhero costumes over their normal clothes so they need to be slightly larger and if it’s still a bit big, well, I call that growing room.
11. Pin, then sew the back pieces to the back leg section. You have now completed the front and the back!
12. Join the shoulder seams, then put it to one side while you make the sleeves.
13. To make the sleeves, start with the piece that goes at he wrist and the piece that goes next to it. This is where you’ll be thankful that you labelled all the pattern pieces! Pin, then sew these pieces together.

14. Sew on the next blue piece, then the gold piece that sits on the shoulder.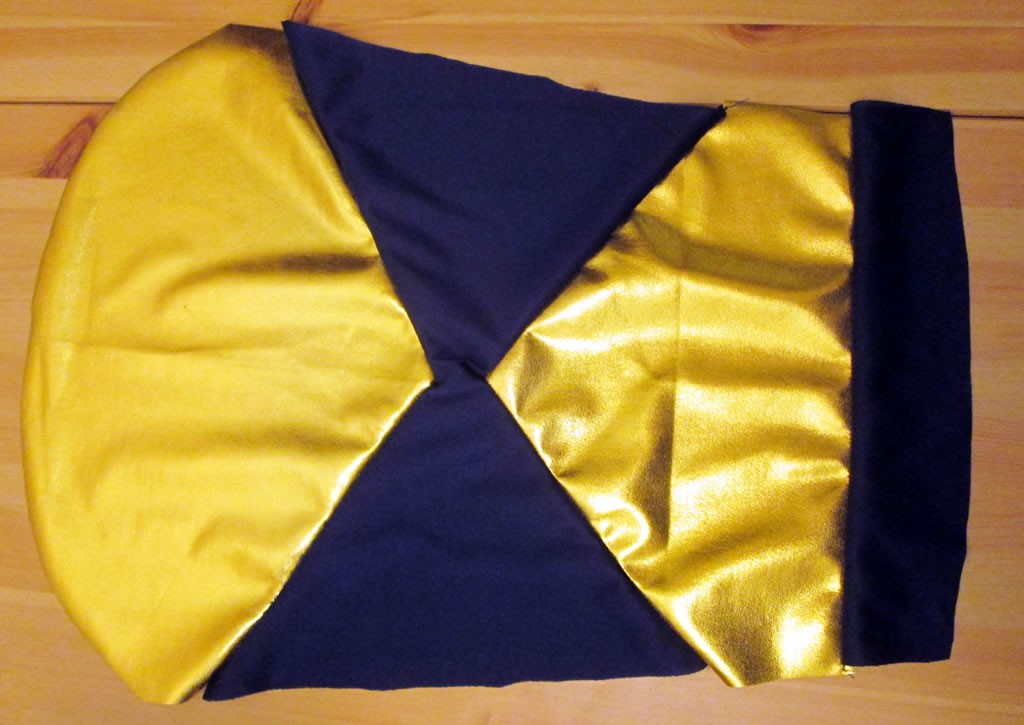

15. Pin the arm section to the arm hole. I usually find the middle of the arm section and pin that where the should seam is, then work outwards.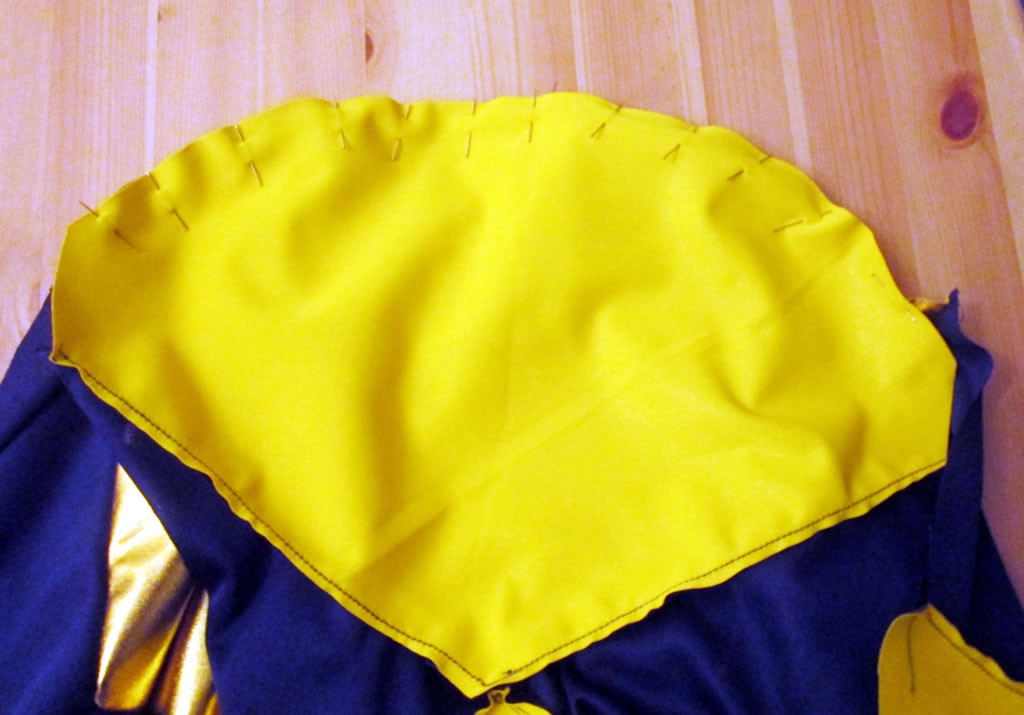

Repeat for the other arm.
16. Almost there! With the wrong sides together, pin one side of the suit. I usually start at the armpit to make sure that the seams are matching there, then pin down one side, then pin the arm. Sew it together. I go about it in the same way, starting at the armpit. Repeat for the other side.
17. Get your little superhero to try the suit on. Pin the hems at the wrists and at the ankles, then sew.
18. At this point, the suit is almost wearable. The only thing left is the neckline. You could either finish this with bias binding, or if you have time, you could make a hood.
19. Using the hood of a jumper or a jacket as a guide, draft the hood pieces. Don’t forget the seam allowance! For a more fitted superhero kind of look, you will need to make a side piece and a gusset. Cut them out and sew the side pieces to the gusset.
20. Get your child to try the hood on. If it needs elastic at the front, sew casing. Otherwise just hem it. You could even leave it if you are in a rush and you think it won’t fray.
21. On the wrong side, pin the top of the two back pieces together. With the right sides together, pin the hood to the suit. I start at the middle and work outwards. Sew the hood to the suit.
This means that the back won’t open fully, but your little person should still be able to get in and out of it.
22. Trim off all the threads, check that all the pins have been removed and it’s ready to wear!




 cca383e9f6d11d9a9834e58982c29439960a8117b1f070a384


Wow, this Booster Gold style superhero costume is seriously impressive! 😎💥
The attention to detail in creating a real-life Booster Gold suit is commendable. From the iconic gold and blue color scheme to the futuristic visor, every element captures the essence of this beloved DC Comics character michael myers suit.
I must say, the LED chest emblem is the real showstopper here. It adds that extra touch of authenticity and definitely gives off the superhero vibes. Kudos for taking the time to get it just right!
Thank you, my son really liked it
The results of my kids’ children in needs costumes with a tutorial for making a superhero suit https://t.co/zLBzXeKNyi
What lucky boys they are to have such a clever mum, their costumes look great.
Thank you 🙂
Hi Anna! What a cute…ehm I mean cool costume! Wow, you really sew! I only do curtains and pillow cases…this is a fantastic costume & tutorial! Thanks for sharing at Share it Link Party this week!
Thank you. It’s often about finding the courage to have a go 🙂
What a great outfit, loving all that gold, he looks like he’s having a great time. Loving the green lantern too, it’s a shame he didn’t get to wear it for school but I’ll bet he had a great time being a super hero. 🙂
It is very gold! I thought it would be difficult to sew but it was fine 🙂
Cute costumes. Thanks for sharing!
It helps that they’re cute boys! Thank you 🙂
Great job, thanks for sharing on craft schooling sunday!
Thanks 🙂
A really great outfit! Thank you for sharing it at the party. Hope it all goes well for you this week! ~ Rose
Thank you xx
#new Booster Gold Style Superhero Costume https://t.co/3eQmpUuK8C https://t.co/SeOmN5U2qo