Last week I decided it was time to start autumning things up a bit and also time to have another go at wet felting, so I embarked on an autumn felted picture. I used the woolly tufts that were in suitably autumnal colours and this was the result!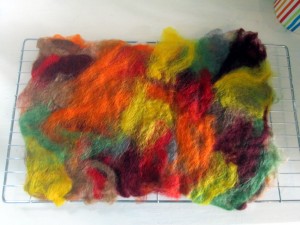
I was happy! Wet felting is a wonderfully therapeutic sort of crafting and it’s so easy to get artistic looking results even if you got a G in your GCSE Art. Instructions for how I made it can be found here.
I had already decided to embroider it, but as I still haven’t finished a seaside felted picture I started making a year ago, I opted for machine embroidery instead.
Having a good look at it, I could already see a number of shapes that looked like leaves, and the more I looked, the more I could see! It was like looking for shapes in the clouds!
Machine embroidery was not something I had tried before, but thanks to the wonder that is the internet, I found several tutorials and felt confident enough to have a go.
It appears that machine embroidery is just like normal sewing on a sewing machine, but as you have to lower the feed dogs (those bumpy teeth things underneath where the presser foot is), you have to yank the fabric about yourself.
I had a little go. It was not good. I was nervous about pulling at the felt in case it distorted, or worse, fell apart. The felt survived, but after a few minutes I decided to raise the feed dogs and just sew like normal.
Using a longish stitch, I sewed around the vague leaf shapes and added a few more vague leaf shapes even where there were none obvious to fill up some of the gaps.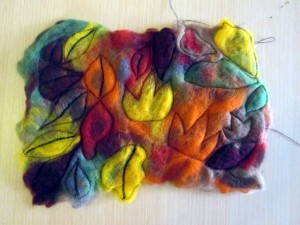
For a little bit of variety, I hand sewed a central vein thing on the centre of each leaf using chain stitch. 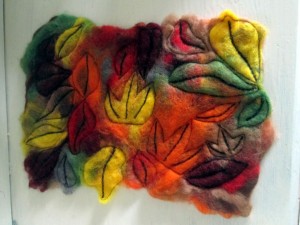 Thankfully chain stitch is relatively quick! The vein added some sense of solid shape to the leaves.
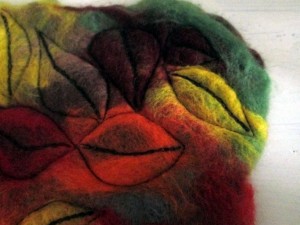
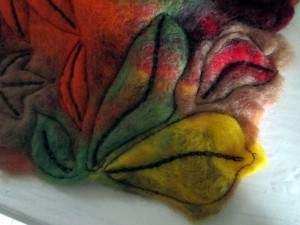
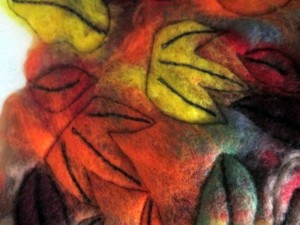
I’m pleased with the finished picture, although Husband says it looks like an animal that has been run over 27 times. Hmm. Well I like it I’m going to hang it on the wall anyway!


Leave a Reply