An Autumn Felted Picture
It’s October! Yay! Definitely officially autumn! Although it does not really feel like autumn at the moment as it’s so warm and the leaves are still more green than anything.
I like autumn. Being uncomfortably hot is as bad as being too cold in my opinion. Sunny autumn days, even if you need a jumper (or a coat) are lovely, warm enough to still enjoy being outside but without breaking out in a sweat if you so much as move. Gorgeous colours, woodsmoke, tractors pulling trucks full of potatoes and carrots, not to mention some peace now that most of my boys are back at school.
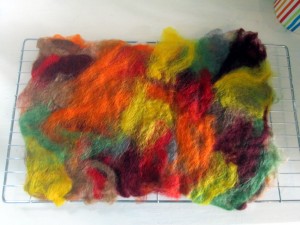
Autumn lends itself perfectly to seasonal themed crafts, so yesterday while Boy 4 was napping, I decided to wet felt an autumn picture.
I have only tried this once before. I made a picture of the seaside. Unfortunately it has been on the unfinished projects pile for the best part of a year because I decided to hand embroider it and it is taking ages.
Felting is great. It’s very easy, it’s lovely to work with and it’s perfectly possible to get good results even if you got a G in your GCSE Art <hand up>. I chose autumnal colours from the wool tufts I already had.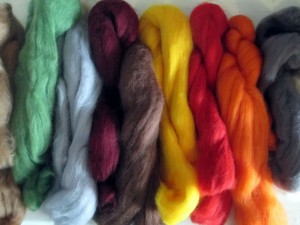
Here are the instructions for Stage 1 of my autumn felted picture. For Stage 2 I am intending to embroider it using machine embroidery this time, so hopefully I will actually finish it!
To make a felted picture, you need some unspun wool (usually merino but other sorts of wool work too), a bamboo mat or a towel, some bubble wrap, a piece of gauze/ old net curtain/ piece of sheer fabric, some soapy water and a piece of foam tubing or something else tube shaped and squidgy.
Put the bubble wrap on the bamboo mat or towel.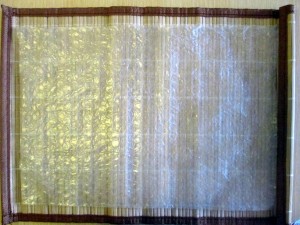
Pull or cut short lengths from your wool tufts. I pulled out pieces about 10 cm long. Place the pieces on the bubble wrap horizontally, spreading the fibres out as you go. 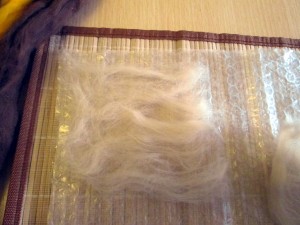
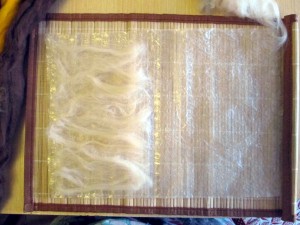
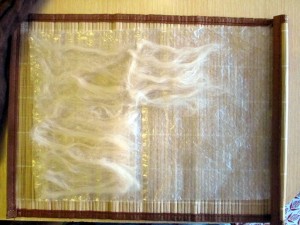 Cover the piece of bubble wrap.
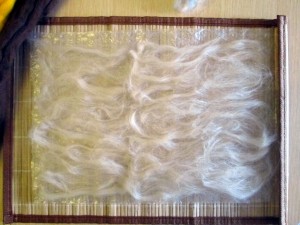
For the second layer, do the same, but instead of laying the fibres side to side, lay them up and down.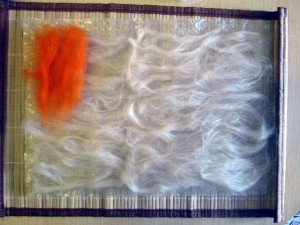

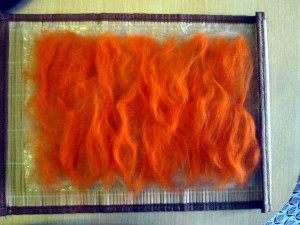 For the third layer, do the same as for the first layer.
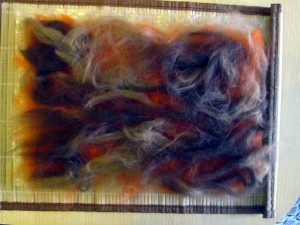 The fourth layer will be the last layer, so arrange your bits however you want them. Bear in mind that distinctive shapes will probably be lost (but can be redefined with some careful embroidery), and the finished picture will be up to a third smaller due to shrinkage during the felting process.
When you are happy with the fourth layer, cover it with your piece of sheer fabric and gently sponge the warm soapy water on to it. The whole thing needs to be wet.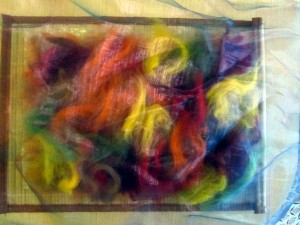
Using either a cloth or your fingers, gently rub the fibres for a few minutes. Agitating them is what will cause them to felt together. The warm soapy water speeds up the process.
Take your foam rolling pin and wrap the whole sandwich, gauze, fibres for felting, bubble wrap and bamboo mat or towel, round the rolling pin. Roll backwards and forwards 50 times.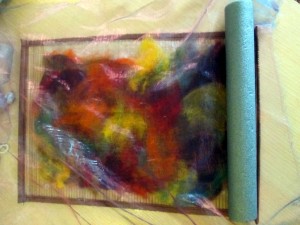
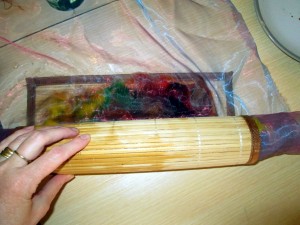 Unroll it, turn it 90 degrees and roll it up again. Roll it backwards and forwards 50 times.
Repeat this a few times. The fibres have felted when they don’t come apart when you rub them. If you get a bit bored with the rolling, as long as the fibres are stuck together you could put it in some hot water.
The felt I have made is probably not very strong but should be fine for embroidery. If I was making something other than a picture, like a bag, I would need it to be stronger and more felted.

This is beautiful! I love rainbowy art work!
The colours of the wool were lovely and it’s a fab way to do art for people like me who can’t draw!