Autumn Felted Coasters
How many times do you see or experience a view, a beautiful archway, an interesting street, or something where the light and the colours perfectly represents the season or the location, and reach for your paints or your watercolour pencils?
I have to say never. I can’t draw, or paint, or make sculptures. I did GCSE Art like a bazillion years ago. I got the lowest grade possible and I don’t mean a C!
I often wish I could though. Photographs often don’t capture things in the way that a painting can.
So what can you do if you want to make a picture but your drawing and painting skills just aren’t up to it?
Felting is much easier than you would think.
To make felt, roving (unspun wool) is spread out in layers, covered in soapy water and then rubbed or rolled until the fibres start to fuse together. Patterns or pictures can be made by arranging the roving on the top layer, or by making half felt (where it is just starting to stick together), cutting out shapes and laying then on before finishing the felting process.
A detailed tutorial for making felt can be found here.
Last year I made an autumn felted picture, which Husband said looked like animals that had been run over. I hung it up anyway! You can read about it here and here.
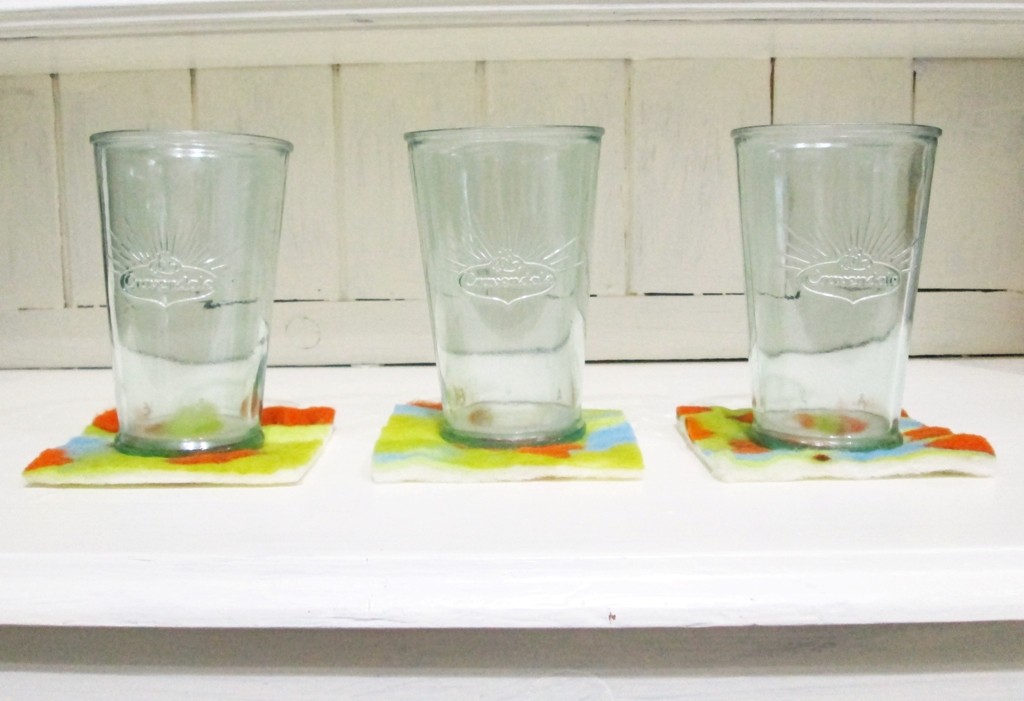
This year I decided to make autumn themed felted coasters.
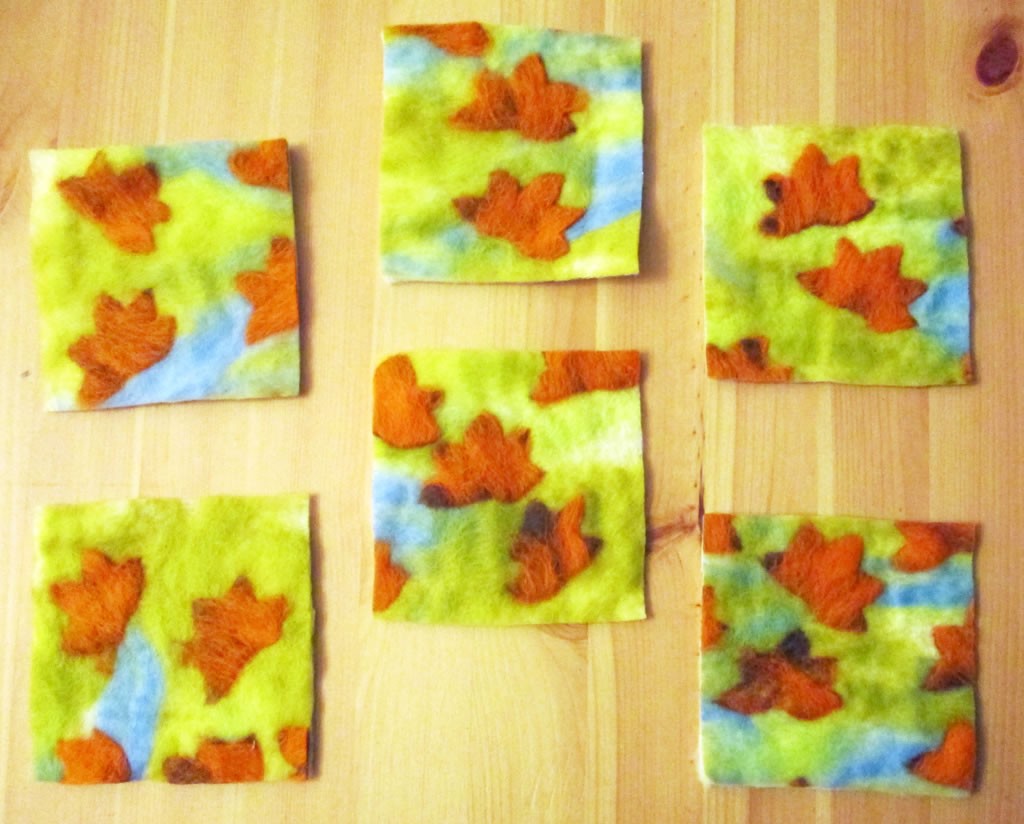
To do this I made one large piece of felt with the background colours, then a second smaller piece and cut leaf shapes out of it. When I had felted the leaves to the background, I cut it into squares.
How to Make Felted Coasters
1. Make the main piece of felt. To do this, first lay the fibres going 1 way, then for the second layer, put them going the other way. For the top layer, add the colours that you want to use for the background of your coasters.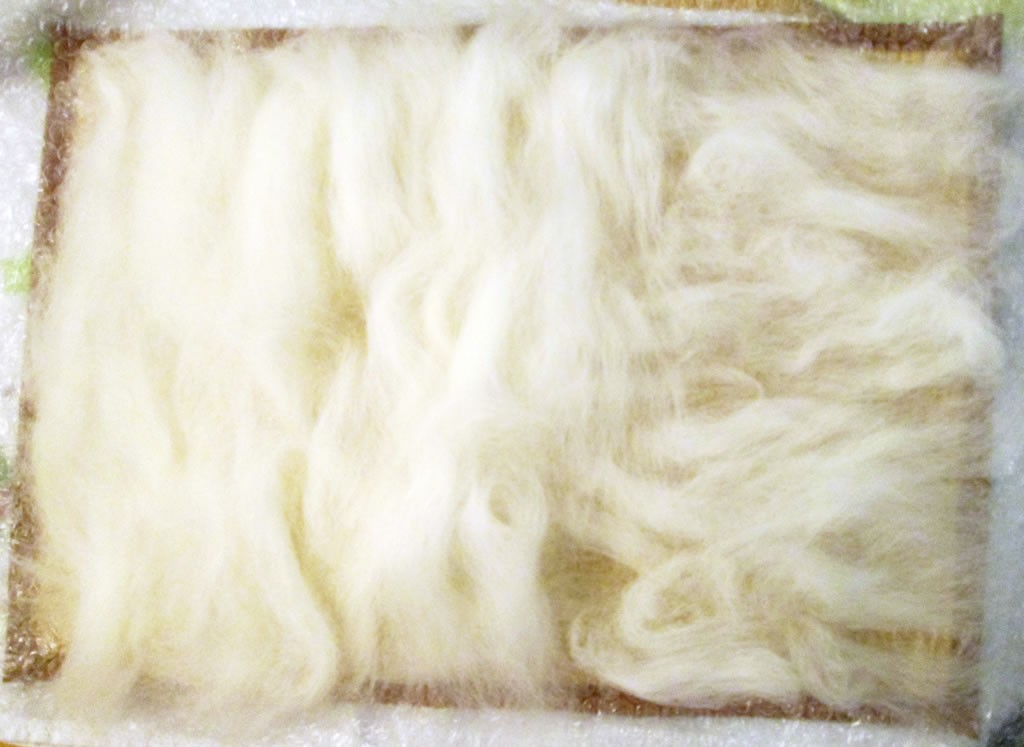
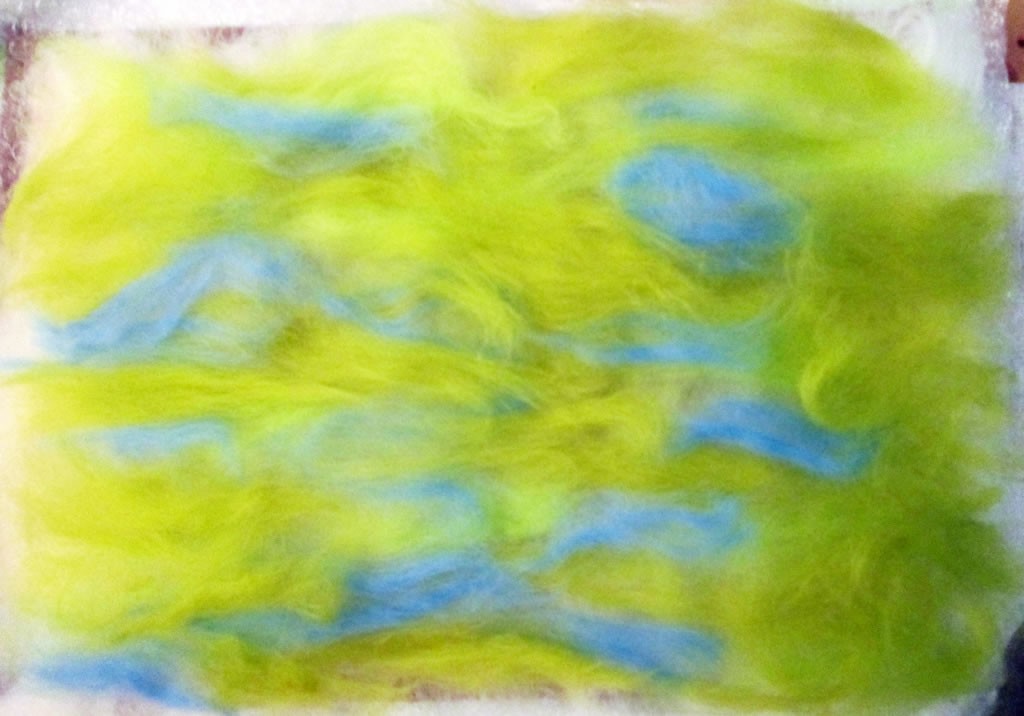
2. Cover the fibres with the gauzy fabric. With a wet cloth, dab the fibres until they are wet through.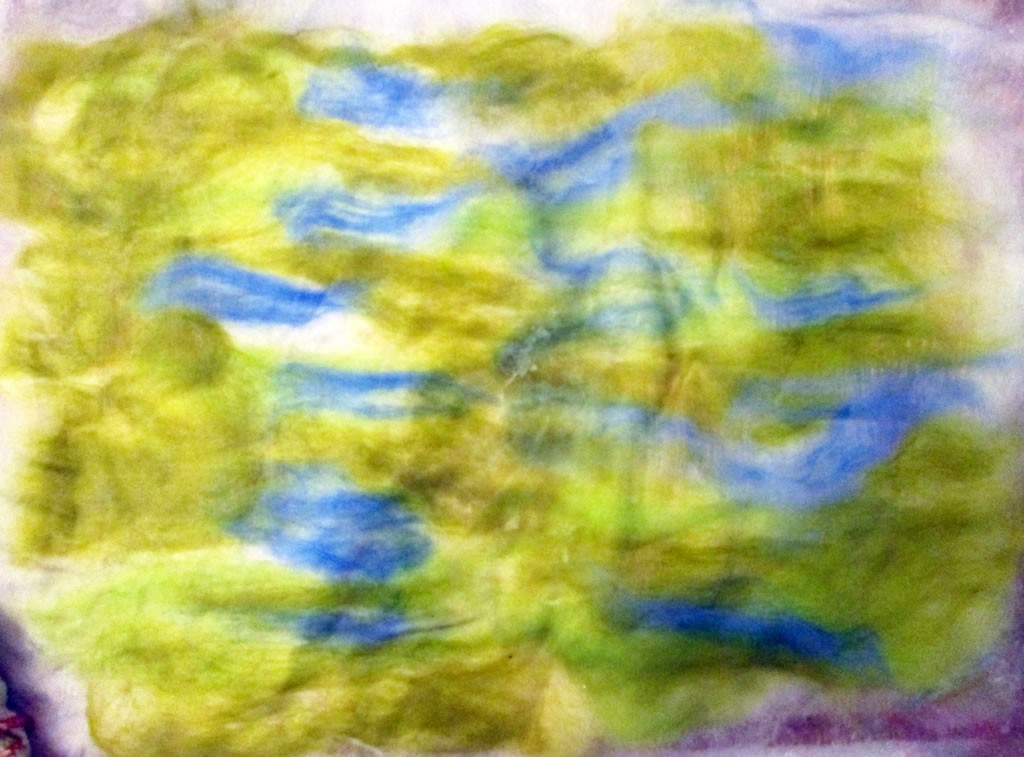
3. Rub it with a piece of soap. When it is all soapy, rub it with your fingers in a circular motion.
4. Using a piece of foam tubing, wrap it up around the tubing and roll a few times, first one way and then the other.
Once the fibres have started to stick together, put it to one side.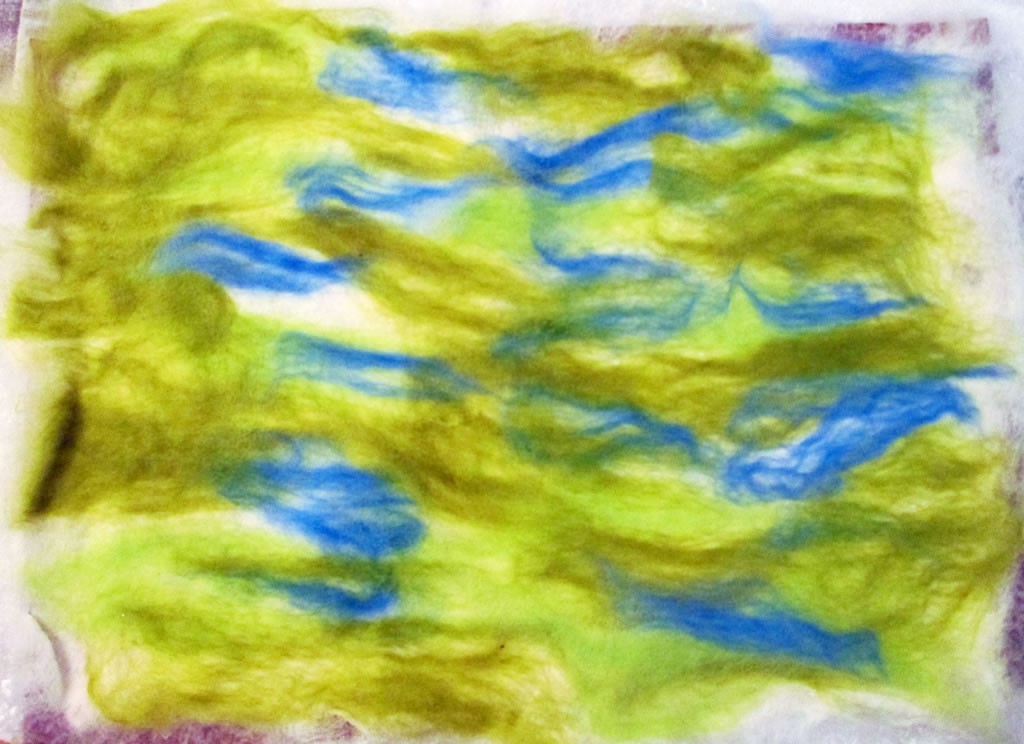
5. Repeat the process for the piece of felt you want to make for the leaves. I only used 2 layers because I didn’t want it to be too thick. Take care not to felt it too much at this stage; you want it to just hold together.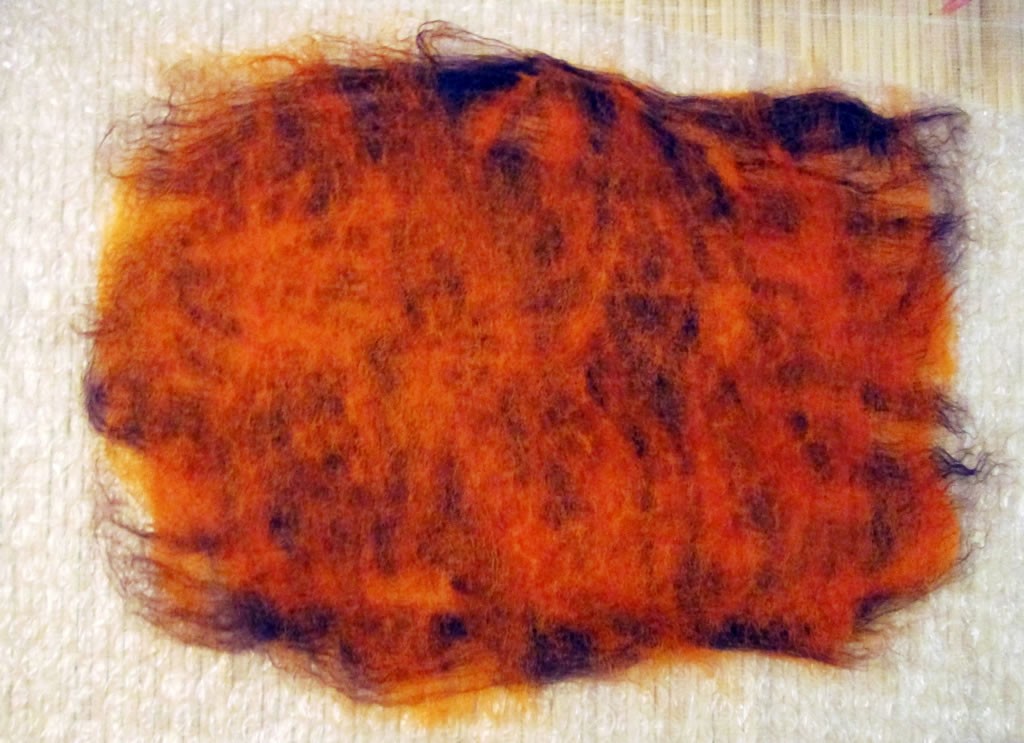
6. Using a leaf template, cut out some leaf shapes from the second piece of felt. I used these leaf cutters that I bought for Boy 4 for his autumn sensory playdough (affiliate link). I drew round one of the leaf cutters onto a pieces of scrap fabric several times and used this as a template for the leaves.

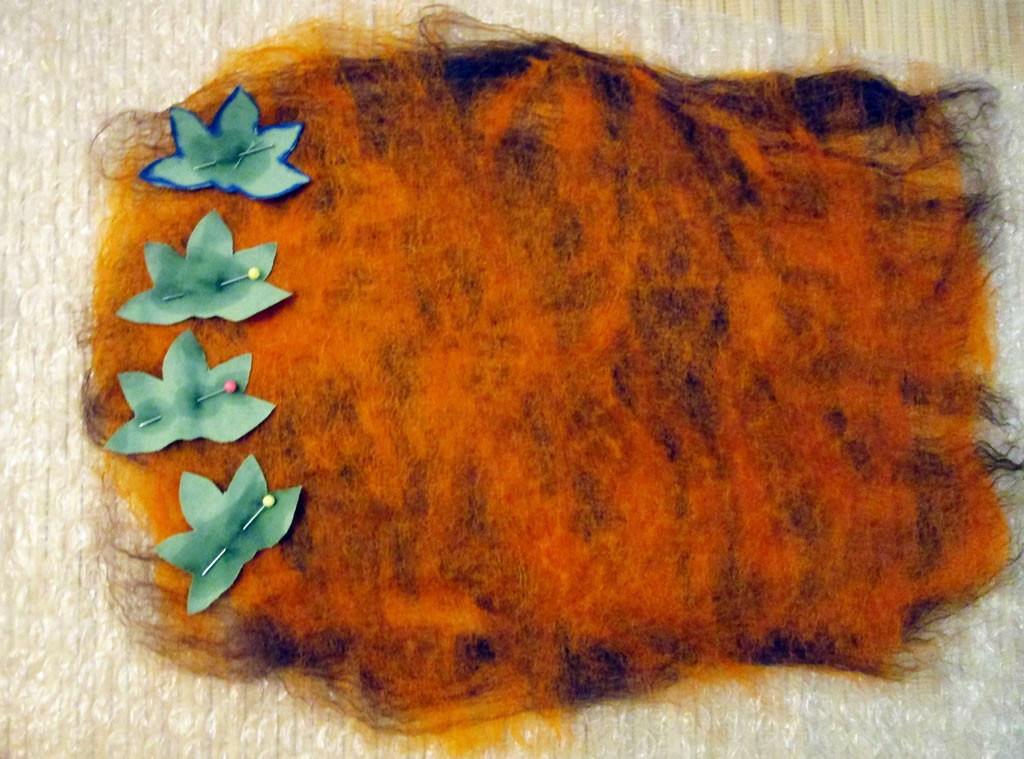
7. Position the leaves onto the first piece of felt. 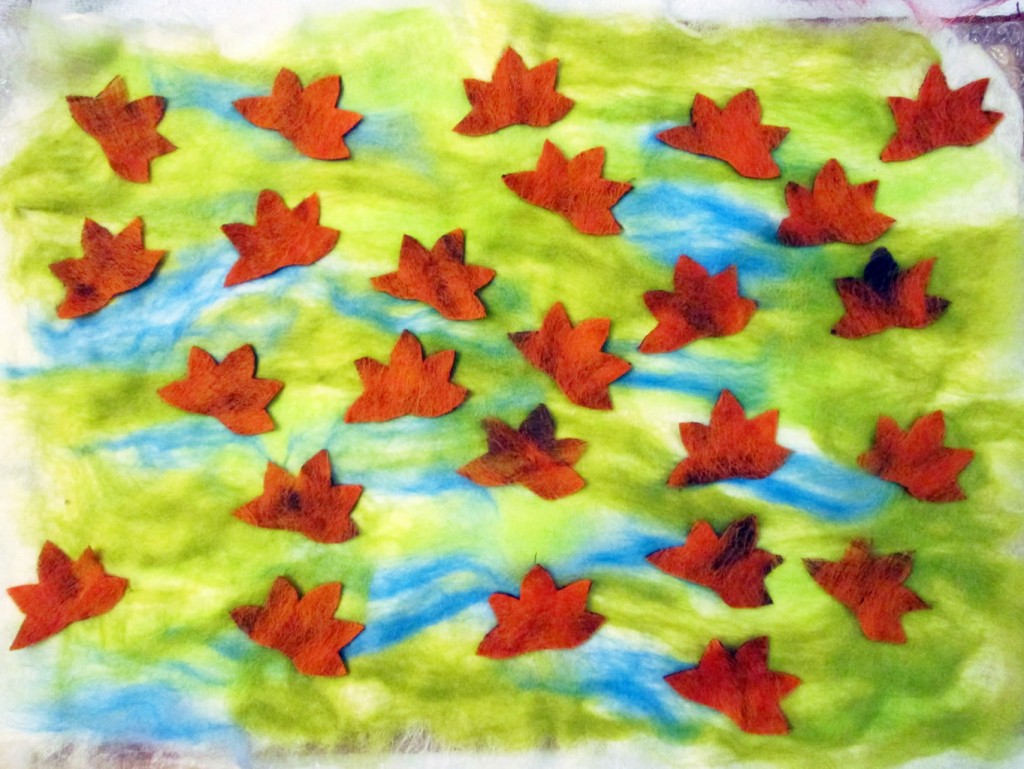 Wet it all with the cloth again and rub it with the soap. Rub it with your fingers.
8. Repeat the rolling process again. Keep going until the fibres have felted together.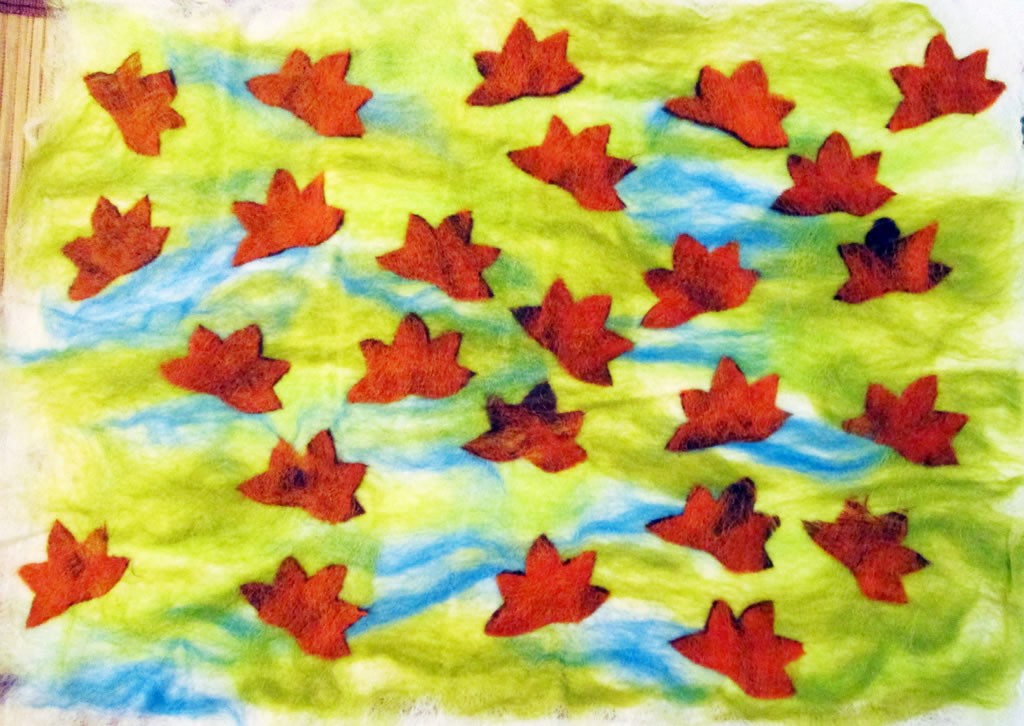
If you are not sure when this is, the felt should have shrunk a bit. It will probably be slightly dimpled and a lot less thick and fluffy. Also the fibres should not move about if you rub them with your finger.
9. Rinse the soap out of the felt and put it somewhere to dry. I found that the best place to rinse it was in the shower! I put it on the tray and then ran the shower. Using hot water will also help it to felt more.
10. Cut templates for your coasters from greaseproof paper. I drew round an old coaster, or you could cut squares about 10 cm x 10 cm.
11. PIn the squares to the felt and cut out.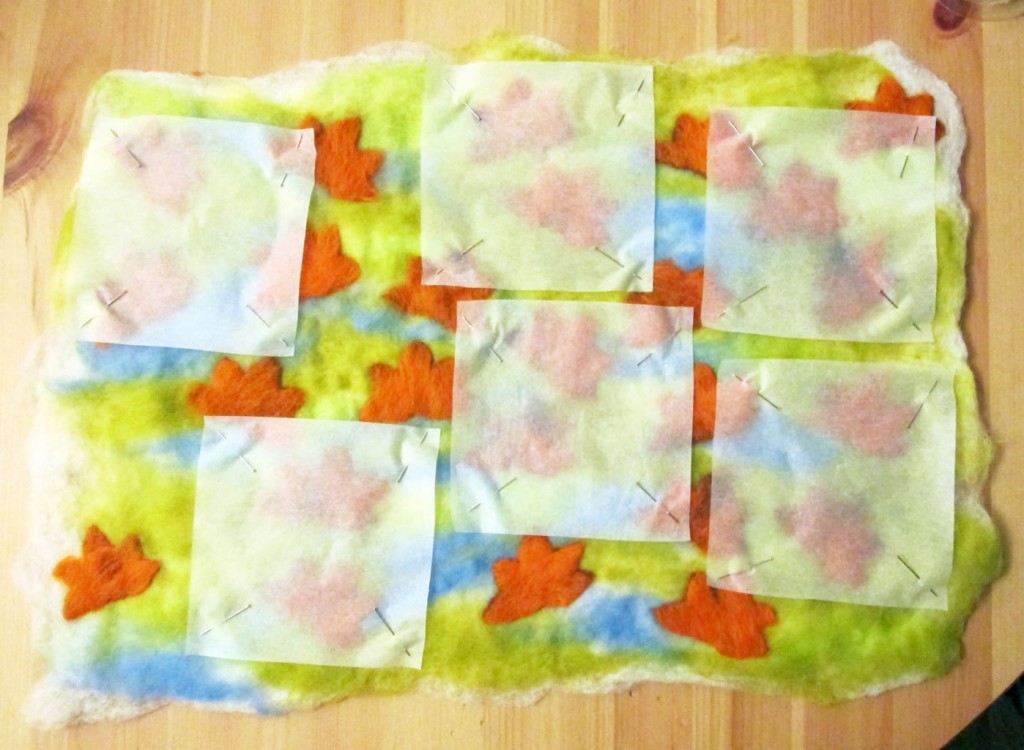

This is wool that I have used to make felt:
And this is a wet felting starter kit.There are others on Amazon that are cheaper, but this one has everything you need including the bamboo mat and a good variety of colours.
These are affiliate links.
You might also like these posts:
An Autumn Felted Picture Part 1

RT @sewcandoblog: Autumn leaf felted coasters tutorial from @peacockinapear: https://t.co/vdjENFN0lp #feltedcrafts #felting #FallFelt
Autumn leaf felted coasters tutorial from @peacockinapear: https://t.co/vdjENFN0lp #feltedcrafts #felting #FallFelt
This is such a pretty project. I’ve been trying to pin it as a Craftastic Pick this week, but keep getting an error no matter how I try it. I’ll definitely be featuring it next week though. Thanks for sharing this at the Craftastic Monday Link Party at Sew Can Do!
I’ve also been having issues pinning stuff, not sure why.
Thank you!
Really gorgeous! thanks so much for sharing on craft schooling Sunday!
Thank you 🙂