Autumn Embroidery Hoop Design
At the moment I have rather a lot of unfinished projects.
There’s the flower dress I’ve started. Most of the bits are cut out, and I want to get them all cut out otherwise I’ll forget and then I’ll be an a hopeless muddle when I go back to it.
I have fabric for another dress I haven’t made, a ripple blanket I’m crocheting, plus the bit of my course I’ve officially finished but actually haven’t, and the next bit that I’ve started.
This is in addition to the other things I haven’t finished, including a couple of ebooks, some bits on the website that need sorting out and other posts I’ve started, including a mini series on sewing with knits.
It’s really hard to stick with one thing when so many things are interesting and there are so many ideas! It’s also hard seeing things through to the end when there’s always the lure of a shiny new project.
So feeling a tiny bit overwhelmed with it all, I did what I usually do and started something else!
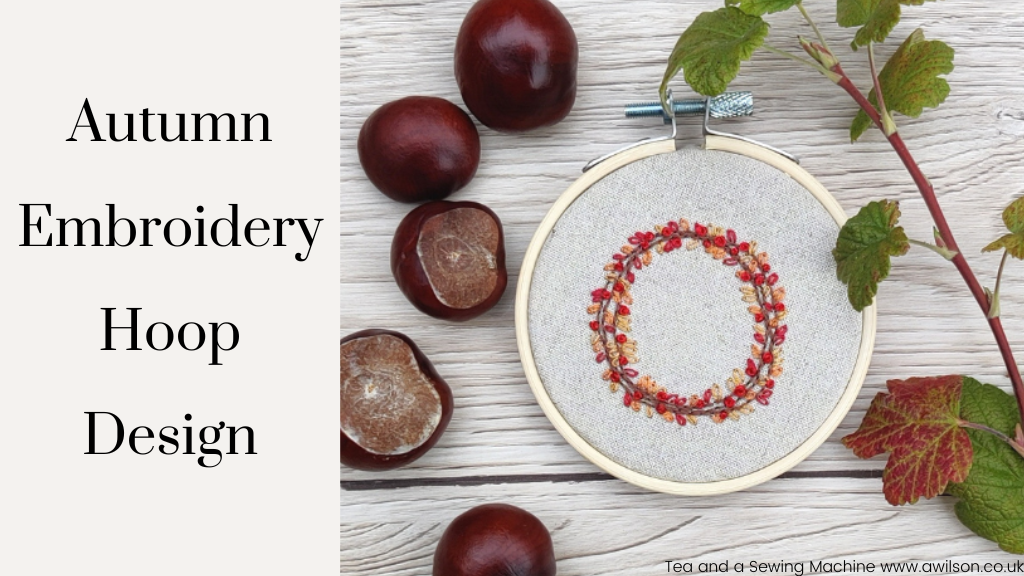
Thankfully it proved to be quite a quick thing, which I thought it probably would be. It’s an autumn embroidery hoop design, quite similar to a Christmas one I did a few years ago.
There’s also a more serious side to it, which is that sales of my kits and patterns on Etsy have almost dried up, and I need to give my shop some attention. It’s the craft kits and patterns that are funding my textiles course, so I’m going to need to give it a thorough overhaul if I’m to continue with my course.
This little autumn embroidery hoop design will become a craft kit, hopefully with spring, summer and winter versions too.
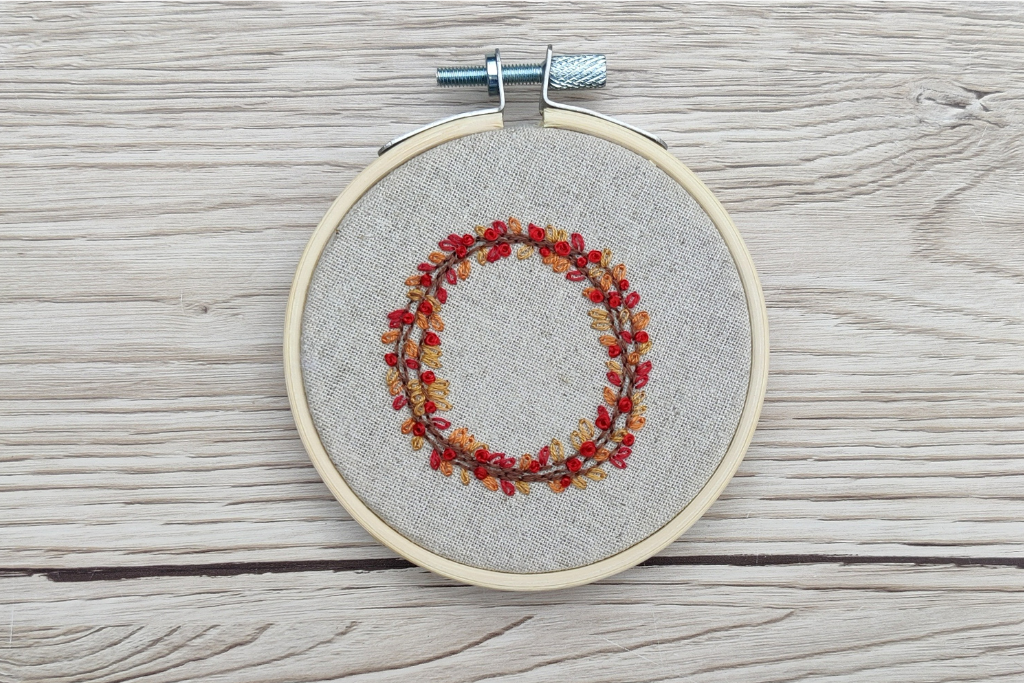
The hoop is quite small, about 8 cm across. It’s a nice little seasonal project to give your hands something to do. Being quite a quick thing to make, it’s achievable if you don’t have much time, if you sew really slowly or if, like me, you struggle to get things finished sometimes!
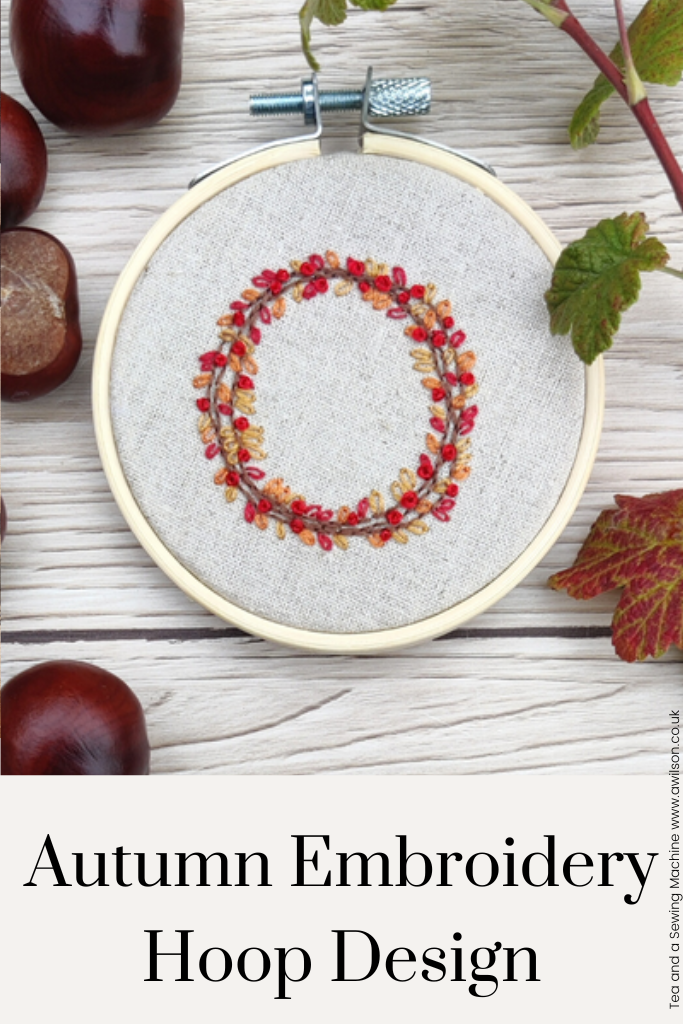
Autumn Embroidery Hoop Design
You Will Need
An 8 cm (3 inch) embroidery hoop
A piece of fabric large enough for the hoop. 12 cm x 12 cm (5 inches x 5 inches) will be enough.
Felt for backing the hoop for finishing
Embroidery thread in the following colours:
Brown for the twiggy wreath
A dullish red
Orange
Ochre-y shade of yellow
Bright red for the berries. A shiny thread would work well, or you could use tiny beads.
A larger embroidery hoop to use while you’re embroidering the design is a “nice to have” but isn’t essential.
Stitches
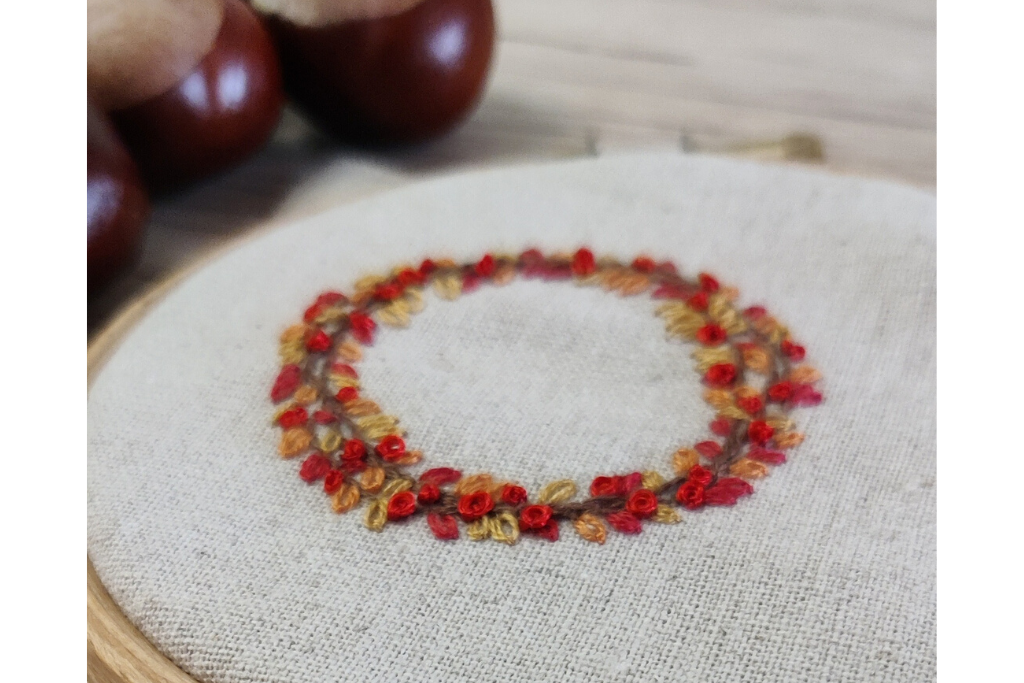
The wreath is worked in back stitch.
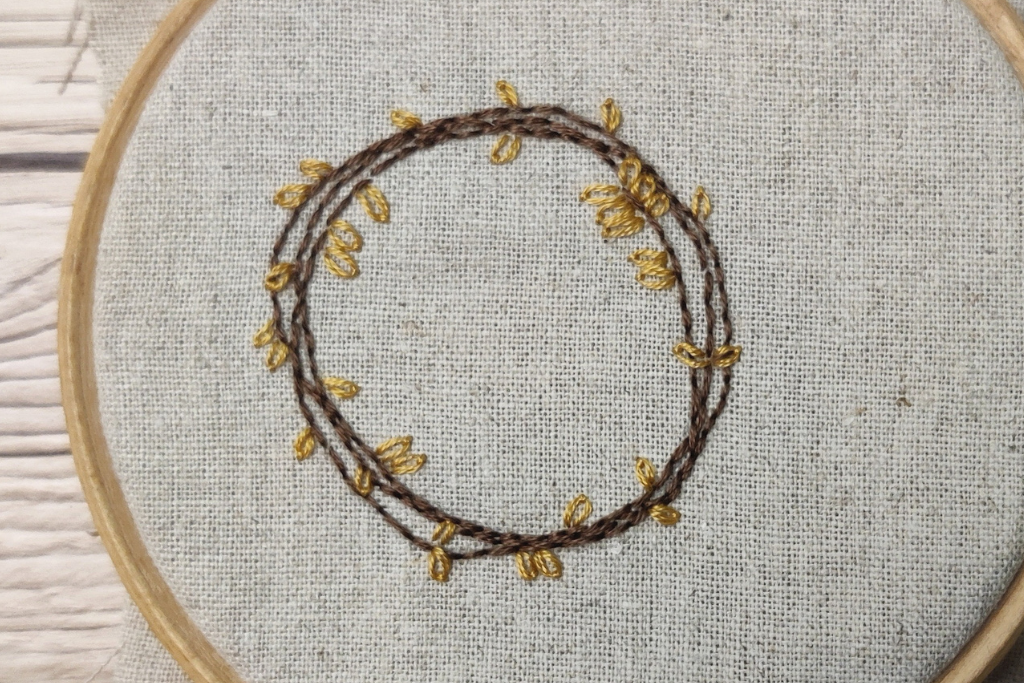
The leaves are lazy daisies.
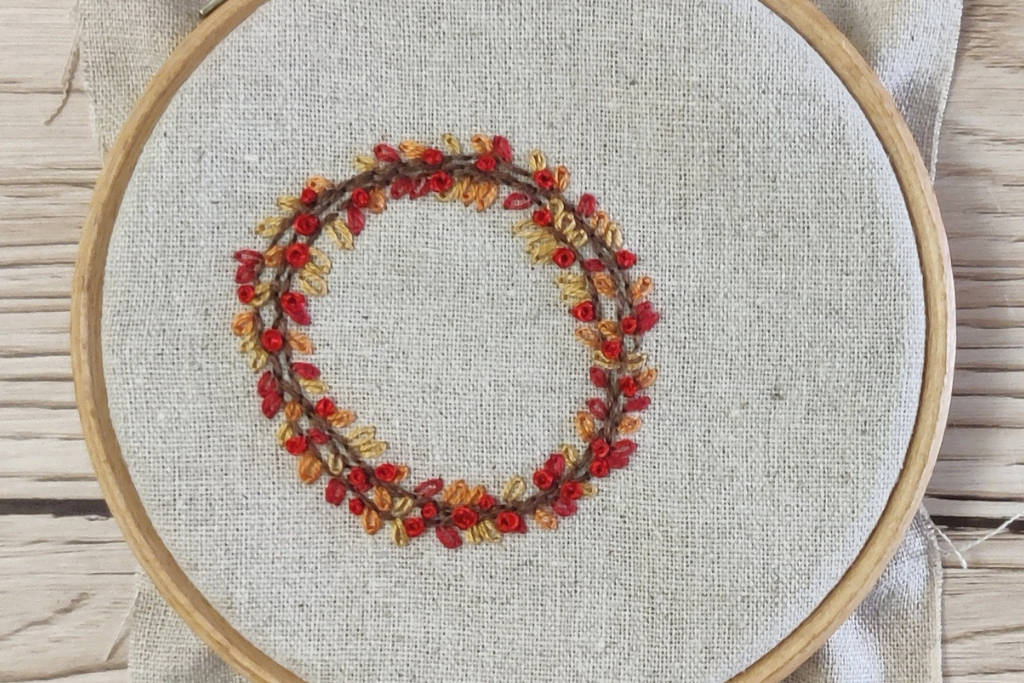
The berries are French knots.
If you haven’t tried the stitches before, it’s an idea to have a practise first on a scrap piece of fabric.
Before You Start Sewing
I prefer to have the wreath on the fabric ready to sew. If you don’t want to draw one yourself, you could use one of these. They are for Christmas wreaths, but the idea is the same and they are the correct size.
There are a couple of ways to transfer it to the fabric. The first is by using dressmakers’ carbon paper. Just to warn you, if you take this approach, you have to press quite hard!
The second is to use a light box and draw it on with a pencil. If you don’t have a light box, you can improvise with a window, or by turning up the brightness on your computer screen. If you do this please be careful!
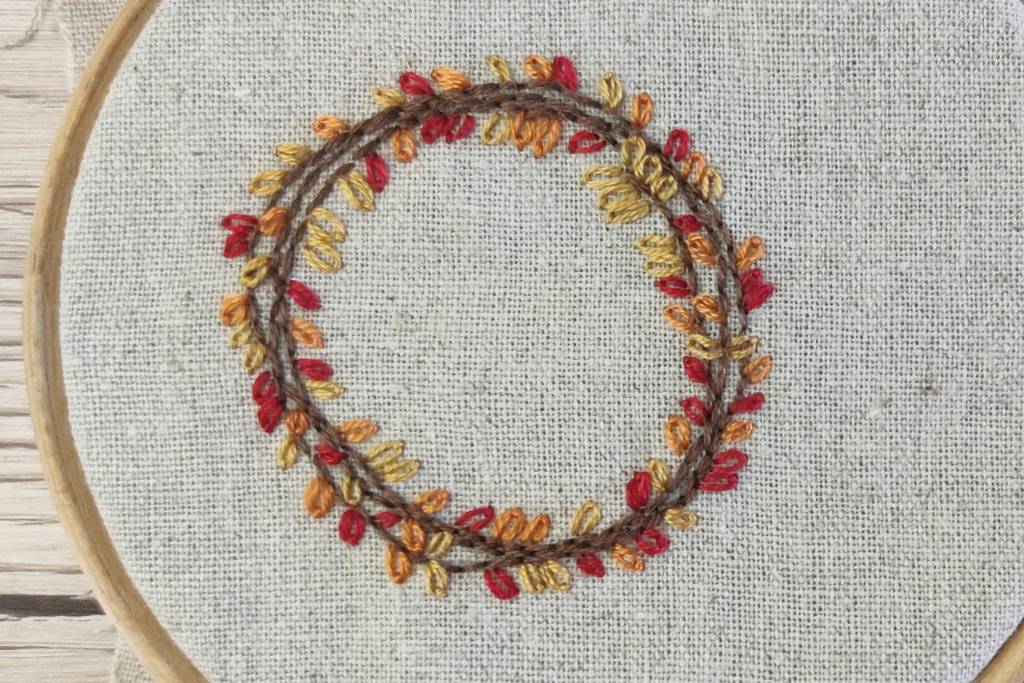
I find it’s not necessary to have the leaves marked on before sewing them. You can either copy the photos or make it up yourself!
Sewing the Design
I used 2 strands of embroidery thread.
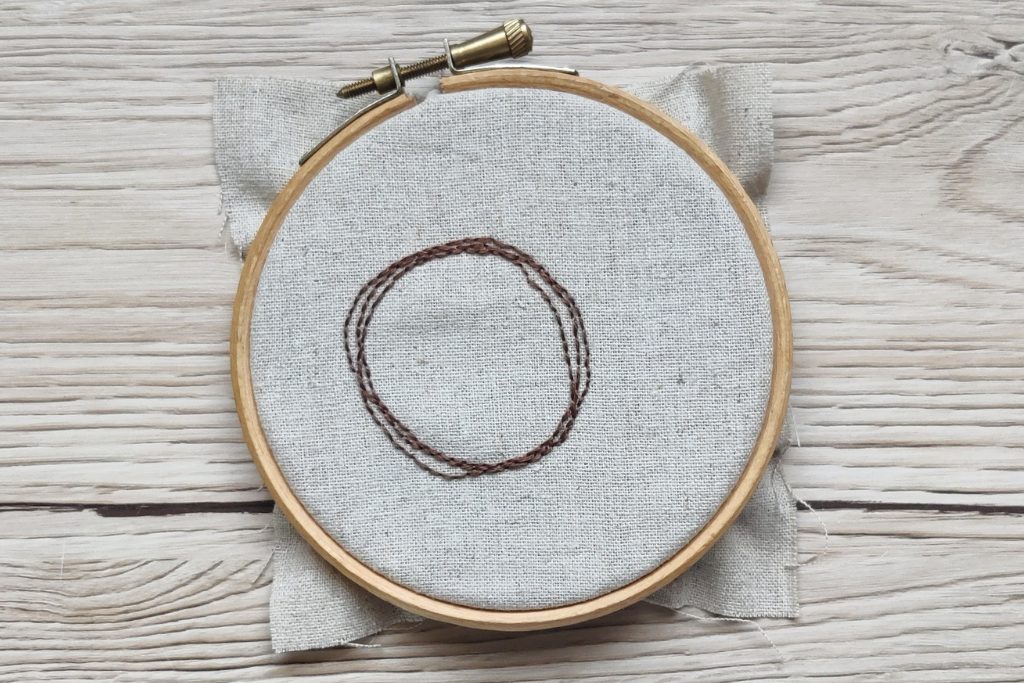
Sew the wreath in backstitch.
Then sew some leaves using lazy daisy stitch. Start with one colour, then add the others as you go.
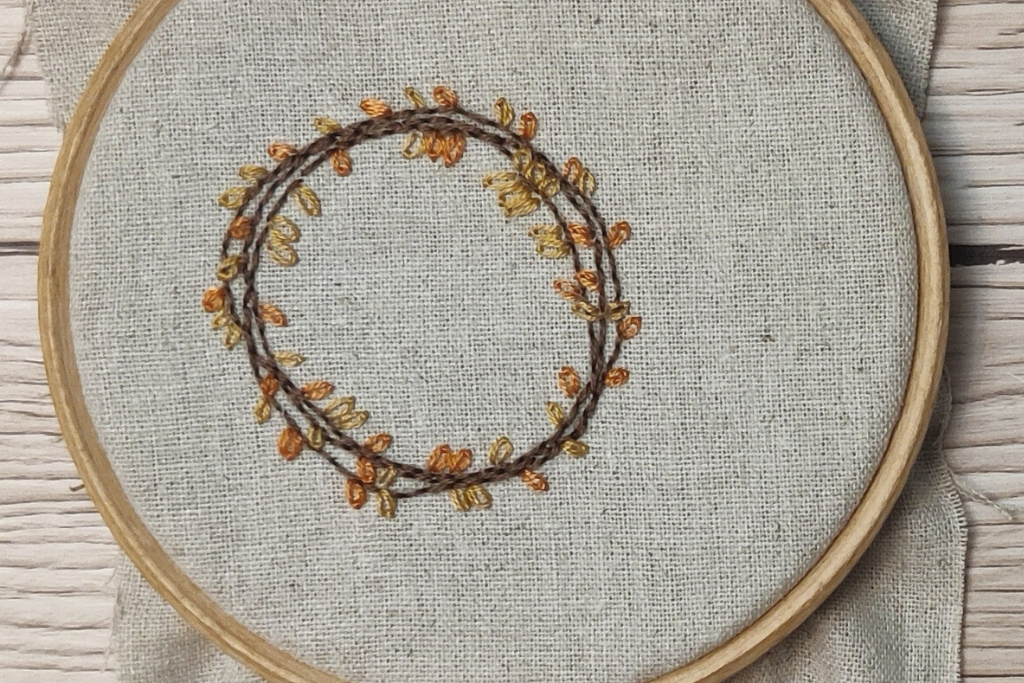
Then sew the berries using French knots.
Finishing Off
Draw round the inside ring of the embroidery hoop you’ll be using for displaying the embroidery onto a piece of felt. Cut it out.
Pop the finished piece of embroidery into the embroidery hoop.
Sew a running stitch round the fabric at the back and gather it.
Sew the felt circle to the back of the embroidery.
Tips
It’s worth remembering that this kind of project sometimes goes through an ugly duckling stage. So if you get halfway through and decide you don’t like it, persevere because it will probably be fine once it’s finished.
Another tip is that you don’t have to do all leaves of one colour all at once. You might find it better to do a few, then add more if you feel the wreath needs them.
You could even sew a few, and make a point of making them all different. Maybe leaves in the bottom half of the wreath, or in one side. You could the berries singly or in clusters.
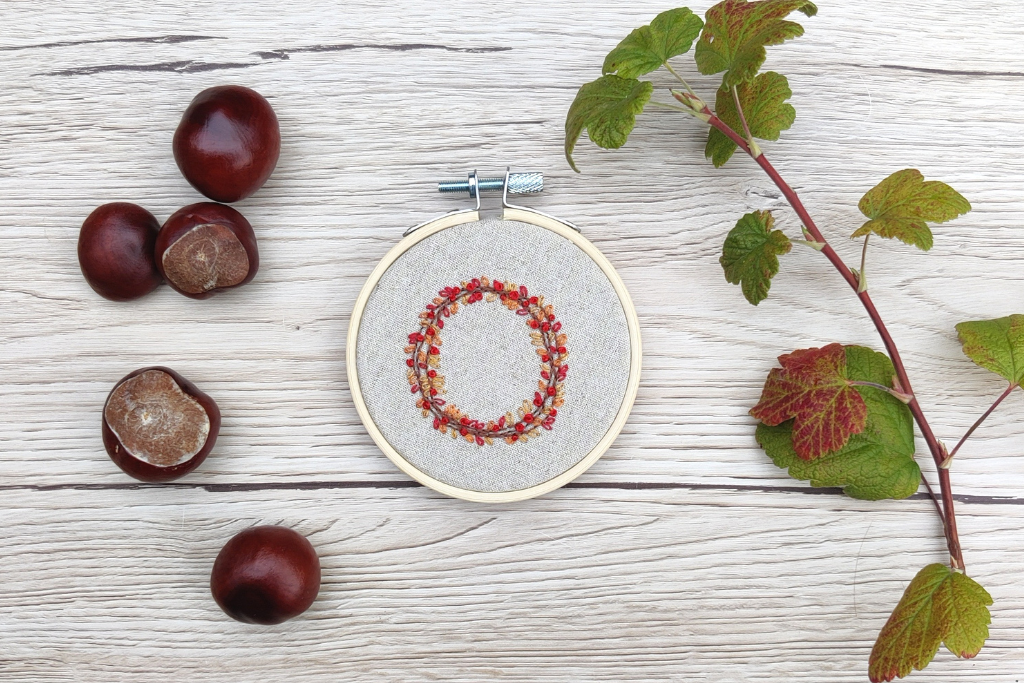

Really cute!!
What a nice little project to do for autumn. Thank you for sharing.
How cute! The quote idea would definitely finish it off nicely 😊