The last couple of purses I’ve made have been tiny so here is a purse tutorial for a rather bigger one!
I love the whole retro, Scandi, massive flowers and geometric shapes thing that is going on at the moment. I am old enough to remember the 70s first time round (just about!) and I adore the clean, modern take on that time that could be described as the decade that taste forgot. Uncle Ber, I remember your wallpaper!
Anyway, I recently had a bag project featured in Sewing World, so I’ve made a lovely purse to match!
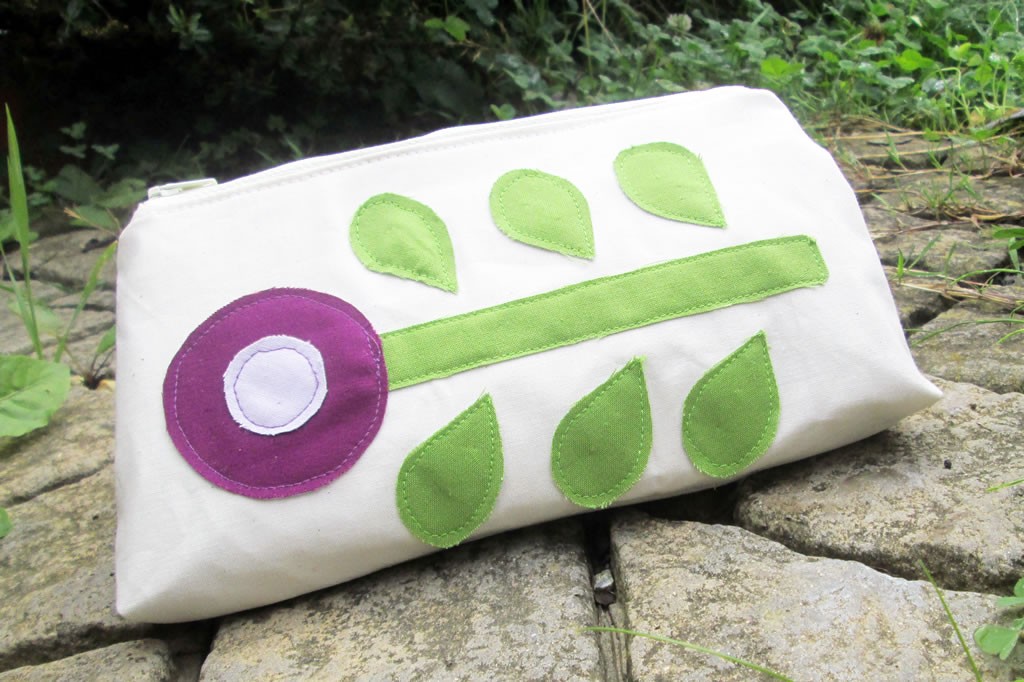
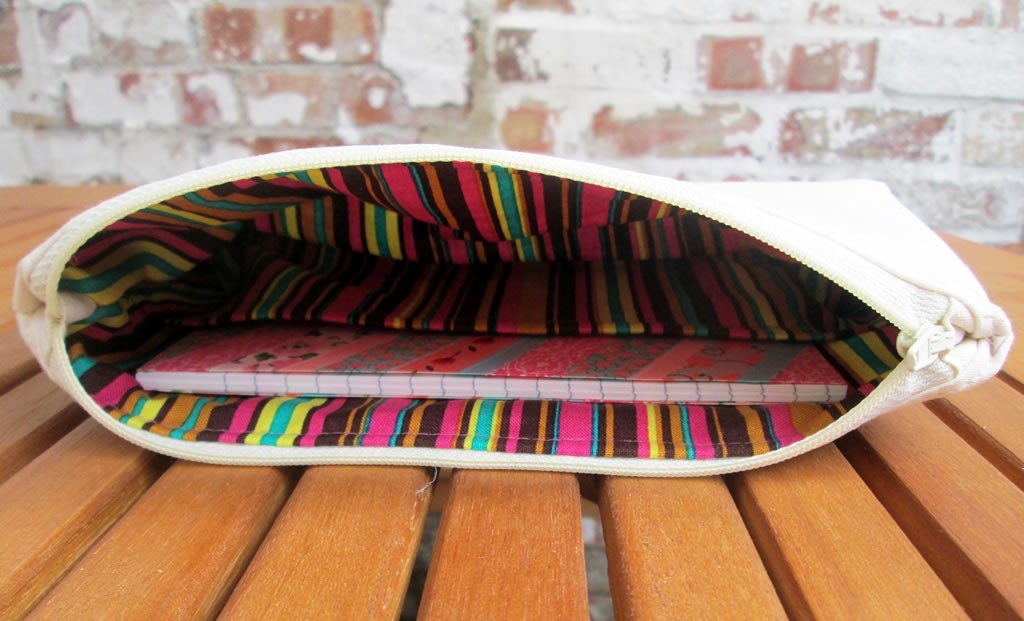
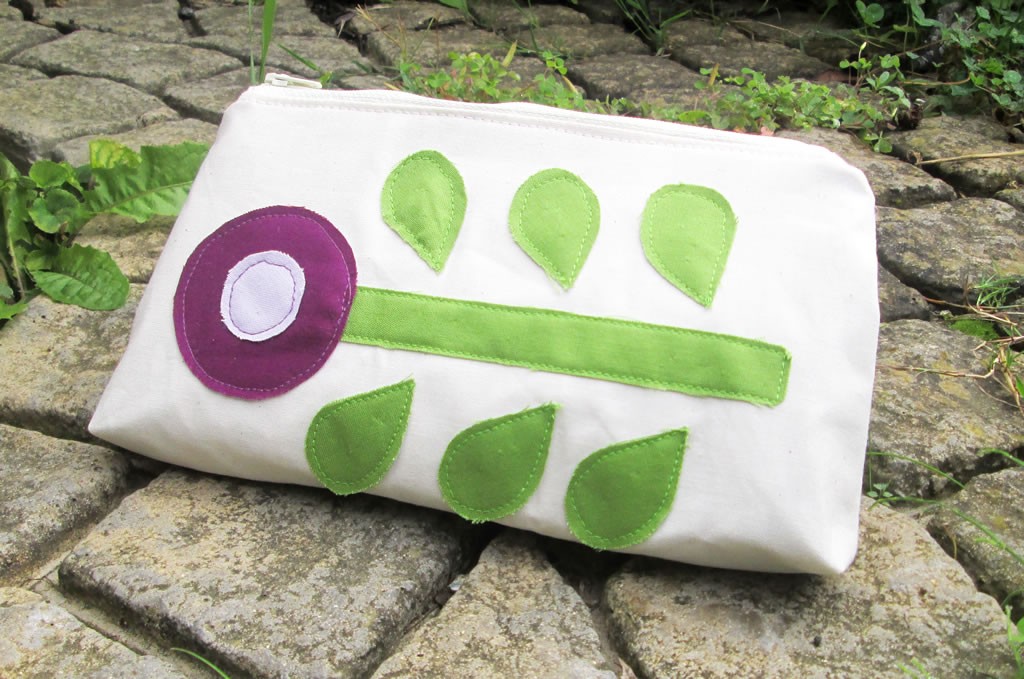
I wanted to keep the purse fairly simple. It is lined, with a pocket. The zip ends are covered with tabs so that they look neat and it features an appliqued flower made from simple, geometric shapes.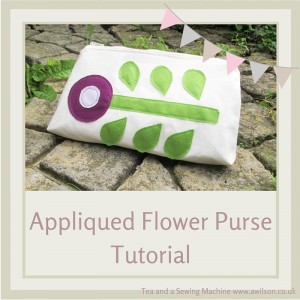
The instructions below include how to make the pattern, but if you don’t want to, you could buy the pattern here.
Appliqued Flower Purse Tutorial
You will need: fabric for the lining and the outer, sew in interfacing, 20 cm zip, fabric scraps for applique.
I bought all the fabric from Plush Addict which at the moment is my favourite online fabric shop!
1. To make the pattern pieces, you will need to draw a 4 sided shape that looks like a triangle with the top cut off. It is apparently called an isoceles trapezoid. I would not have known that if it was not for the internet.
The shape needs 14.5cm high, 23.5 cm across the top and 28.5 cm along the bottom. This includes a 1 cm seam allowance.
The pocket piece is the same shape just with 1.5 cm cut off the top. The interfacing pocket piece will need 2.5 cm off the top.
For the tabs for the zip, cut 2 rectangles 6.5 cm x 2.5 cm.
For the flowers, make 1 rectangle 1.5 cm x 13 cm and 2 circles, one larger than the other. For the leaves, I drew a box, then I drew an ellipse diagonally in the box and made one end pointy.
If drawing is not your thing, you can download a pdf of the pattern here.
2. To cut out, you will need 2 each of the main purse shape from the outer, the lining and the interfacing.
For the pocket, cut one piece of lining and one piece of interfacing.
For the flowers, cut one of each circle from contrasting fabric, one stem and 6 leaves.
3. Pin one of the bits of interfacing to one of the outer pieces. Arrange the flower pieces and pin. Starting with the stem and using a smallish straight stitch (smaller is easier!), applique the flower pieces to the outer.
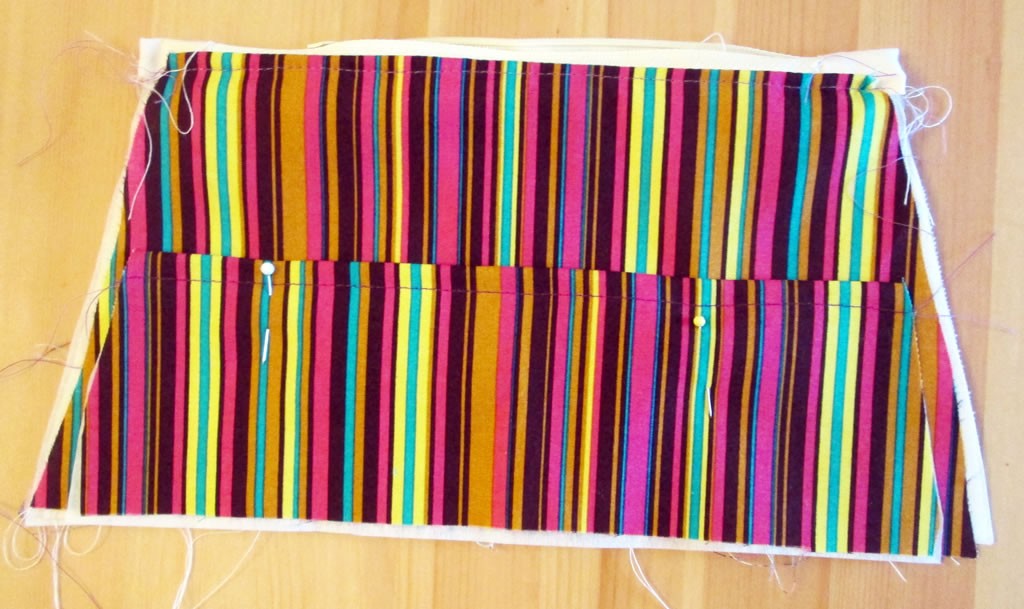
4. Fold the top of the pocket section over the piece of interfacing and sew.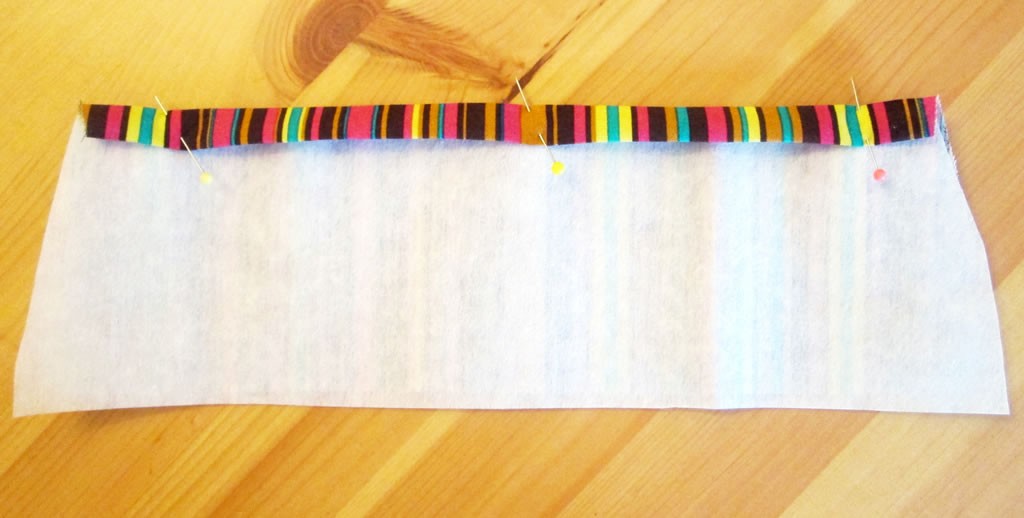 Pin it to one of the lining pieces.
5. Fold one of the tab bits in half. Pop one end of the zip between the halves and tuck the raw edges underneath. Pin to hold it then sew across the tab.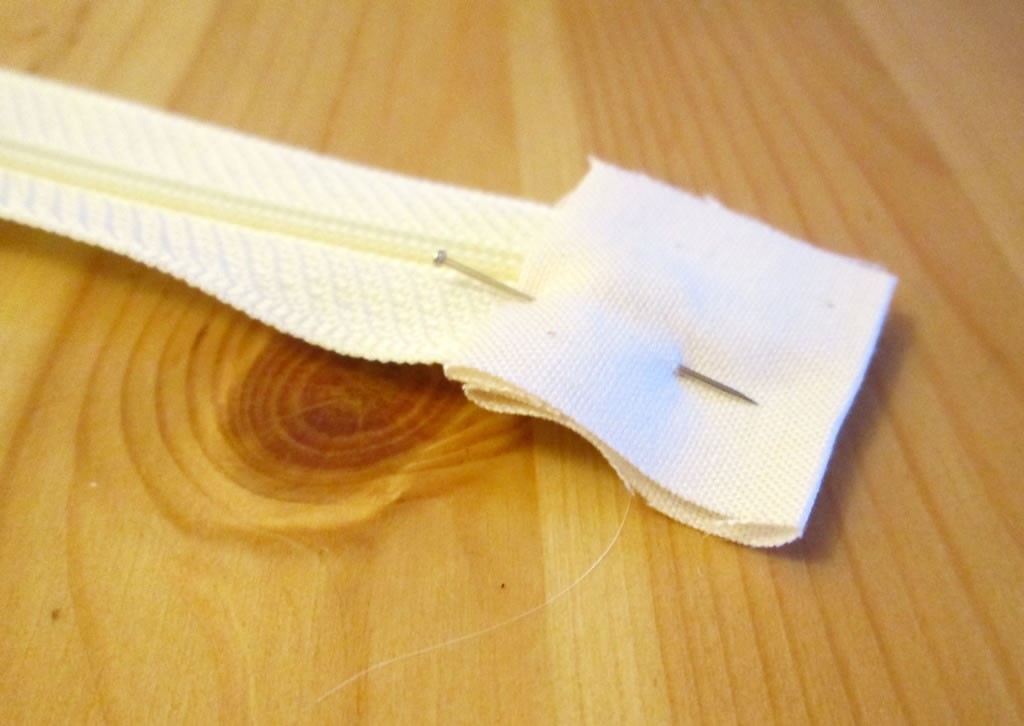
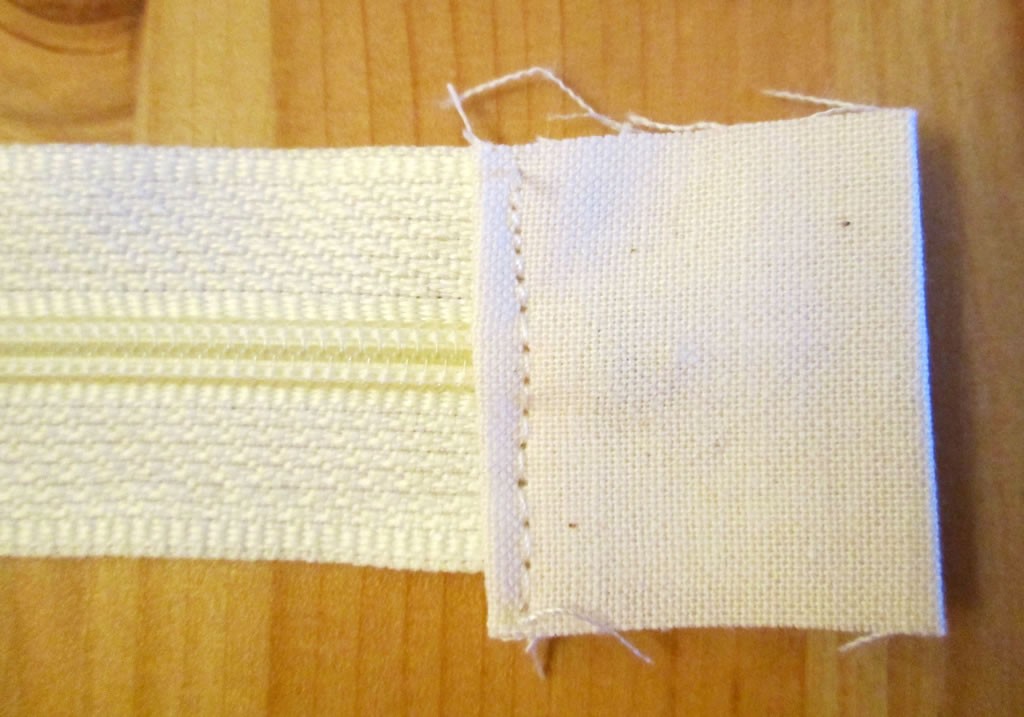 Do the same for the other tab.
6. On top of the outer piece that now has a flower on it, put the zip face down and along the top. Place one of the lining pieces on top of the zip. You should now have a weird kind of sandwich with the zip in the middle. Pin, then sew the zip in.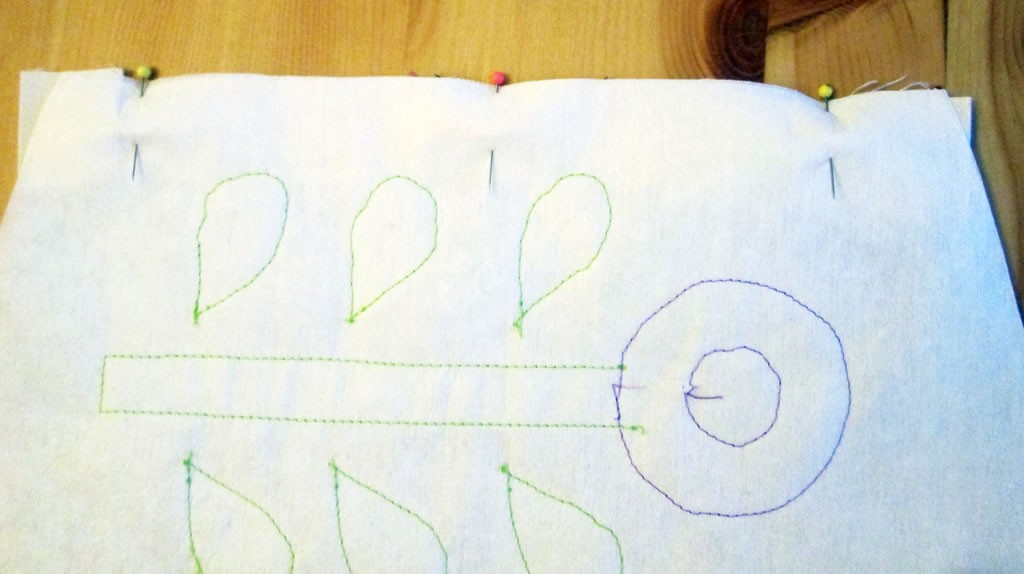
7. Turn the outer and the lining the right way out. Top stitch along the outer and the lining where they join onto the zip.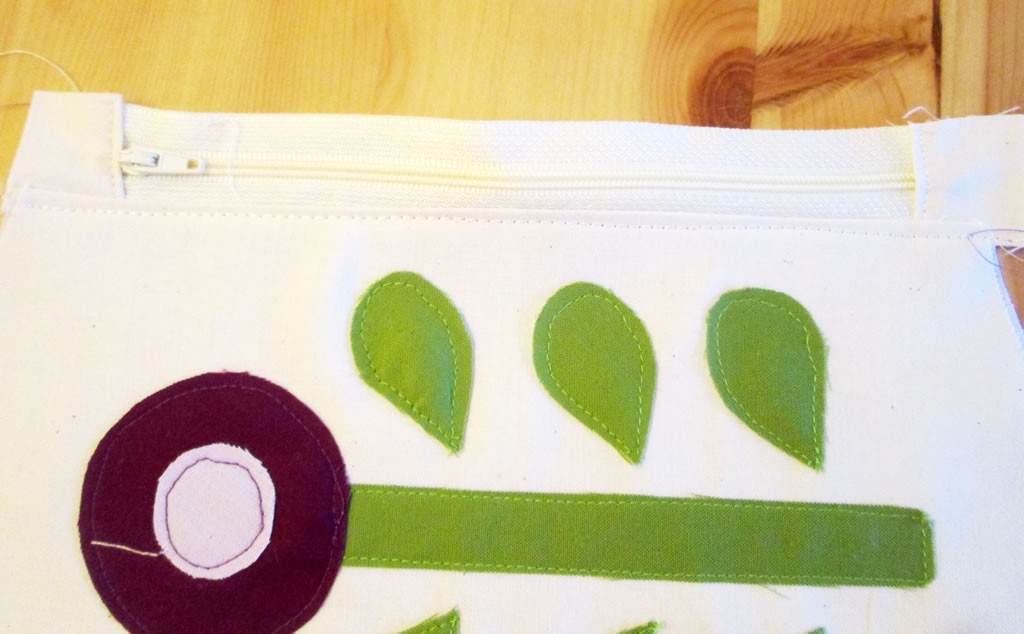
8. Repeat for the remaining purse pieces. So you should have interfacing, then outer right side up, then zip, facing down, then lining, also face down. Sew the zip in, the turn out and top stitch.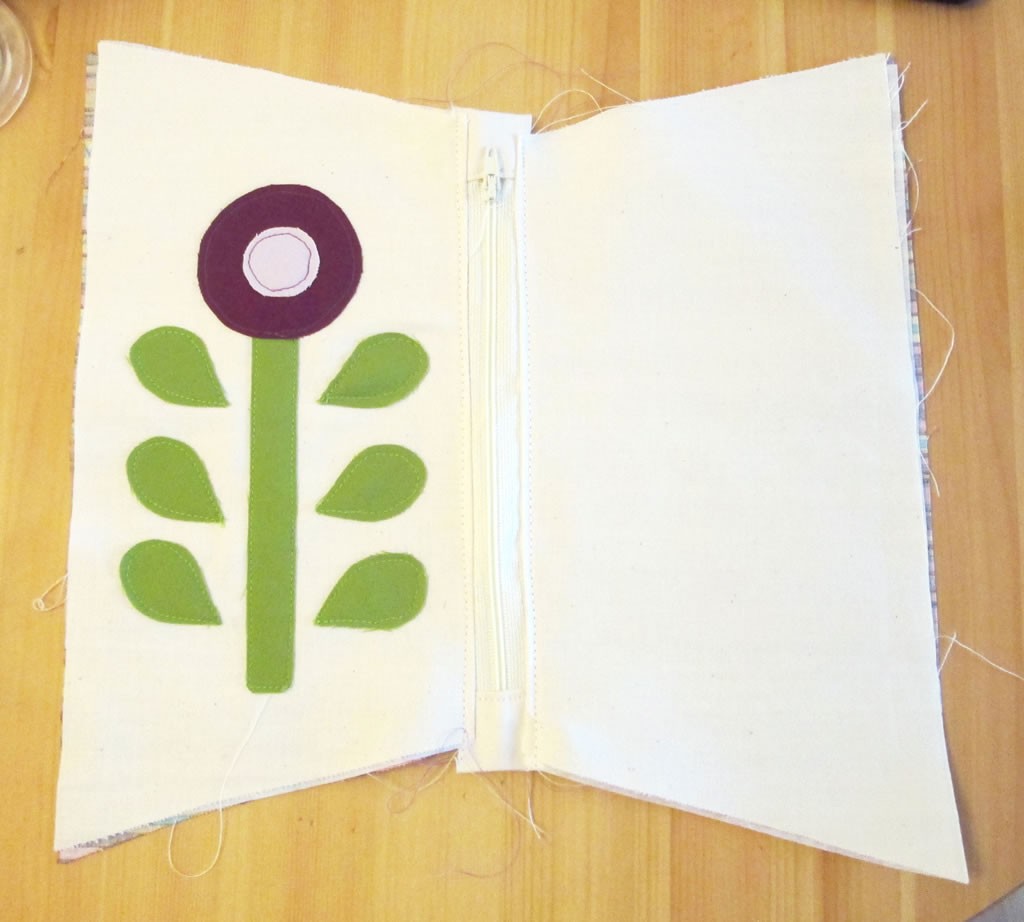
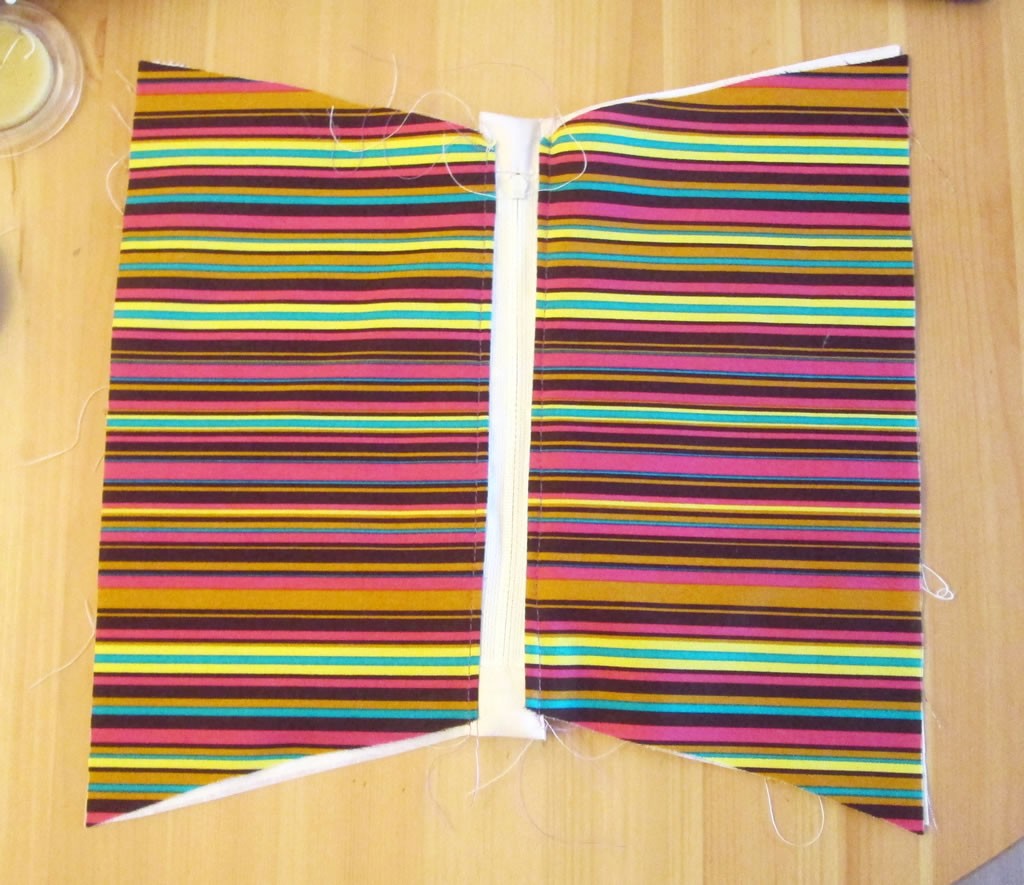
9. Open the zip a little bit. This is very important! I actually forgot to do this and ended up reaching for the unpicker (again!). Sew around the edge of the outer.
10. Sew around the edge of the lining, leaving a gap along the bottom.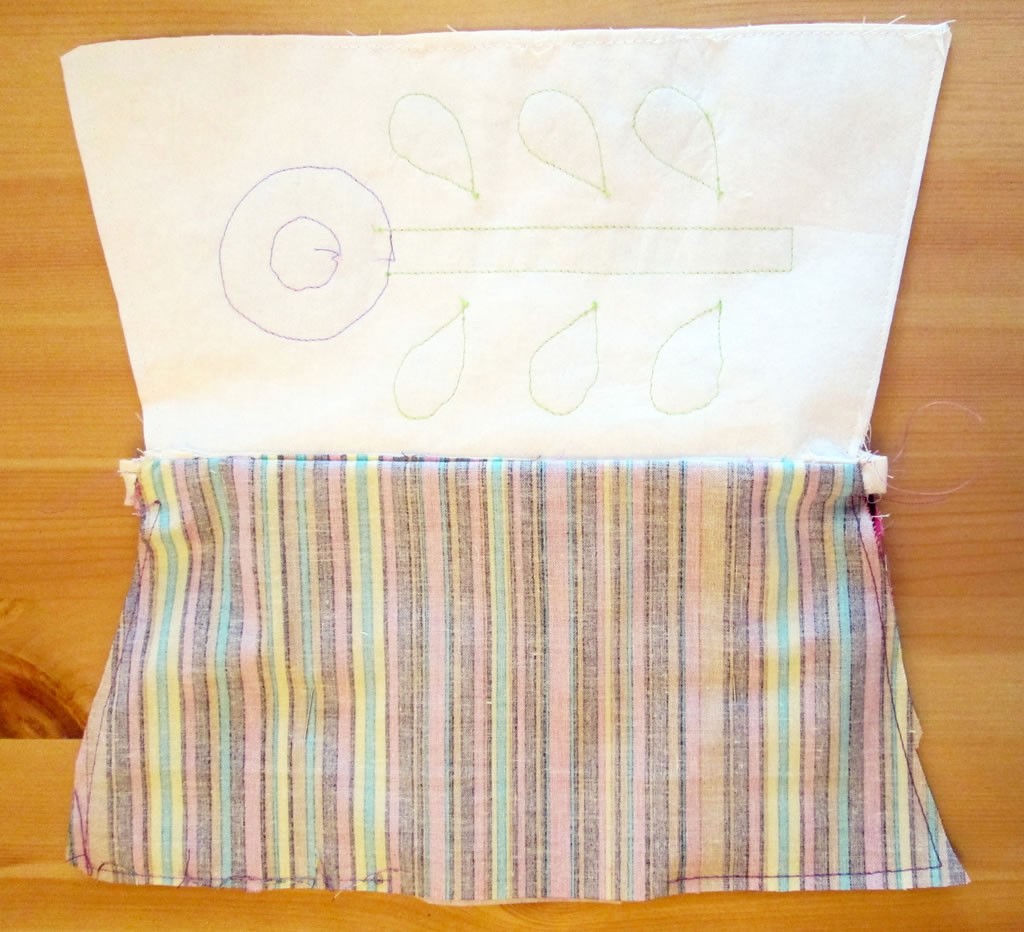
10. Measure 2.5 cm up from the corner of the lining. Squash the corner flat, pin, then sew across it. Cut the corner off.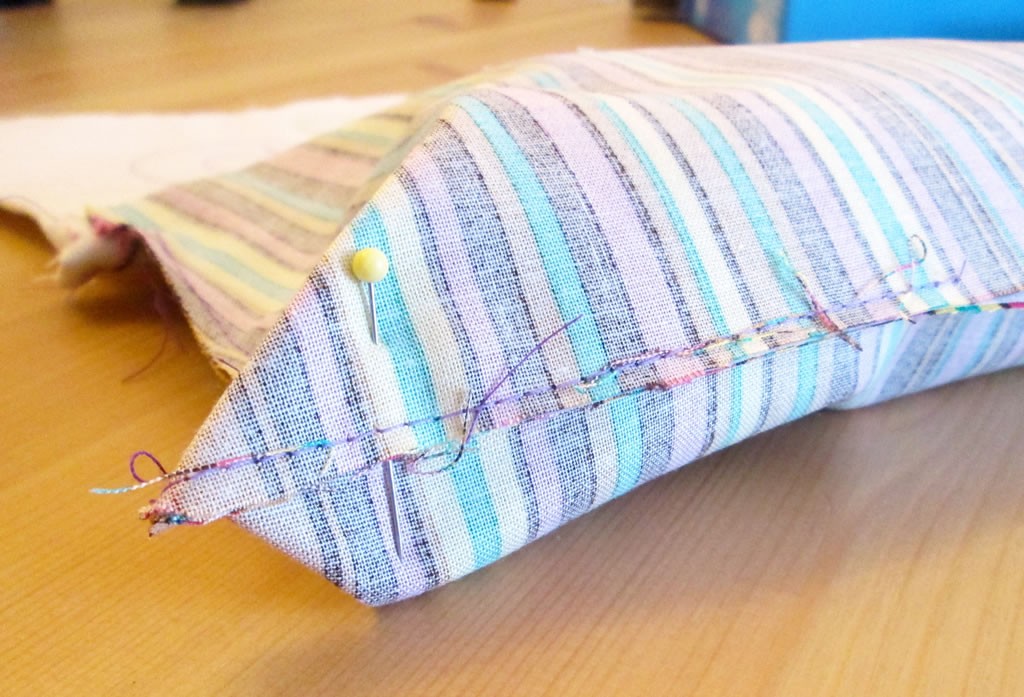
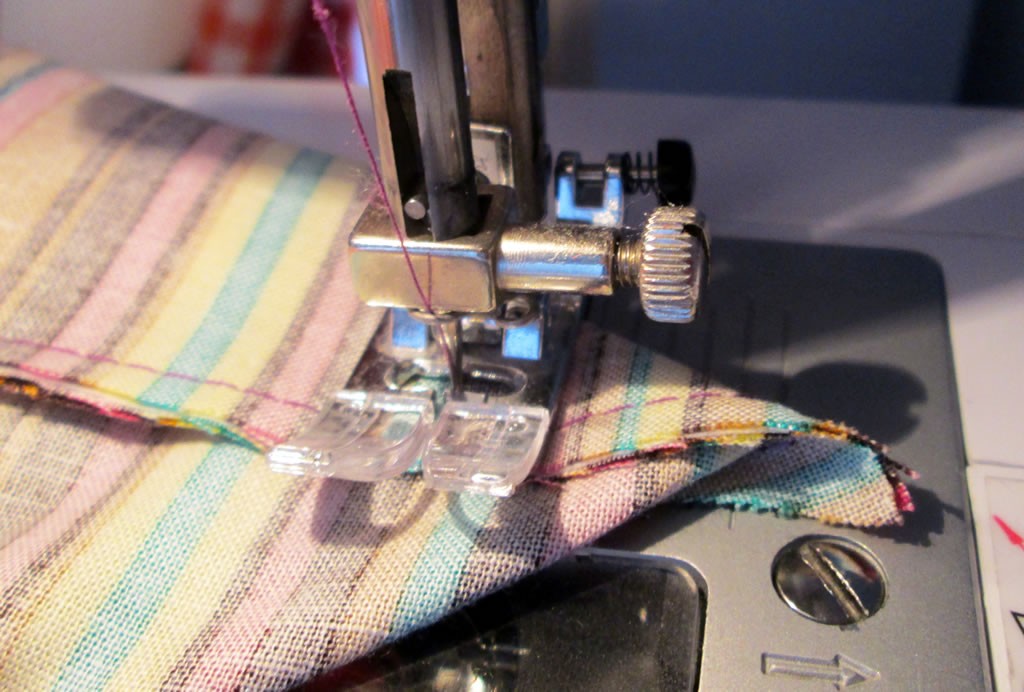
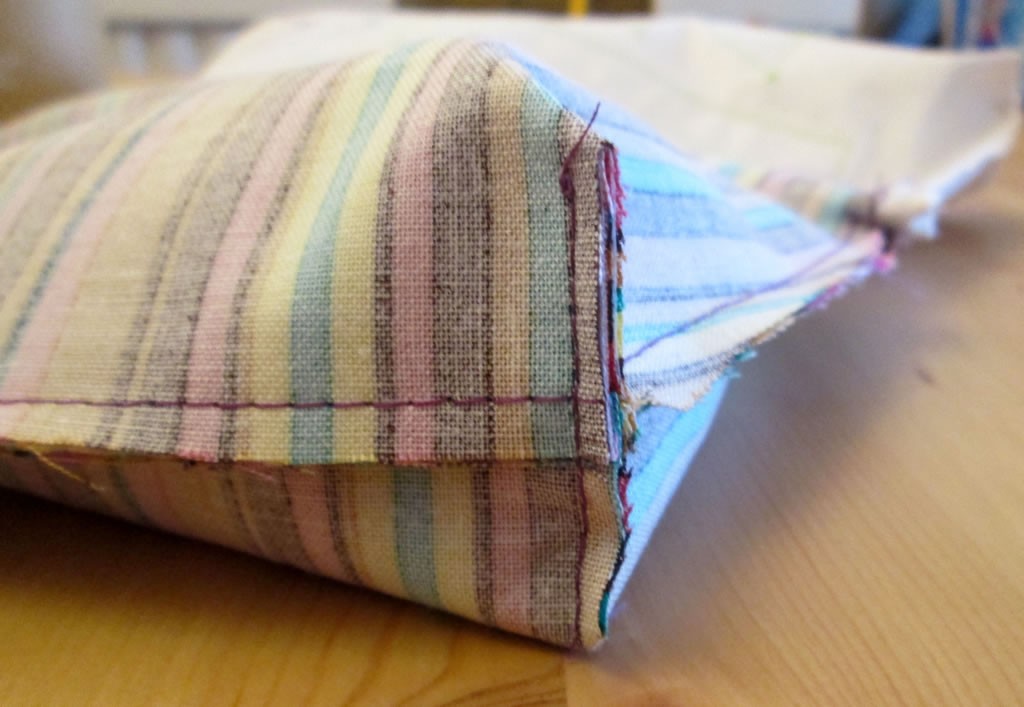 Repeat for the other corner of the lining and the corners of the outer.
If you would like more detailed instructions for making boxed corners, have a look at this tutorial here!
11. Turn the purse the right way out and slip stitch the bottom section closed.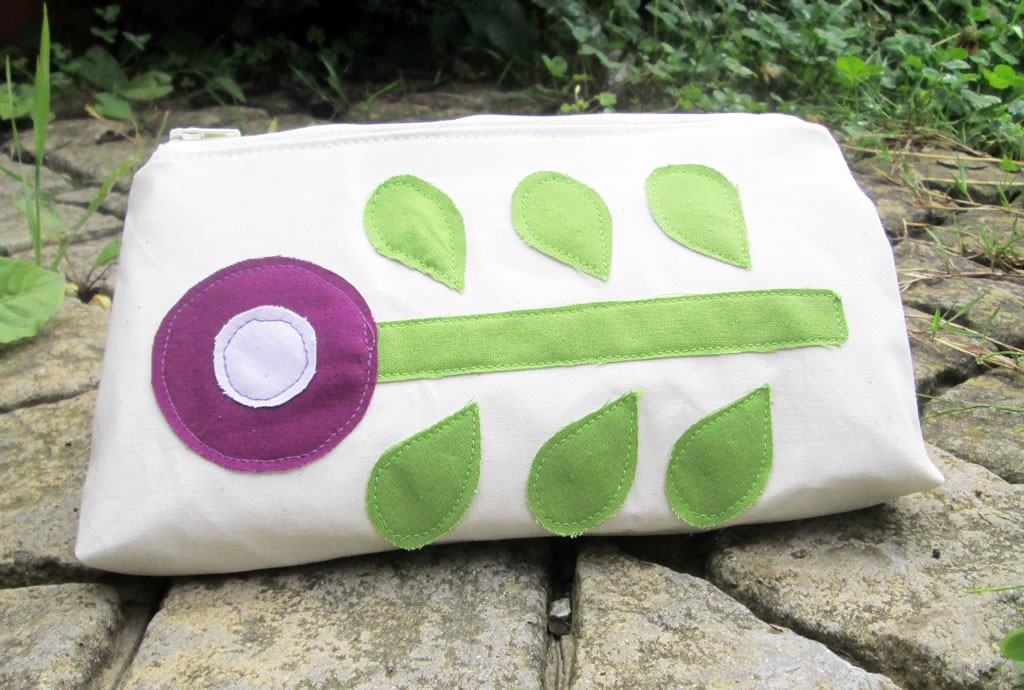
 If you liked this, you might like my other purse tutorials.


Thank you for another lovely project and clear tutorial.
Thank you
What a sweet little purse and a great tutorial. I love the bright lining and pretty appliqué.
Thank you. I like a bright lining!
So pretty and can never have too many useful bags
Exactly!