Don’t you love it when random things inside your head suddenly join up?
Some stuff inside my head suddenly joined up the other day.
I love autumn. Actually I love all the seasons and I have a hard time picking which is my favourite, but autumn has an edge. The days are still warm enough to enjoy doing things out of doors but not so hot that you can’t move for sweating. The nights are drawing in, which makes it much easier to persuade young children to go to bed! And although we don’t really have beautiful autumns in the UK there is still lots of golden, red and brown.
So the other day, my love of autumn linked up with several other things. Firstly, with my cat Stripod. His beautiful ginger fur is the colour of autumn. And secondly, with the curtains in my front room.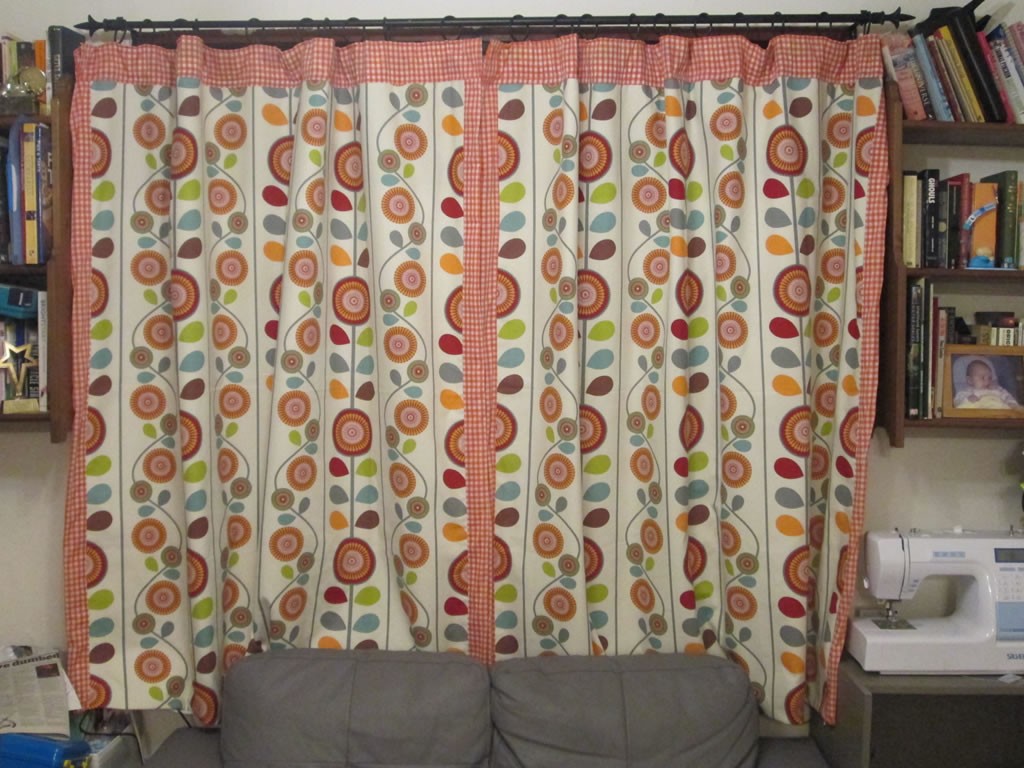 All the colours of autumn hanging in front of the windows when it is to dark to see them for real!
This realisation made me very happy!
The happiness made me want to make something. An obvious choice was a cushion.
I’d seen some beautiful fabric on Plush Addict, which is currently my favourite online fabric shop!
I couldn’t decide which one I like the most. Hurrah for patchwork, the perfect solution for the indecisive!
Here is the tutorial for my autumn patchwork cushion. If you don’t want to make the pattern yourself, you can buy one here for £2.
An Autumn Patchwork Cushion Tutorial
You Will Need: paper, pencil, ruler, cushion pad, self covering button, 1 fat quarter each of 5 different fabrics.
Making the Pattern
1. Draw a square the same size as your cushion. Greaseproof paper is good for this.
2. Draw a line diagonally from corner to corner.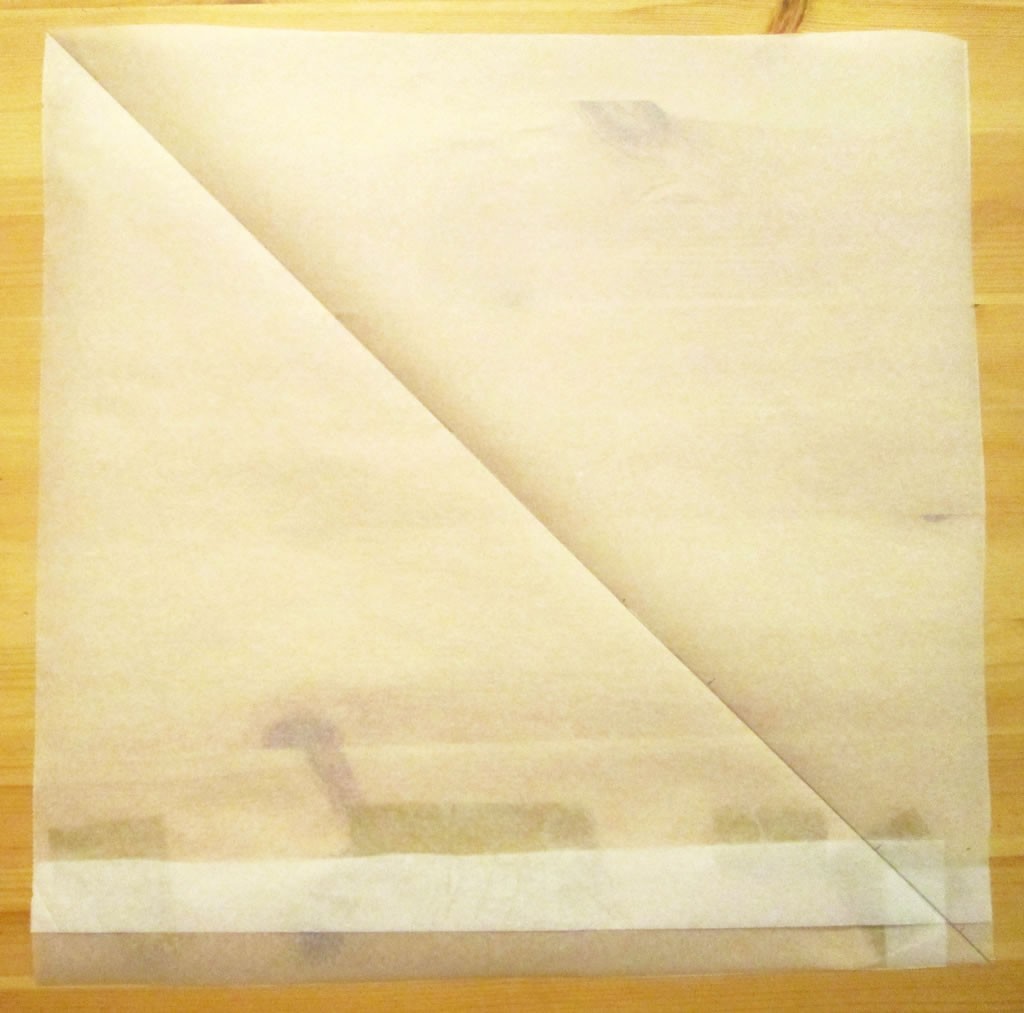
3. Decide how many sections you would like for each half. I opted for 7 for the vertical patches and 5 for the horizontal. I wanted the bits to be big enough so that I could enjoy the patterns on the fabric, and generally odd numbers of things look better.
4. You will have to do some maths at this point. Measure the diagonal line and divide by 7 (or by however many sections you are planning on having). Mark off each section along the line. Starting at each mark you have made, draw lines at right angles to the diagonal line so that you end up with 7 sections.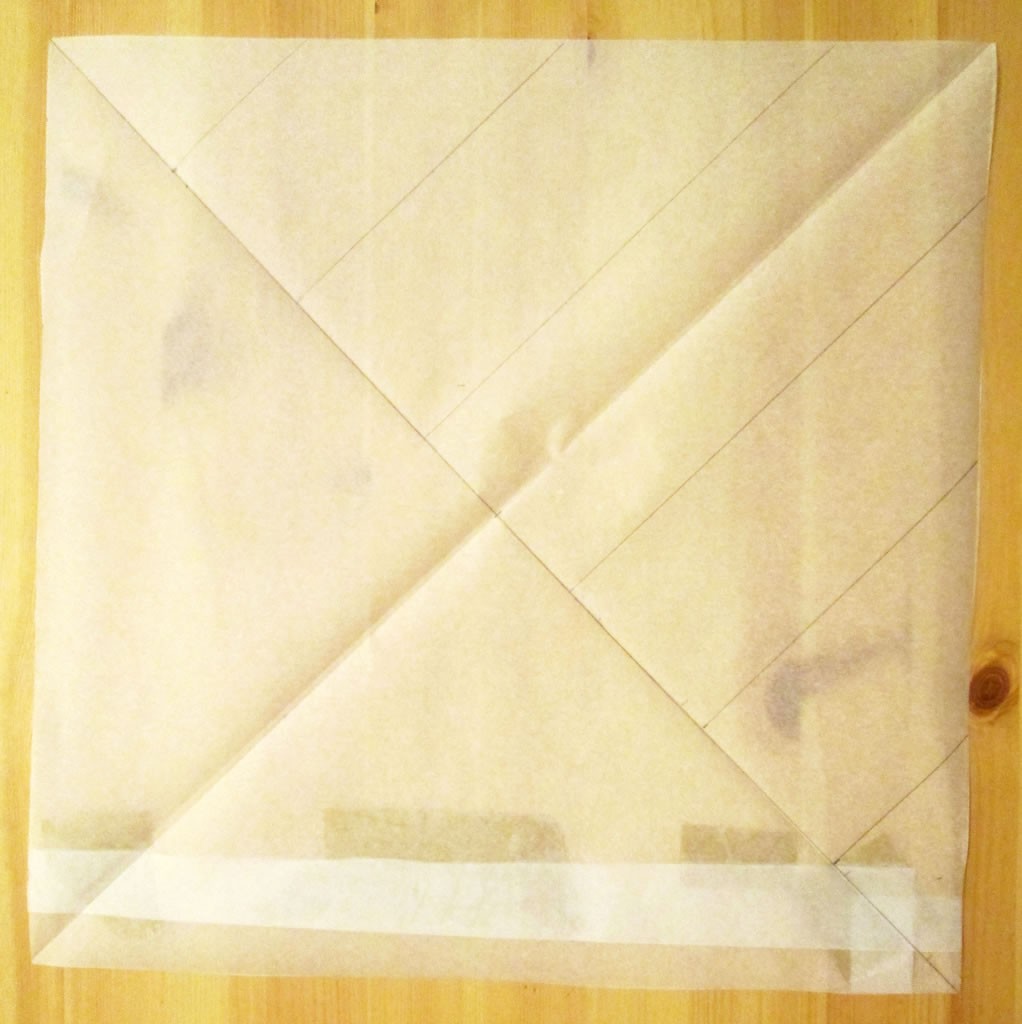
5. On the other half of your square, draw a line from the centre of the diagonal line to the other corner. Measure this line and divide it by 5 (or by however many sections you have decided on). Draw straight lines that cut through the second line and run parallel with the first diagonal line.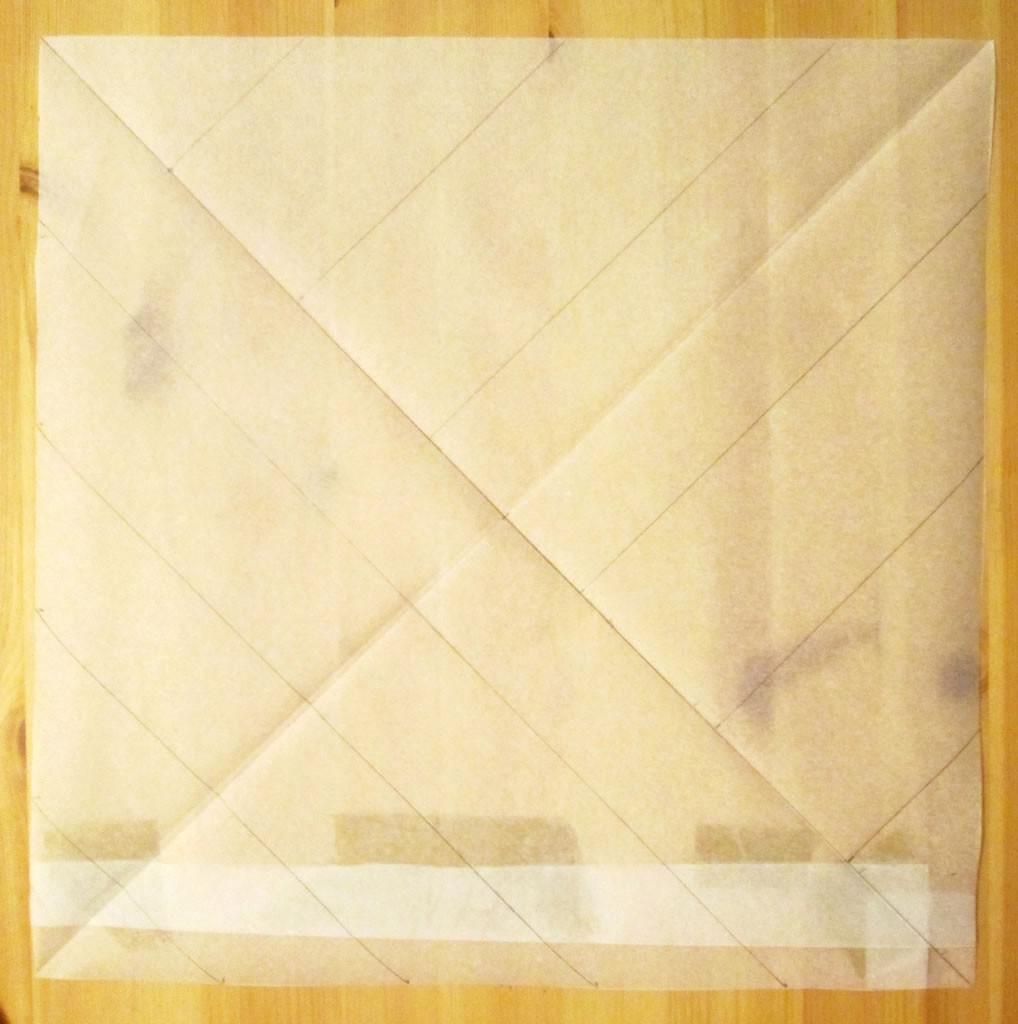
6. Cut the bits out. It’s a good idea to number them first!
If you don’t want to faff about with all of that, you can buy a pdf version of the pattern for £2 here.
Making it Up
1. Cut out your fabric, remembering to leave a 1 cm seam allowance round each piece.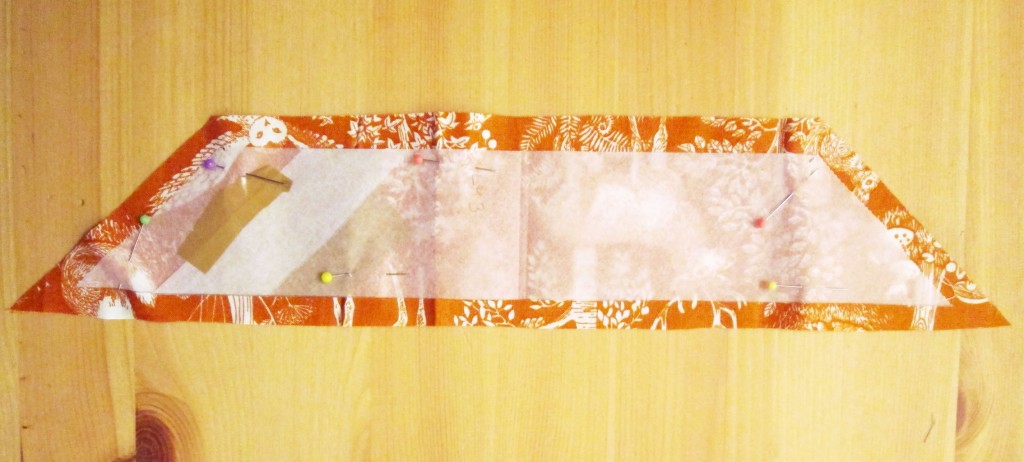
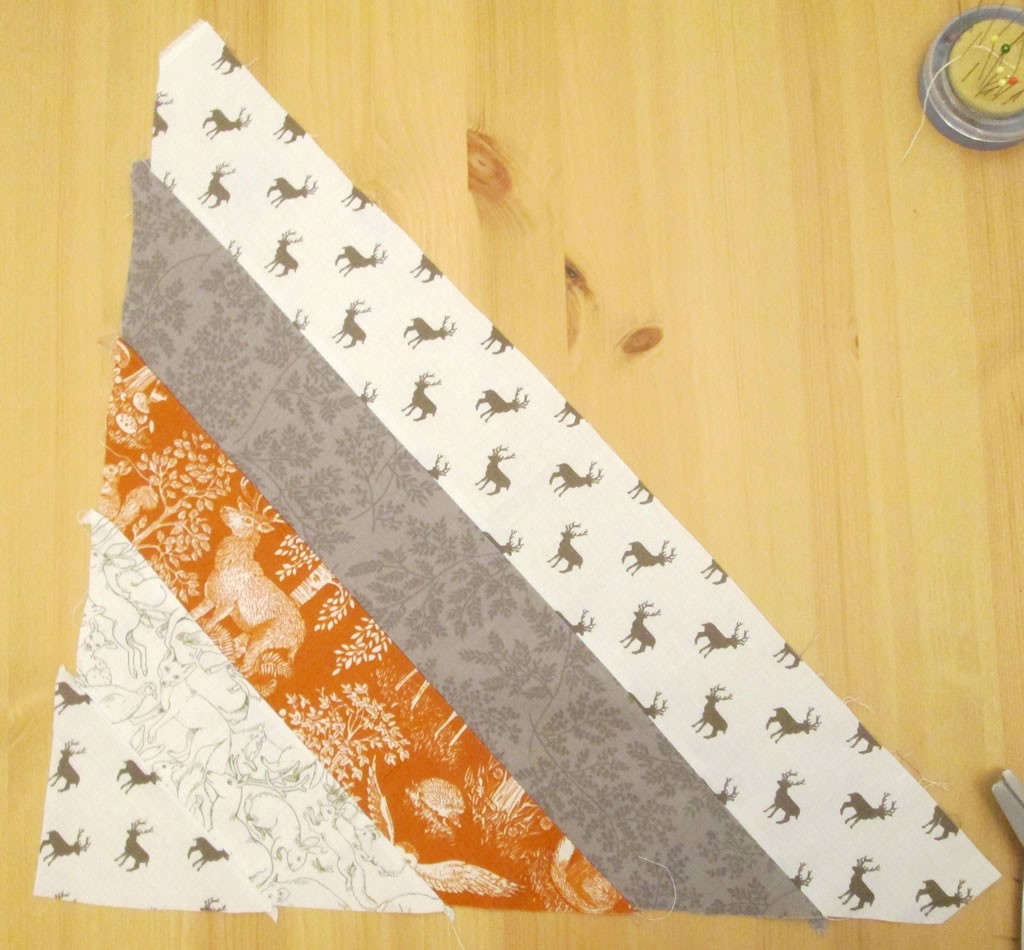
2. Decide which half of the cushion you are going to work on first. Sew the pieces together. Trim the seams and press them open.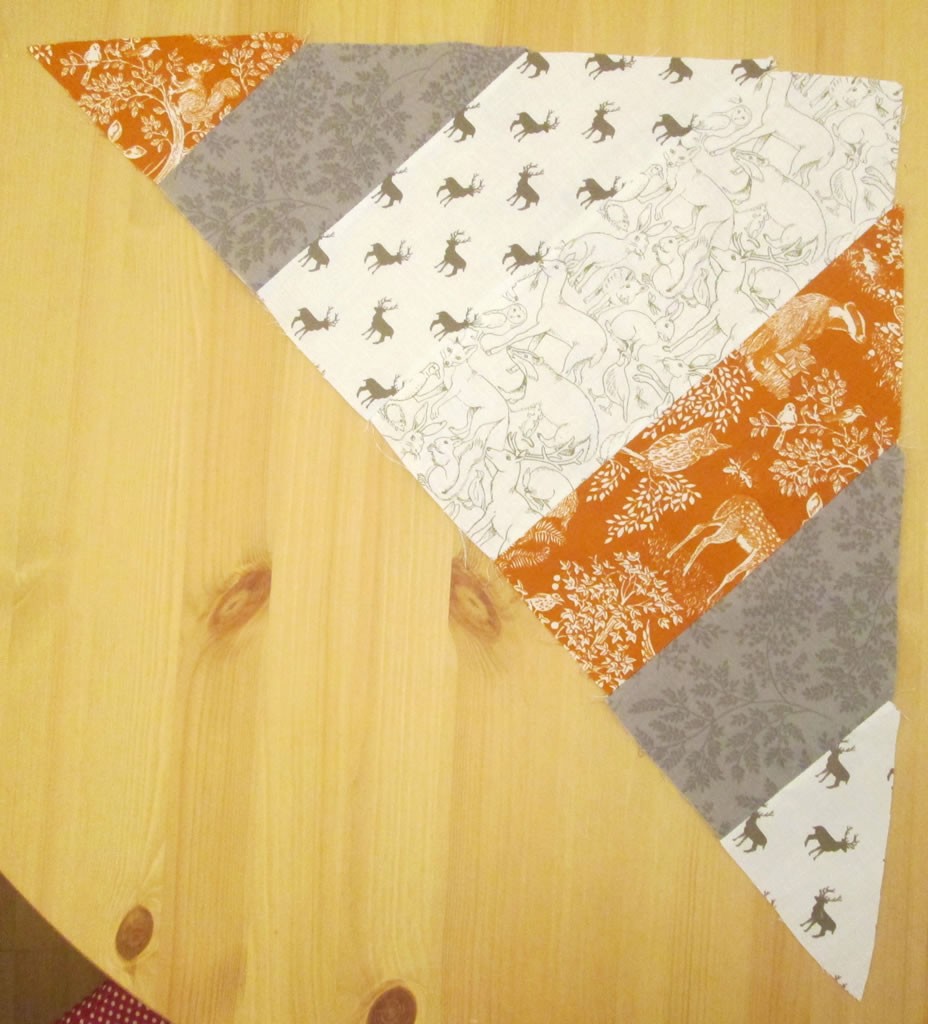
4. Sew the 2 sections together. Trim the seam and press it open. That’s the front of the cushion done!
5. The cushion has an envelope back, which is thankfully nice and easy to do.
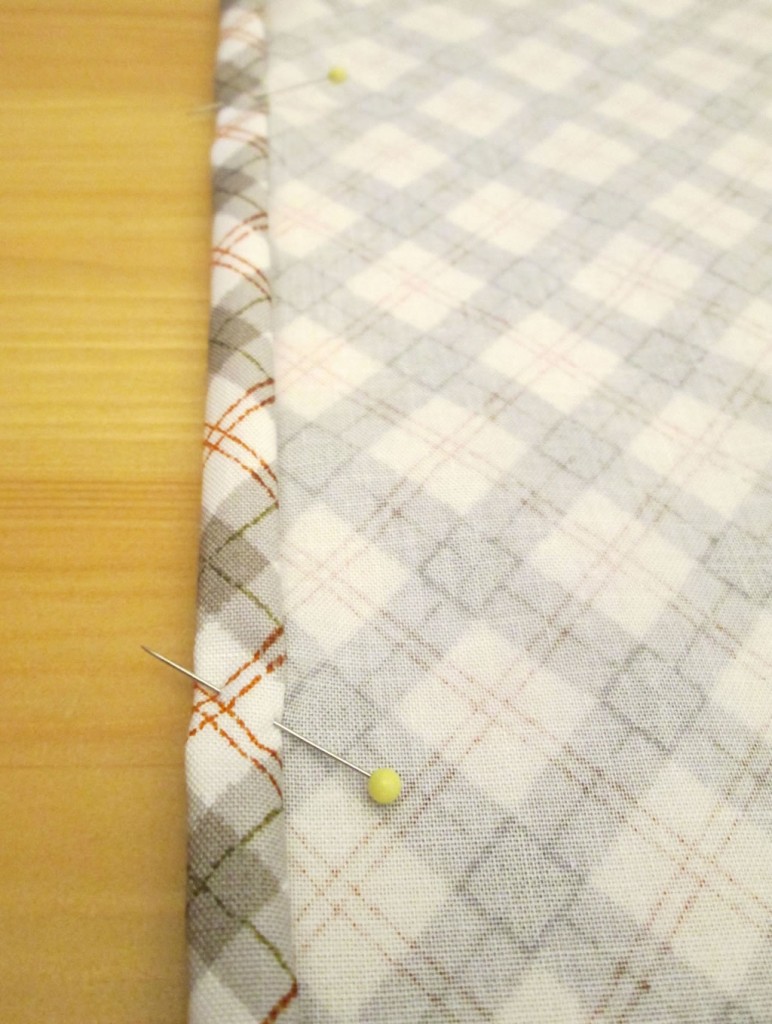
Cut 2 pieces of fabric the same width as your front piece and about 2/3 as long.
7. With the right sides together, place the top back piece on top of the front section so that the sides and top edge are aligned and the hemmed edge is somewhere in the middle. 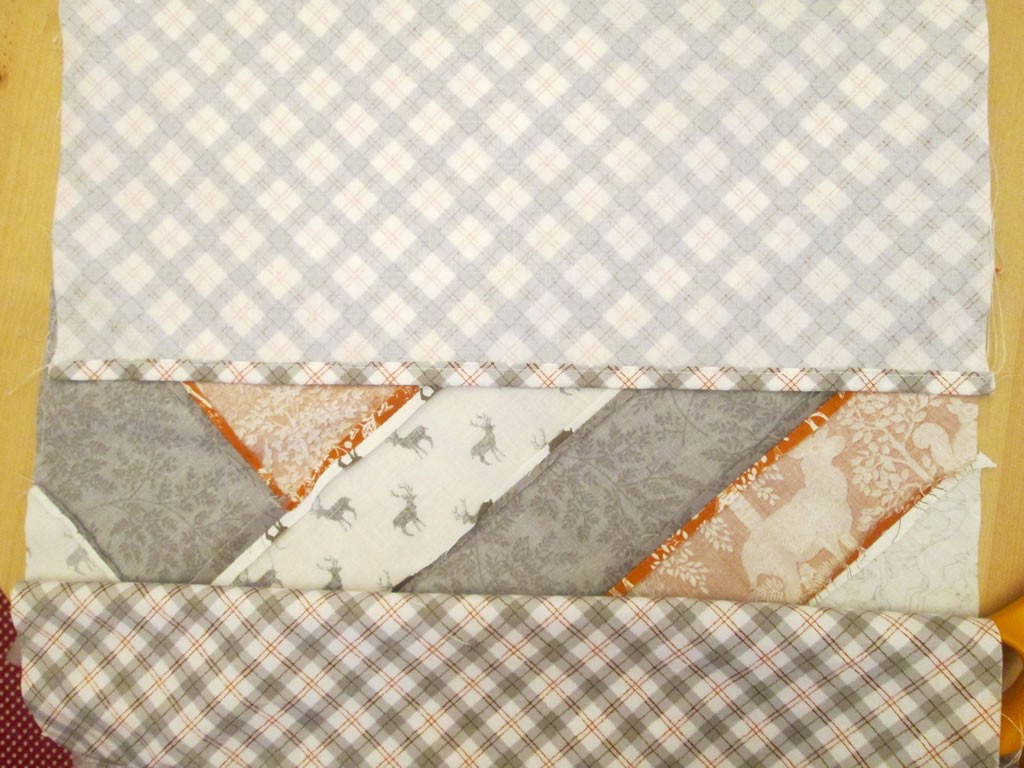 Put the bottom section on top of that, with the bottom and the sides aligned. Pin, then sew all the way round.
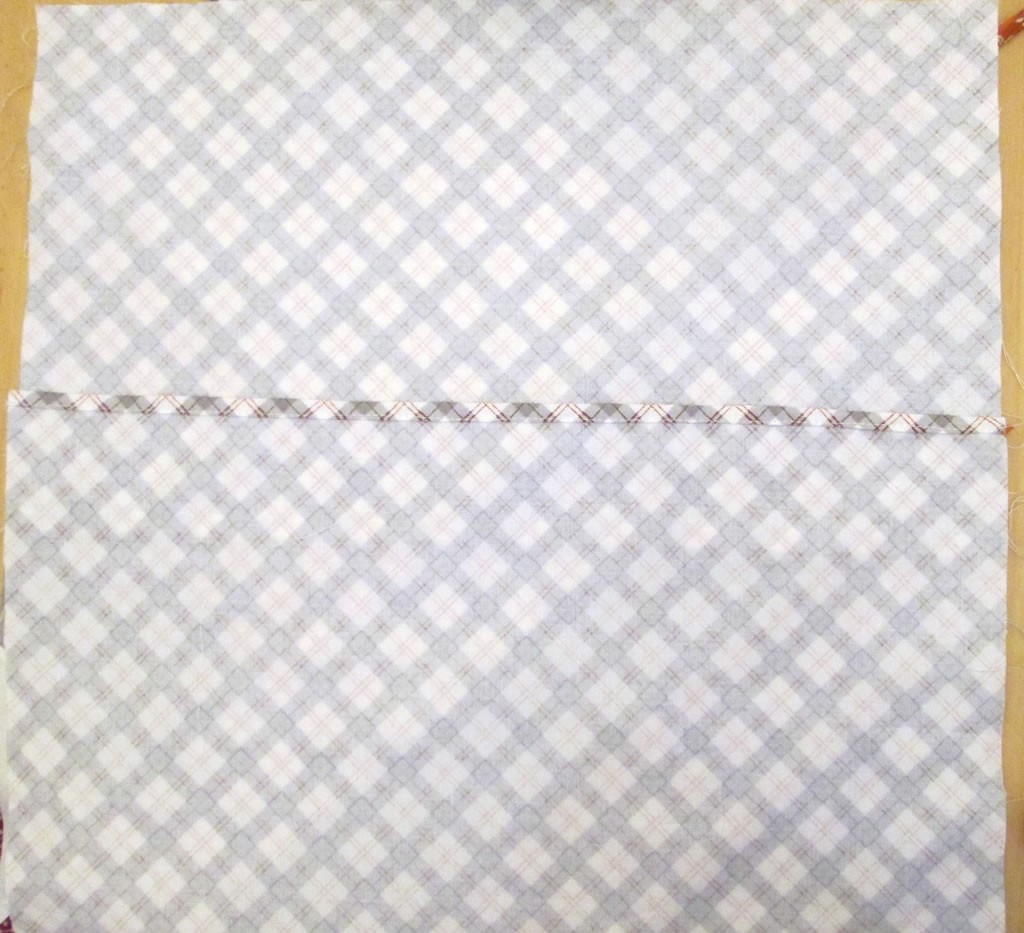
8. Trim the seams and cut the points off the corners. Turn it out and stuff the cushion pad inside.
9. Make the covered button. For full instructions for doing this, visit this tutorial.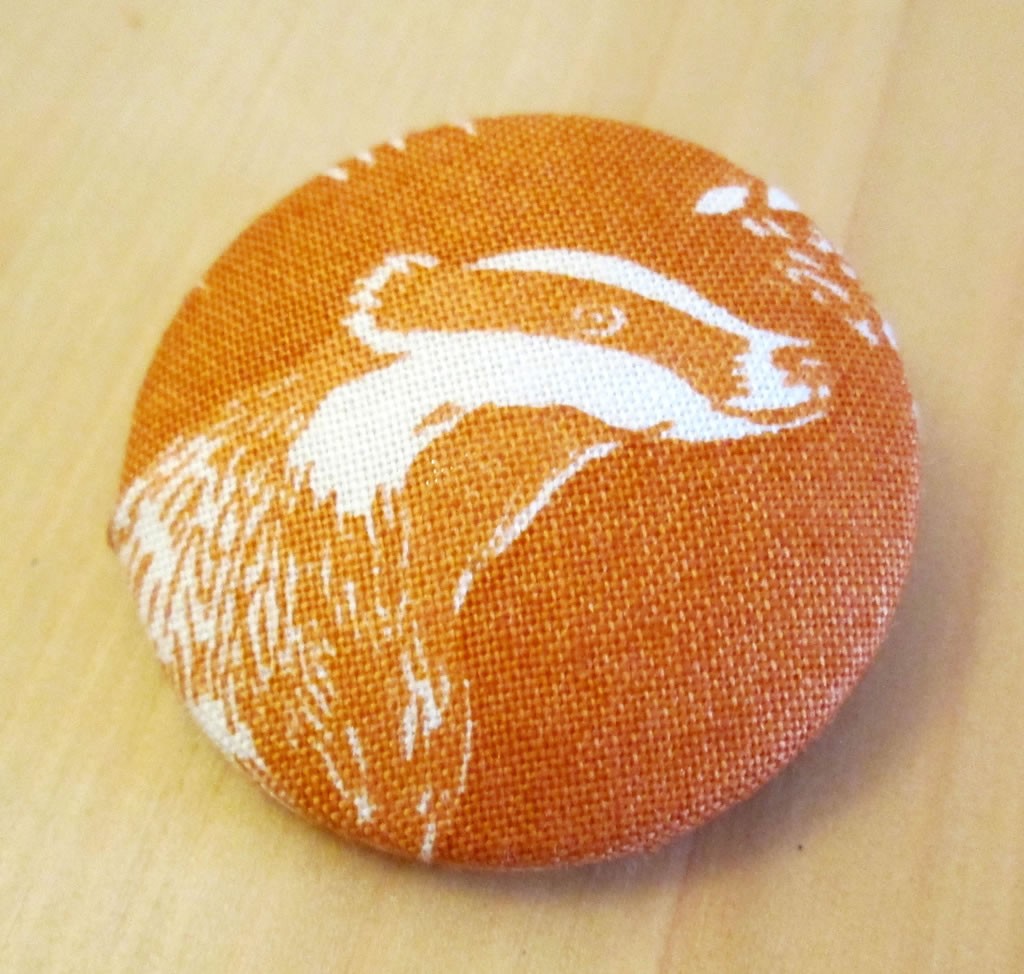
10. Sew the button to the cushion. I sewed right through to the back of the cushion.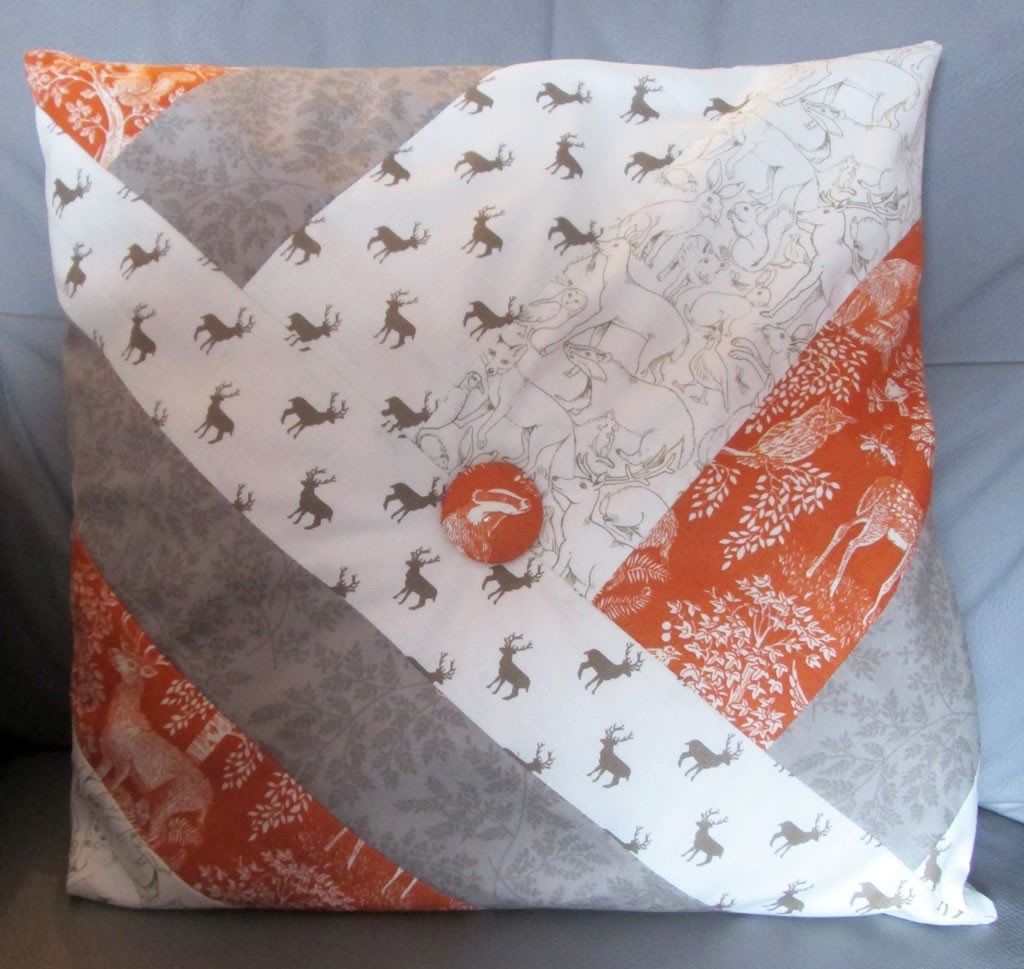
If you like it, you could try making a few in different fabrics. I just have a crazy mishmash of cushions in my front room!
Here is an Amazon linky for self covering buttons…
and another for a 45 cm cushion pad. These are affiliate links.
If you liked this post, you might also like these.
A Winter Patchwork Cushion Tutorial





Hi Anna
I am new to your website and have been browsing your blog. You have some great ideas and me being a Yank from Frostproof, Florida USA I love the way you write. I can hear your british accent as I read your tutorials. You are funny and creative. Great job.
Thanks Lorena 🙂 Inside my head I sound I Helen Mirren being the Queen but I don’t actually sound like that at all!
Love the colors, and fabrics… and the simple but sophisticated design… Thank you so much for linking this up at SHARE IT 30. We’ll open a new party tomorrow! It would be great if you would join in again.. ~ Rose, http://www.FineCraftGuild.com
Thank you 🙂
I love the fabrics you have chosen, beautiful.
Thank you. I thought so too!
Super cute cushion!
Thanks!
Great tutorial and I like the pattern too. Cushion covermaking is one of my favourite pTchwork things to do as it can be done in one day and then you can enjoy your efforts later with a cup of tea!
I tend to stick to quick projects or I’d finish anything!
looks great! thanks for sharing on craft schooling Sunday!
Thanks!
Love the patchwork pillow and think the covered button just finishes it off.
Thank you
I love your cushion and it’s a perfect thing for your badger button too.
Thank you!