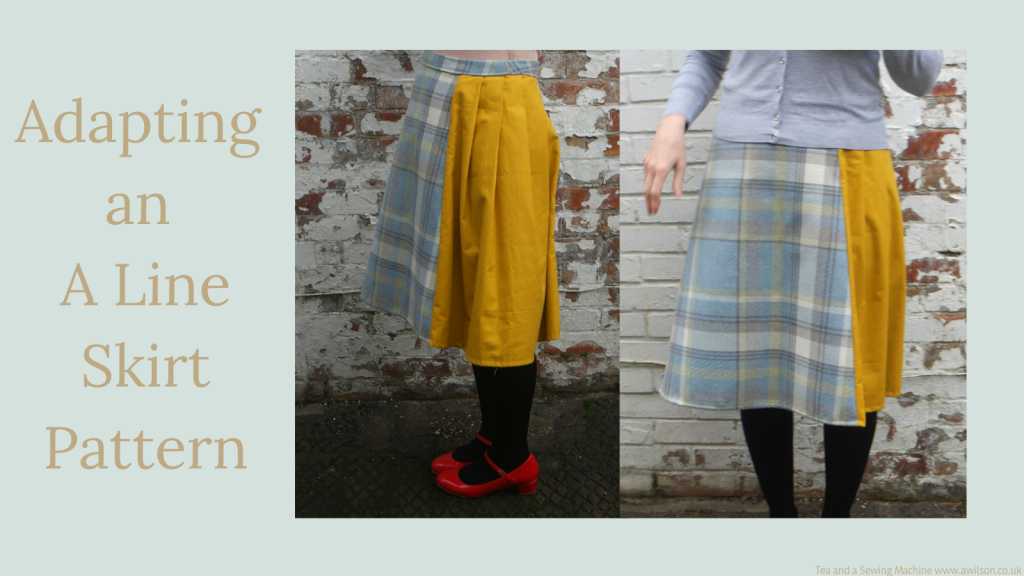
The other week I showed how to draft a pattern for an A line skirt. It’s here if you missed it!
Although A line skirts are just fine as they are, I had plans for adapting an A line skirt pattern to make it a little bit different.
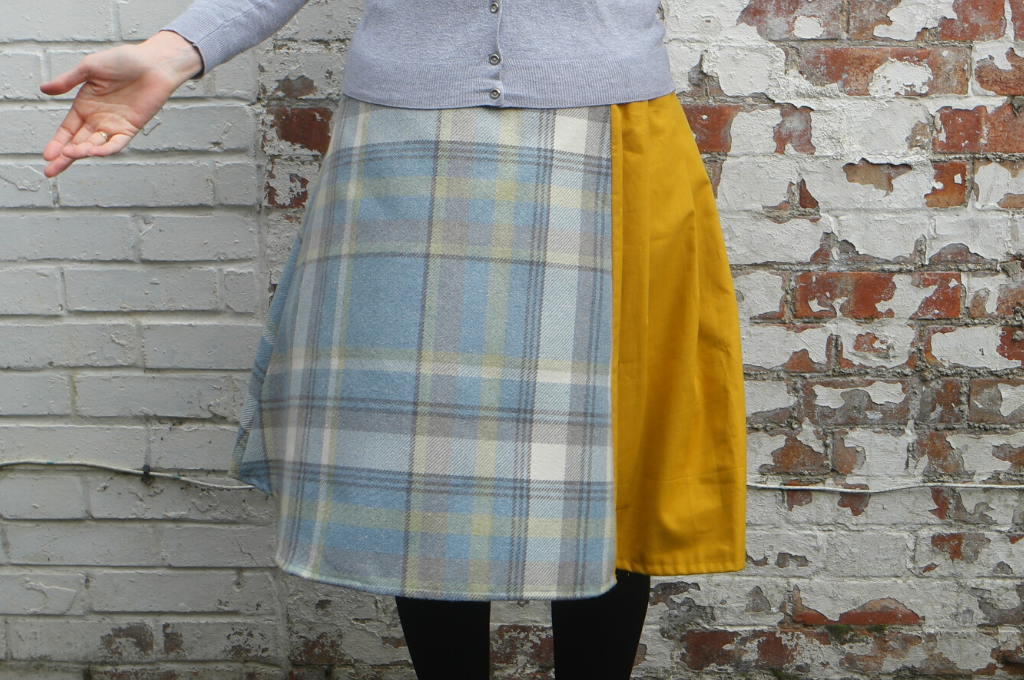
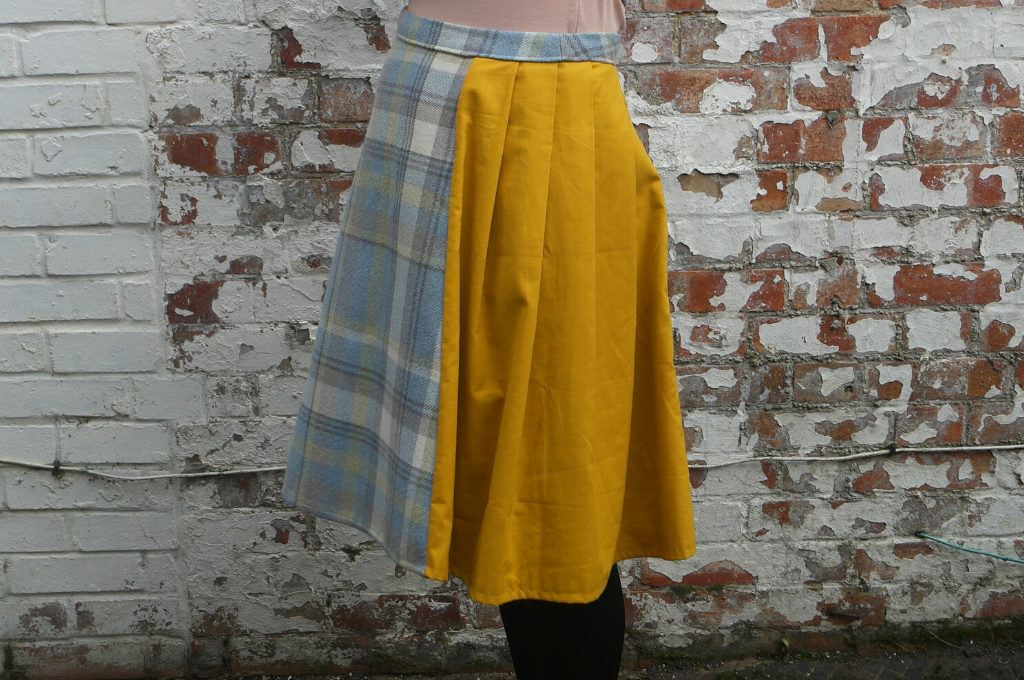
My plan was to remove a section of the skirt from the side, and replace it with a pleated section in a contrasting fabric.
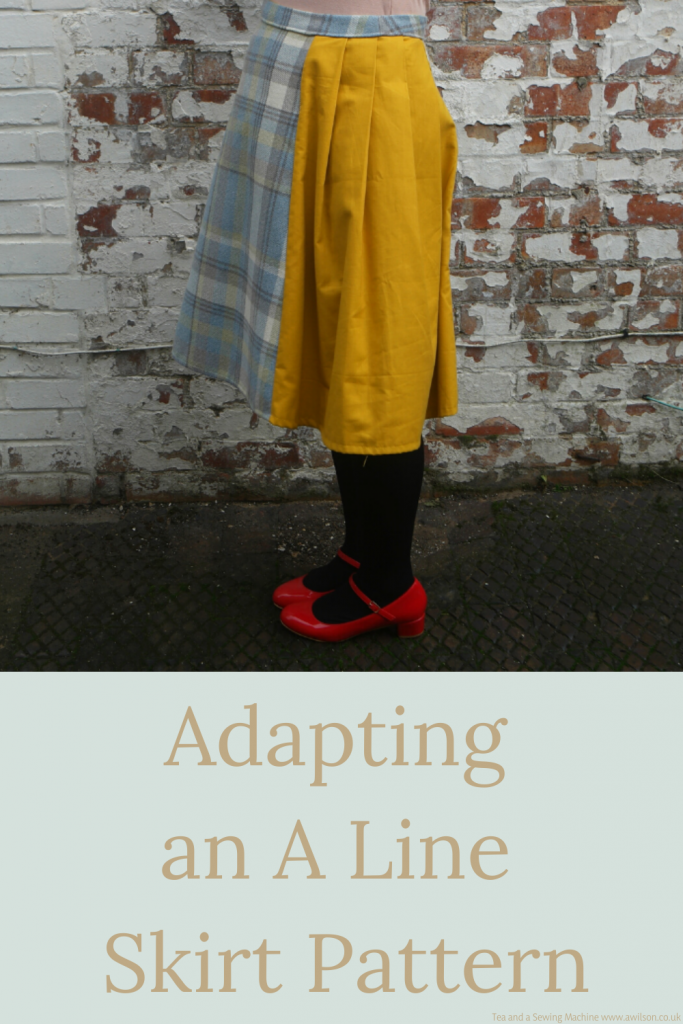
I’ve finally finished it and here it is! It was quite windy when we took the pictures!
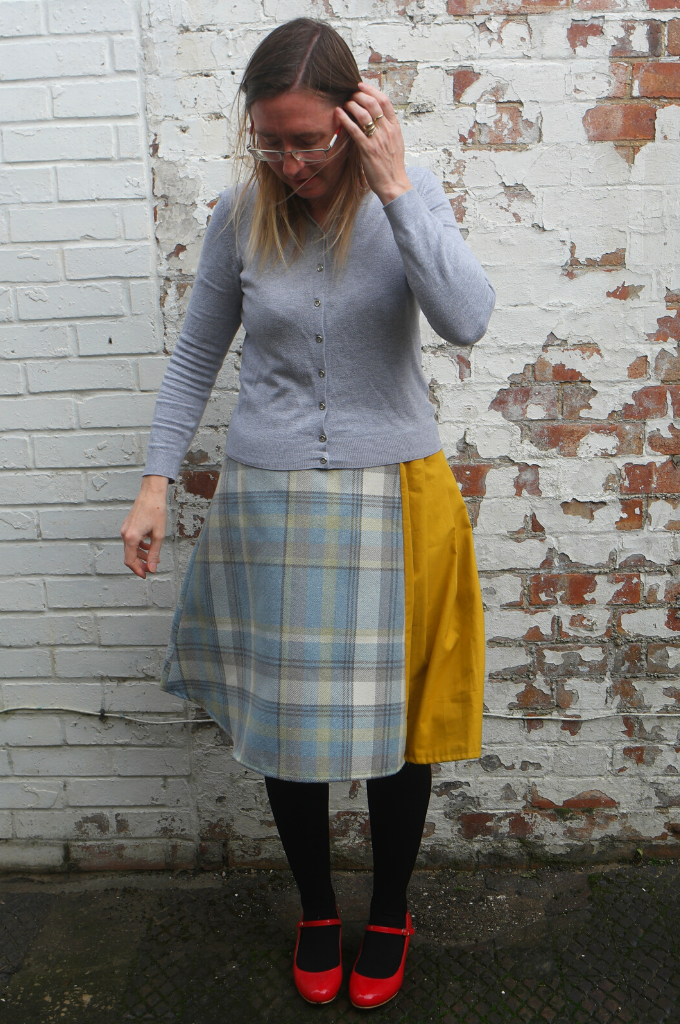
It is basically still an A line skirt with a waistband, but with a pleated bit at the side.
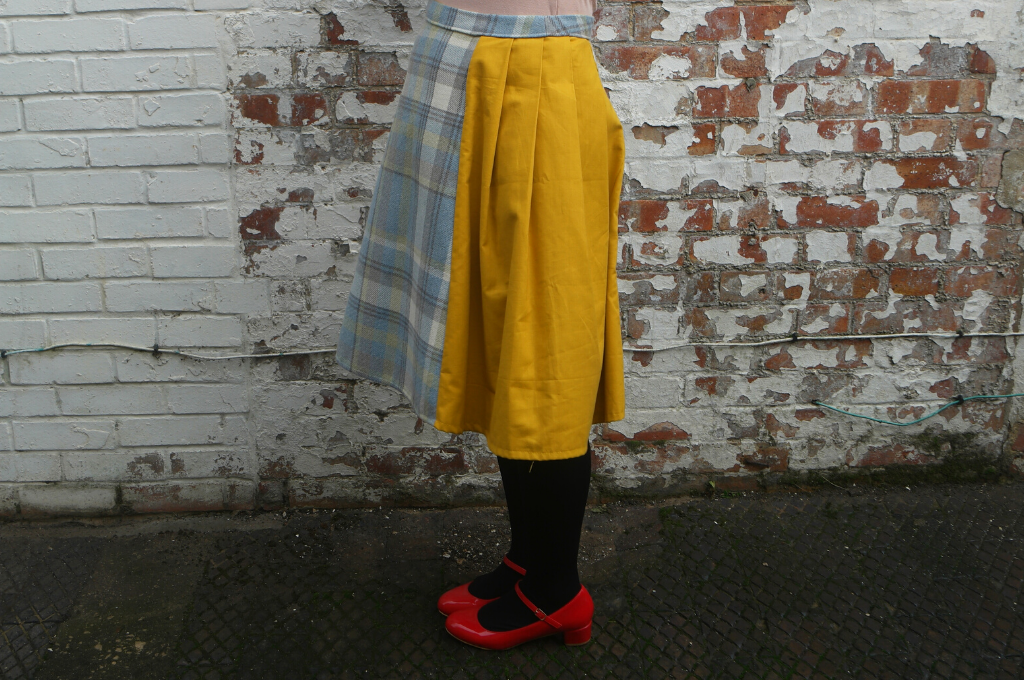
I’m going to walk you through how I did it, and hopefully it will inspire you to take patterns that you have already, and things that you know how to make already, and adapt them to make them into something different.
It’s a little bit easier than designing and making an item of clothing entirely from scratch, but it’s just as much fun!
Adapting the Pattern
The A line skirt pattern that I used had 3 pieces for the skirt (one front and 2 back), plus the waistband.
The only bits I made changes to were the front and the back right sections.
I made a copy of the pattern onto pattern paper. It’s best to do this first rather than immediately hacking away at your fabric! You’re free to experiment as much as you like with the pattern paper, then when you’re happy you can cut out your fabric. There are a lot less tears that way!
I decided where I wanted the pleated section to be, and marked it on the waist of the front and back sections.
Being an A line and because the extra section didn’t take up a whole half of the skirt, it wasn’t as simple as just cutting off a chunk at the side!
The centre front runs up and down on the grain of the fabric. By the time you get to the side seams, it’s slanted like the legs of an A.
So the piece I cut out of the front section needed to be somewhere between the vertical of the centre front and the slanted line of the side seam.
I wanted the contrasting section to start about half way between the centre front and the side, so this is where I marked on the waist. After doing this, I then needed to find the same point on the hemline, half way between the centre front and the side.
I drew the line here, then cut away the extra bit of the skirt front. Then I did the same with the back right.
To make the pleated section, I cut a piece of pattern paper about 3 times wider than the bit of the skirt that was now missing. I experimented with the pleats until I was happy with them. To begin with, I made them quite narrow. Unfortunately this made it look too much like a kilt, so in the end I made each pleat 4 cm. 4 pleats of this size fitted nicely into the space, with enough for a seam allowance.
Finishing the Skirt
With the tricky bit done, the next job was to adjust the hem where the seams met. This meant reducing how much the front and back left pieces curved where they met with the pleated bit.
The last thing was to add the waistband. For this I used the original pattern pieces.
Where Next?
I think this has quite a lot of potential. One of the reasons for pleating the contrast section as opposed to gathering it is because I didn’t want to draw attention to the Covid cake baby that has developed around my middle. For a slimmer person, gathers might be fine, especially if the skirt is made from a lighter fabric.
A summery option could be made from cotton, with a gathered or pleated section made from floaty fabric.
Another possibility would be to put the contrast section on the other side. This might feel more “right” if you are left handed. Or you could try pleated bits on both sides.
Something else to consider is adding godets, kick pleats or contrasting sections all the way round.
Or chop a big chunk off the bottom at an angle and make a bit from different fabric.
Collect some ideas and have some fun adapting an a line skirt pattern!
If you like dressmaking, I have a Pinterest board full of ideas here!
You might also be interested to have a look at my ebooks and printables here. I have one in particular about making dresses from you own designs.


Leave a Reply