A Satchel Tutorial: How to Make an Oilcloth Satchel
Satchel Tutorial
This satchel tutorial has been on my to do list for a long time!
I wanted to make a bag that was big enough without being huge, with pockets but not too many and in a fabric that I loved.
Designing the bag was no problem. The problem was finding the perfect fabric! I wanted it to be oilcloth because I needed it to be waterproof, but after hours of searching the internet I still hadn’t found what I wanted.
Then I discovered that I could have my own design printed onto oilcloth. Problem solved! One site that offers printing onto a variety of fabrics is Contrado.
I love Scandinavian retro prints at the moment, so I designed something along those lines. I used Canva and Picmonkey, then uploaded it onto the Contrado site. They printed it and sent it to me and I had it within a week!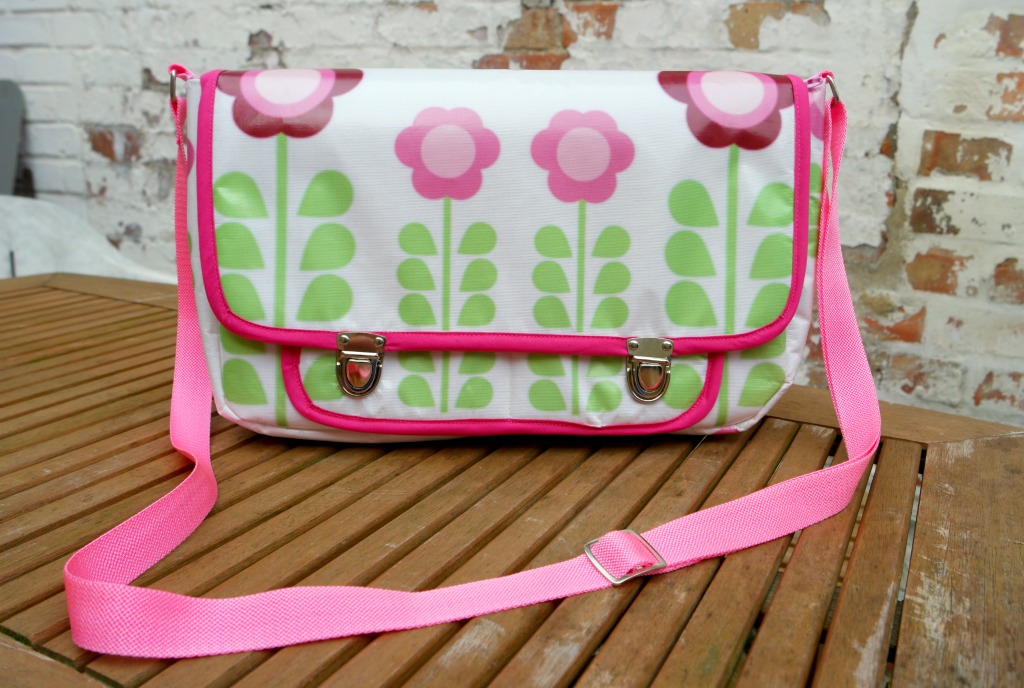
I love it! I was able to get the flowers the correct size so that I could have 4 on the main sections of the bag, and pattern match the pocket on the front.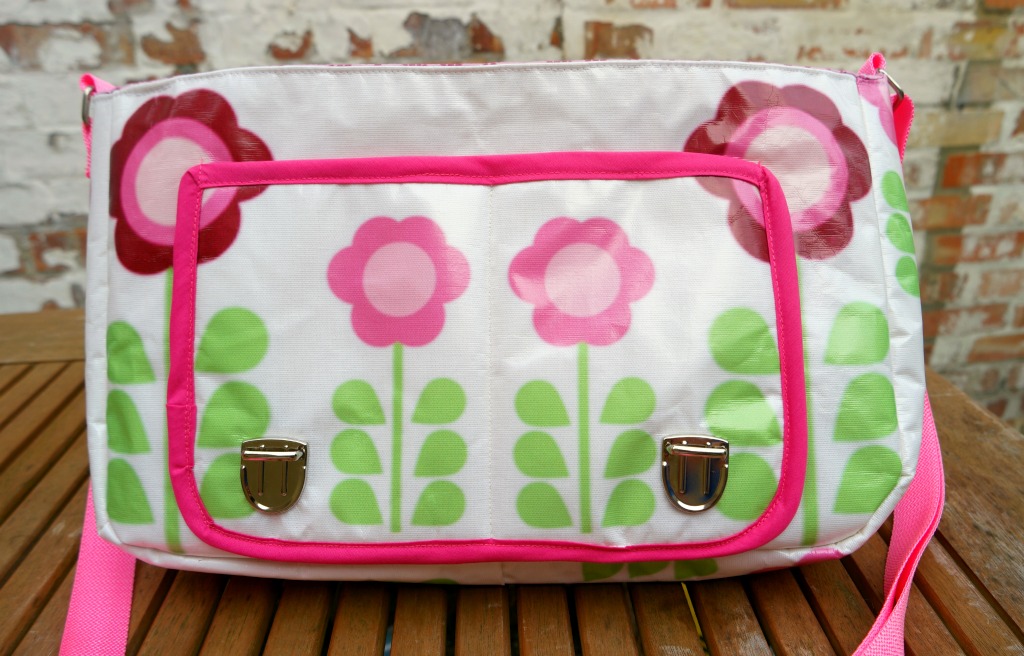
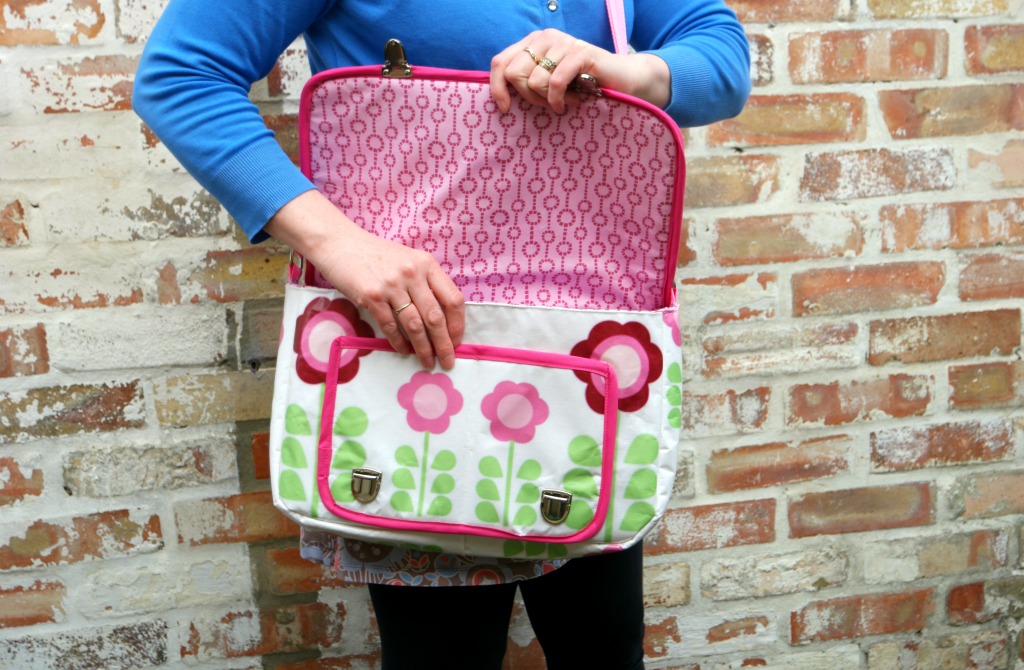
The bag has an internal divide and 2 pockets on the front. I made the strap out of webbing for convenience, but if you want something thicker and wider, you could sew a strap instead.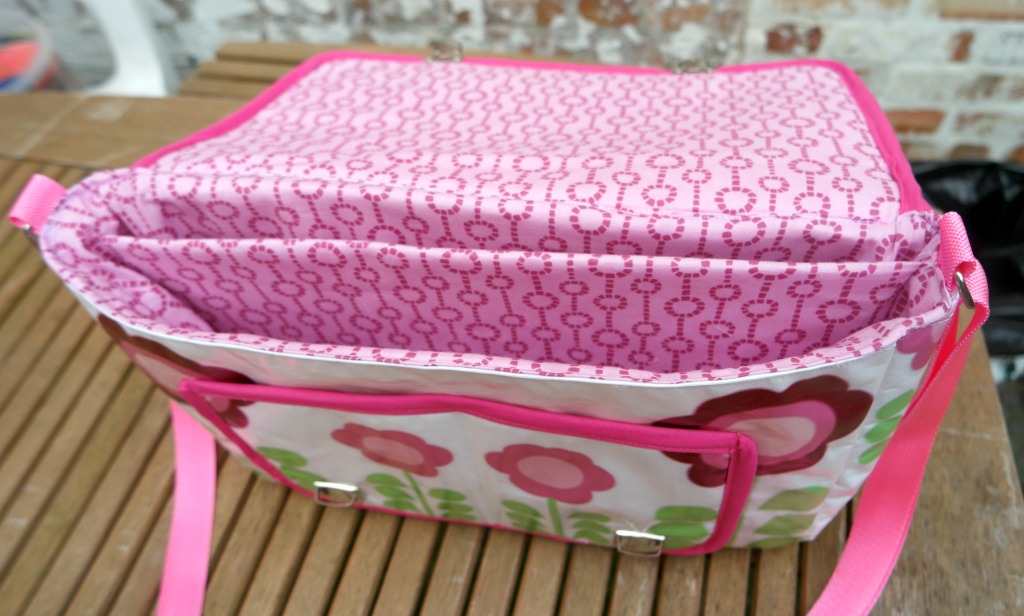
I also used Annie’s Soft and Stable instead of normal interfacing. It was the first time I’ve used it, on the recommendation of Vicky of Vicky Myers Creations. I don’t think I’ll be going back to the regular stuff, for bags at least!
Here’s the satchel tutorial (and I have the pattern for sale on Etsy here).
(The satchel tutorial is quite long, so if you’re a skimmer, here’s an overview:
Make the pocket for the front and sew it onto the front
Make the outer
Make the lining with the divide
Make the flap
Sew the lining to the outer at the front and the sides
Attach the flap in between the lining and the outer and sew (2 step process if you’re using Annie’s Soft and Stable)
Sew on the D rings
Make the strap)
How to Sew a Satchel
You Will Need
Fabric for the outer (oilcloth or some other heavy weight fabric is best. Anything lighter will need interfacing to give it some weight), fabric for the lining, interfacing (I used Annie’s Soft and Stable.), 2 tuck locks, bias binding, webbing, buckle slider, D rings, usual sewing supplies.
Cutting Out
For the pocket, cut 1 rectangle 27 cm x 17 cm from outer, lining and interfacing.
For the front and back pieces, cut 2 rectangles 39 cm x 24 cm from outer, lining and interfacing.
For the gusset outer, cut 1 piece 10 cm x 92cm. You could either cut this as 1 piece on folded fabric, or as 2 pieces 10 cm x 46 cm. You’ll need to do the 2nd option if you’re using fabric with a directional print.
For the gusset lining, cut 2 pieces 6 cm x 92 cm. As with outer, you could cut this as 2 pieces 6 cm x 46 cm, cut on the fold, or as 4 pieces 10 cm x 46 cm.
For the flap, cut 1 rectangle 37 cm x 24 cm from outer, lining and interfacing.
For the internal divide, cut a piece of lining fabric and a piece of interfacing 46 cm x 41 cm. If you’re using foam or Annie’s Soft and Stable for the divide, cut it 46 cm x 20 cm.
For the front and back, flap lining and pocket, you might like to round the corners.
Sewing Up
1. Take the pocket lining and place it face down. Put the interfacing piece on top of it, then the outer piece face up. Sew down the centre.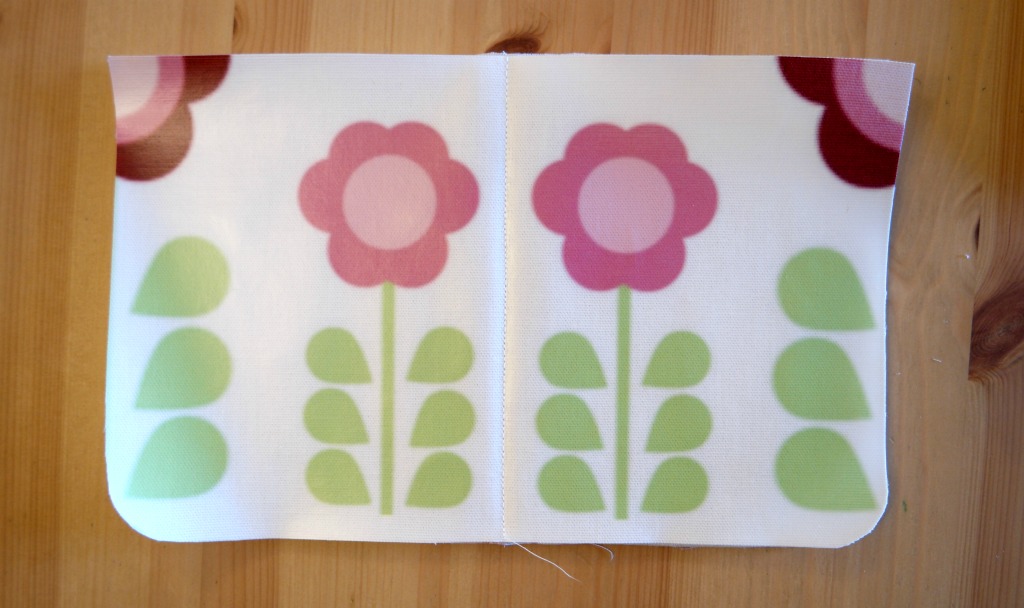
2. To attach the bottom part of the clasp lock, check that the feet are unfolded and straight, then press down onto the fabric. The feet will leave a mark. This is where you’ll need to cut 2 little slits to push the feet through. 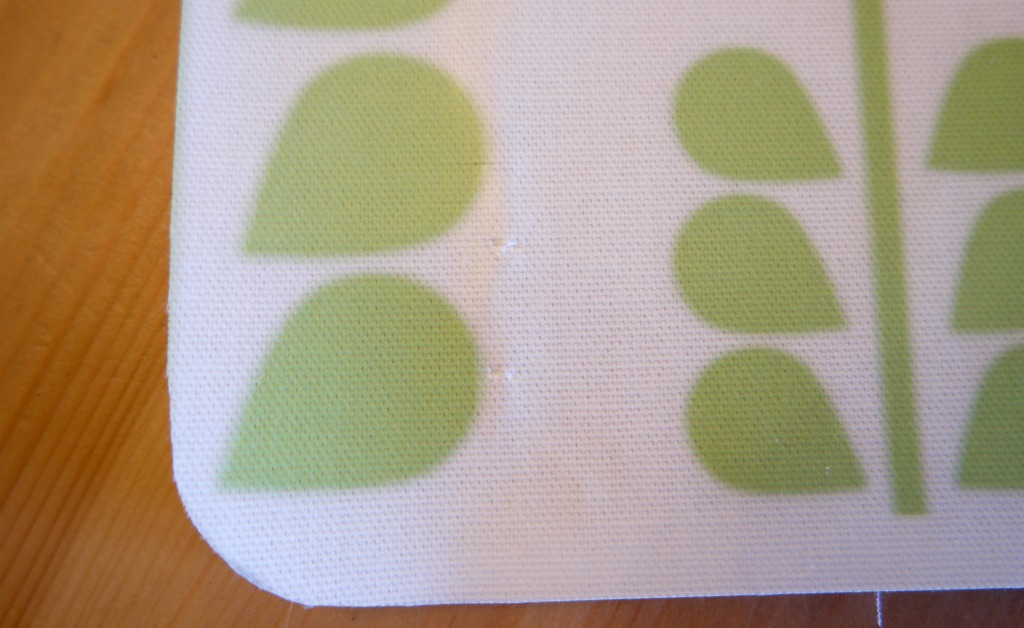 The locks need to go in the corner of each pocket. You’ll be sewing bias binding around the edge in a minute, so just make sure there’s enough space for that too.
3. Push the feet through the slits that you made in the previous step. You might want to push them through the interfacing too. I found that the Annie’s Soft and Stable was a bit thick and caused puckering, but as the oilcloth is fairly thick anyway, it was fine. If you are using a lighter fabric, either push them through the interfacing or fuse some extra to the wrong side of the outer.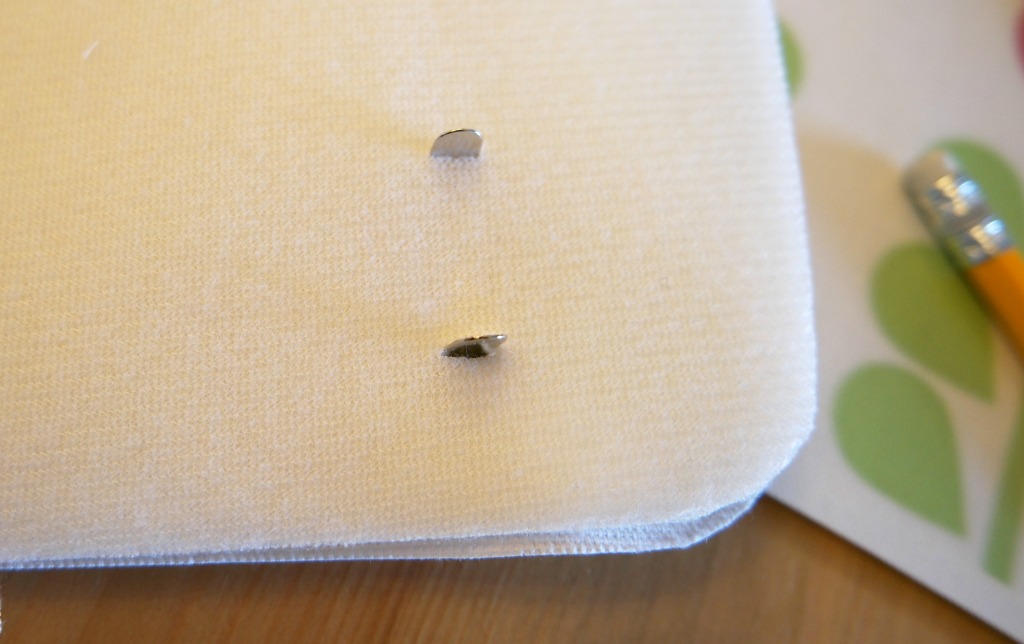
4. Slip the metal back piece over the feet and fold the feet over. If you find it puckering, adjust the slits (they’ll be hidden by the buckle) and try to bend them over less tightly.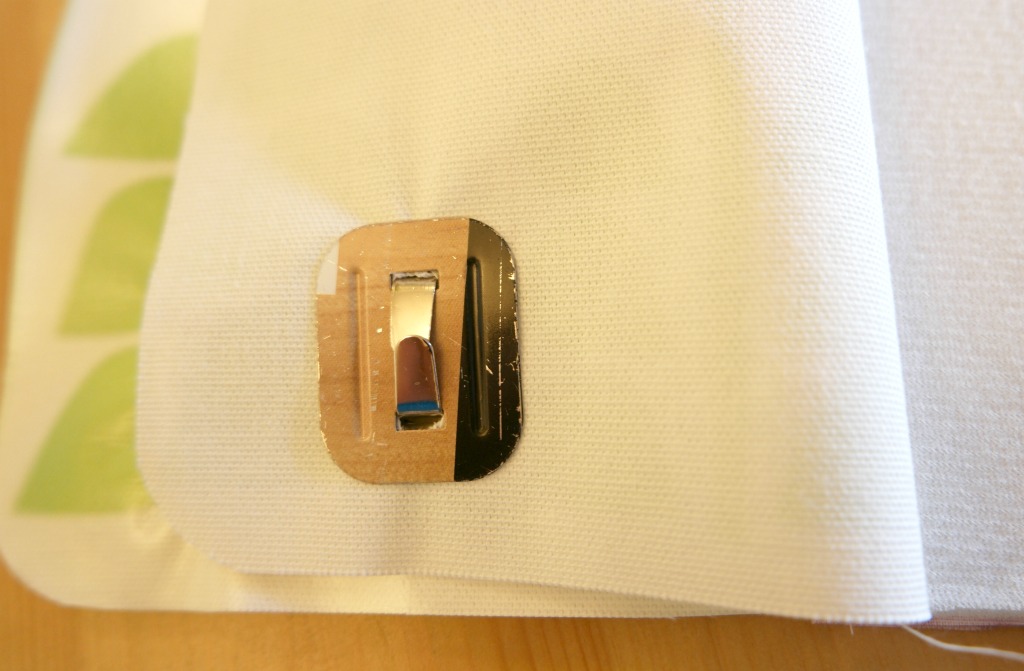
5. Starting with the wrong side, sew the bias binding around the outside edge of the pocket. Remember to turn the end over before you start.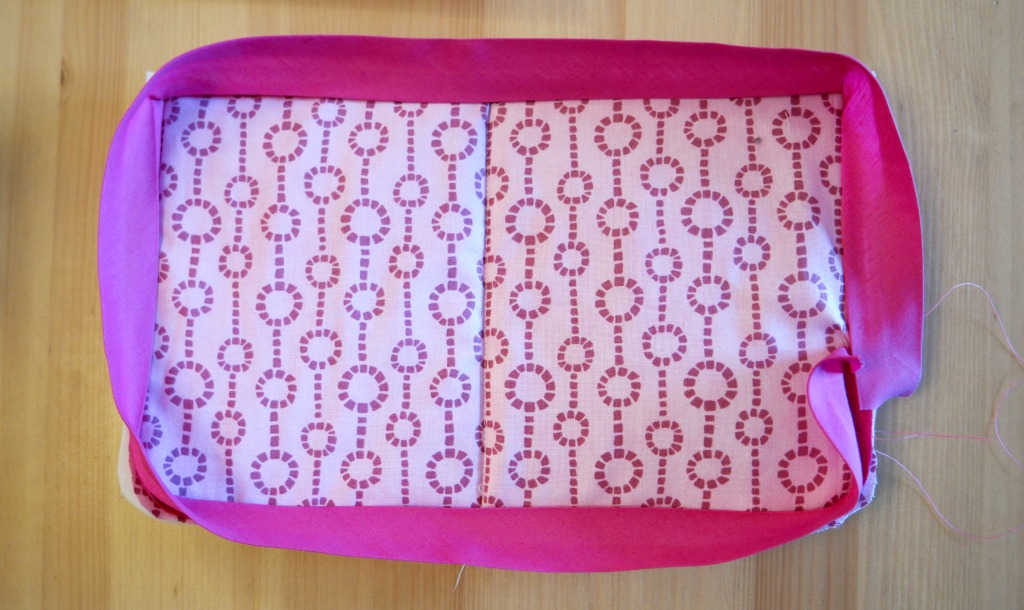
6. Fold the bias binding over to the right side and top stitch all the way round.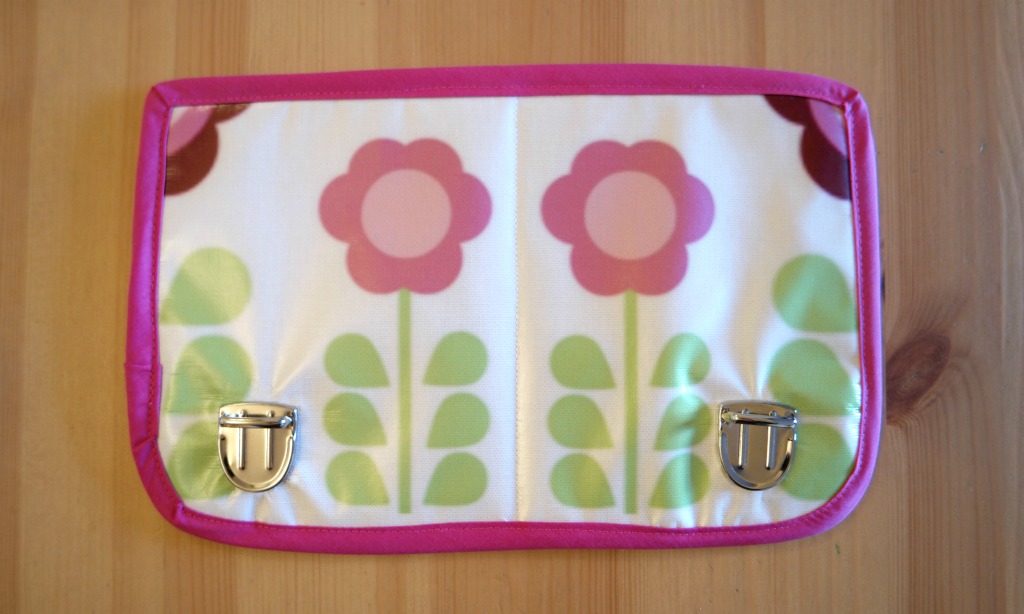
Outer
The outer pieces are all sewn with the interfacing.
1. Position the pocket on the front piece of the bag outer. Sew the sides and the bottom of the pocket to the front outer piece, over the top stitching on the bias binding.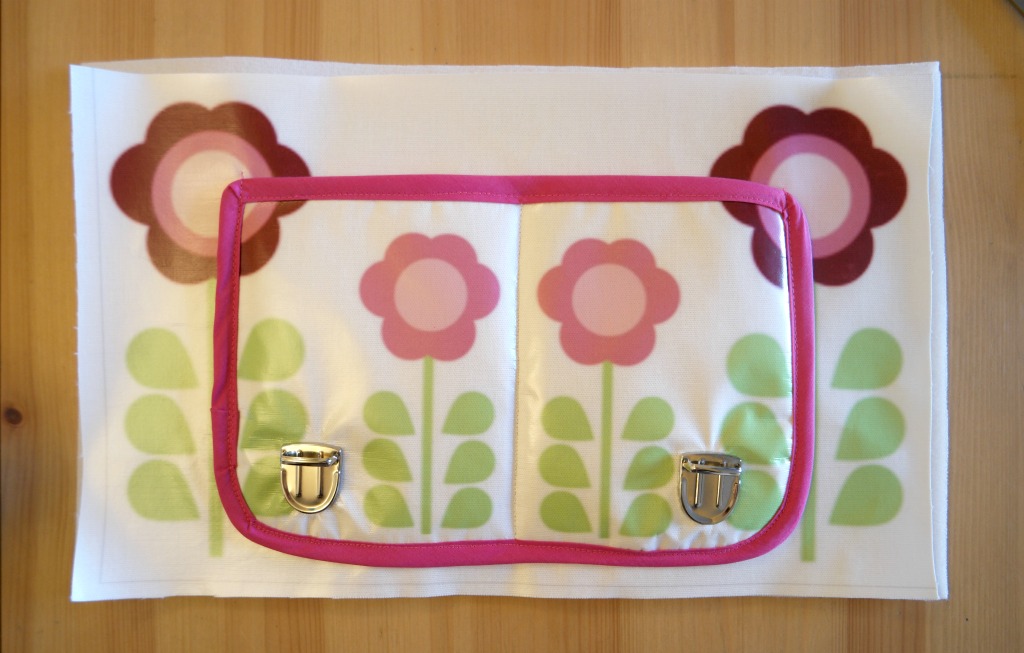
2. If the gusset is in 2 pieces join them at the short ends to make a longer piece. If you are using a directional print, join them at the bottom.
3. Starting at the centre of the gusset and the centre of the bottom of the bag, pin the gusset (don’t forget the interfacing) to the bag front. Sew.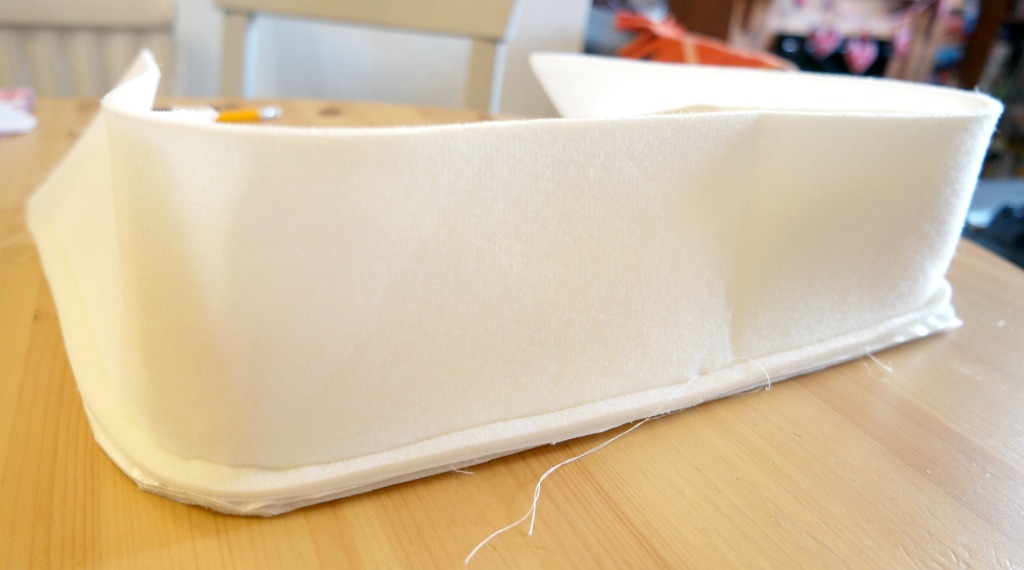
4. Pin the gusset to the back piece, with the interfacing, in the same way. Sew the gusset to the bag back.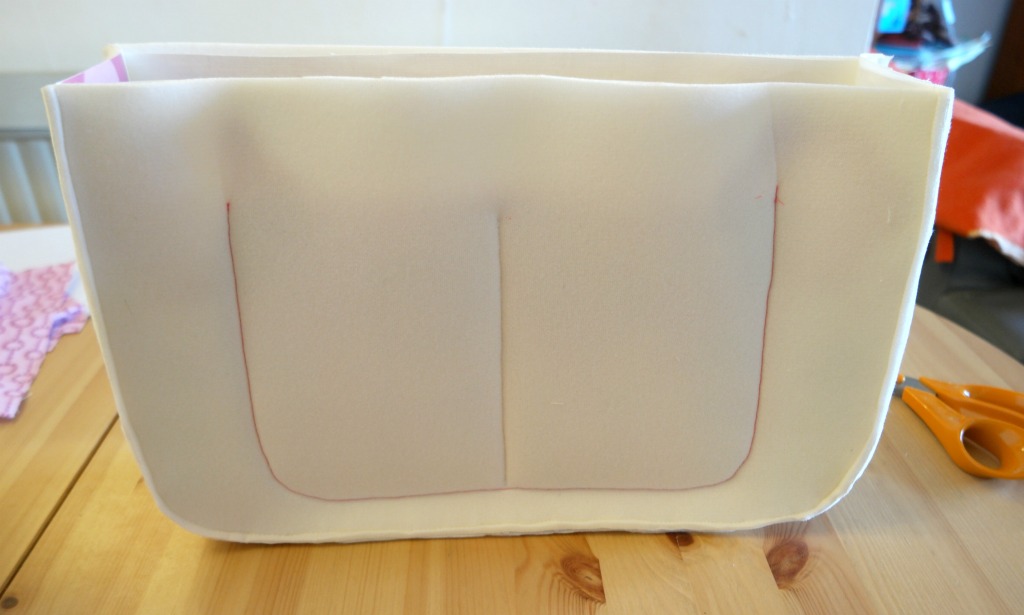
Lining and Divide
1. If you’re using Soft and Stable, fold the piece of fabric for the divide over the interfacing. If you are using an interfacing that is not very thick, fold it over with the fabric.
2. If you need to join the gusset sections, do that now.
3. Pin both halves of the gusset to the divide, with one on each side. Sew. If you find this too fiddly, you could sew the gusset pieces to the divide one at a time.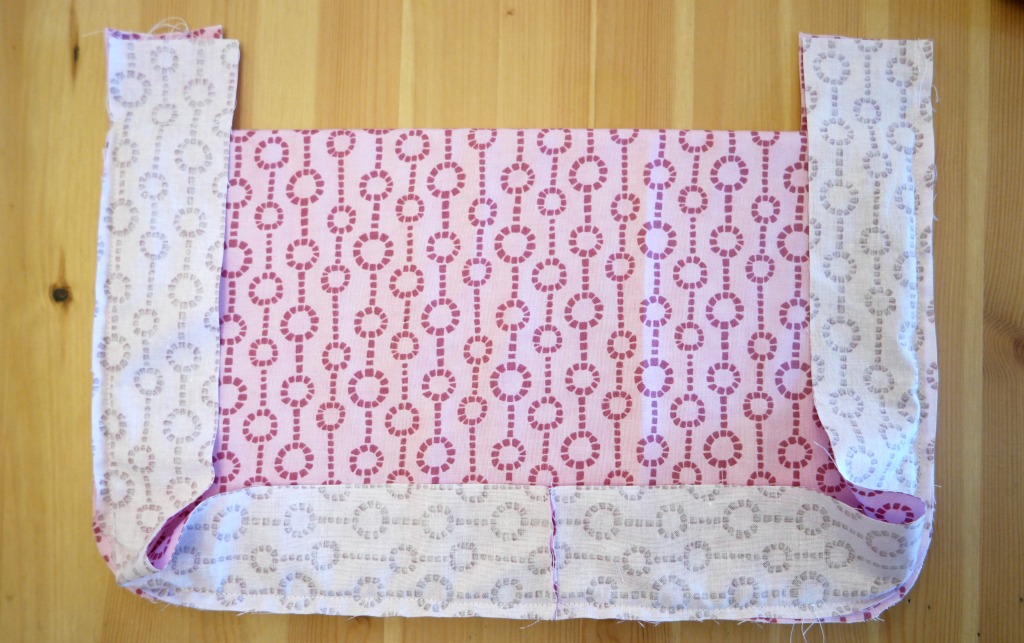
4. Pin, then sew the lining front to the gusset, as you did for the outer.
5. Attach lining back to the gusset in the same way.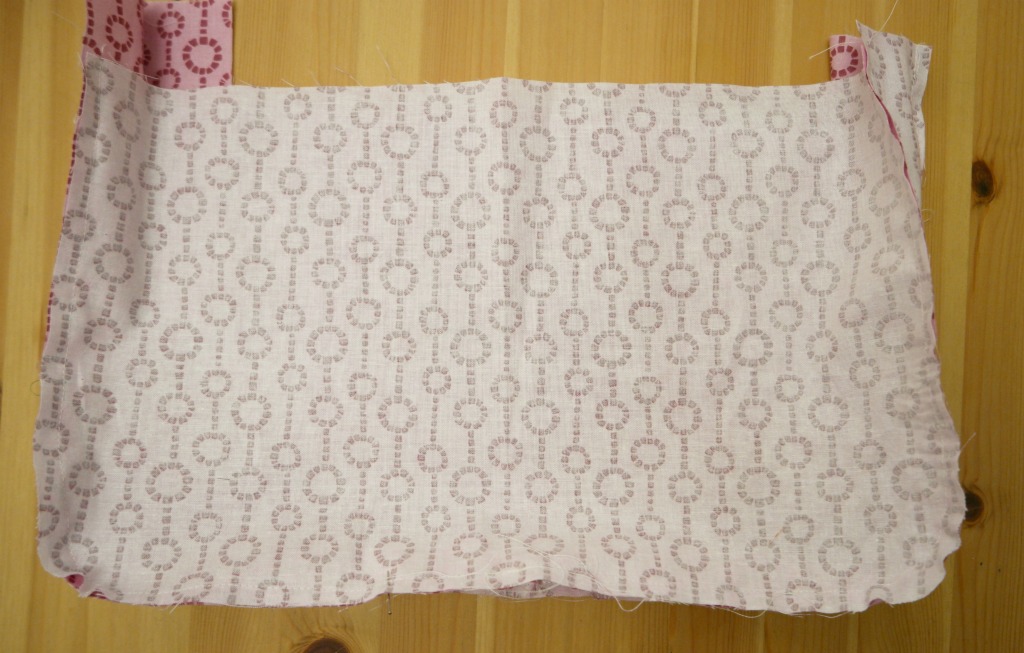
Flap
1. Place the lining and the outer flap pieces with the wrong sides together and the interfacing in the middle.
2. Starting on the wrong side of the flap, sew the bias binding to the sides and the bottom.
3. Fold the bias binding over the raw edges. Top stitch it to the front of the flap.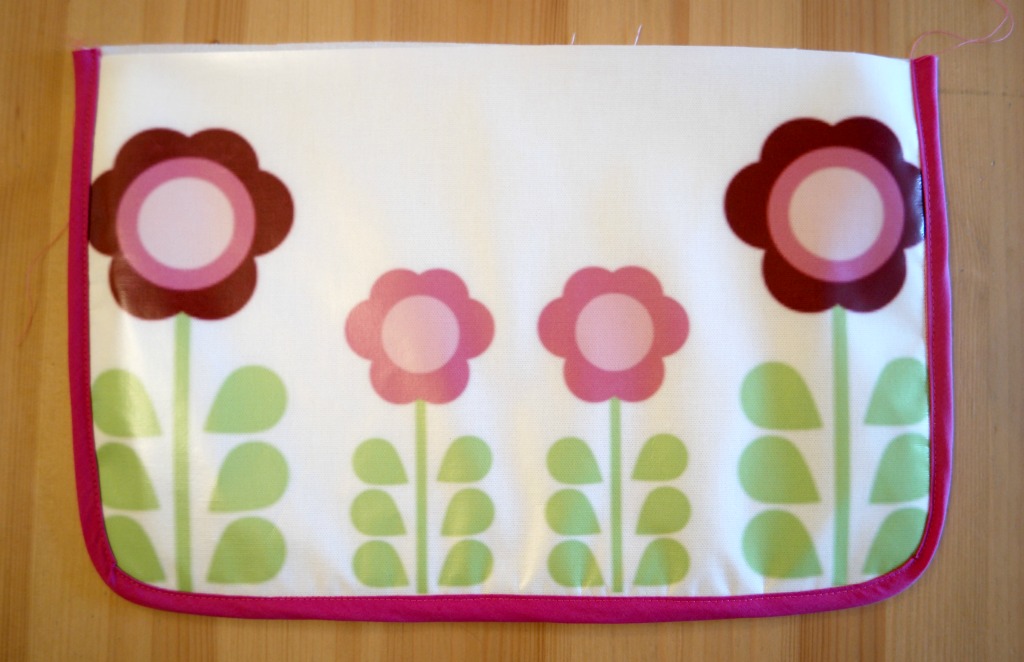
Sewing Together the Lining, Outer and Flap
1. Pop the lining inside the bag so that the right sides are together. Pin the lining to the outer at the sides and the front (if you’re using oilcloth, remember to pin inside the seam allowance).
2. Sew the lining and outer sides and the front together. 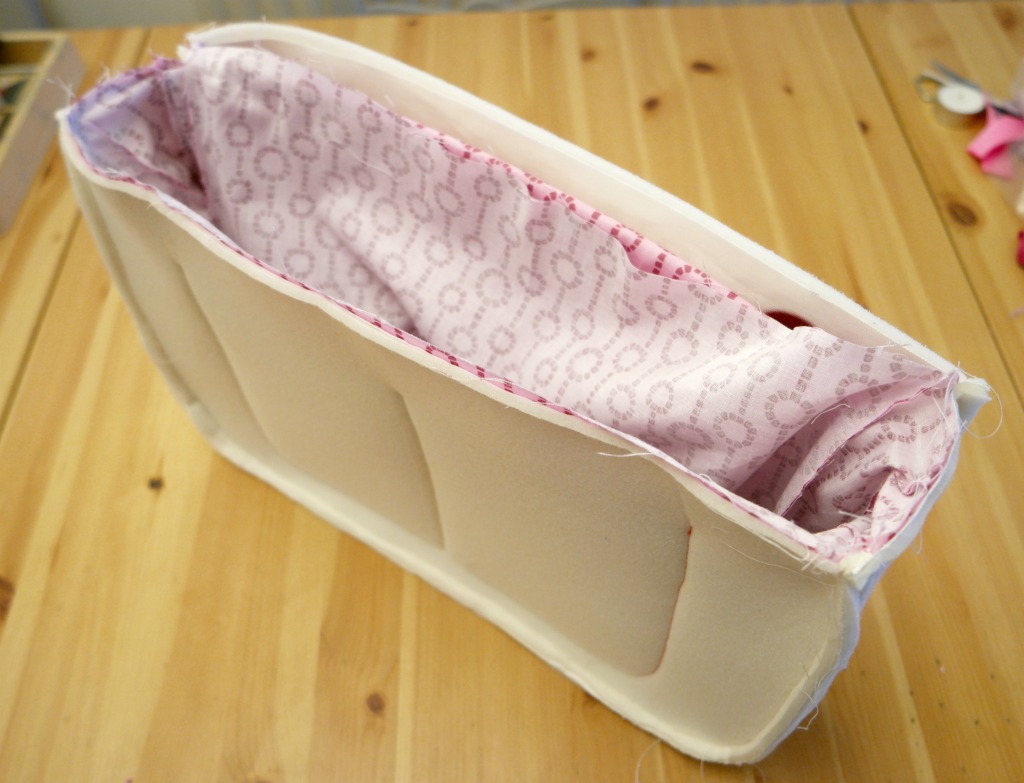 Turn it the right way out.
3. To attach the flap, it depends on what interfacing you are using. If you are using the regular stuff that’s not too thick, slip the flap in between the outer and the lining. Fold the raw edges of the outer and the lining inwards. Sew the flap in place.
OR
If you’re using Soft and Stable, you might find this way a bit tricky as it’s so thick, so here’s a second way.
With the outer sections together, pin the flap to the bag outer keeping clear of the lining. Sew. 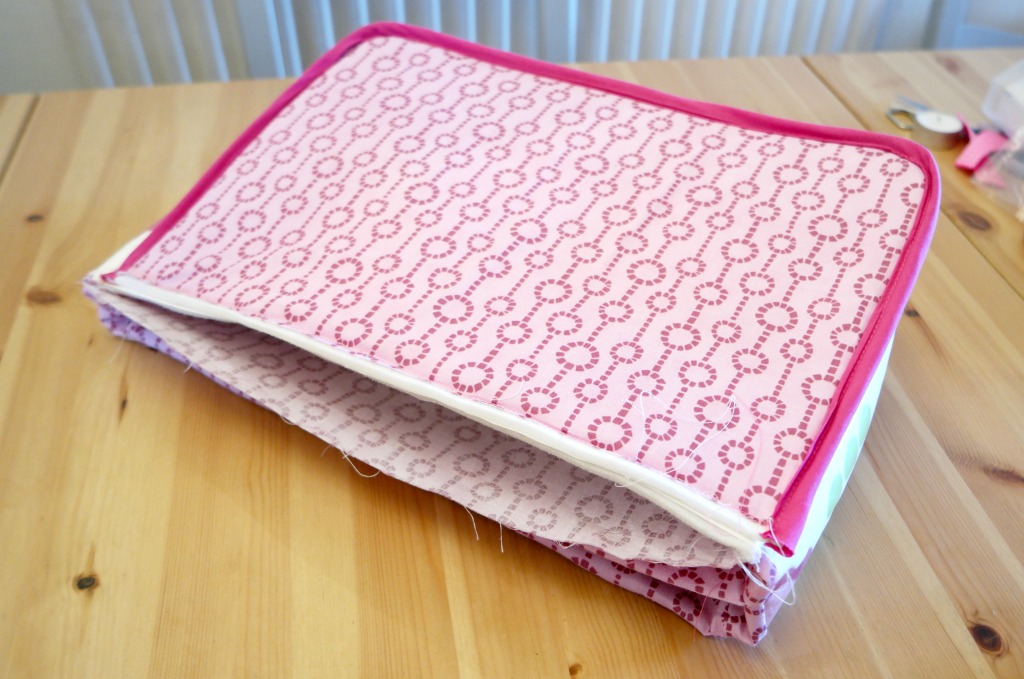 Bring the flap up so that the seam is pointing downwards, between the outer and the lining. Fold the raw edge of the lining over and pin to the flap.
 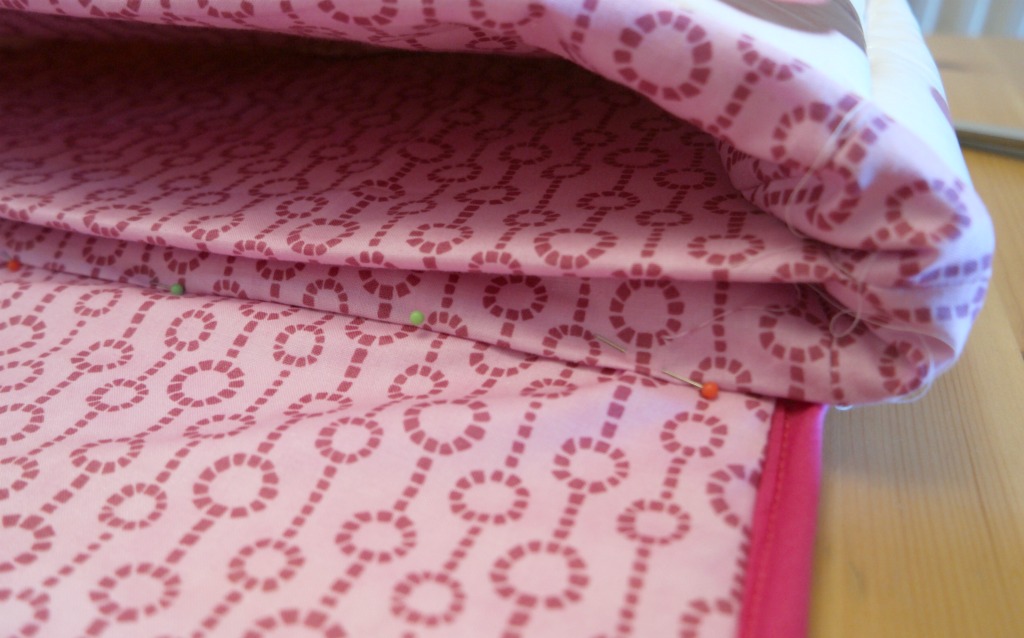 Sew the lining in place. You could either use the machine or you could sew it by hand. By hand will be neater :).
4. Top stitch round the sides and front of the bag.
Attaching the Other Halves of the Tuck Locks
1. Slip 1 of the remaining sections of the tuck locks onto the bottom of the flap. It is possible to open the tuck lock out slightly if you need to.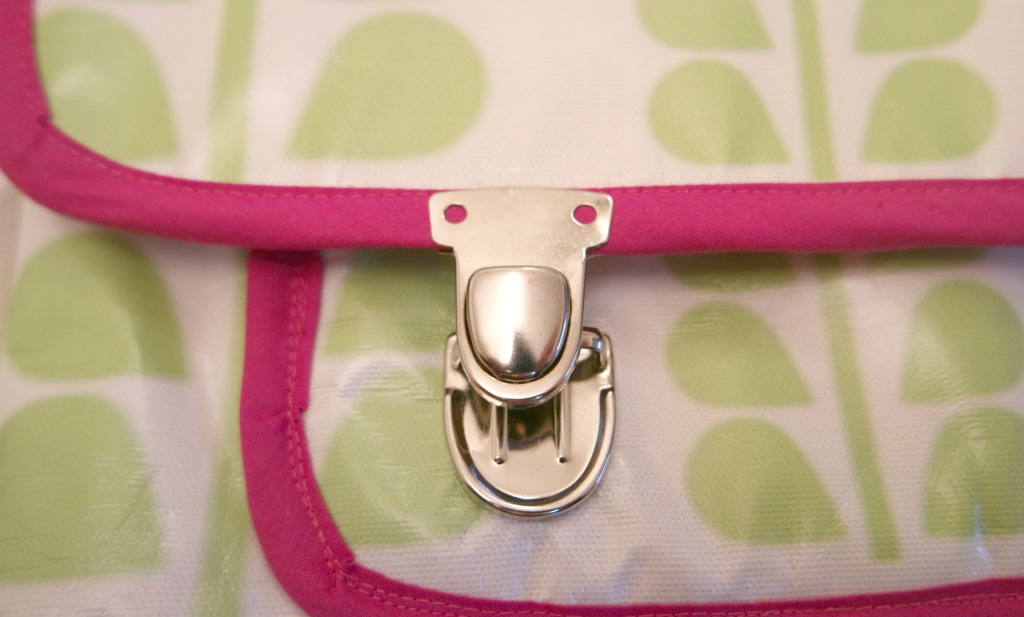
2. Line it up with the section of the lock attached to the pocket. Mark where the holes are with a pen.
3. Remove the tuck lock and make the holes. Officially you should probably use an awl. I don’t have an awl so I used to pointy bit of the unpicker to make the hole, then enlarged it with a knitting needle.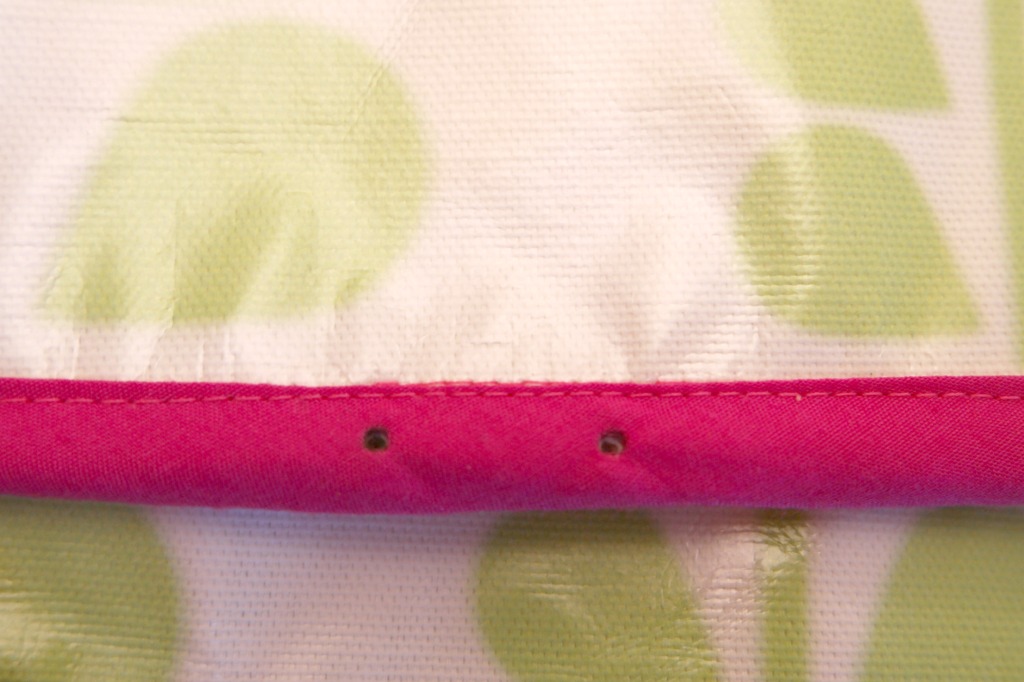
4. Slip the tuck lock back on. Push one of the little pins through the holes in the tuck lock and the hole you made in the fabric. If the hole isn’t quite big enough, stick your knitting needle/ awl through the hole again, no need to remove the lock. Do the same with the other pin.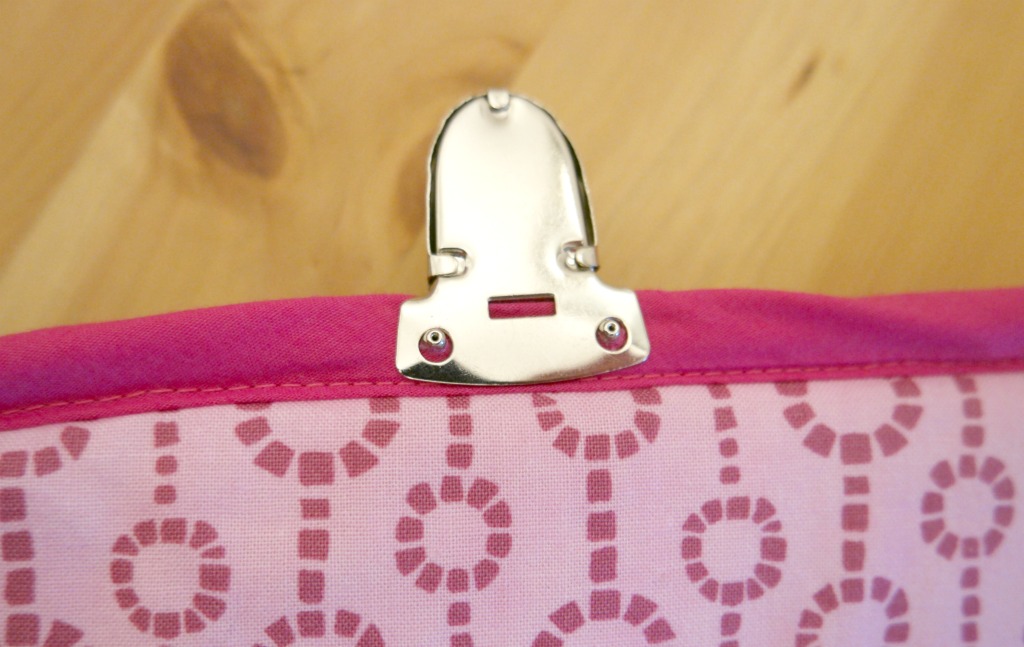
5. Pop the back onto the end of the pin. Repeat with the other lock.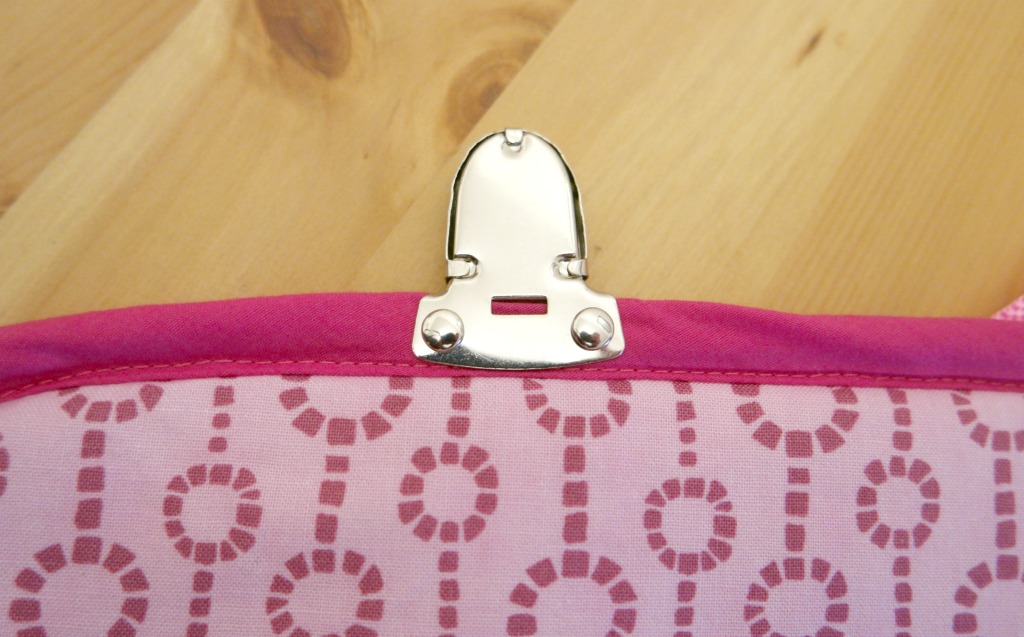
This part is fiddly, so it might take a few attempts.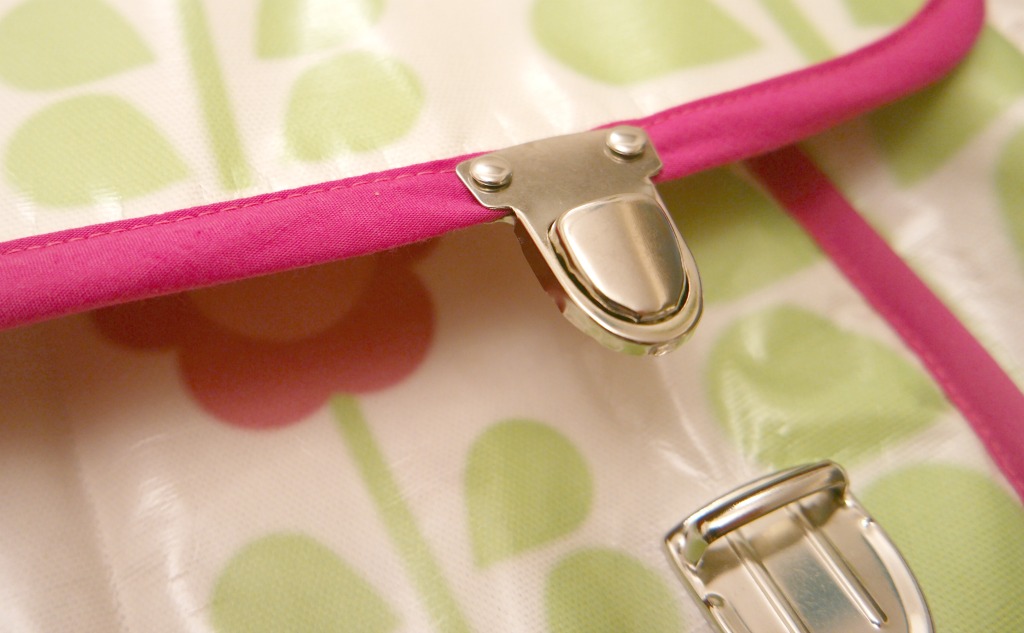
Attaching the D Rings
1. Cut 2 pieces of webbing about 8 cm long. If it’s the nylon kind, you might like to melt the ends to prevent fraying. The way to do this is to gently pass it over a candle flame, a cm or 2 away from the flame.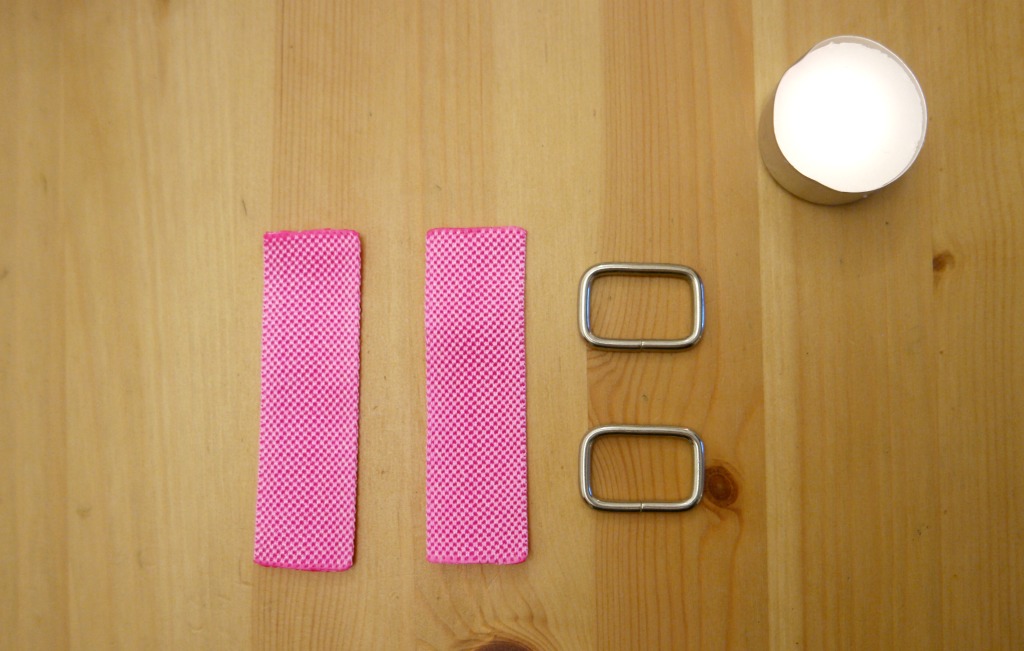
2. Slip a D ring onto one of the pieces of webbing. Fold the webbing over.
3. Unpick the stitches on one side, at the centre of the gusset. Pop one of the folded webbing pieces in between the lining and the outer. Sew the webbing in place, over where you unpicked the stitches.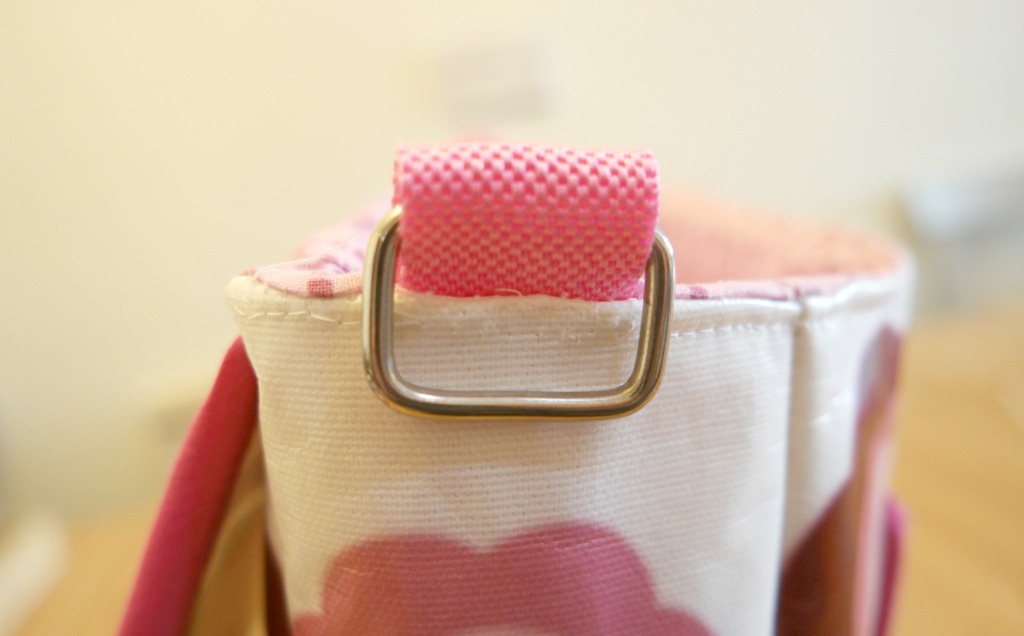
Making the Strap
1. Cut another piece of webbing 175 cm long. This was the right size for me. It might be an idea to check the length on yourself before cutting. Remember that if you’re going to use your bag in the winter, you might also be wearing a thick coat, so make sure you have allowed enough for that too.
2. Melt the ends with a candle as described above.
3. Take your buckle and sew one end of the webbing to the middle bar.
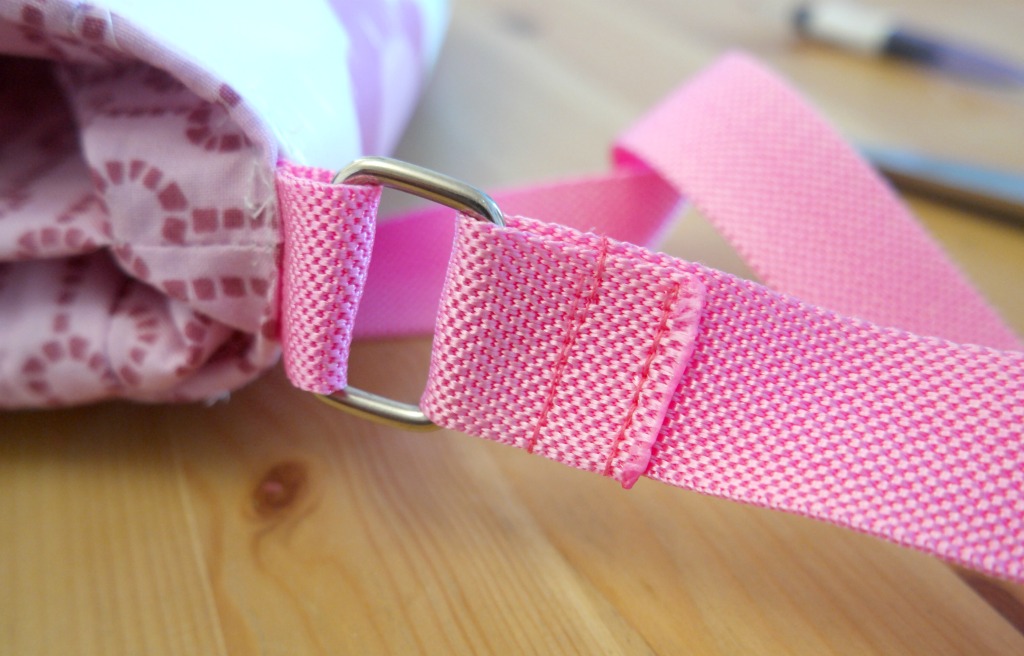
4. Take the other end and loop it through one of the D rings on your bag. 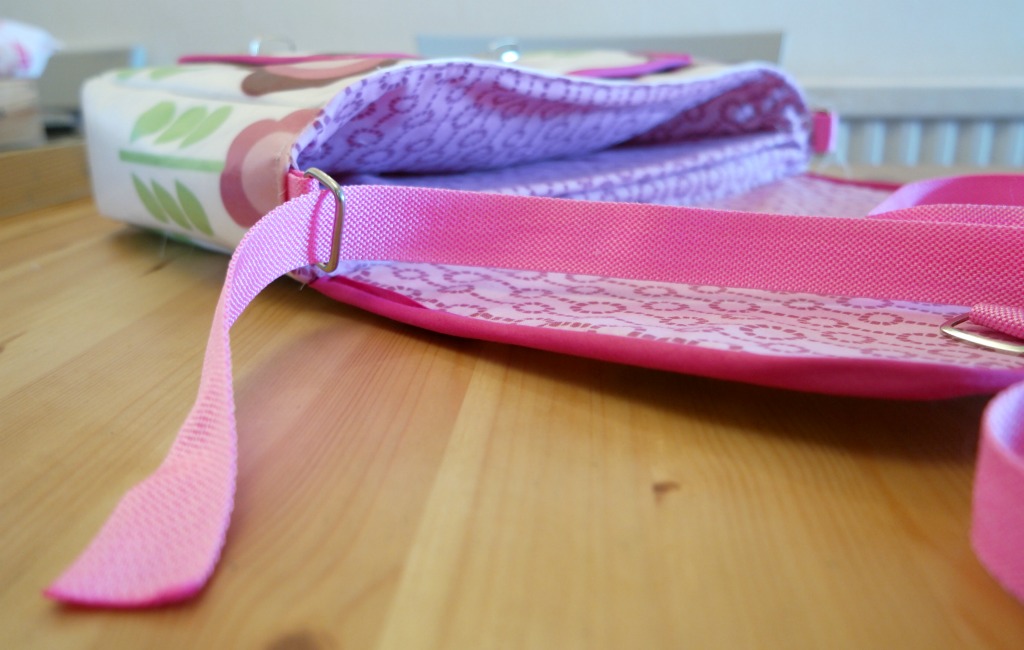 Thread it through the buckle, then through the other D ring.
 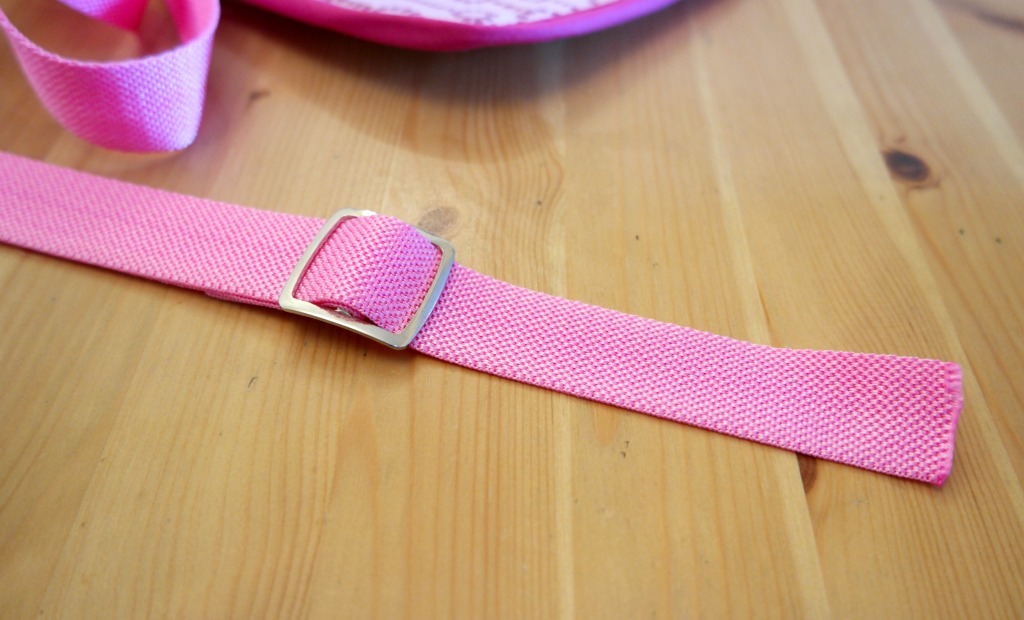 Fold the end over the D ring and sew.
Trim away any stray threads and your bag is ready!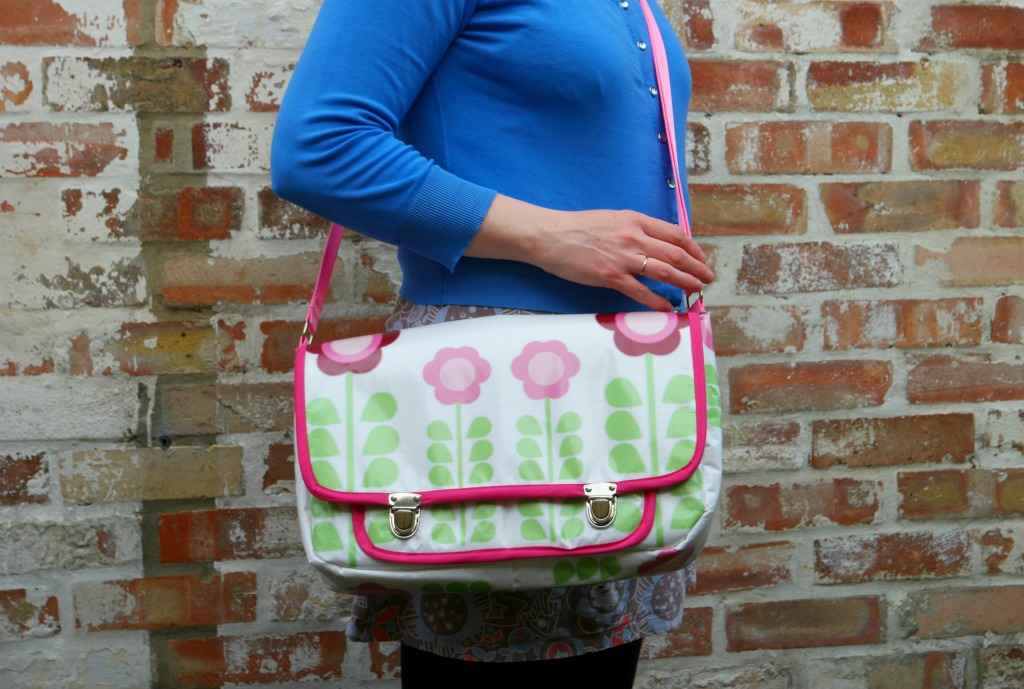
Tips
If you’re sewing with oilcloth or laminated cotton, remember to pin in the seam allowance.
If you need your bag to be a certain size, just change the size of the pieces accordingly.
Attaching a tuck lock can be fiddly, but don’t give up! It took me several attempts and it was worth it!
Leaving the divide out will make it easier and quicker. You could add an internal pocket instead if you wanted to.
Without a divide, you could sew the webbing tabs for the D rings to the outside of the bag.
If you liked this satchel tutorial, you might also like these posts.
Linking up here.




Love your fabric design and the bag you made. It is simply adorable!
iHanna recently posted…Painting a pair of Shoes
Thank you 🙂
It’s beautiful, I’ve loved seeing it develop on instagram during the week. I’ll be checking out that soft and stable too, you can’t beat a recommendation!
Julie recently posted…Meet Elspeth from Ragged Life
Thank you 🙂 I wouldn’t even have known about it if Vicky hadn’t said!
fantastic, just need some great oil cloth like yours! thanks for sharing on craft schooling sunday and for taking the time to document the steps, I know how much time that takes!
I write the tutorials to encourage people because I know how much fun it is to make stuff 🙂
So glad you like Annie’s soft and stable:) great bag, love how you have included a divider – perfect for a tablet one side and “stuff” the other other!
Thanks Vicky 🙂